
Dark Chocolate Fudge Brownies
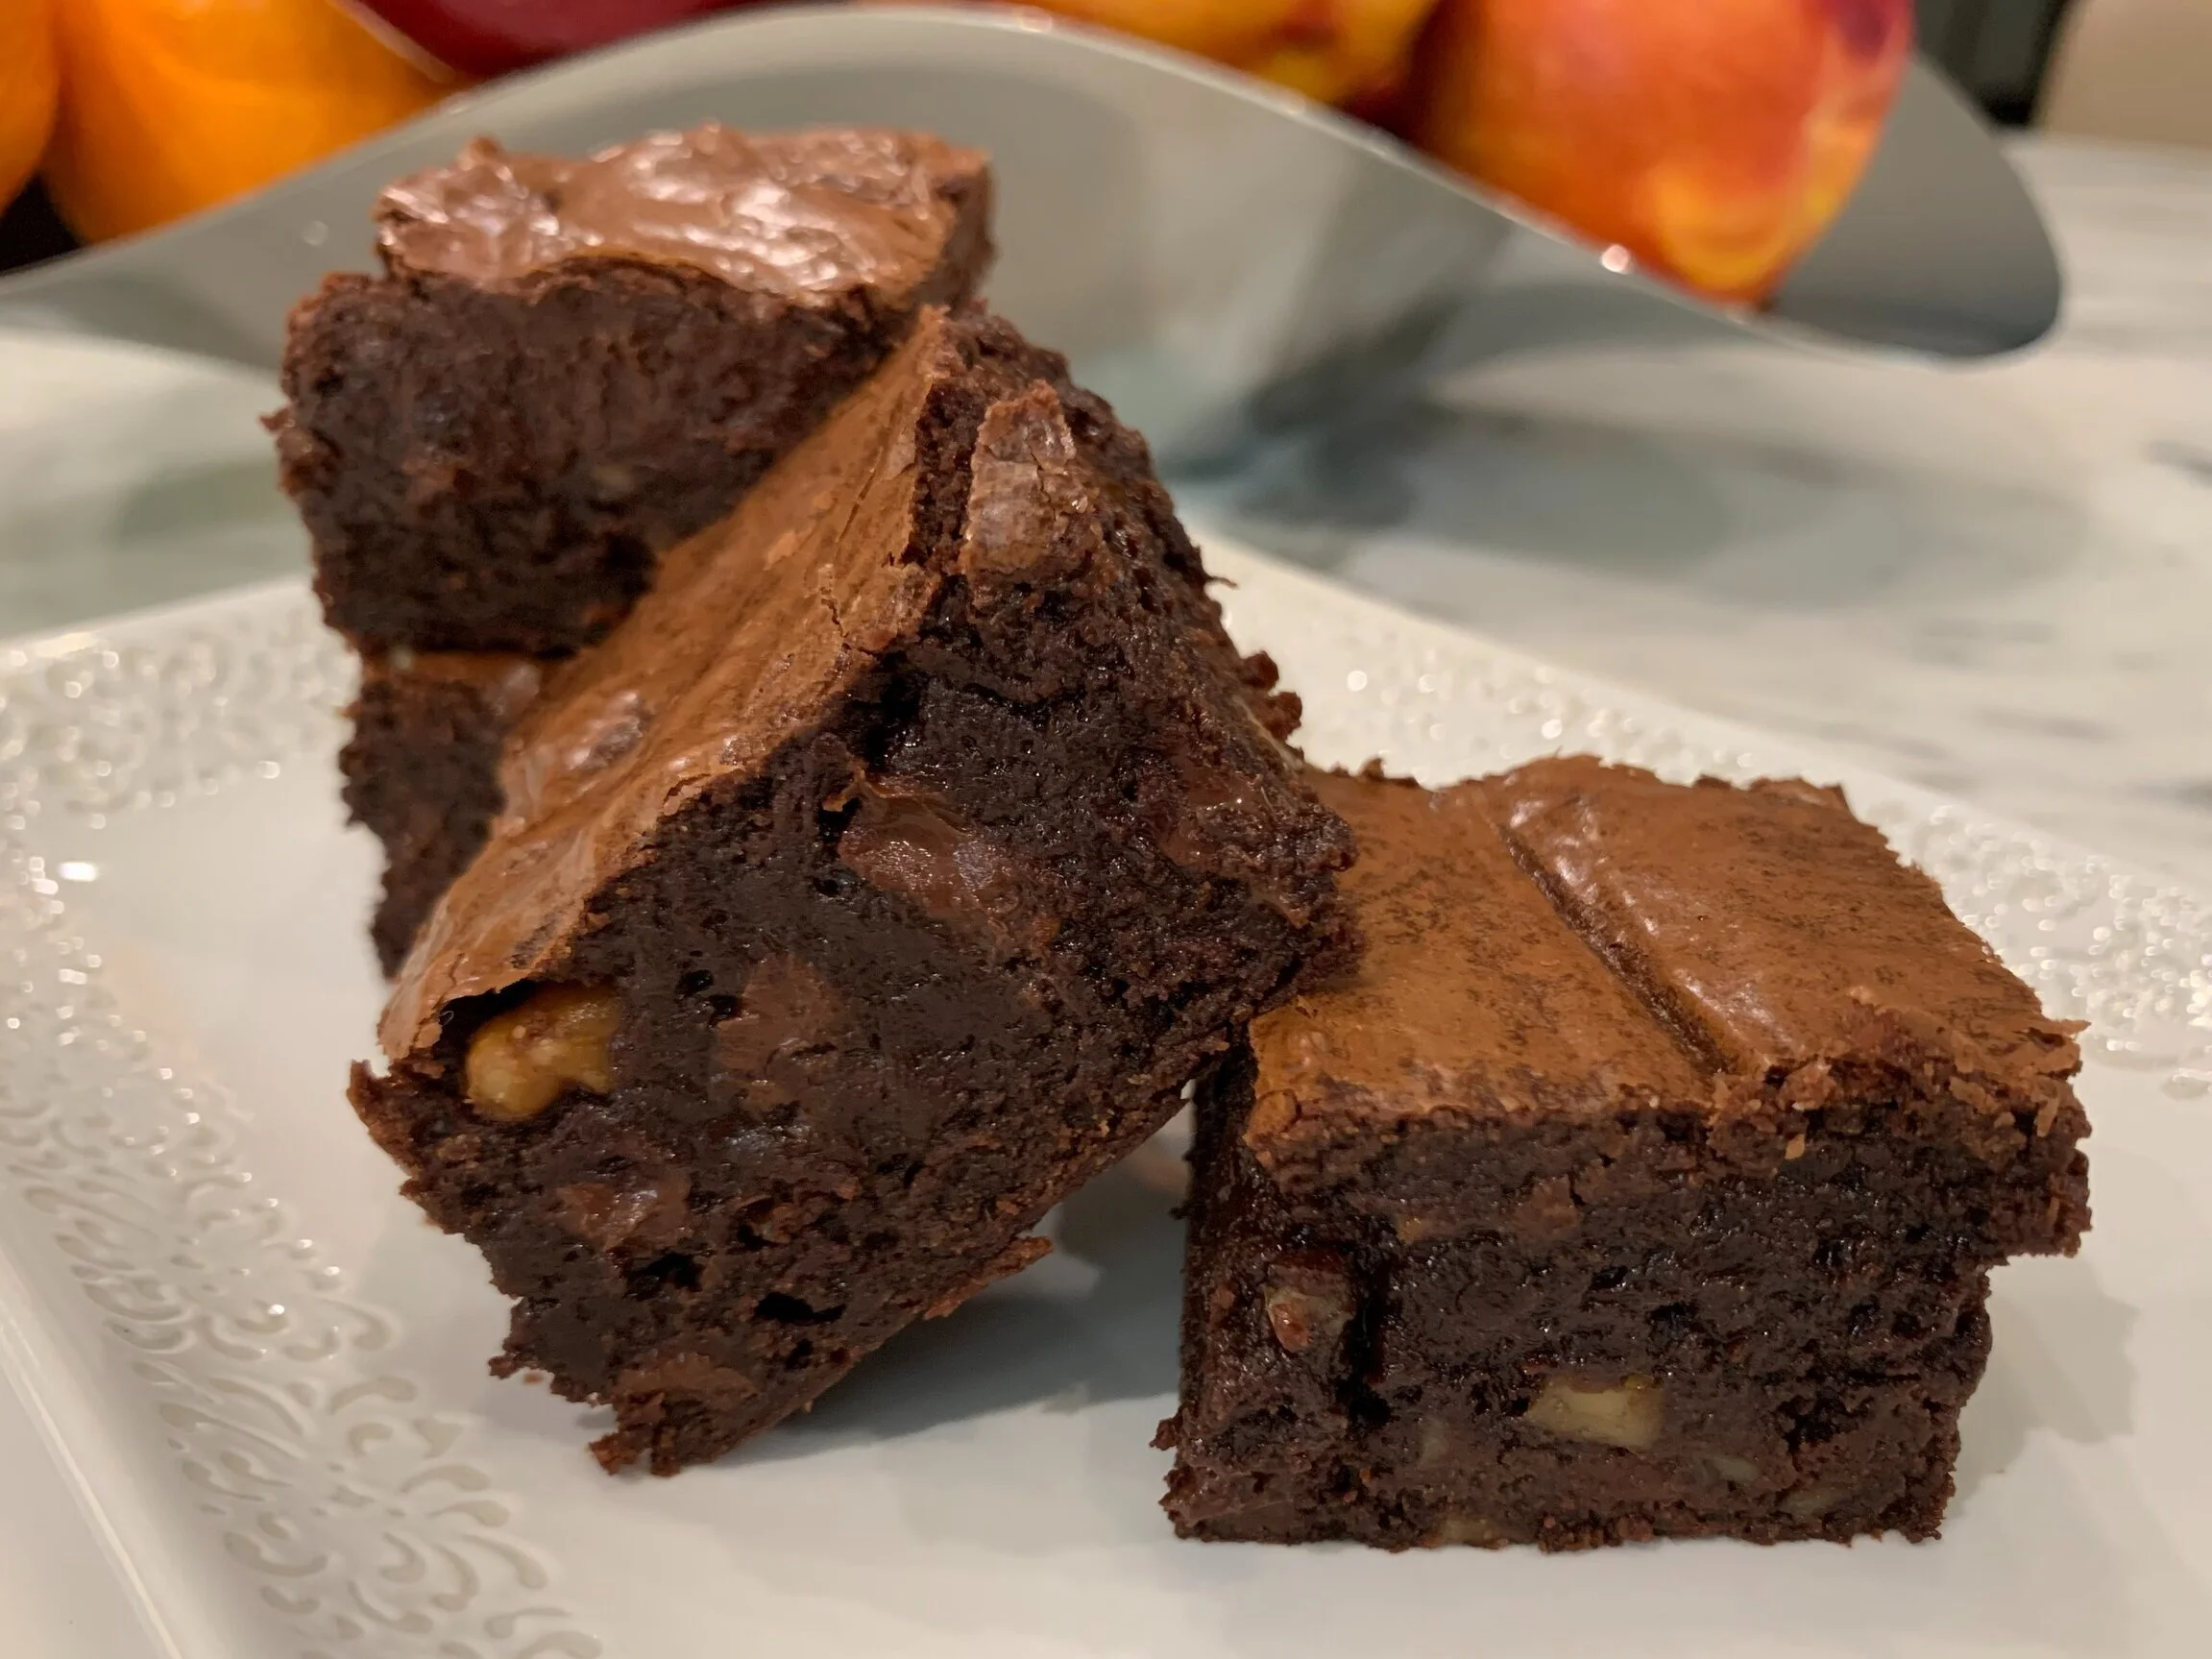
Outstanding does not begin to describe the richness and decadence of these brownies. Definitely not for the faint of heart!
Who doesn’t have a craving for brownies? If you like dark chocolate and brownies that are super moist, chewy, and not overly sweet, these are the ticket. Read more about these amazing treats in our blog review at the bottom of this page.
Sign up for a free subscription to our monthly newsletter and access to exclusive content.
To browse some of our favorite kitchen essentials, gadgets, and pantry items, visit our Recommended Products page.

DARK CHOCOLATE FUDGE BROWNIES
Ingredients
Instructions
- Preheat oven to 350* F. Lightly spray a Glass 8 x 8 Inch Baking Pan (or a Metal Pan) with nonstick cooking spray and line pan with parchment paper. Lightly spray paper once more.
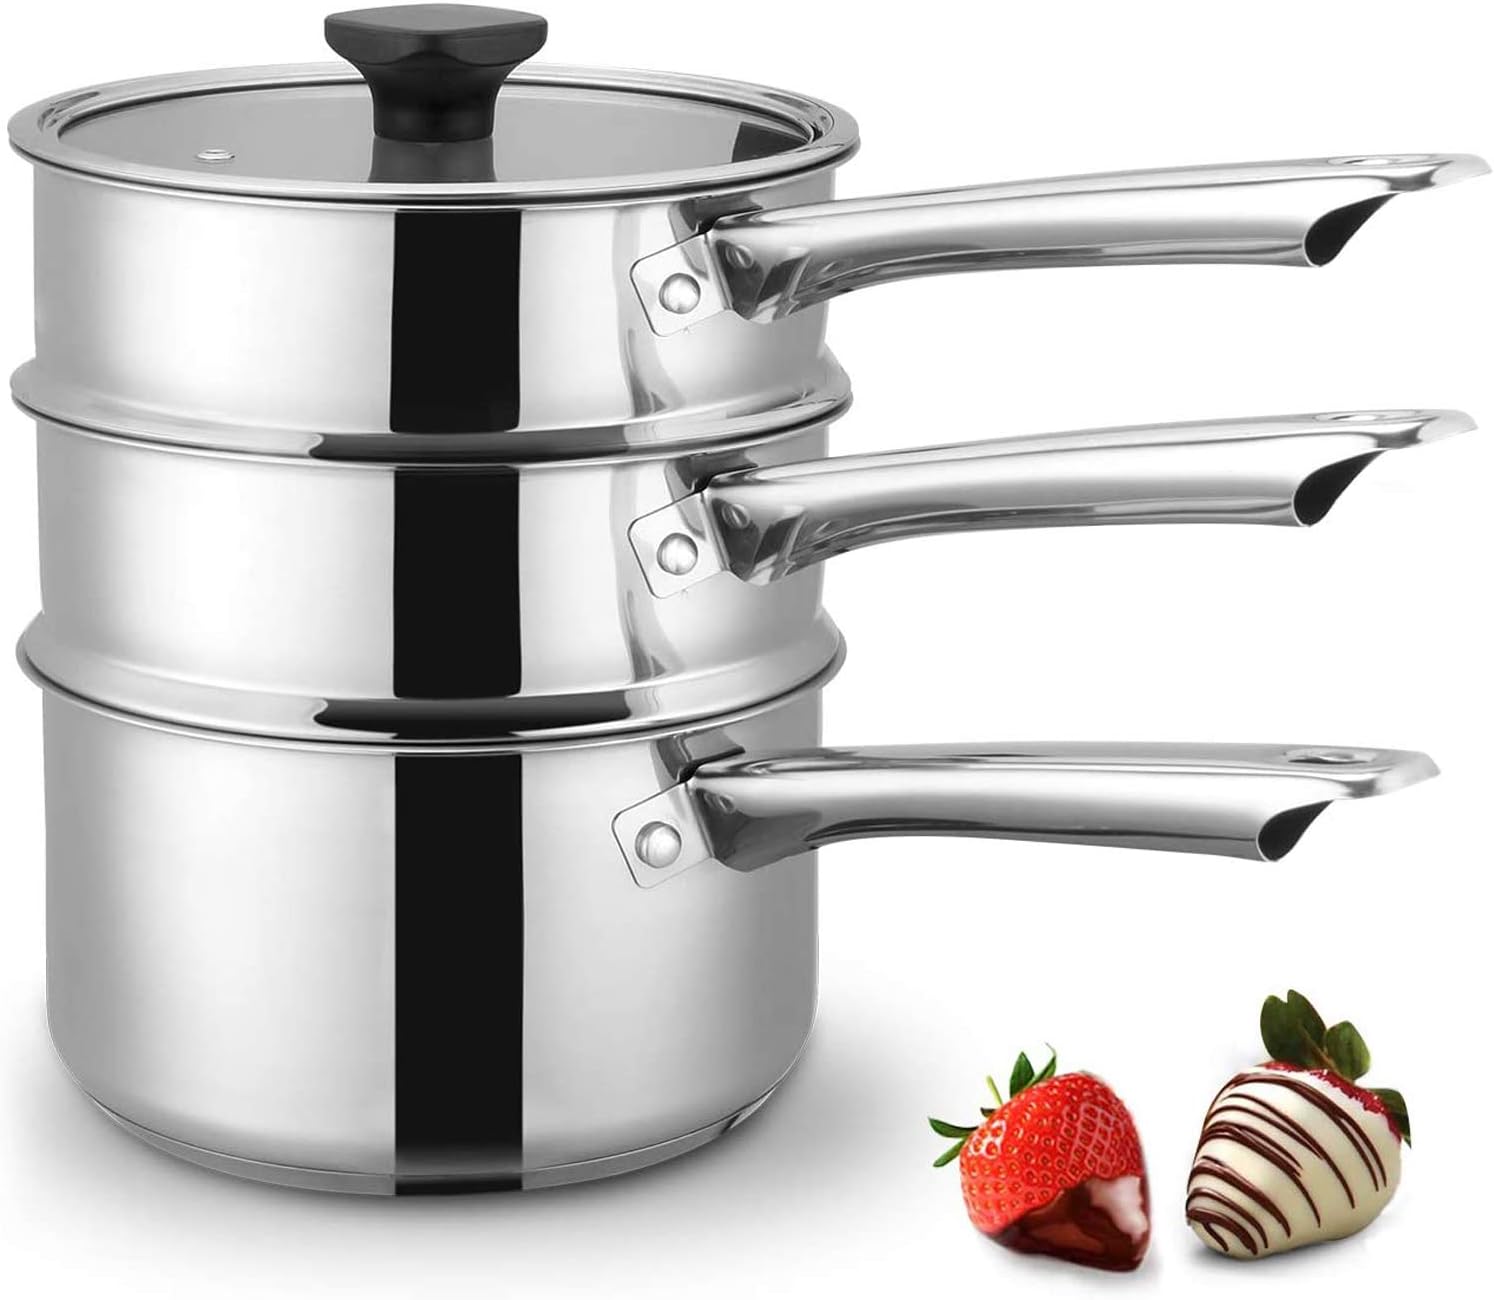
- Melt chopped dark chocolate and butter in a Double Boiler (see tip below). Stir occasionally until smooth and shiny. Carefully remove bowl from heat and quickly whisk in espresso powder and cocoa. Set aside to cool.
- In a Stand Mixer (with paddle attachment), beat eggs and sugar on medium-high speed for 1 minute or so, until combined and fluffy. Reduce speed to low and add vanilla and salt, for about 15 to 30 seconds, until combined. Continuing on low speed, slowly pour the warm chocolate mixture into the egg mixture, until combined. Turn off mixer and remove bowl.
- Gently fold the flour into the chocolate mixture, JUST until combined (do not over mix!). It’s okay to have a little flour still exposed. Gently stir in semi-sweet chocolate chips and walnuts. Once you mix in the chocolate chips and walnuts. It will completely combine. If you over mix the batter, it will create a very tough brownie.
- Pour the thick batter into the prepared pan. Spread out the mixture to the edges with an Offset Spatula and go ahead and swirl the top a little!
- Bake for 30 minutes - do NOT over bake. No toothpick needed. Top will become shiny and not liquidy when done (see Step 6 under Step by Step Instructions for details). Allow to cool in the pan on your counter and on a Wire Cooling Rack for about 2-3 hours (or more, if needed) until no longer warm. They actually continue to cook in the pan during that time.
- Once completely cooled, cut into 16 pieces (see Notes for best cutting technique to ensure your brownies stay intact). Store leftovers in an Airtight Container on the counter.
Notes
- Don’t have a double boiler? Place a metal mixing bowl on top of a sauce pan. Fill the pan with no more than 1 to 2 inches of water (bottom of the pan should not touch the water).
- Glass vs. metal baking pan? Baking time may vary slightly depending on the type of pan used. A glass baking pan is recommended, but you can use a metal pan. Brownies will take only 30 minutes in a metal pan. Baking time in a glass pan may take up to 35 minutes.
- Once completely cooled, fill a heat proof glass with very hot water. Dip a knife into the hot water and wipe dry with a clean paper towel in between EVERY cut. This will result in perfectly cut brownies. Cut into 16 squares (these are smaller servings, but the portions are more than enough considering the richness of the dark chocolate). Texture becomes more cakelike after 24 hours.
- Consume within 3-5 days. Do not refrigerate.


Nutrition Facts
Calories
296.26Fat (grams)
17.01Sat. Fat (grams)
8.62Carbs (grams)
34.59Fiber (grams)
2.62Net carbs
31.84Sugar (grams)
24.28Protein (grams)
4.08Sodium (milligrams)
83.96Cholesterol (grams)
50.44Nutritional information provided is strictly an estimate and will vary based on ingredient brands and cooking methods.
Step by Step Instructions

PREPARATION
Organize all your tools and ingredients before you begin. Measuring out all your ingredients at the beginning will shorten your prep time. This is called “mise en place” (i.e., everything in its place).

STEP 1
Preheat your oven to 350°F. Very lightly spray your 8 x 8 Inch Glass Baking Pan (or a Metal Pan) with nonstick cooking spray and then line pan with parchment paper. This will help the paper to stick to the pan. Lightly spray paper once more.

STEP 2
Chop dark chocolate into small pieces (roughly ½ inch or so) so you end up with 1 cup chopped (slightly heaping is just fine if you are a serious chocoholic). Cut ½ cup chilled unsalted butter into about 8 pieces. This will ensure they melt at approximately the same rate. Melt dark chocolate and butter in a Double Boiler (see Notes section below). Stir occasionally until smooth and shiny. Carefully remove bowl from heat and quickly whisk in 1 teaspoon Espresso Coffee Powder and 3 tablespoons Dutch Processed Cocoa Powder. Set aside to cool.

STEP 3
In a Stand Mixer (with paddle attachment), beat 3 room temperature eggs and 1 ¼ cups sugar on medium-high speed for 1 minute or so, until combined and fluffy. Scrape down the sides of the bowl to incorporate all the sugar. Reduce speed to low and add 2 teaspoons pure vanilla extract and ½ teaspoon salt, and mix for about 15 to 30 seconds, until combined. Continuing on low speed, slowly pour the warm chocolate mixture into the egg mixture, until combined. Turn off mixer and remove bowl.

STEP 4
To avoid ending up with a tough brownie, do NOT over mix this batter. Gently fold 1 cup (aerated) all purpose flour into the chocolate mixture (it’s okay to have a little flour still exposed). GENTLY stir in1 cup semi-sweet chocolate chips and ½ cup chopped walnuts (remaining flour will be combined).

STEP 5
After pouring the thick batter into the prepared pan, spread out the mixture to the edges with an Offset Spatula and swirl the top a little! Bake for 30 minutes - do NOT over bake.

STEP 6
Just out of the oven and the aroma is heavenly! No need to use a toothpick to test doneness. If the top is shiny and not liquidy, that means it’s done. These brownies were baked in a metal pan and took 30 minutes. In a glass pan, it may take up to 35 minutes.
Allow to cool completely in the pan on your counter and on a Wire Cooling Rack for about 2-3 hours (or more, if needed) until no longer warm. They actually continue to cook in the pan during that time.
STEP 7
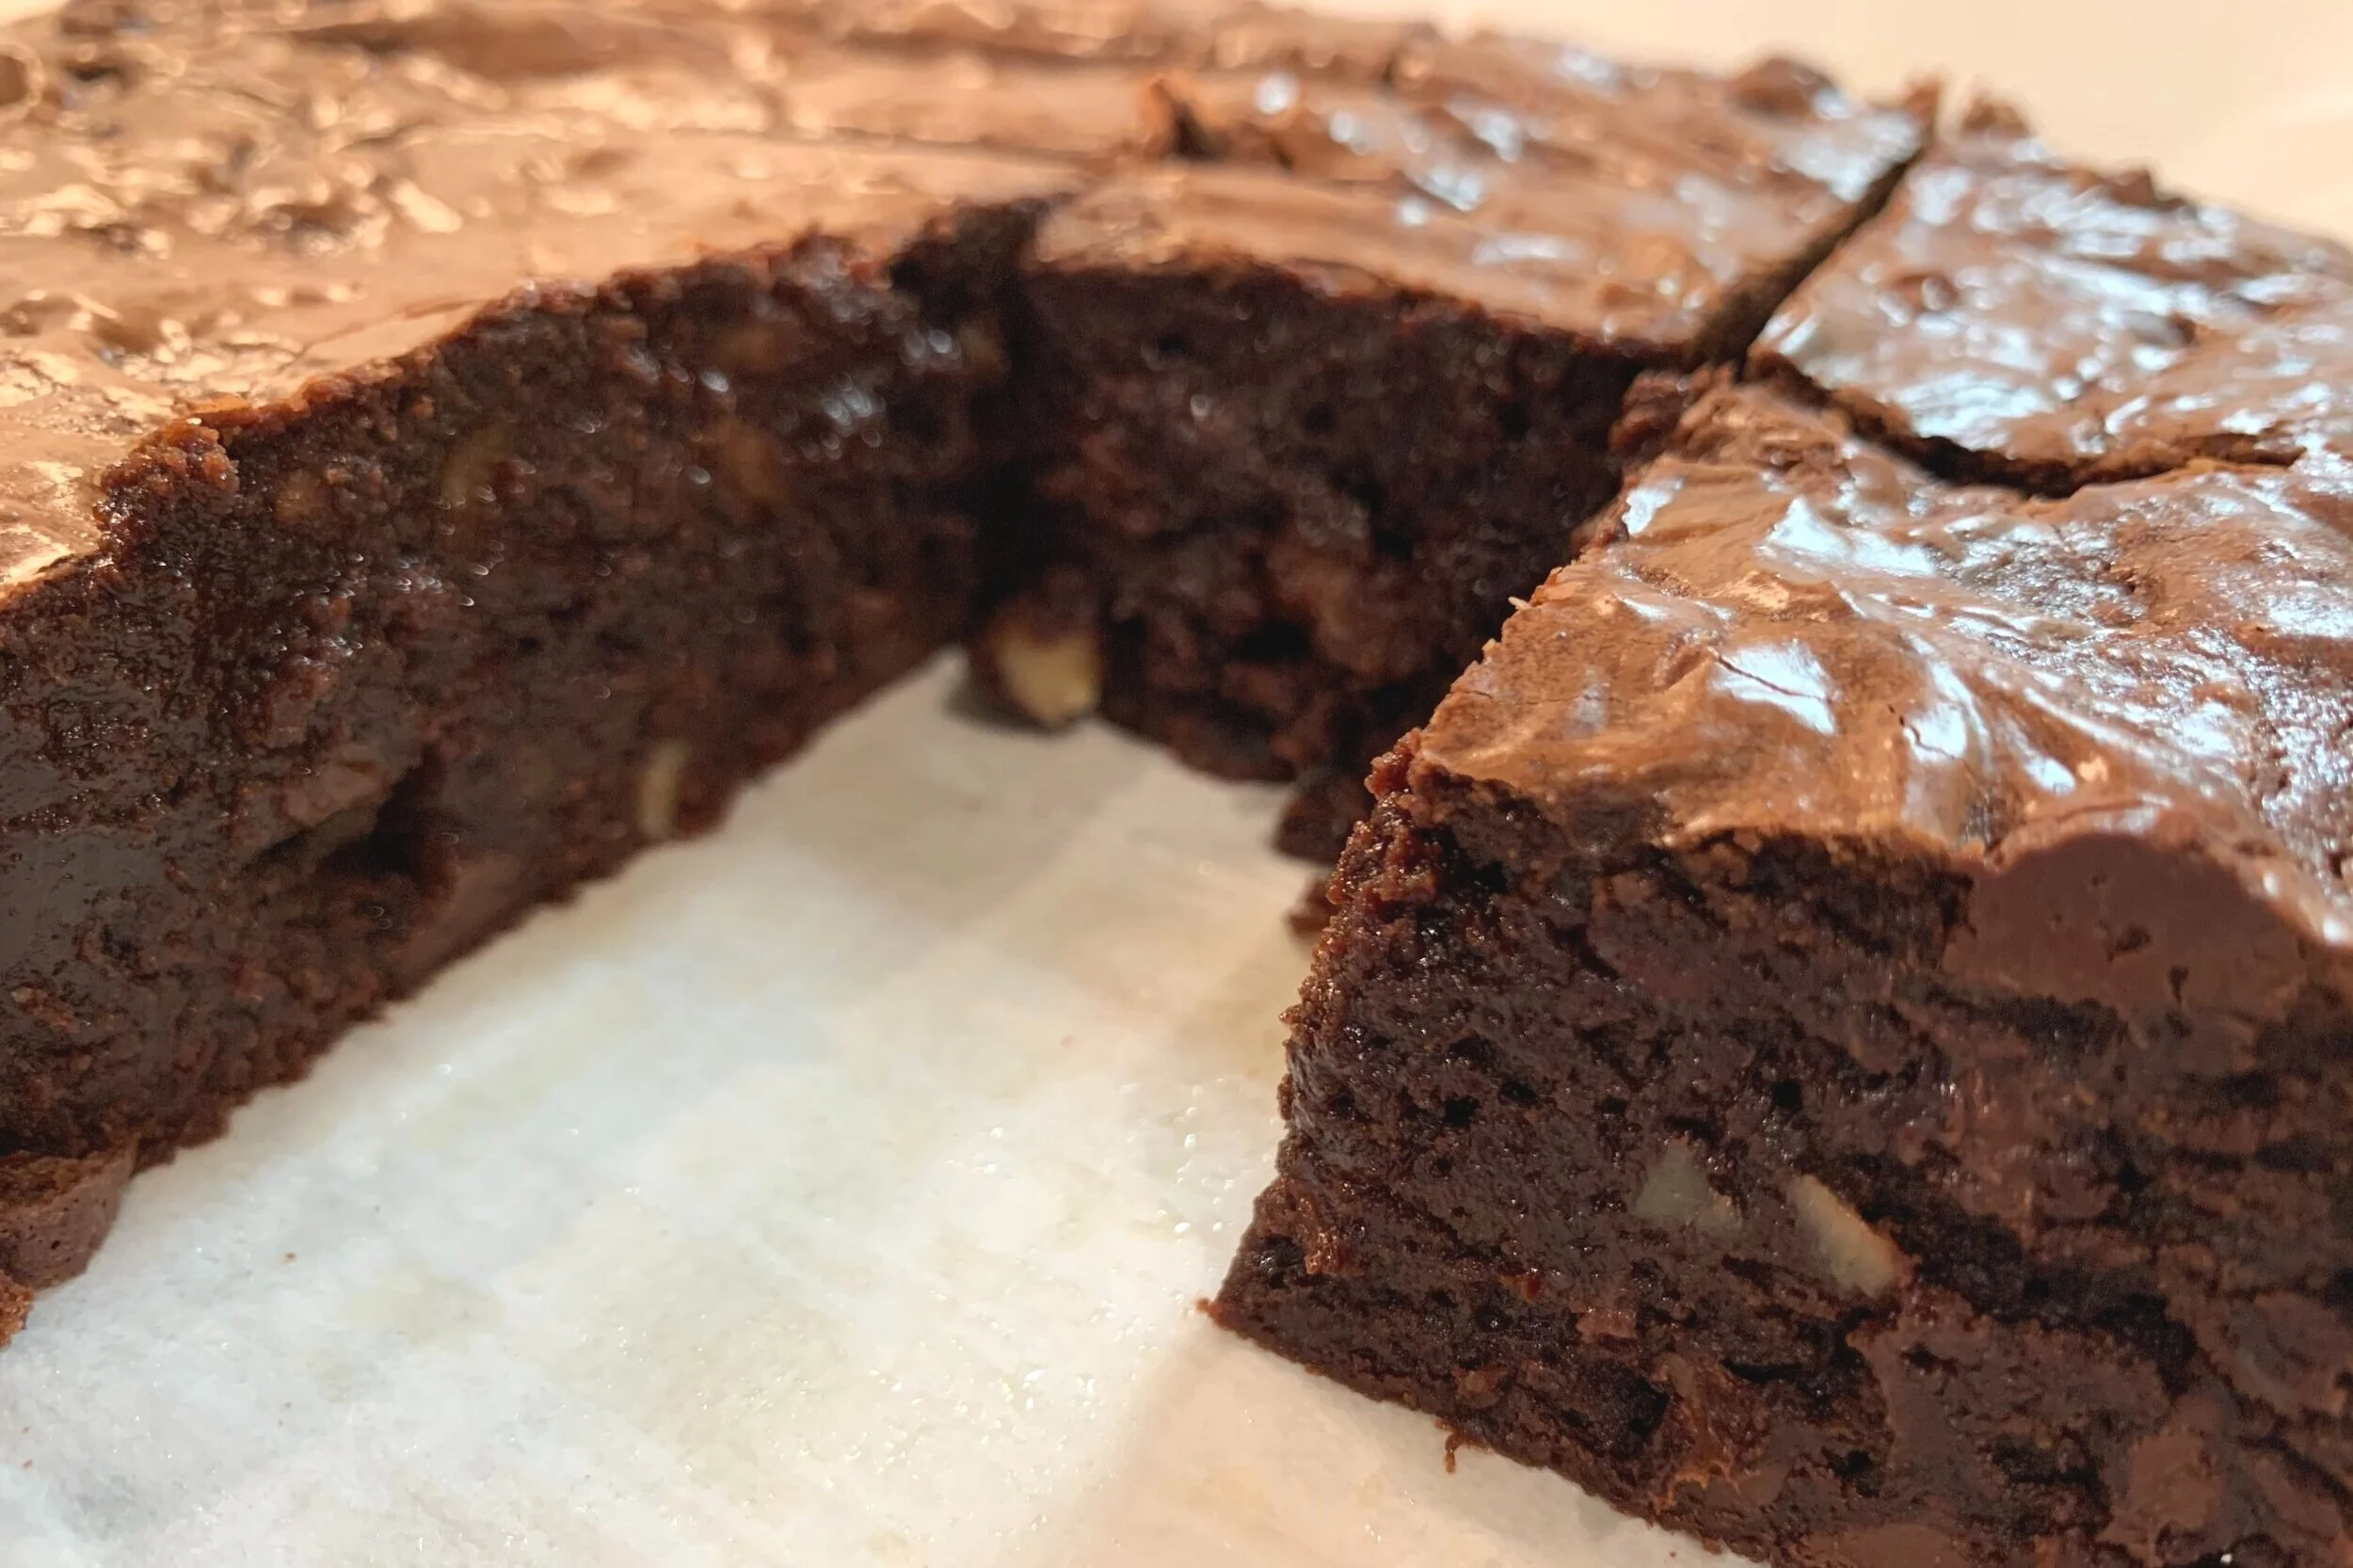
Although you might be tempted to cut the brownies while they are still warm, it’s important to let them completely cool down before cutting. Otherwise, the batter will stick to the knife and your edges will be a mushy mess (see Note below for cutting tip). Brownie texture will become more cakelike after 24 hours.
Note: Once completely cooled, fill a heat proof glass with very hot water. Dip your knife into the water and wipe dry with a clean paper towel in between EVERY cut. This will result in perfectly cut brownies. Cut into 16 squares (these are smaller servings, but the portions are more than enough considering the richness of the dark chocolate).

STEP 8
If you want super gooey brownies, then consume immediately. If you prefer a more cake like texture to your brownies, they will be even better the next day or two. Enjoy!
Notes:
If you don’t have a double boiler, place a metal mixing bowl on top of a sauce pan. Fill the pan with no more than 1 to 2 inches of water (bottom of the bowl should not touch the water in the pan).
Your baking time may vary slightly depending on the baking dish you use. Using a glass baking pan is recommended, but you can also use a metal pan. For example, these brownies will take only 30 minutes in a metal pan. Baking time in a glass pan may take up to 35 minutes.
Store leftovers in an Airtight Container on the counter for up to 3-5 days. Do not refrigerate.
Blog Comments & Tips
In my opinion, this recipe is a winner!
These dark chocolate fudge brownies were easy to make and the results were fantastic. If the kids AND adults love it, then I do believe this recipe qualifies as a solid 10!
As a proud chocoholic, I’m always looking for super dark and rich chocolatey desserts. After looking through hundreds of brownie recipes, it seemed an almost impossible task to find one that had the just the right balance of dark chocolatey goodness, sweetness, and moistness. We have taken this ultimate brownie and made it extra dark, fudgy, and just out of this world!
These cute little fudgy squares (yes, 16 pieces out of an “8 x 8” pan) satisfied my chocolate craving better than any brownie I’ve ever tried. Although the size may seem a bit smaller than your standard brownie, trust me…you won’t need a bigger piece. We used 85% cocoa dark chocolate. The added bonus is these brownies contain more antioxidants and are technically healthier than your typical brownie!
The best part is the leftovers taste even better the next day. The texture becomes a bit more cake-like and slightly less gooey, while staying very moist.
Want to kick it up a notch? Serve warm and top with vanilla bean ice cream. YUMMY!
Enjoy and let us know what you think!
Mich
Footnote: If you don’t like really dark chocolate and want a milder chocolate flavor, then just replace with a semi-sweet chocolate (60% cocoa), or any chocolate that contains less than 85% cocoa (such as bittersweet at 70%) .

Adapted from the Fudgy Brownies recipe by If You Give a Blonde A Kitchen, we’ve taken this great recipe and pimped it up a bit to make it extra rich and chocolatey. It will be tough to stop at one!
Every editorial product is independently selected. We may be compensated or receive an affiliate commission if you purchase products via our links. As Amazon Associates, we earn from qualifying purchases.