
Easy Perfectly Plum Jam

Fresh, perfectly plum jam in less than one hour. It’s amazing on toast, waffles, yogurt, and even better served slightly warm as a topping on vanilla bean ice cream.
If you have never made jam, you should give this recipe a try. This quick and easy small batch plum jam takes only a few minutes of prep and cooks in less than 35 minutes. The best part is it requires no canning. It’s both sweet and tart and there is no refined sugar. Better yet, the recipe uses absolutely NO pectin. We have pimped it up to give those juicy ripe plums even more warmth and depth of flavor. Want to read more about this in our blog review?
Sign up for a free subscription to our monthly newsletter and access to exclusive content.
To browse some of our favorite kitchen essentials, gadgets, and pantry items, visit our Recommended Products page.
RECIPE
(Check out our Step by Step Instructions below the recipe card.)
Recipe updated as of 3/21/22

EASY PERFECTLY PLUM JAM
Ingredients
Instructions
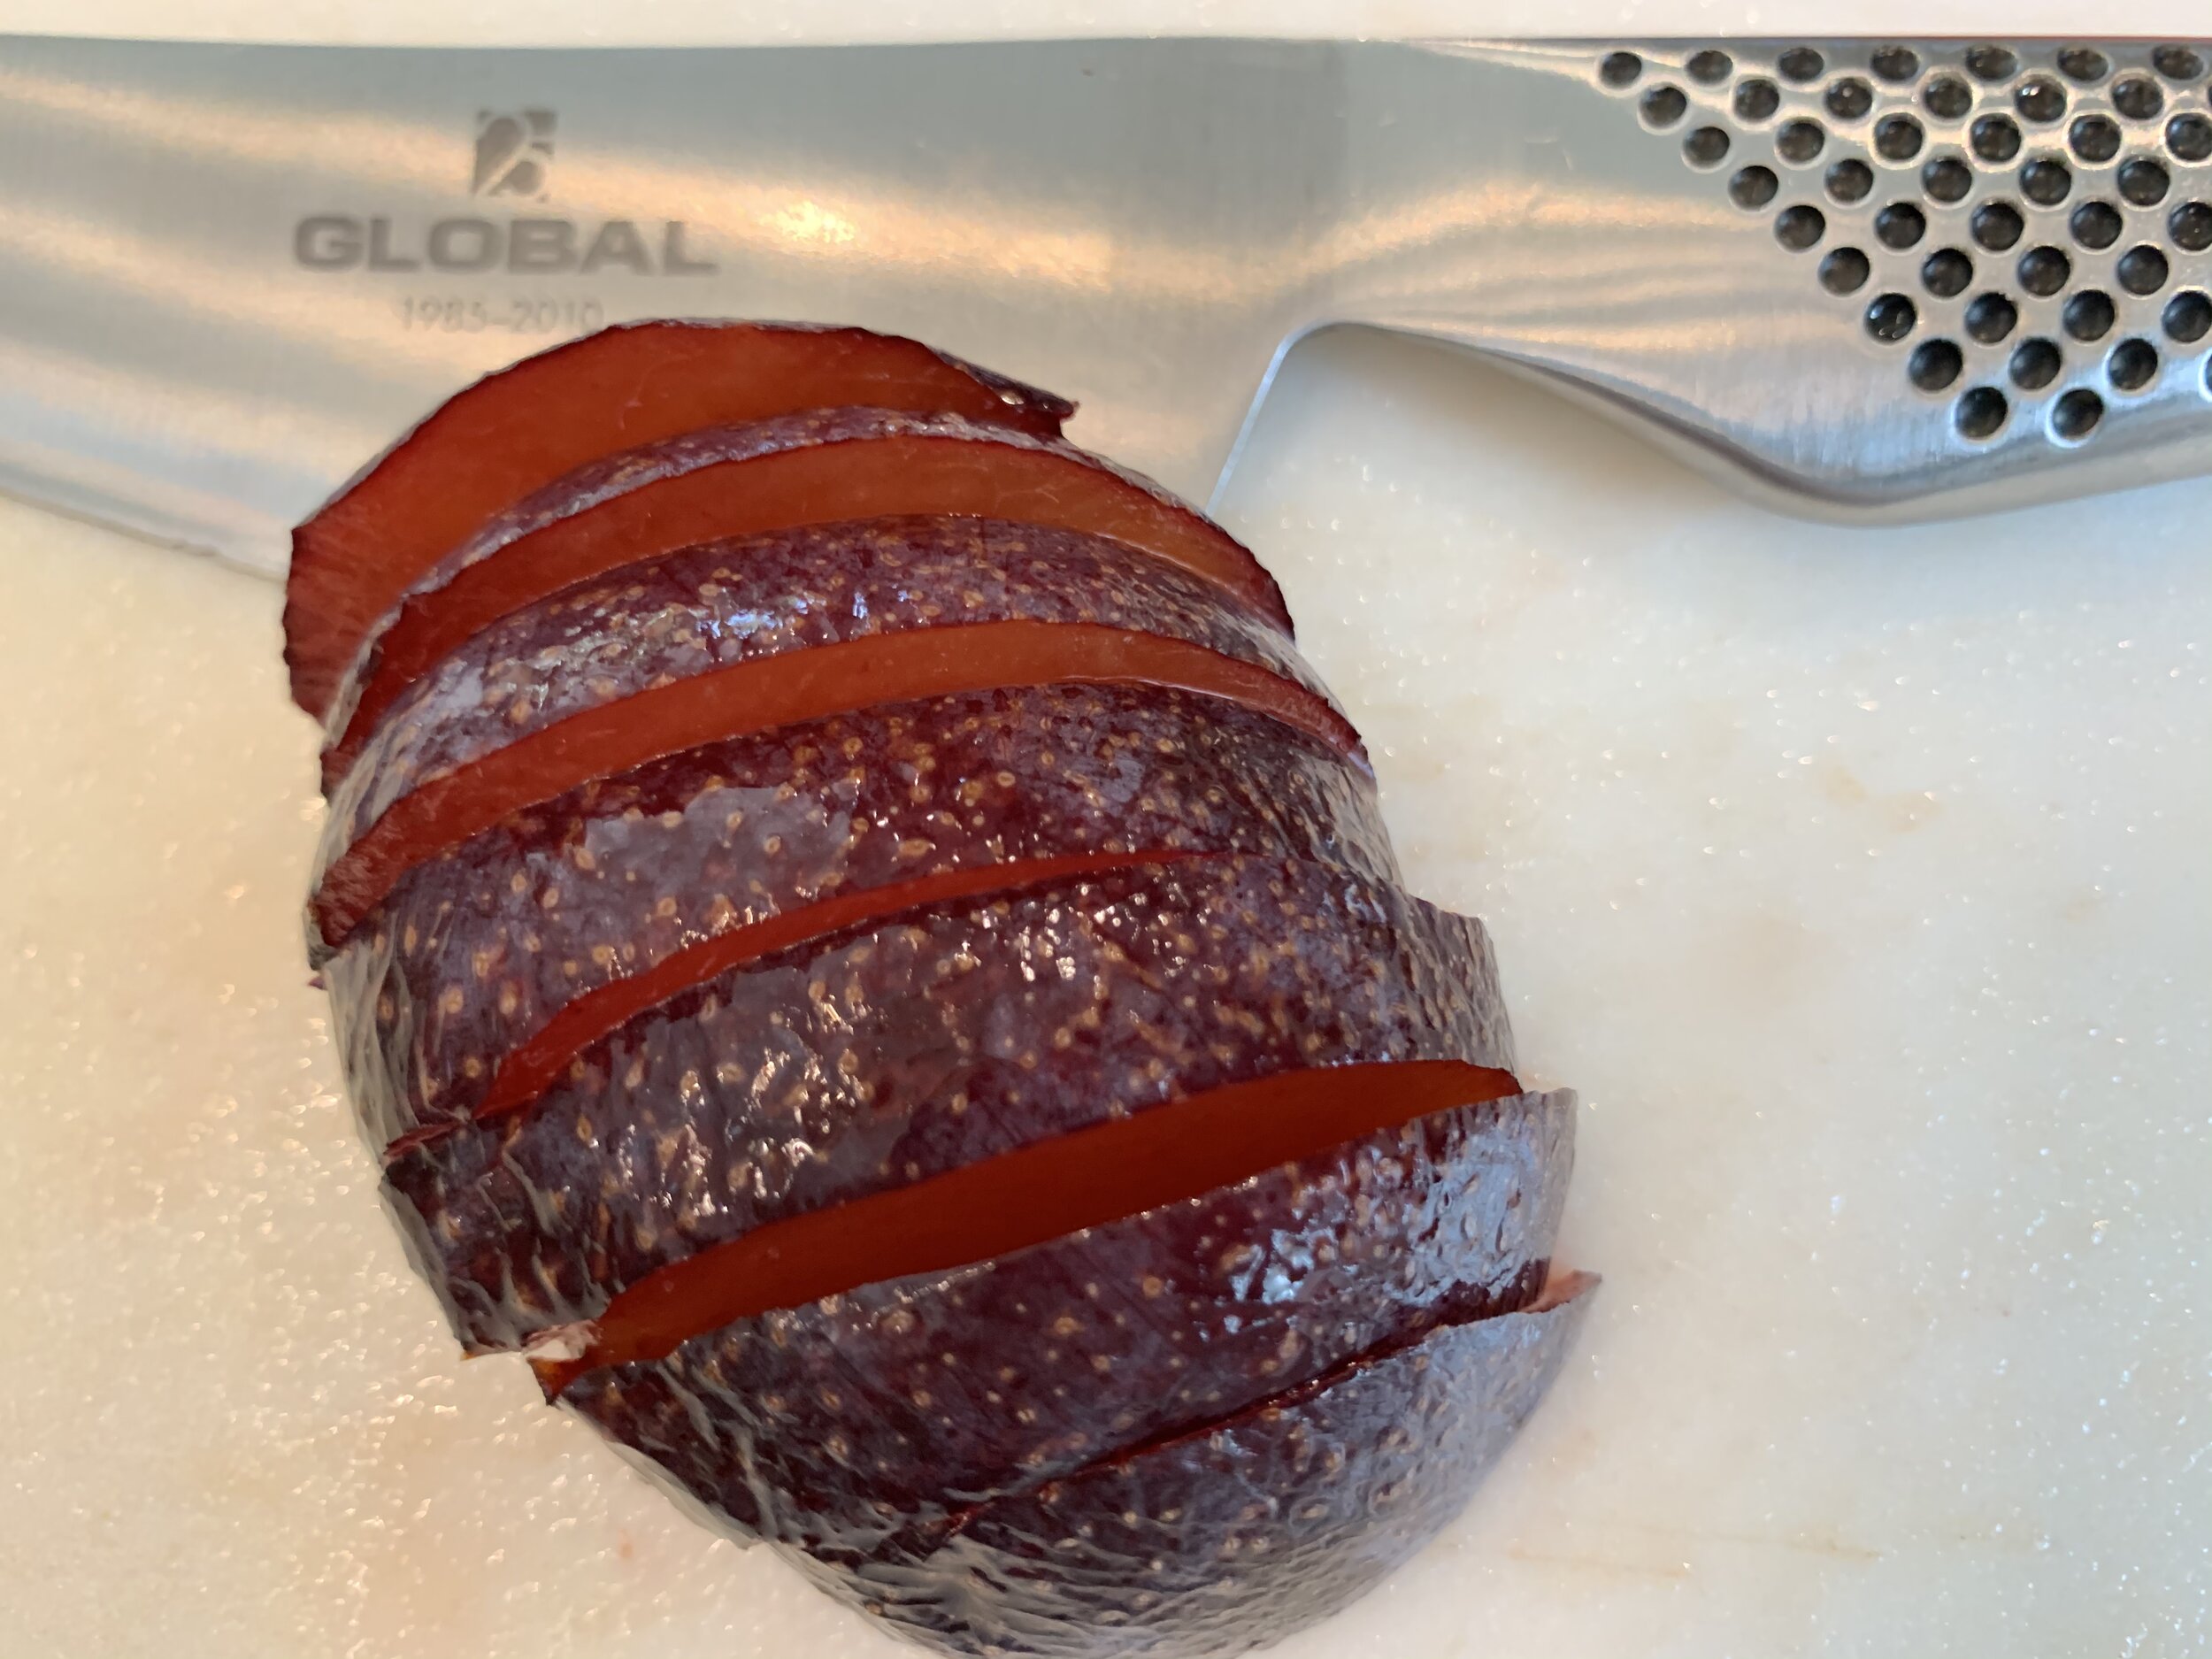
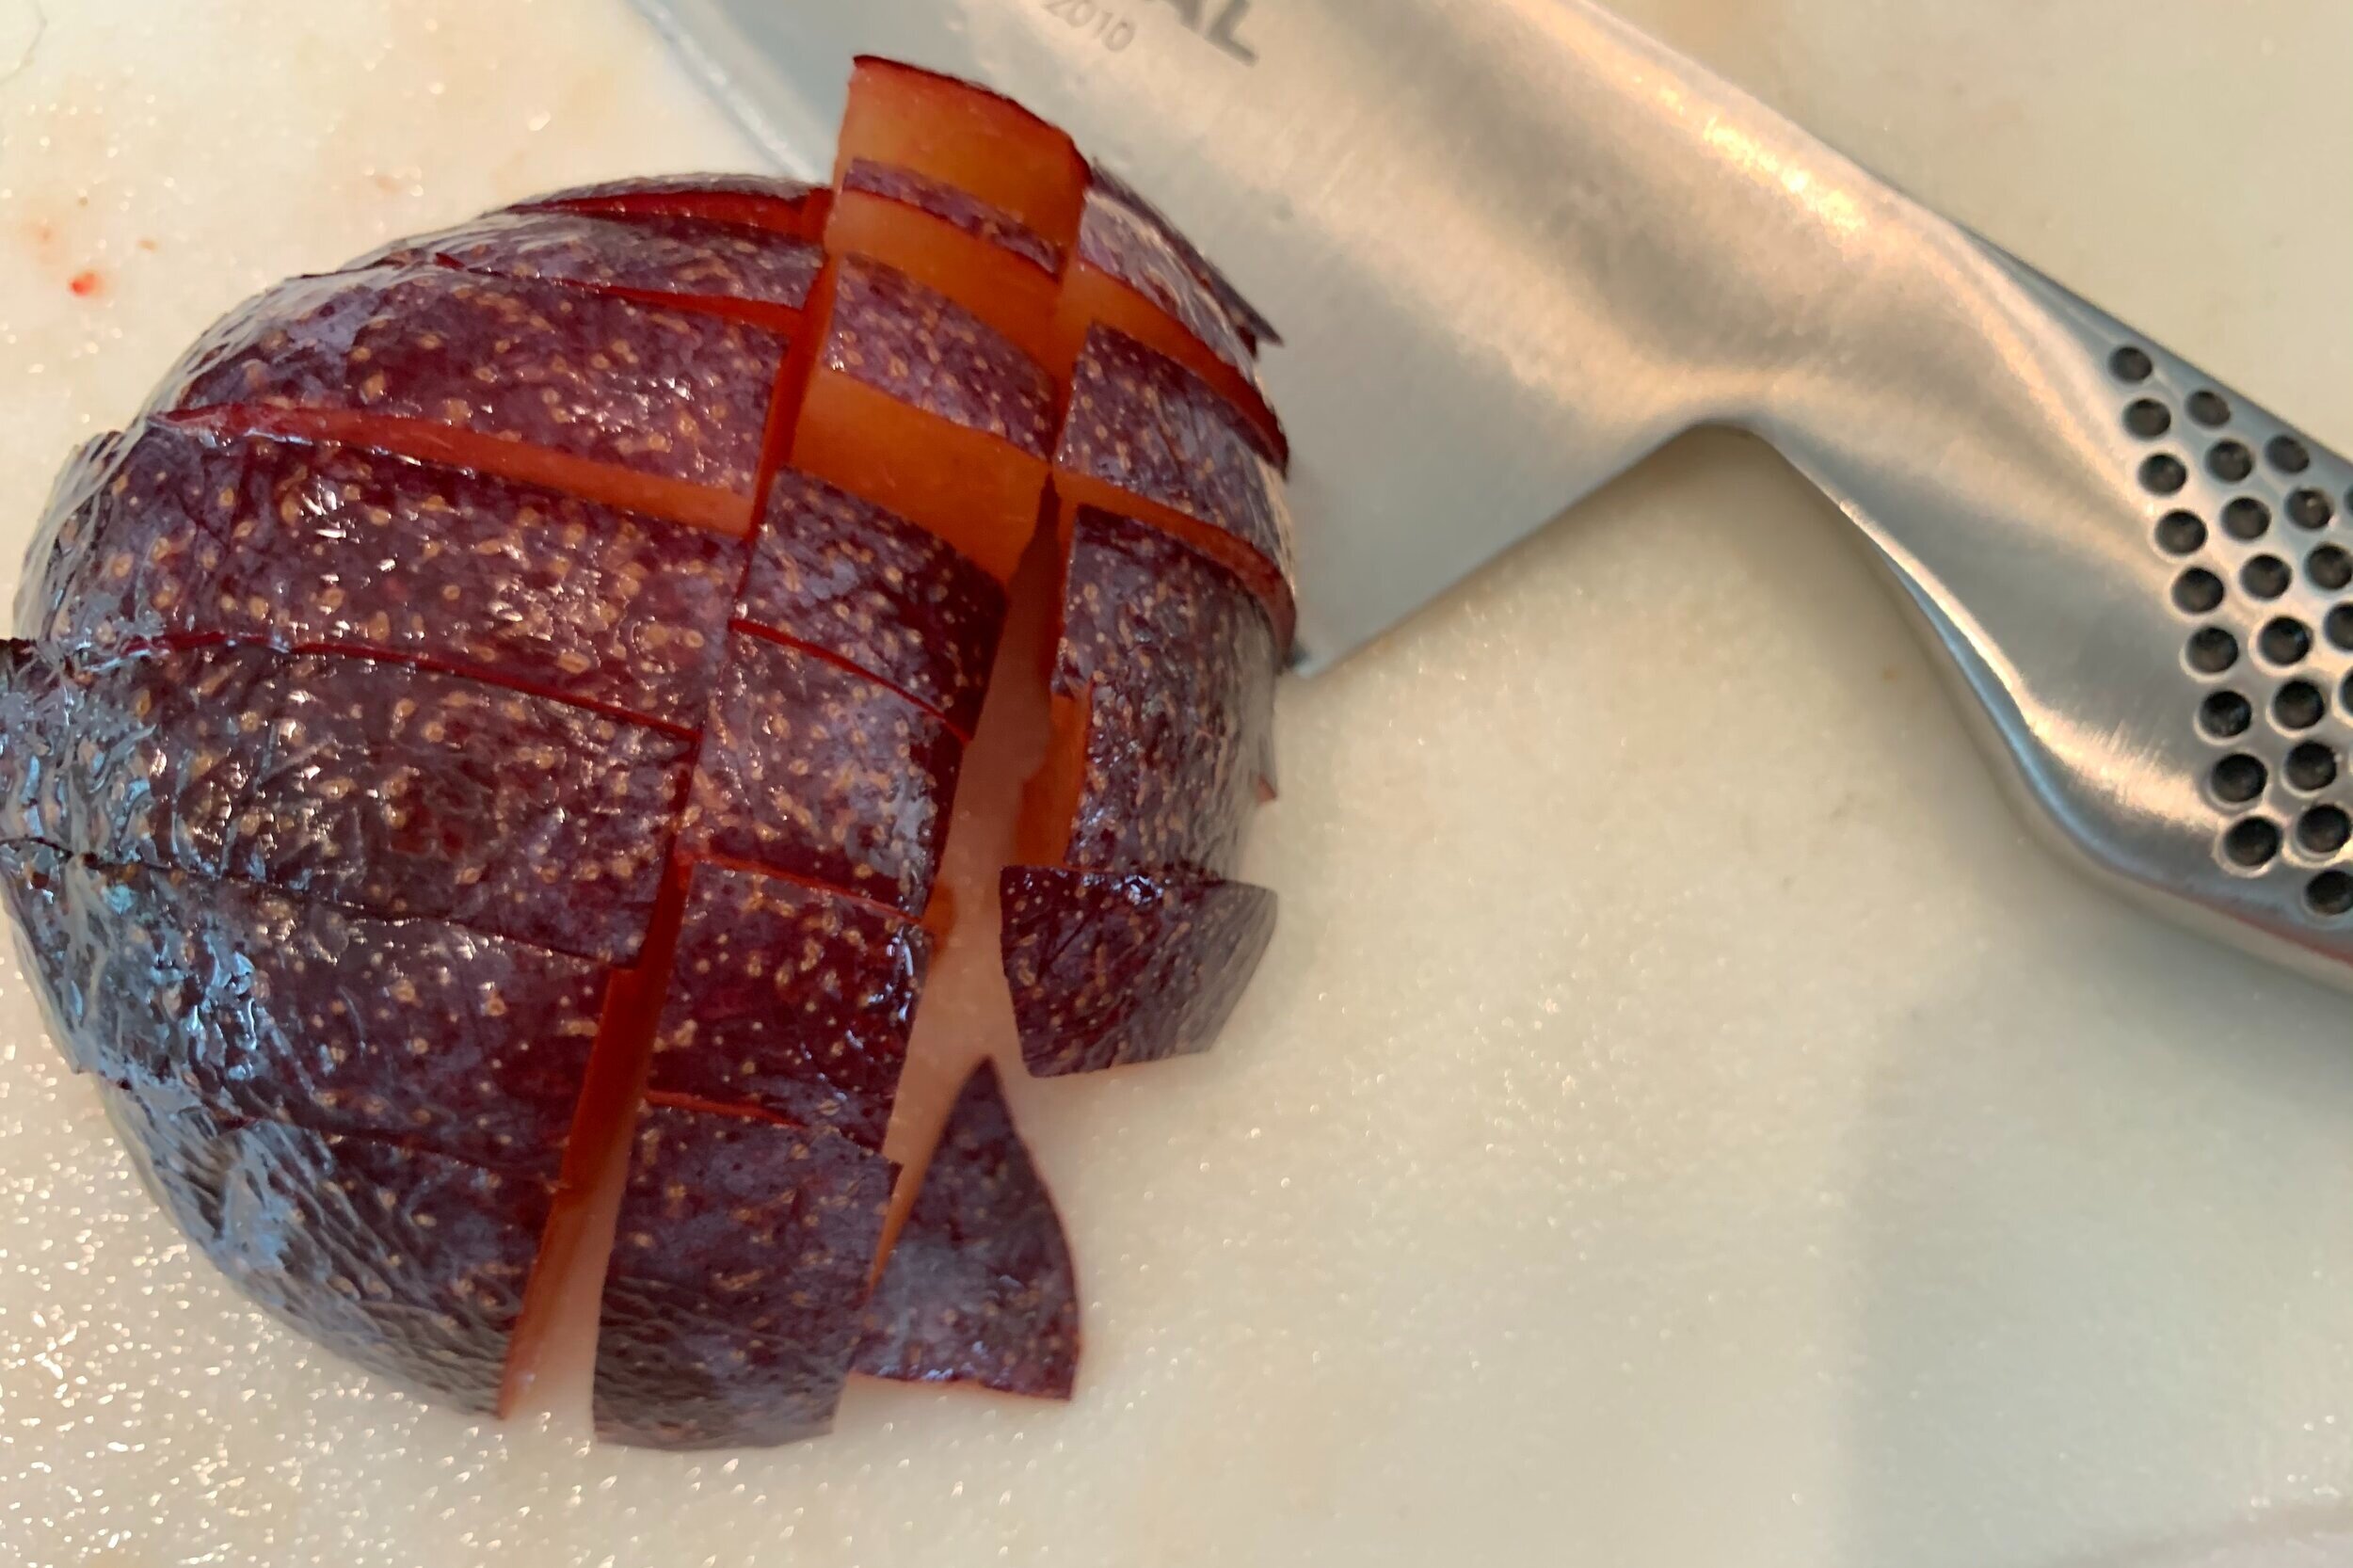
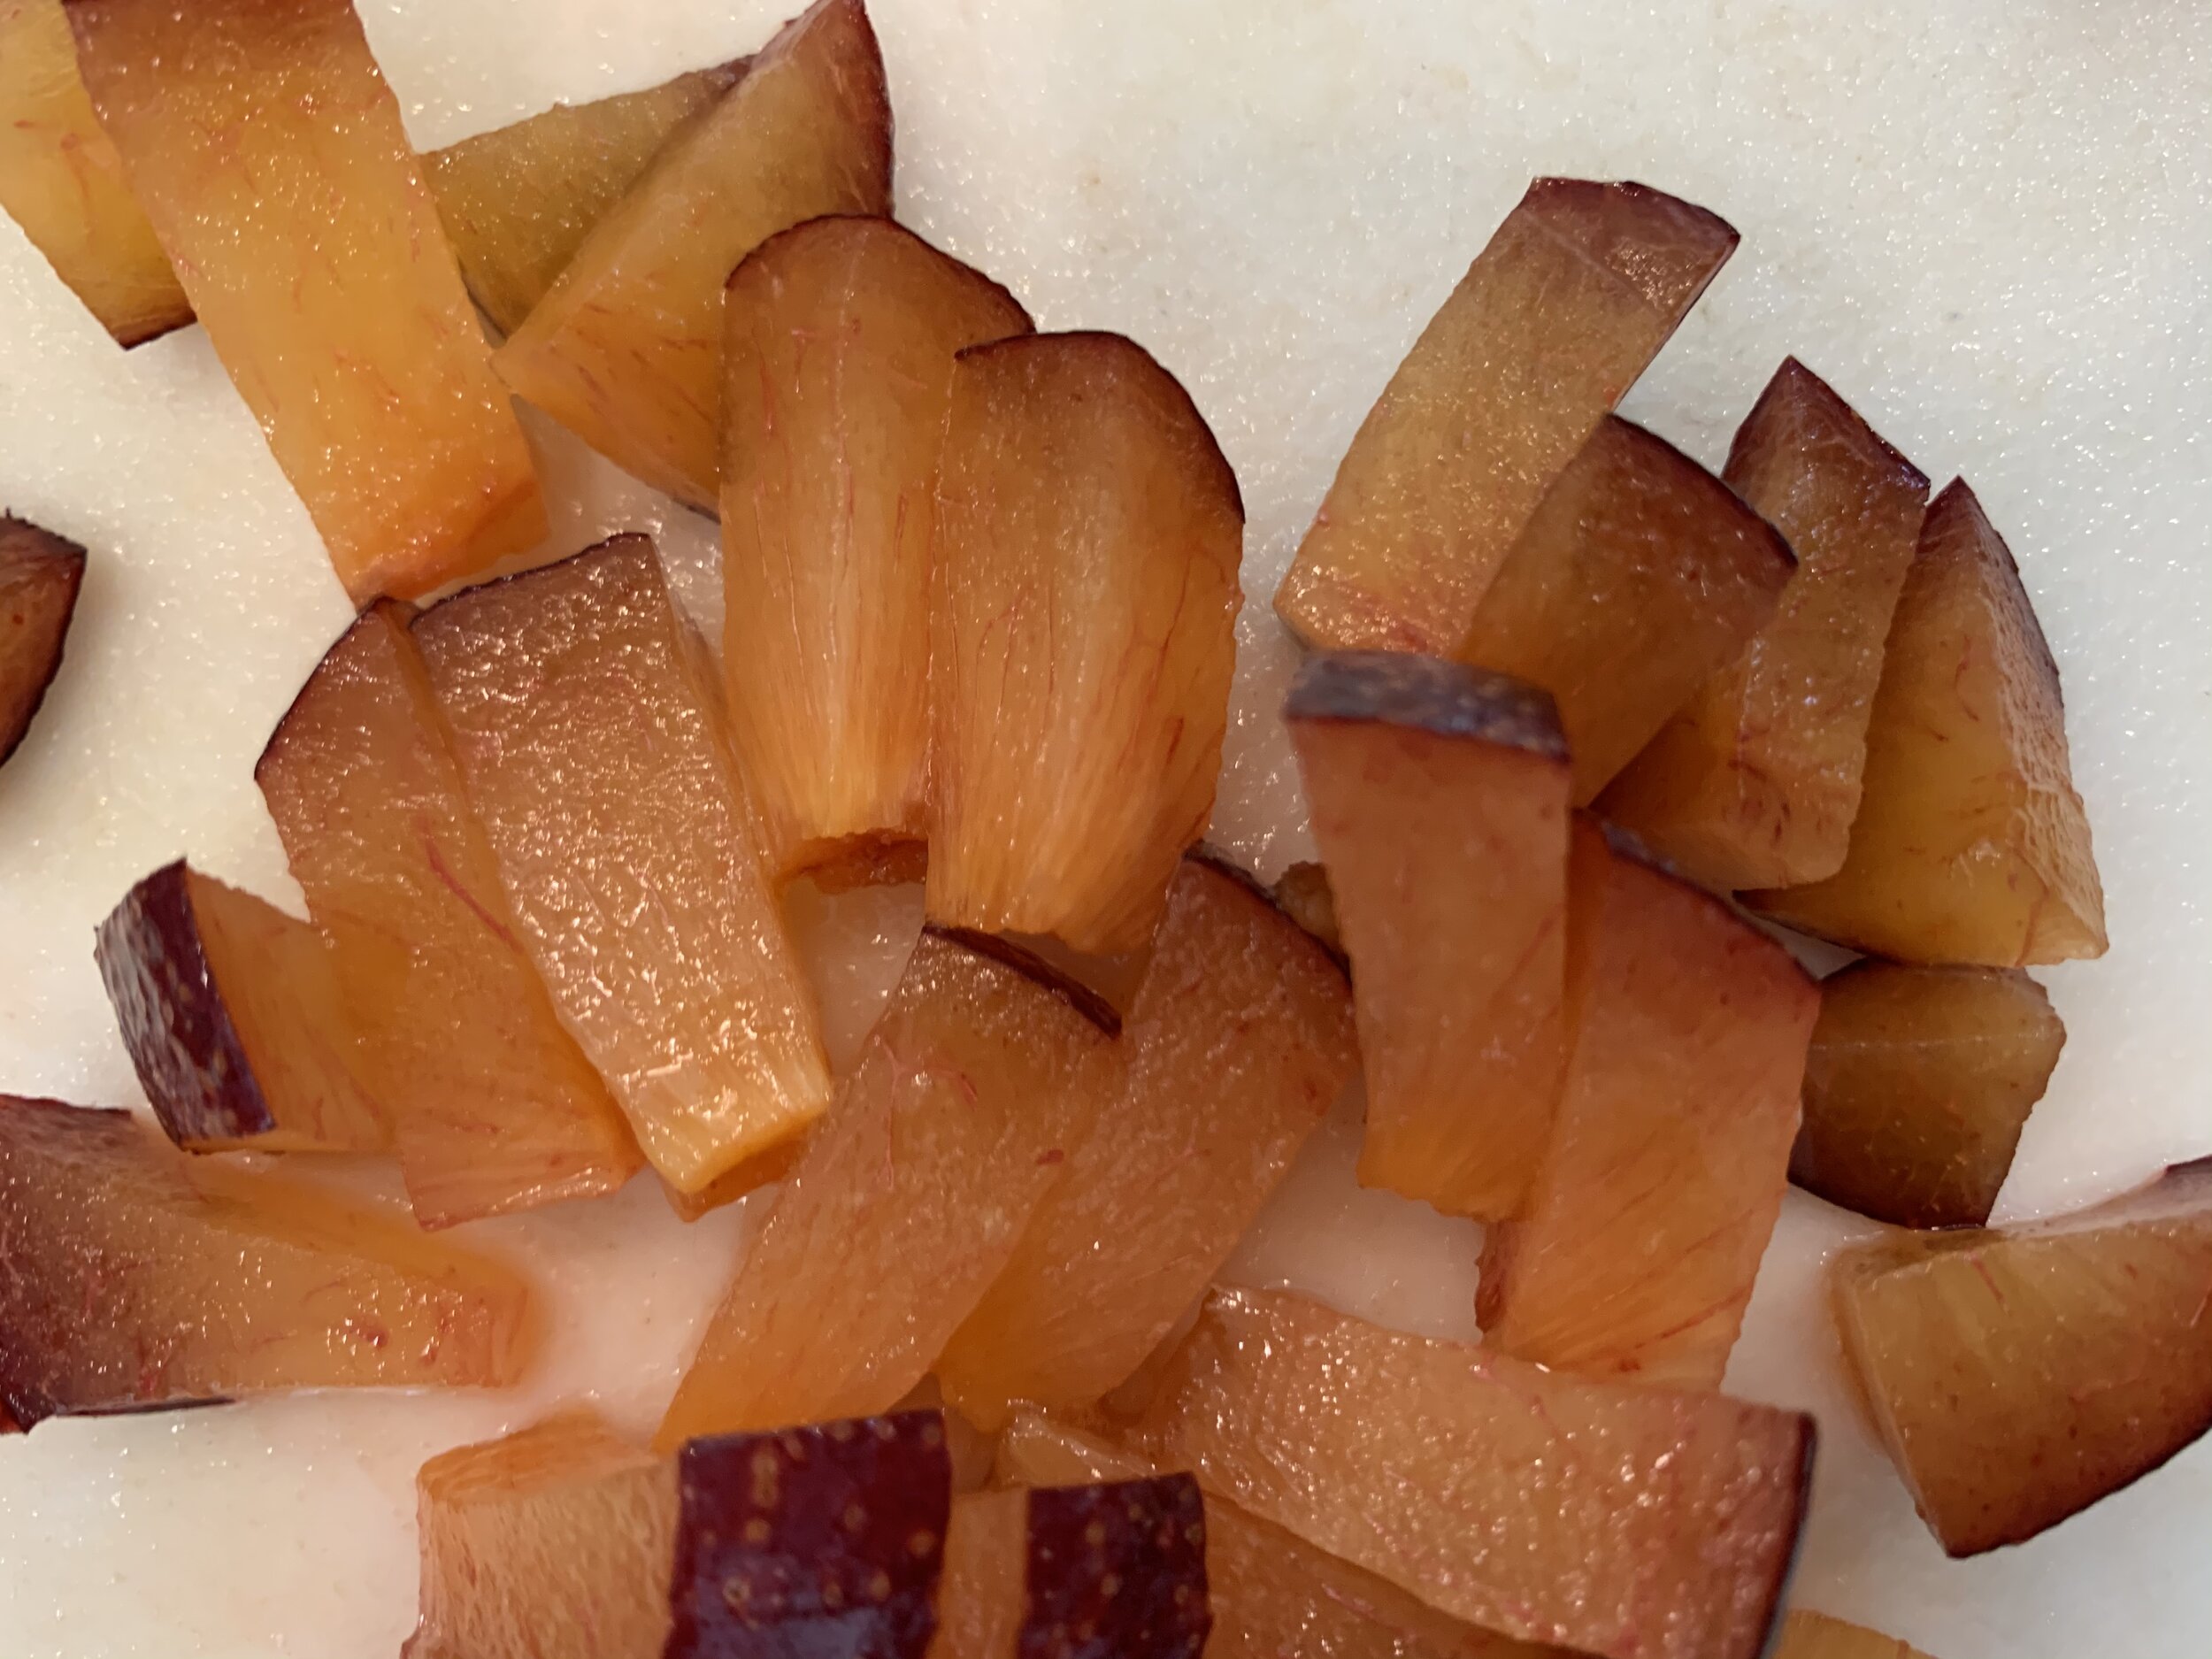
- Using a sharp utility knife, slice, pit, and chop unpeeled plums into ⅓ to ½ inch pieces into a bowl or extra large measuring cup.
- Taste a piece of plum for sweetness and then add agave syrup (start with ⅓ cup, and add more, based on sweetness of fruit). Stir to coat well.
- Dump coated plums into a non-stick 3.5 quart saucepan. Squeeze juice from half lemon (1-2 Tablespoons) and stir well to coat plums evenly.
- Place saucepan on medium-high heat. Stirring continuously (scraping bottom and sides of pan), bring to a boil. As soon as it boils, turn down heat to medium and stir frequently.
- After 20 minutes, turn down heat to low and stir in cinnamon and vanilla. Stirring occasionally, cook on low for another 10-15 minutes. Total cook time should be 30-35 minutes; however, this may vary depending on ripeness and size of chop (may take up to 40-45 minutes total).
- Smash plums with a silicone coated Fiskie (or fork) and simmer on low for an additional 5 minutes. To test, dip a large spoon into the jam and let it cool down for a few seconds. Run your finger across the back of the spoon. If it stays separated, then it's done.
- Remove from heat and allow to cool in the pan for a few minutes, then pour into airtight freezer safe containers. Allow to fully cool (uncovered) on your kitchen counter. Once completely cooled, cover and place in the refrigerator and chill overnight. The next day, keep one container in the fridge and place the others in the freezer for later.
Notes
- Chopping plums into smaller pieces may speed up the total cook time to about 20-25 minutes. We prefer using a larger chop, as longer cooking time allows plums time to slowly release their natural pectin, break down the peel better, and gel up properly.
- Jam kept in an airtight glass container in the refrigerator should be consumed within 2 weeks.
- Use multiple 1 to 2 cup freezer safe airtight containers and freeze for up to 6 months. When ready to use, just pull out of the freezer and defrost directly in the fridge at least 12 hours before you consume.
- If you don’t have freezer safe airtight glass containers, then cool completely in pan. Transfer to smaller containers (or small freezer safe plastic bags, squeeze out all the air, seal) and refrigerate until the next morning. Then transfer the sealed jam filled bags into a larger freezer safe bag and freeze. Pull out one bag at a time, as needed and defrost in the fridge overnight before using.
- This jam gets better with age. However, if you can’t wait a couple of days (or even a couple of hours) to try it, then spoon some slightly warm jam on top of some vanilla bean ice cream. It’s absolutely incredible!
- Yields 40 servings - About 4-5 cups of jam. Serving size = 2 tablespoons.


Nutrition Facts
Calories
20.47Fat (grams)
0.08Sat. Fat (grams)
0.00Carbs (grams)
5.02Fiber (grams)
0.37Net carbs
4.65Sugar (grams)
4.36Protein (grams)
0.18Sodium (milligrams)
0.13Cholesterol (grams)
0.00Nutritional information provided is strictly an estimate and will vary based on ingredient brands and cooking methods.
Step by Step Instructions

PREPARATION
Organize all your tools and ingredients before you begin (don’t forget the lemon - it’s missing from this photo). Getting all your ingredients in one place at the beginning will shorten your prep time.
STEP 1
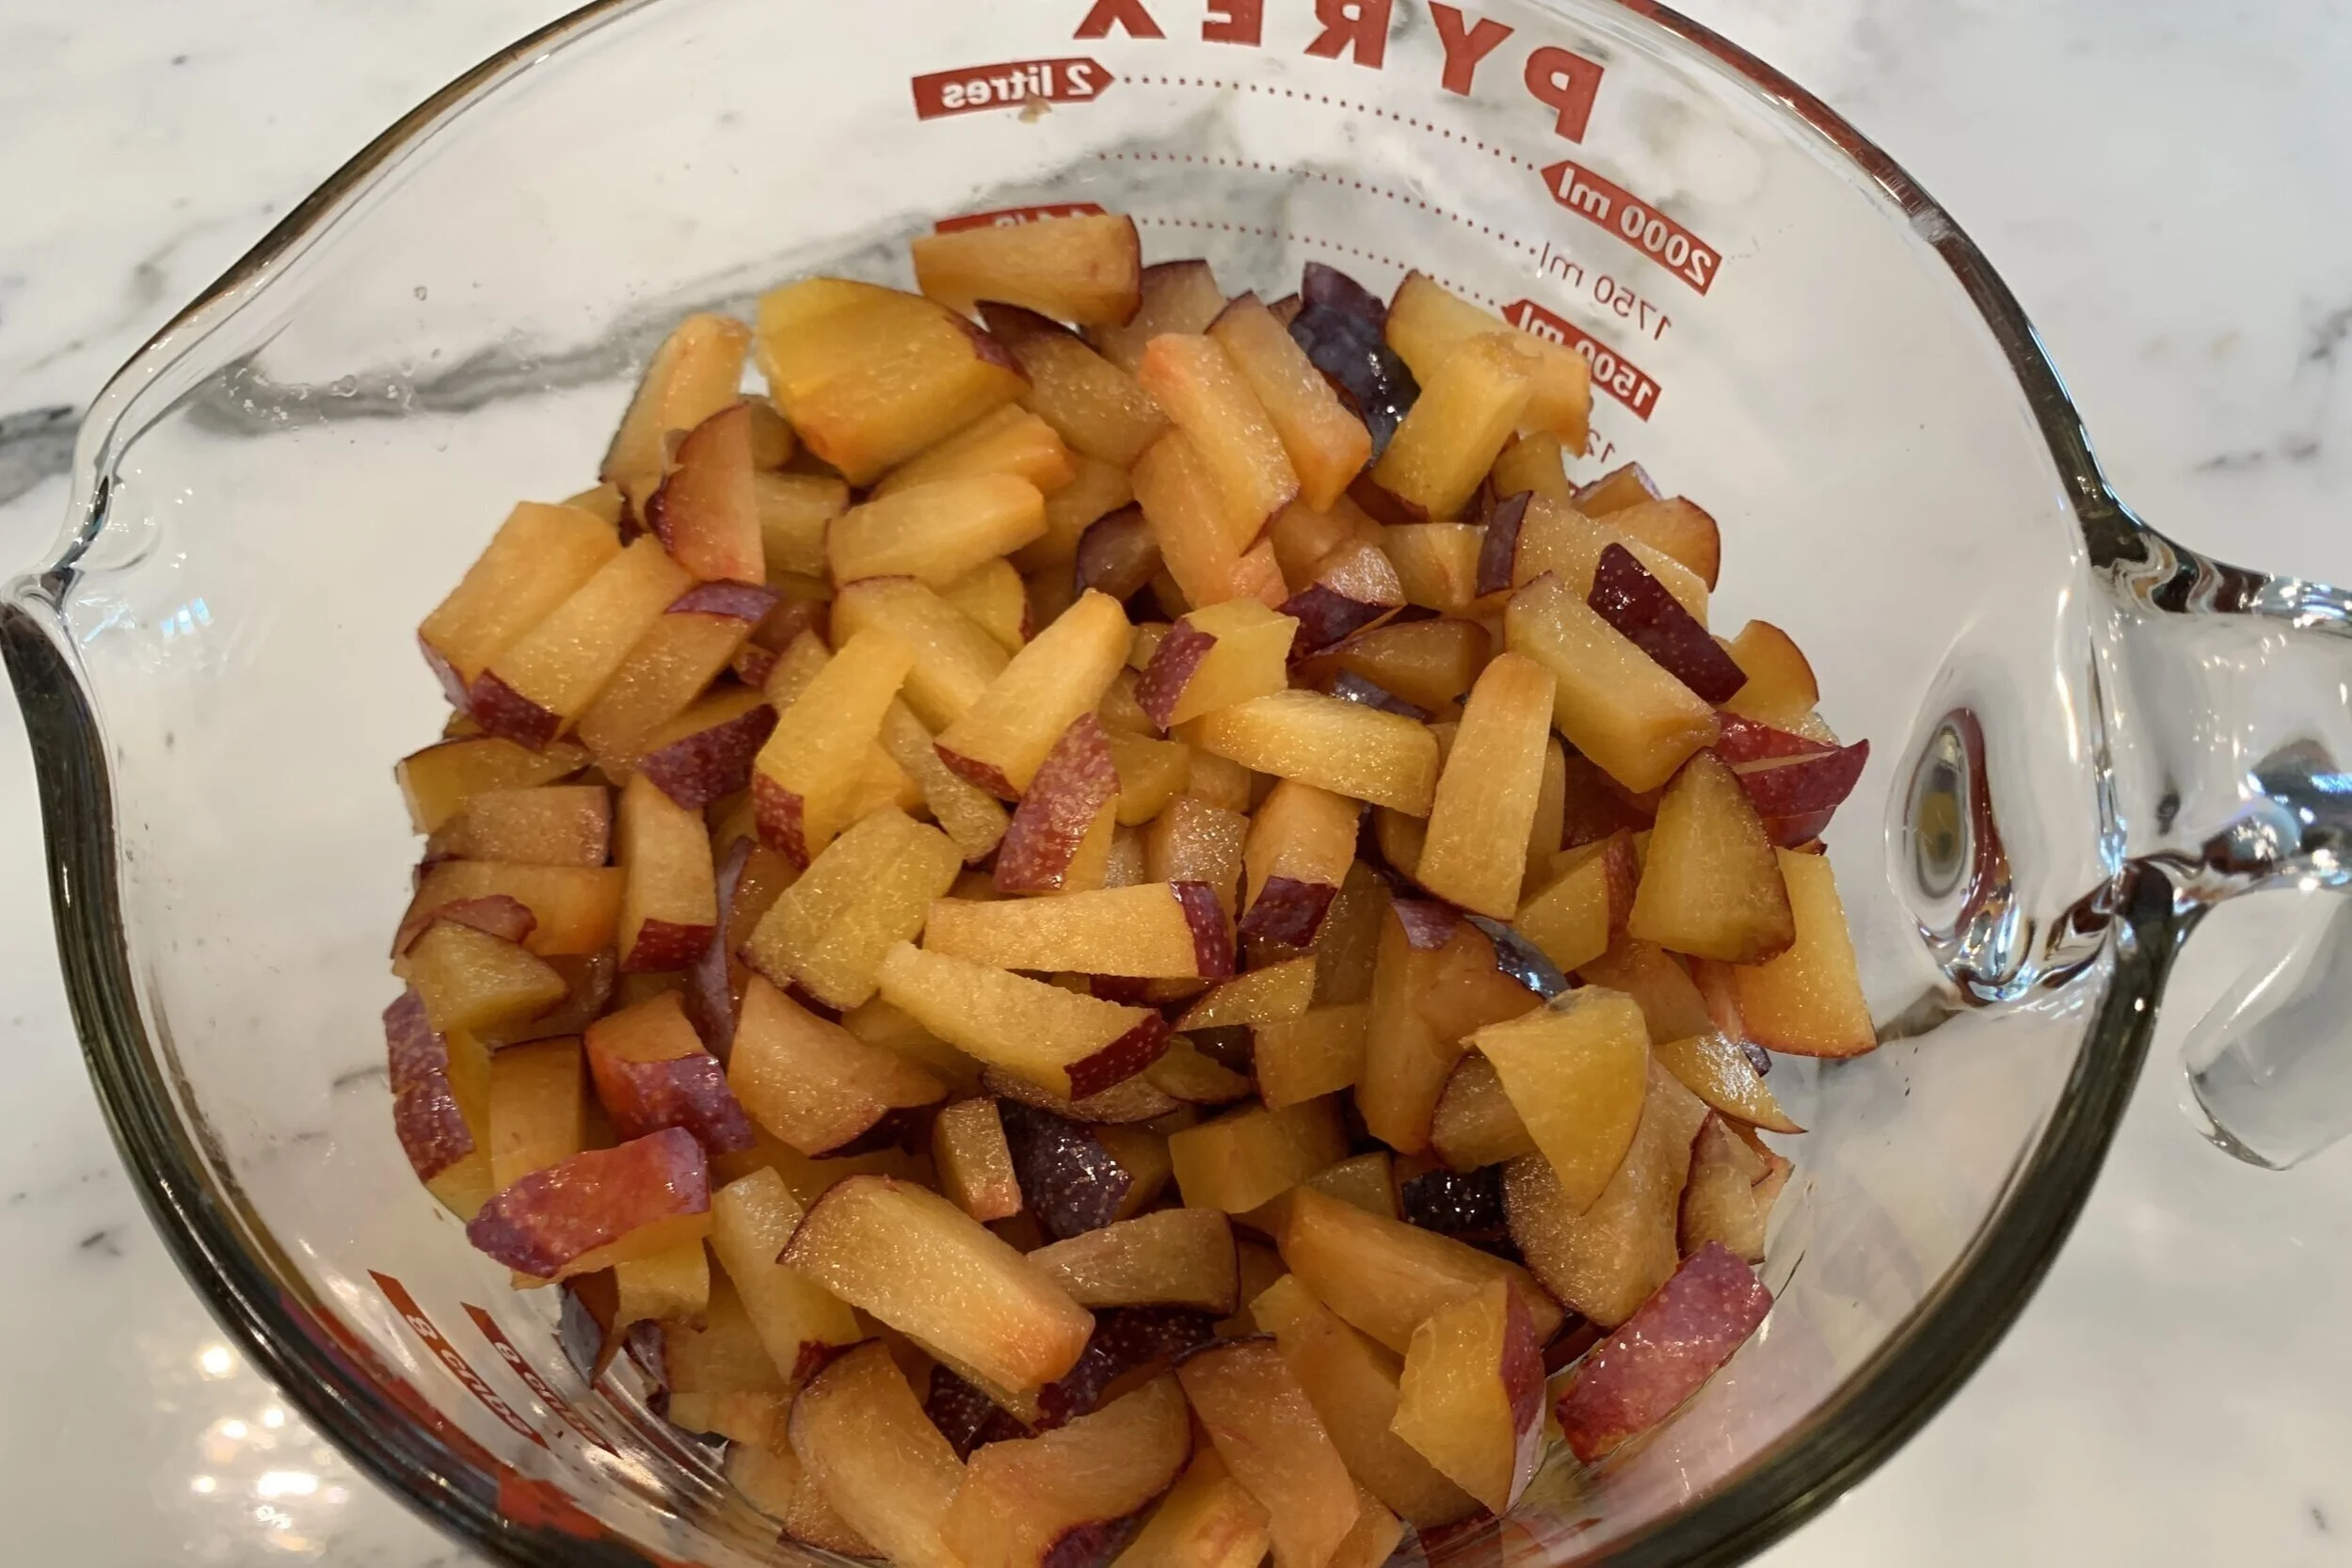
Using a sharp knife, slice, pit, and chop ripe plums* into ⅓ to ½ inch pieces and place them in an extra large measuring cup. Chop enough for 6 cups. Leave the peel on the fruit as it provides much of the flavor. The smaller the chop, the quicker the jam will break down on the stove. We prefer this larger chop, which then simmers for 30 minutes to release the natural pectin in the fruit and break down the peel.
*Note: Number of plums needed for this recipe will vary, based on the size of the plums. You should have enough on hand to make 6 cups of chopped plums.

STEP 2
Taste for sweetness before adding the entire ½ cup of agave syrup. If the plums are very sweet, add only ⅓ cup of agave syrup. For slightly tart plums, add ½ cup of agave. Stir to coat well.

STEP 3a
Dump the coated plums into a large non-stick 3.5 quart saucepan. Squeeze juice from half a lemon (approximately 1-2 Tablespoons) and stir well to coat plums evenly.

STEP 3b
Immediately after stirring in the lemon juice, the chopped plums will turn brighter in color.

STEP 4
Place saucepan on medium-high heat and stirring continuously, bring to a boil. As soon as it comes to a boil, turn down the heat to medium.
To avoid burning or sticking to the pan, you will need to stay by the stove to frequently and thoroughly stir (every minute or so) during the remainder of the entire cooking process; making sure to scrape the bottom and sides of pan each time you stir.
STEP 5
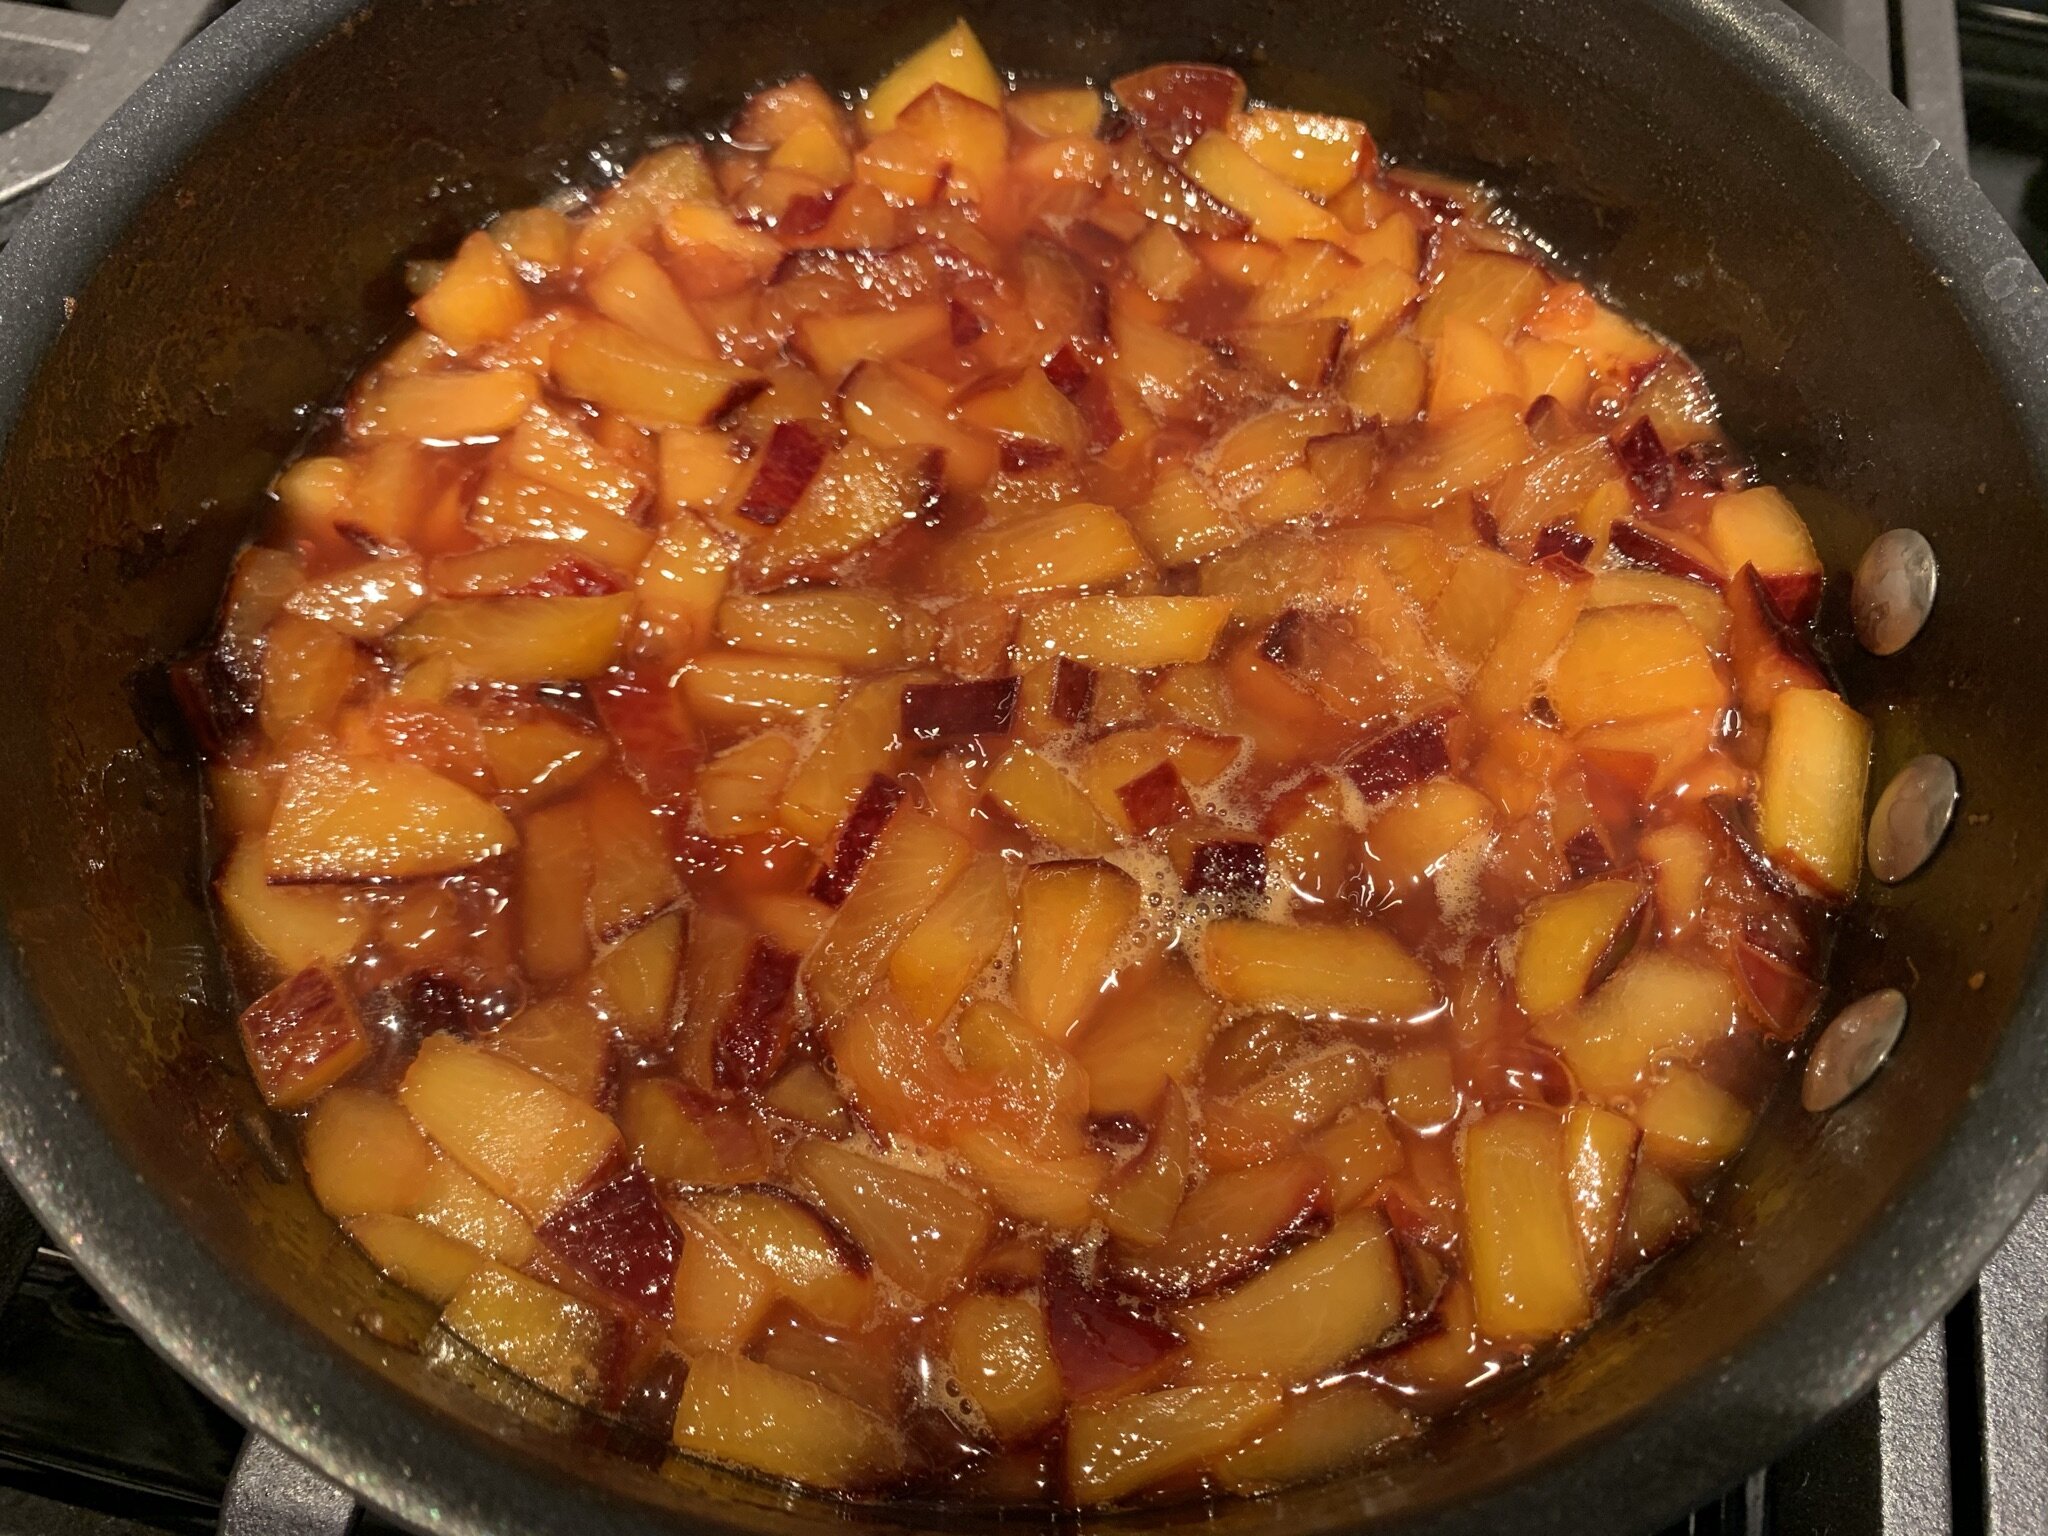
a) After 10 minutes, more liquid will be released and the plums will start to cook down (as shown below). Continue stirring.
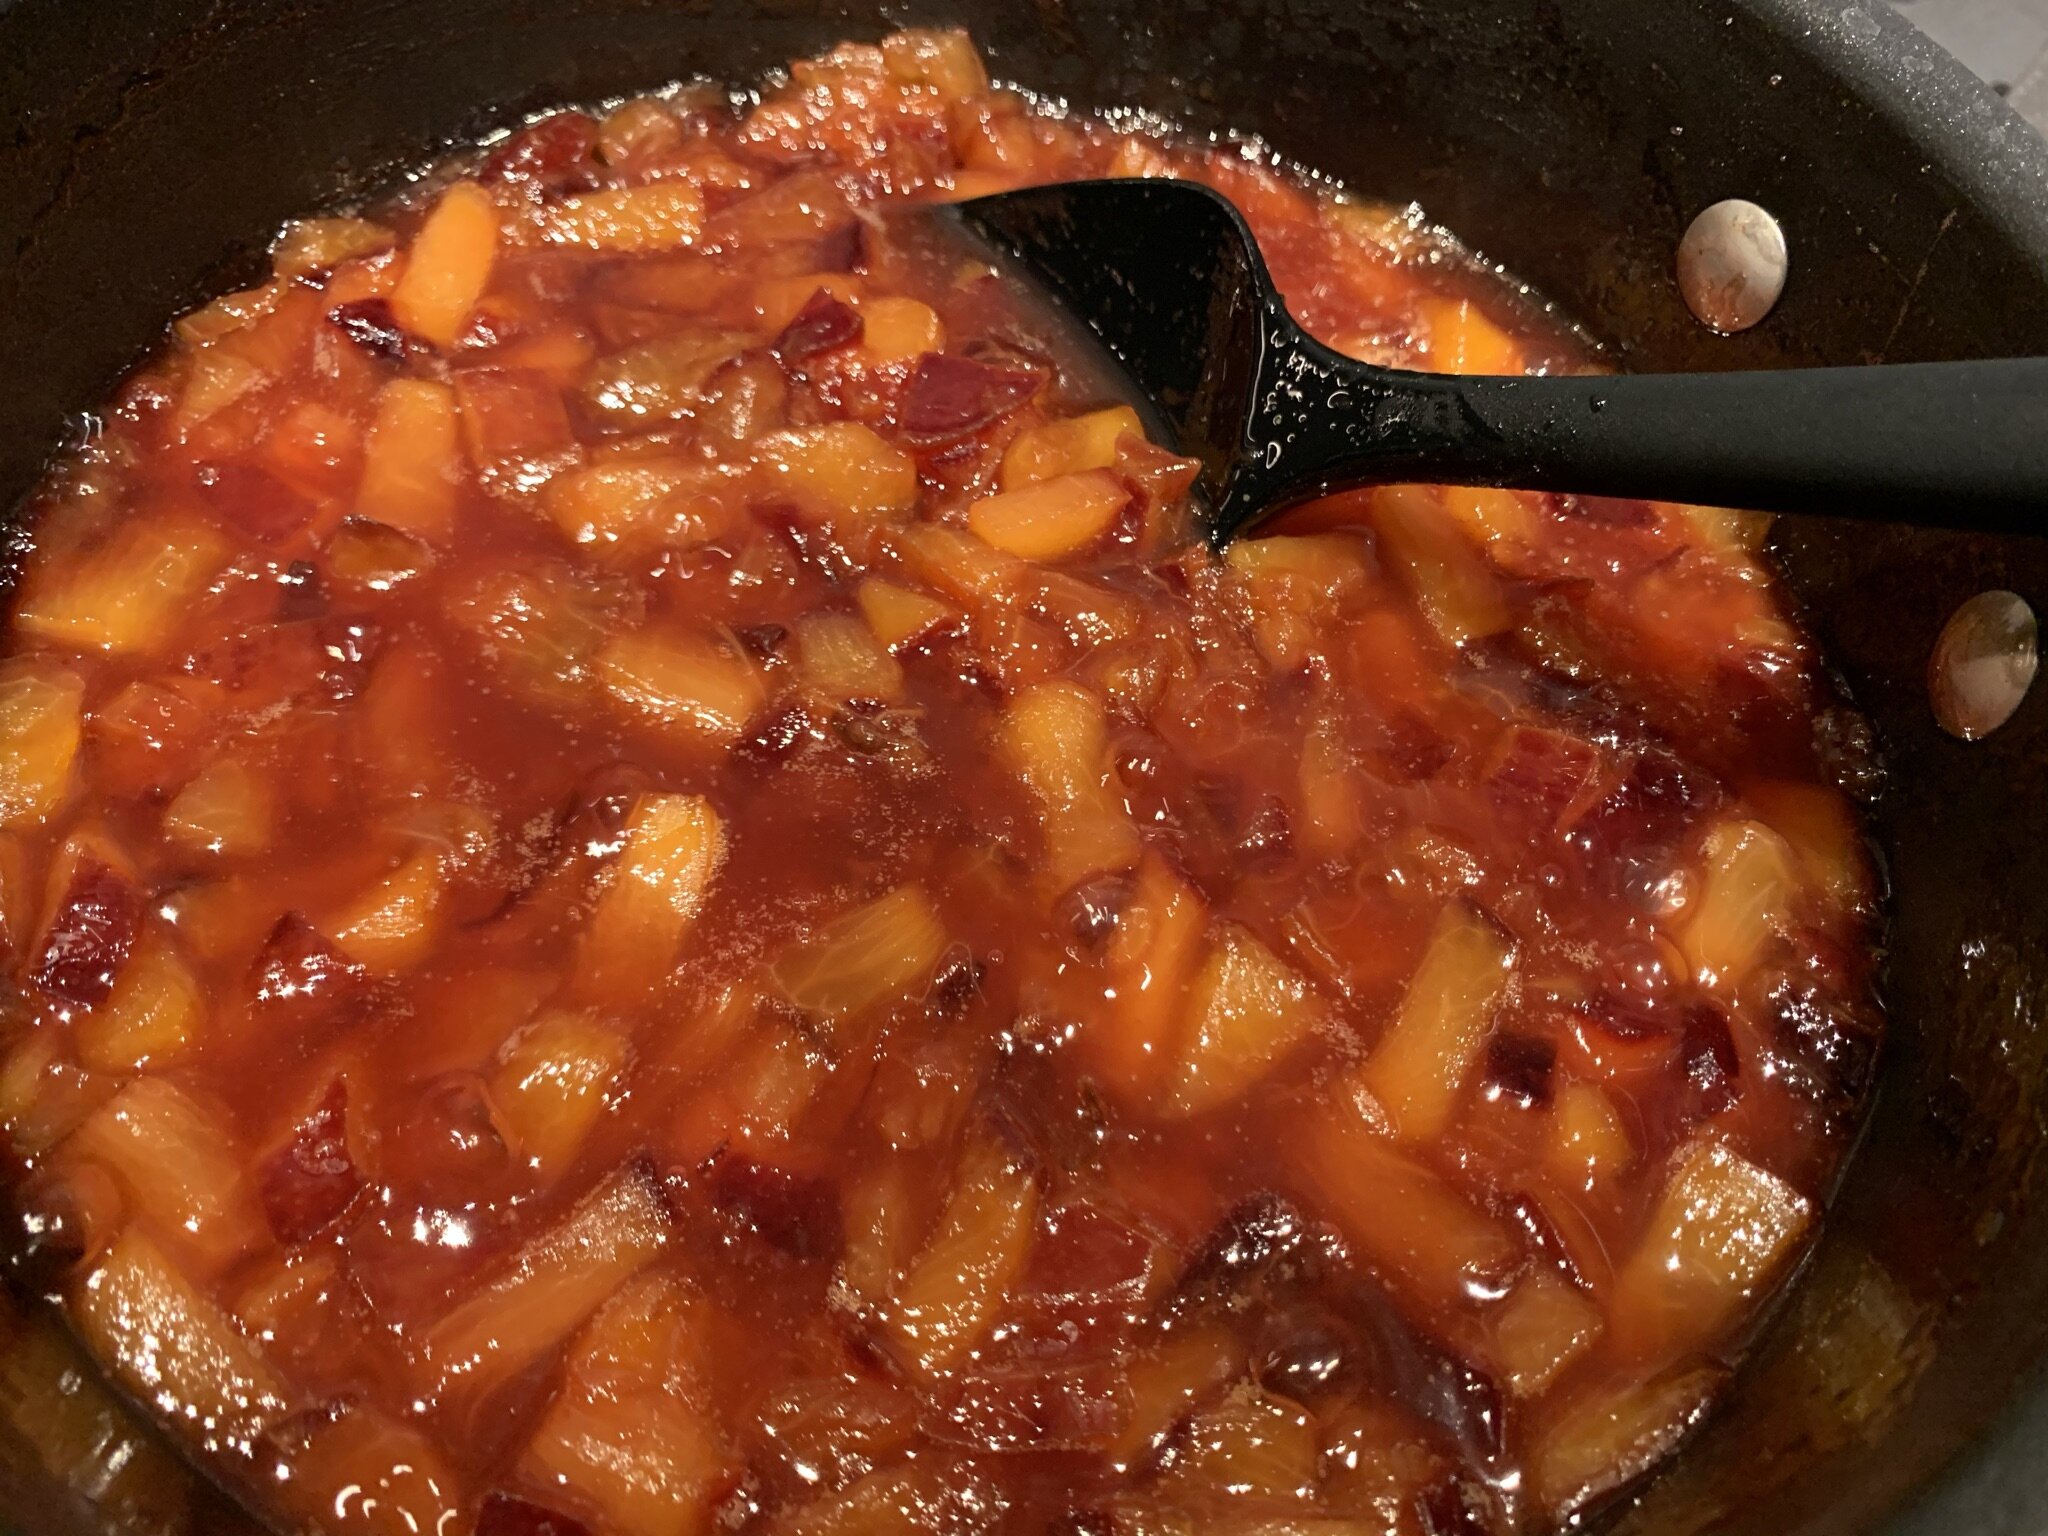
b) After 15 minutes or so, the fruit will begin to visibly dissolve.
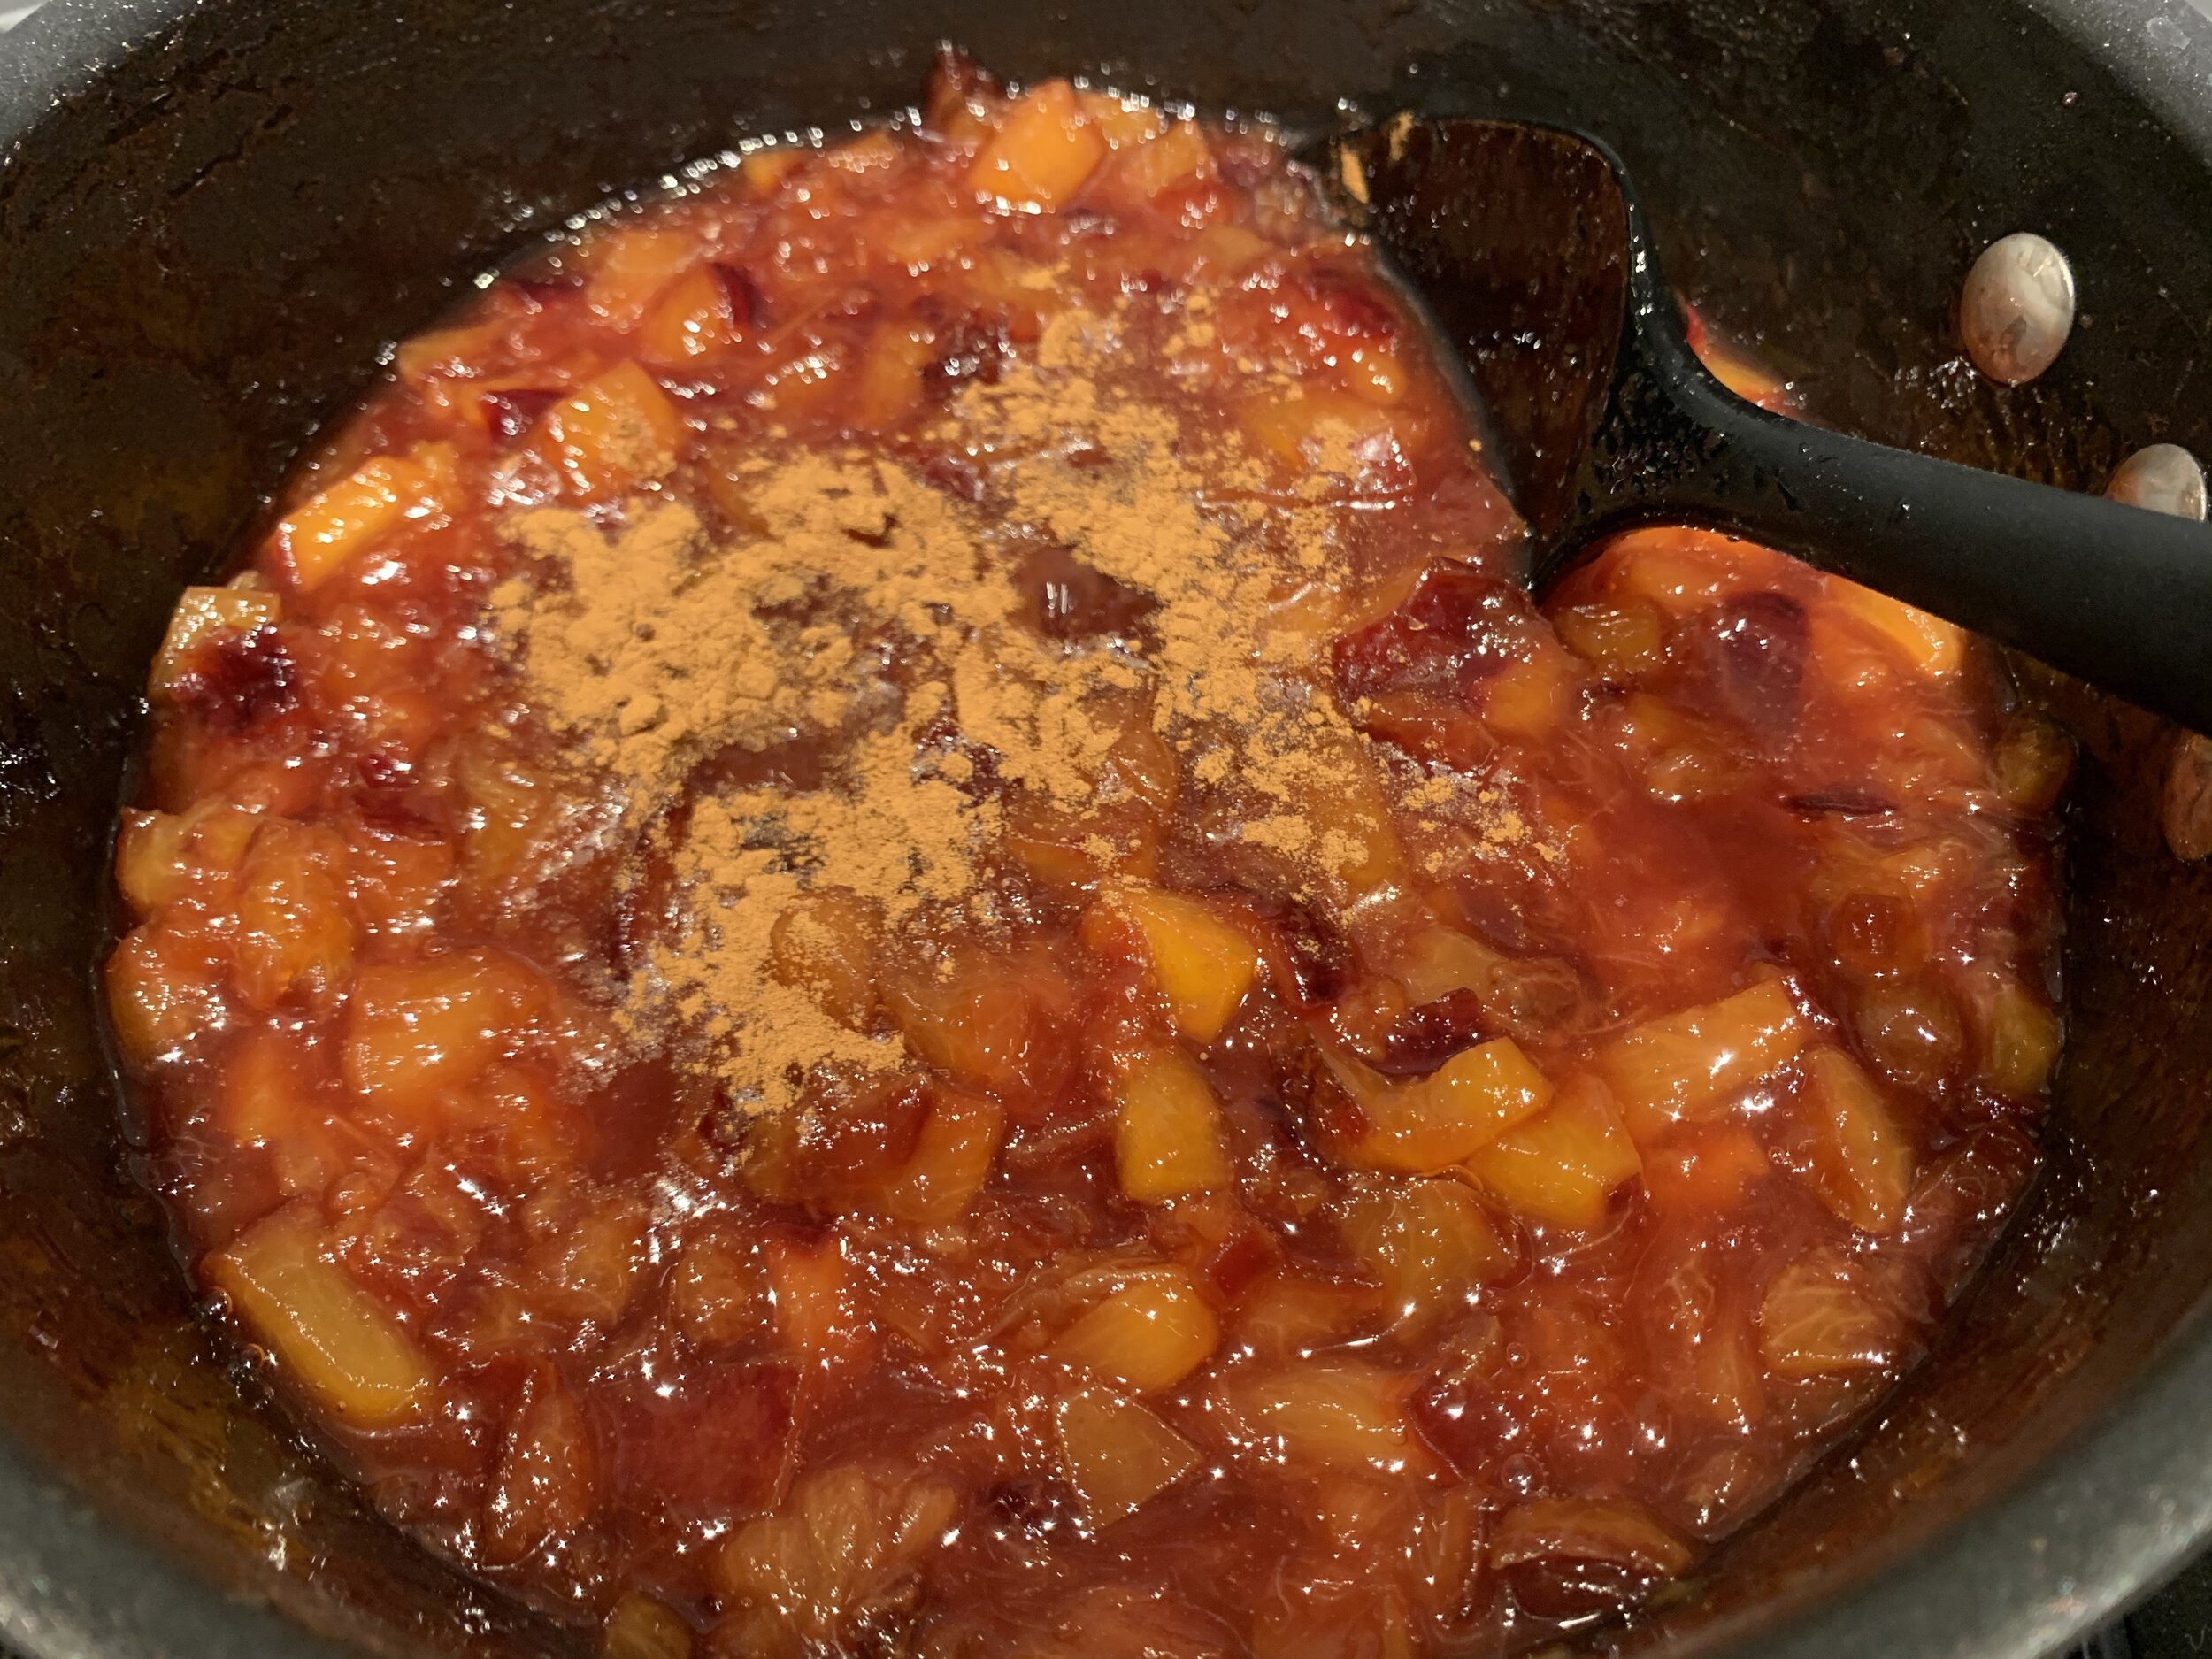
c) After 20 minutes, turn down the heat to low and stir in ½ teaspoon cinnamon and 1 teaspoon vanilla. Cook on low for another 10 - 15 minutes. Total cook time should be 30-35 minutes (this depends on the size and type of sauce pan you use and can even take up to 40-45 minutes total).

STEP 6
At this point, your plums have cooked for about 30 minutes. If the plums are super soft and completely cooked down, then you can either:
For perfectly plum jam: We prefer the consistency of a jam. So, if the plums still look overly chunky for you, then it’s time to smash those plums with a silicone coated Fiskie! Simmer on low for an additional 5 minutes and remove from heat.
For plum preserves: Remove the pan from heat and allow to cool down. At this stage you will have chunky fruit preserves.
Note: We recommend using a Fiskie (a fork and whisk combo) to avoid scratching your non-stick pans. If you don’t have one, you can just use a fork.

STEP 7
Your perfectly plum jam is finally done! The jam should have a very thick consistency. To test, dip your spoon into the jam and let it cool down for a few seconds. Now run your finger across the back of the spoon. If it stays separated, then it’s done.
At this point, the jam should come together and thicken into the proper consistency once it is cooled completely.
STEP 8
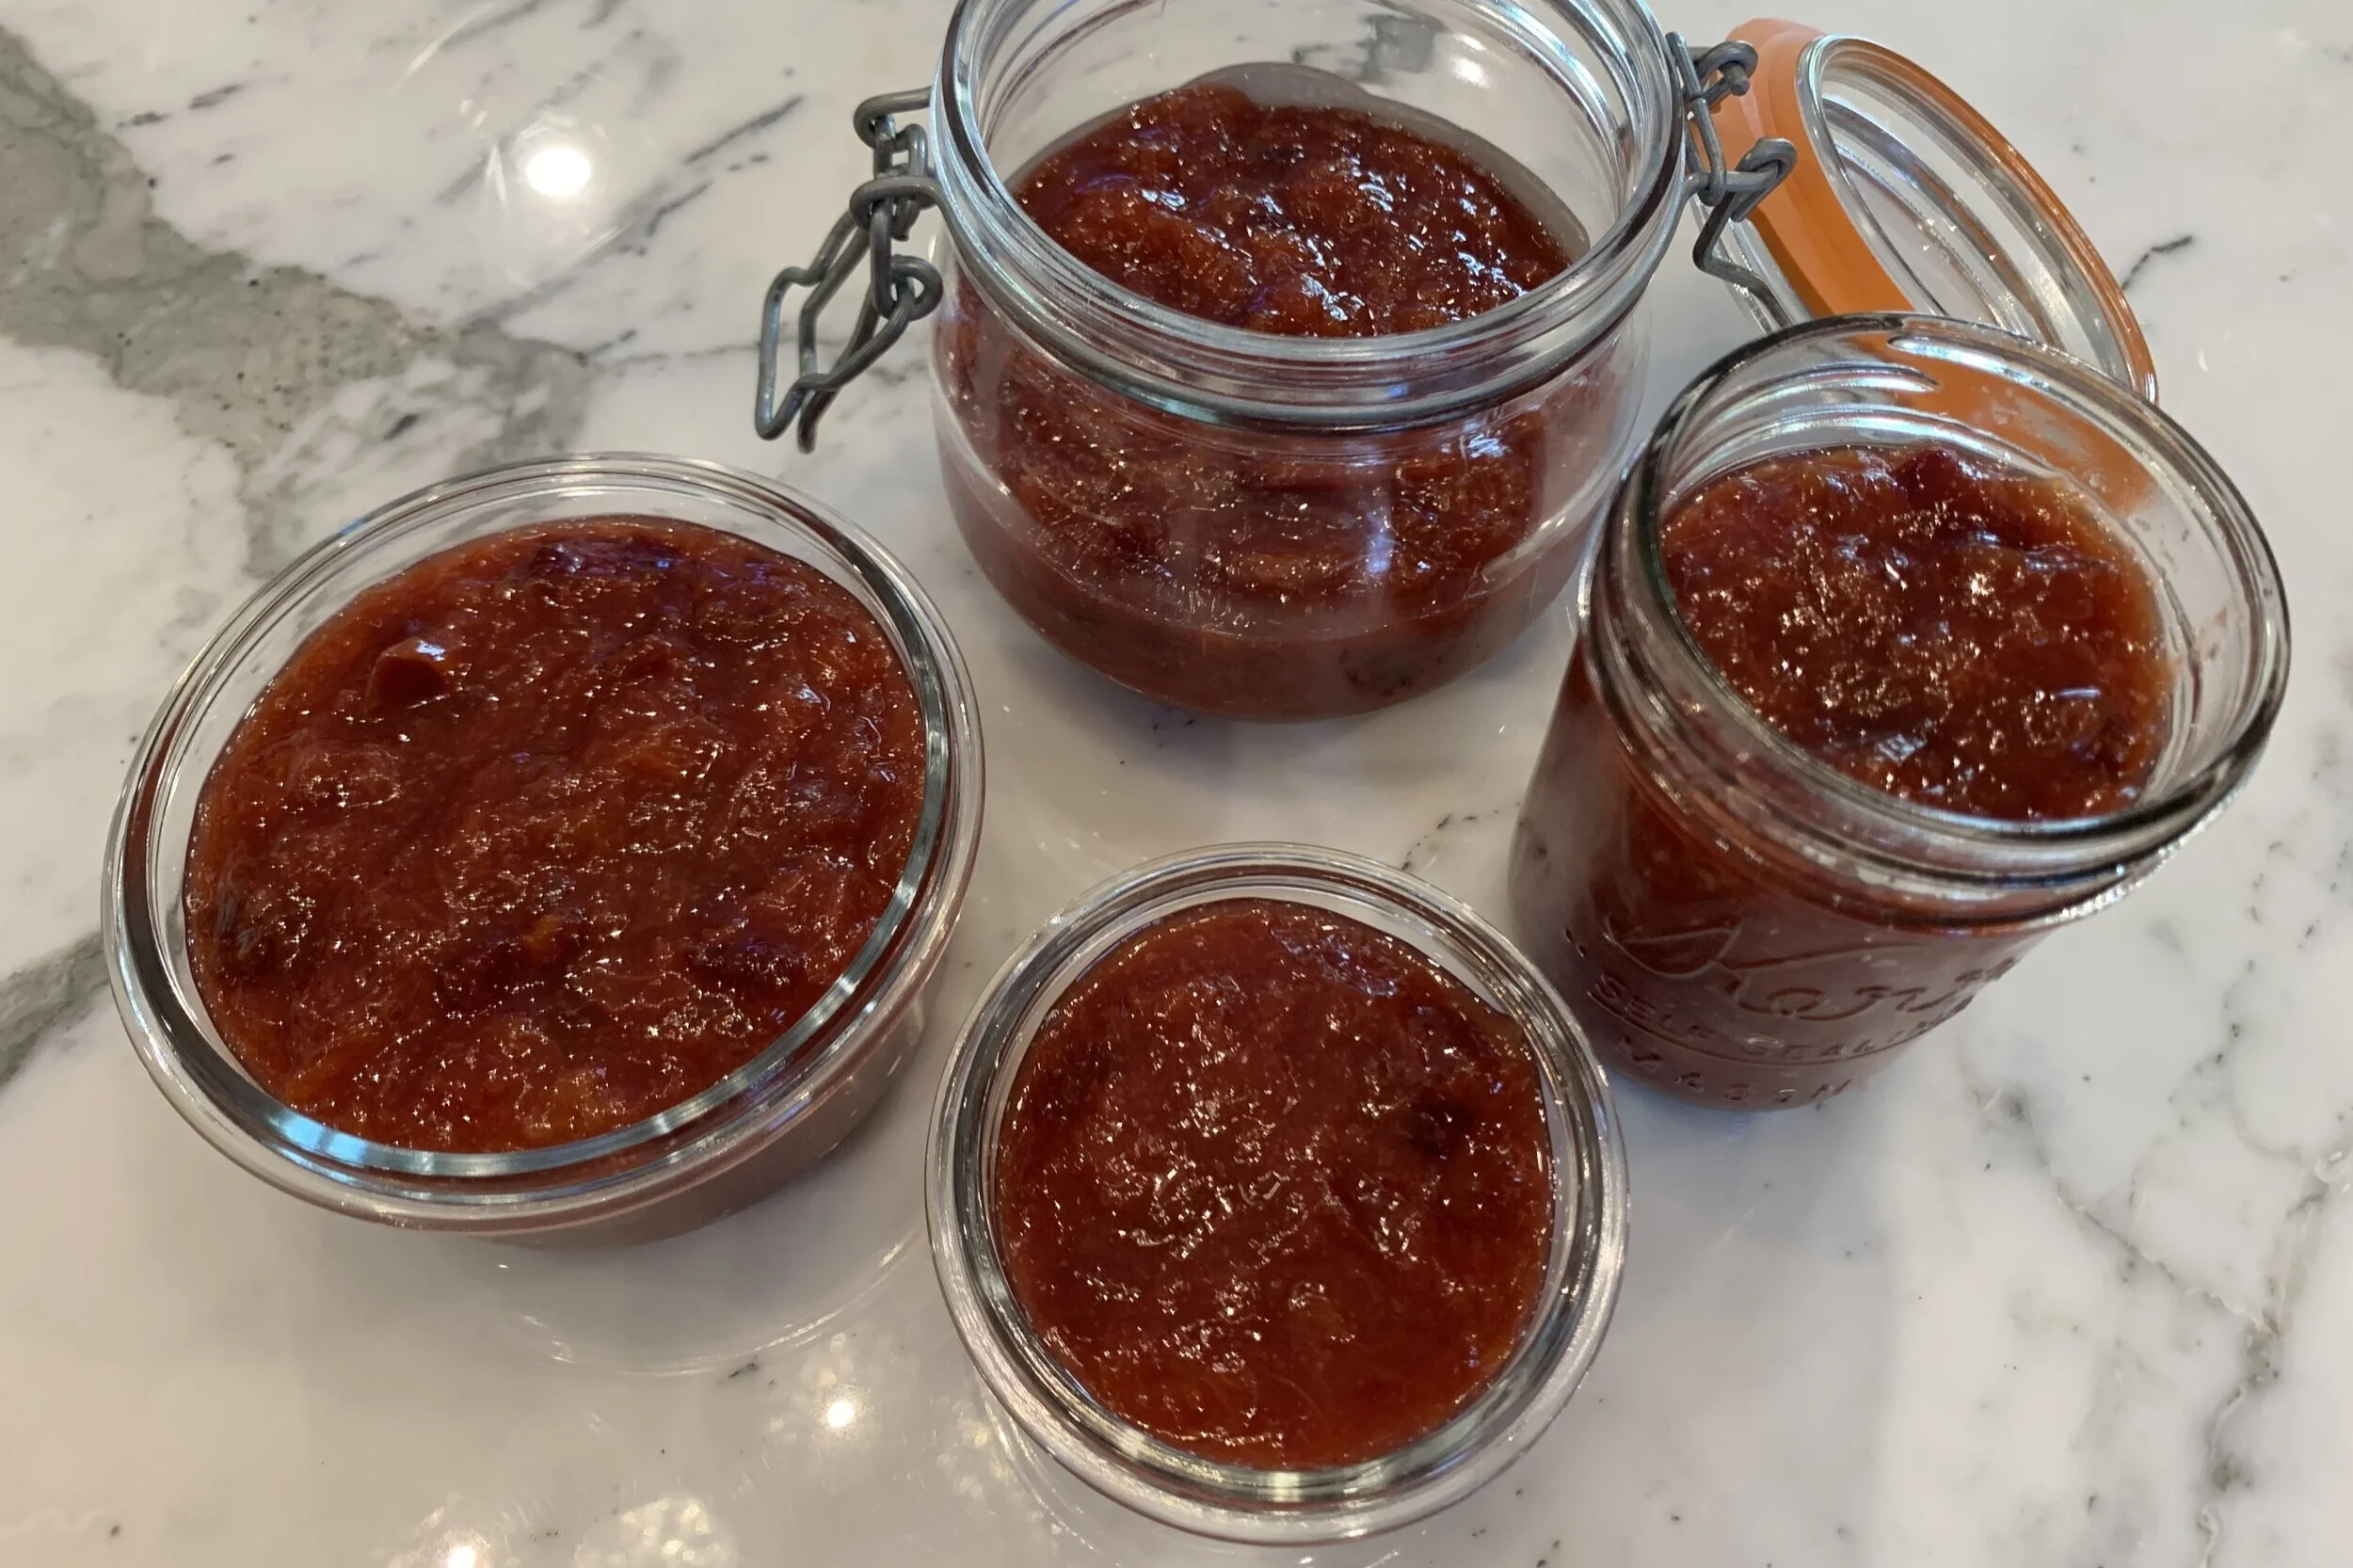
Allow to cool in the saucepan for a few minutes, then pour into various sizes of airtight freezer safe containers. Allow to cool completely (uncovered) on your kitchen counter.
Once completely cooled, cover and place in the refrigerator and chill (overnight is best). Keep one in the fridge and place the others in the freezer for later.
See Notes section below for tips on how to use this jam to make tasty treats!
Notes:
Chopping plums into smaller pieces may speed up the total cook time to about 20-25 minutes. However, we prefer using a larger chop (as shown in the photos above), as a longer cooking time allows the plums time to slowly release their natural pectin, break down the peel better, and gel up properly.
Jam kept in an airtight glass container in the refrigerator should be consumed within 2 weeks.
Use multiple 1 to 2 cup freezer safe airtight containers and freeze for up to 6 months. When ready to use, just pull out of the freezer and defrost directly in the fridge at least 12 hours before you consume.
If you don’t have freezer safe airtight glass containers, then cool completely in pan. Transfer to smaller containers (or small freezer safe plastic bags, squeeze out all the air, seal) and refrigerate until the next morning. Then transfer the sealed jam filled bags into a larger freezer safe bag and freeze. Pull out one bag at a time, as needed and defrost in the fridge overnight before using.
This jam gets better with age. However, if you can’t wait a couple of days (or even a couple of hours) to try it, then spoon some slightly warm jam on top of some vanilla bean ice cream. It’s absolutely incredible! If you are feeling adventurous, try making a trifle, or using it as filling for the center layer of a three layer vanilla cake.
Blog Comments & Tips
So easy and perfectly sweet with a hint of tartness!
If you have never tried making jam, this is the recipe you should try. It’s incredibly easy and it has a wonderful balance of both sweet and tart. And, there is no refined sugar and no pectin in this recipe! We have pimped it up to give those juicy ripe plums (that are in season right now) even more warmth and depth of flavor.
It’s takes only a few minutes of prep and cooks in 30 to 35 minutes. This quick and easy, small batch plum jam requires no canning. Just refrigerate or freeze leftovers in freezer safe containers.
Like many other people, the first time I attempted homemade jam was during the beginning of the COVID quarantine. Every recipe I found was filled with tons of refined sugar and used canning methods. I didn’t have the right tools or containers, so canning was also out of the question.
The recipes I found used 1:1 and 2:1 ratios of sugar. For this recipe, that would have meant using 6 cups of sugar for 6 cups of plums…that’s just insane! Don’t get me wrong, I love everything sweet, but sometimes too much sugar can just be overpowering and take away from the flavor of the ingredients (I know…for those of us with a serious sweet tooth, the concept of anything being way too sweet seems hard to fathom). So many prepared (and even homemade) foods are overly sweetened where you lose the flavor of the fruit and all you can only taste is the sugar. Well not in this recipe!
So the sugar overloaded recipes actually inspired the Pimp My Recipe Test Kitchens to develop just the right balance of fruit and sweetness for our jam recipe. This is a very doable and super easy recipe with very few ingredients; even if you have never made jam, don’t have the right jars, don’t have a candy thermometer, and don’t want to deal with the long process of canning. You can use various sizes of small glass containers (as we did in the photo at the top of the page). Or, just use freezer bags, as we suggested in the notes.
If you have lots of ripe plums on hand and have one hour to spare, then you can make this jam. It can be made with any variety of plums or pluots (more variety will create a more complex flavor in this jam). If it’s not plum season, then save this recipe for later. You won’t regret it.
This Perfectly Plum Jam is amazing on toast, waffles, and yogurt. The best part is that it makes a delicious and beautiful dessert for your family or guests. For a quick, but impressive dessert, it can be served slightly warm as a topping on vanilla bean ice cream. YUMMY! Served in beautiful goblets or pretty small bowls, it makes a fast, no prep, and elegant dessert for entertaining.
Enjoy and let us know what you think!
Mich
Footnote: Check back with us soon to see our other variations of quick and easy unique jam recipes in the Desserts section.

Adapted from the How to Make Plum Jam recipe by Practical Self Reliance, we’ve taken this great jam recipe and made a slightly healthier and more flavorful version, in our easy perfectly plum jam recipe!
Every editorial product is independently selected. We may be compensated or receive an affiliate commission if you purchase products via our links. As Amazon Associates, we earn from qualifying purchases.