
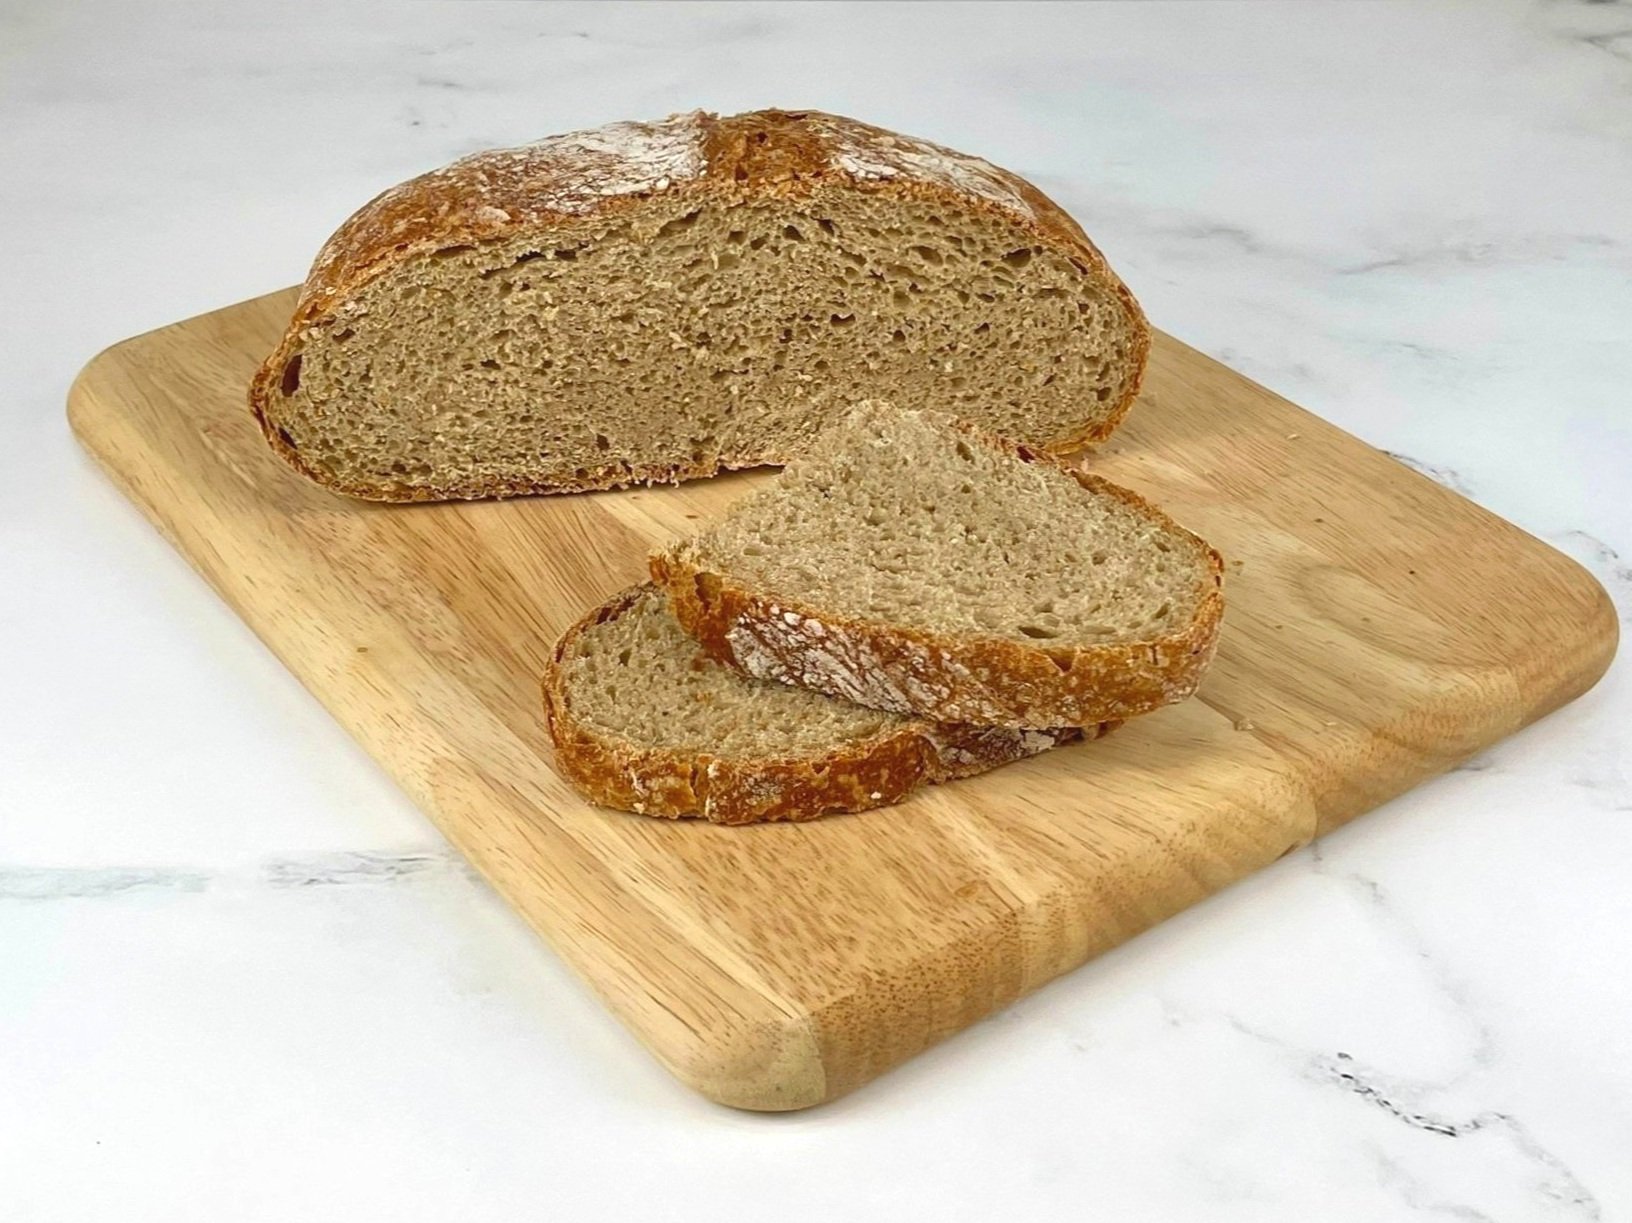
Honey Wheat Country Bread (No Knead)

This Honey Wheat Country Bread (No Knead) recipe is a fantastic option for those who want to make homemade bread without the hassle of kneading. This one pot bread recipe uses a 50/50 combination of unbleached bread flour and whole wheat flour, mixed with honey, water, and yeast to create a delicious and wholesome loaf. The result is a crusty country bread with a tender and moist crumb that is delicious warm with just butter and jam. This easy bread recipe is simple enough for first time bread bakers.
The dough rises and is ready to bake in about 3 hours. There is no kneading, making it an easy recipe for busy home cooks. To learn how to make this easy no knead bread recipe, see the printable recipe card below. Take a look at the recipe video, or get Step by Step Instructions for a more detailed explanation of this recipe. To learn about the health benefits of Honey Wheat Country Bread (No Knead) recipe versus white bread, visit my Blog Comments & Tips below.
Sign up for a free subscription to our monthly newsletter and access to exclusive content.
To browse some of our favorite kitchen essentials, gadgets, and pantry items, visit our Recommended Products page.
RECIPE
(Check out our Step by Step Instructions below the recipe card.)
")
HONEY WHEAT COUNTRY BREAD (No Knead)
Ingredients
Instructions
- To a large mixing bowl, add whole wheat flour, bread flour, active dry yeast, and sea salt flakes. Whisk well to combine, and set aside.
- Heat water until warm (115°F - 120°F), using a thermometer to test the temperature (see Note #2). Dissolve honey (or sugar) in the water.
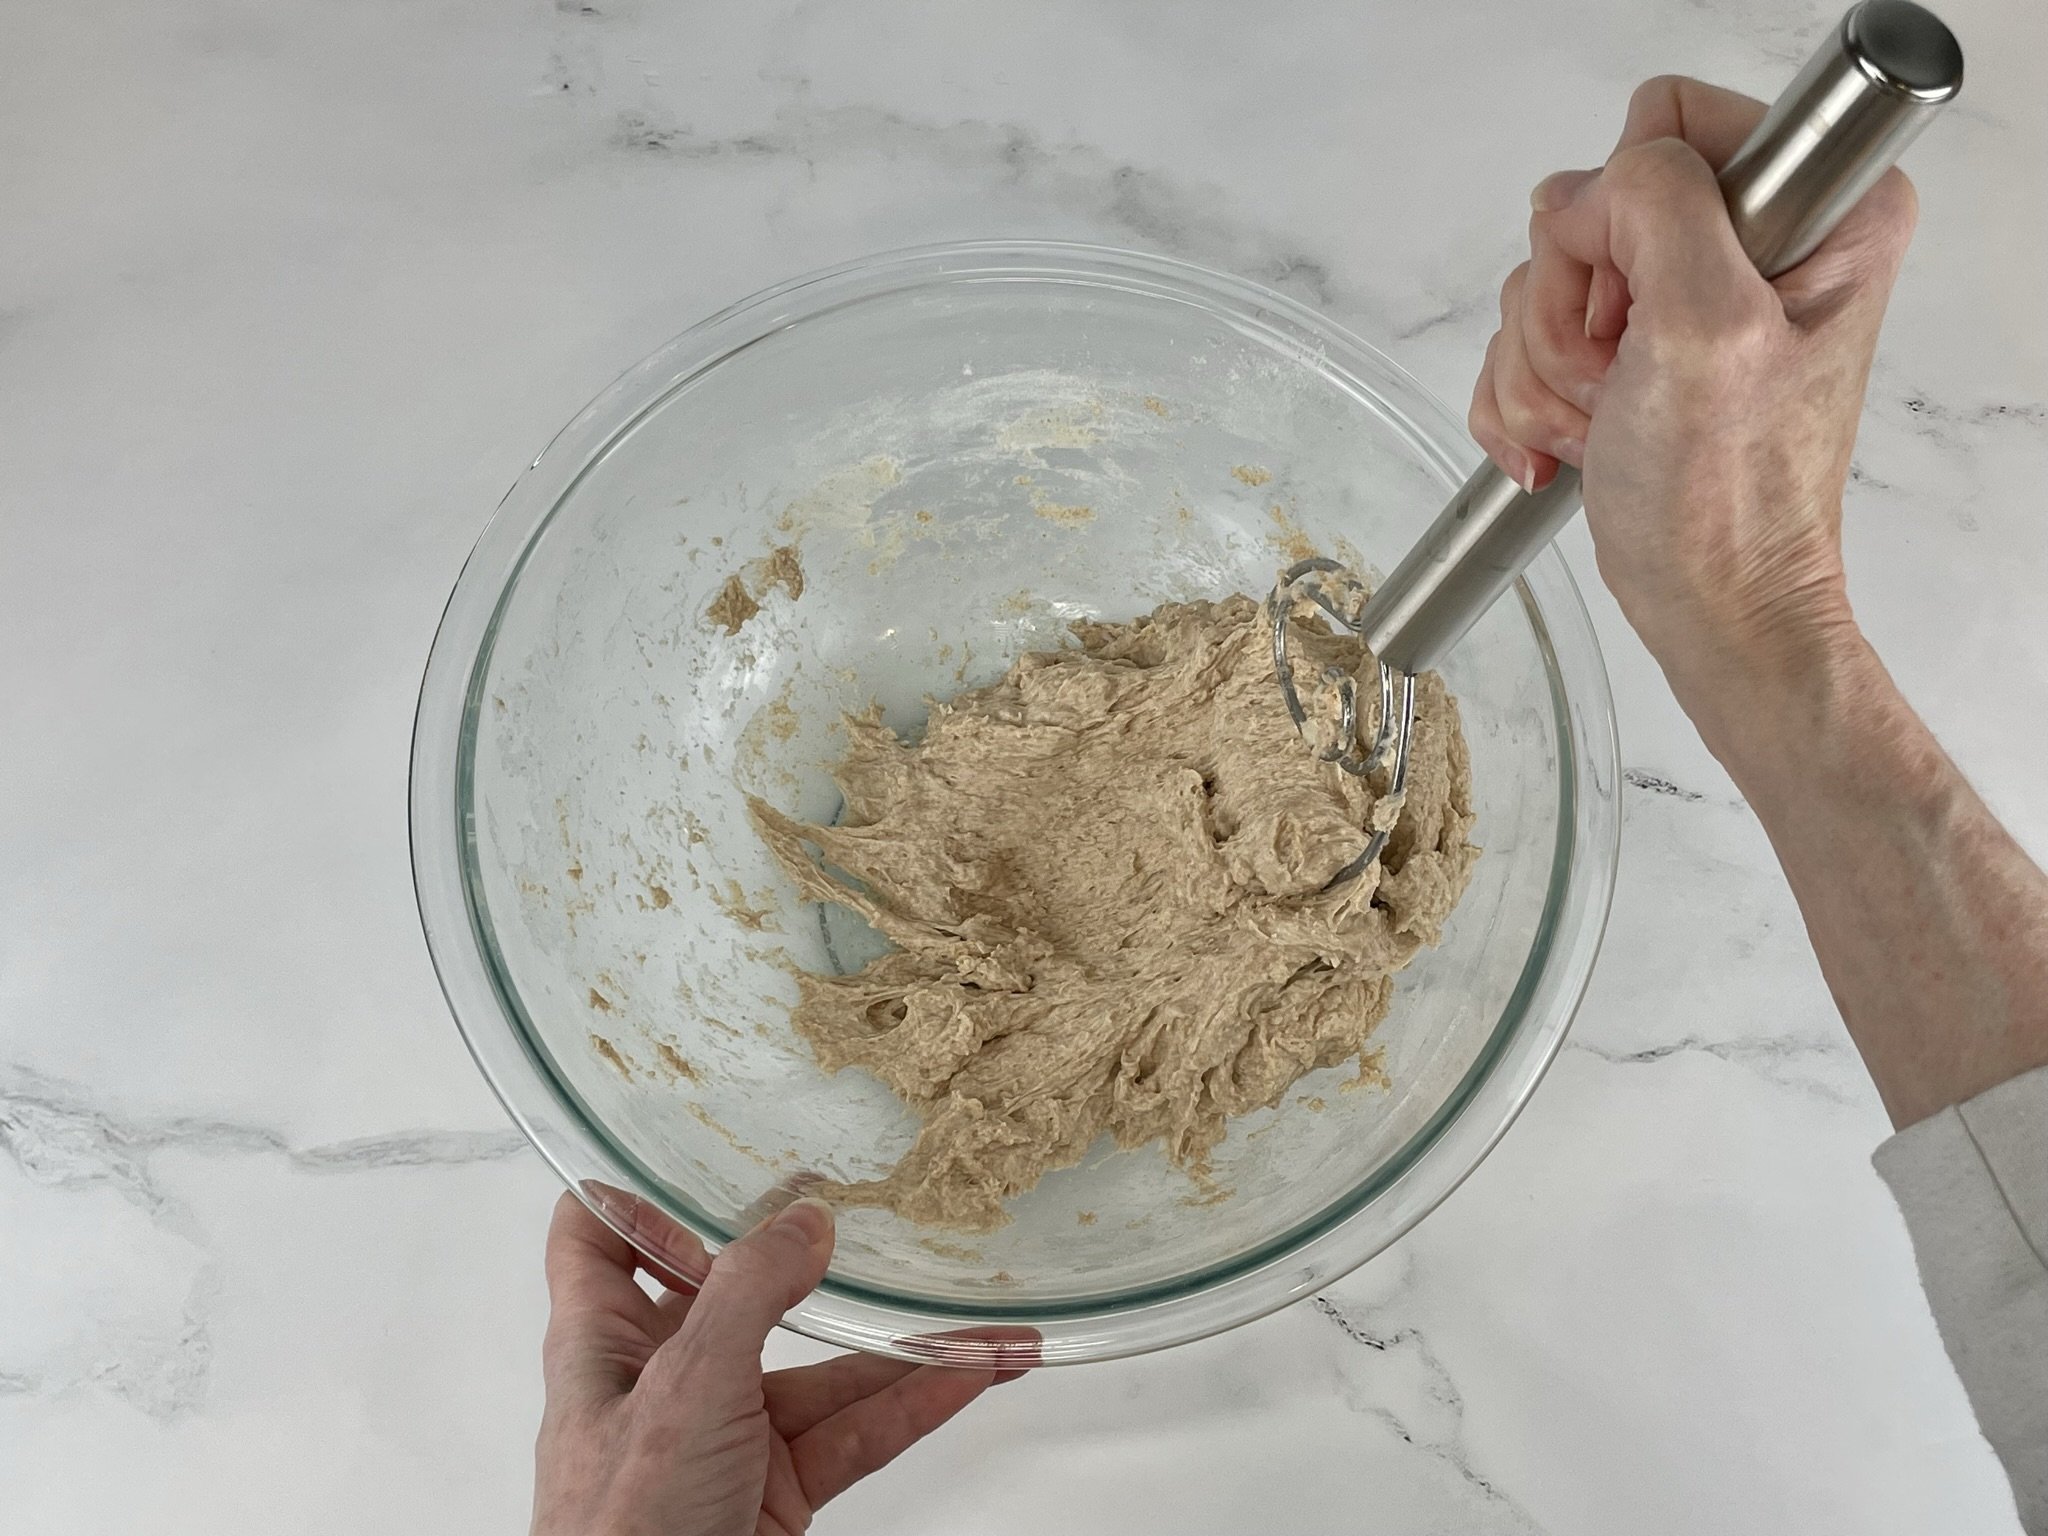
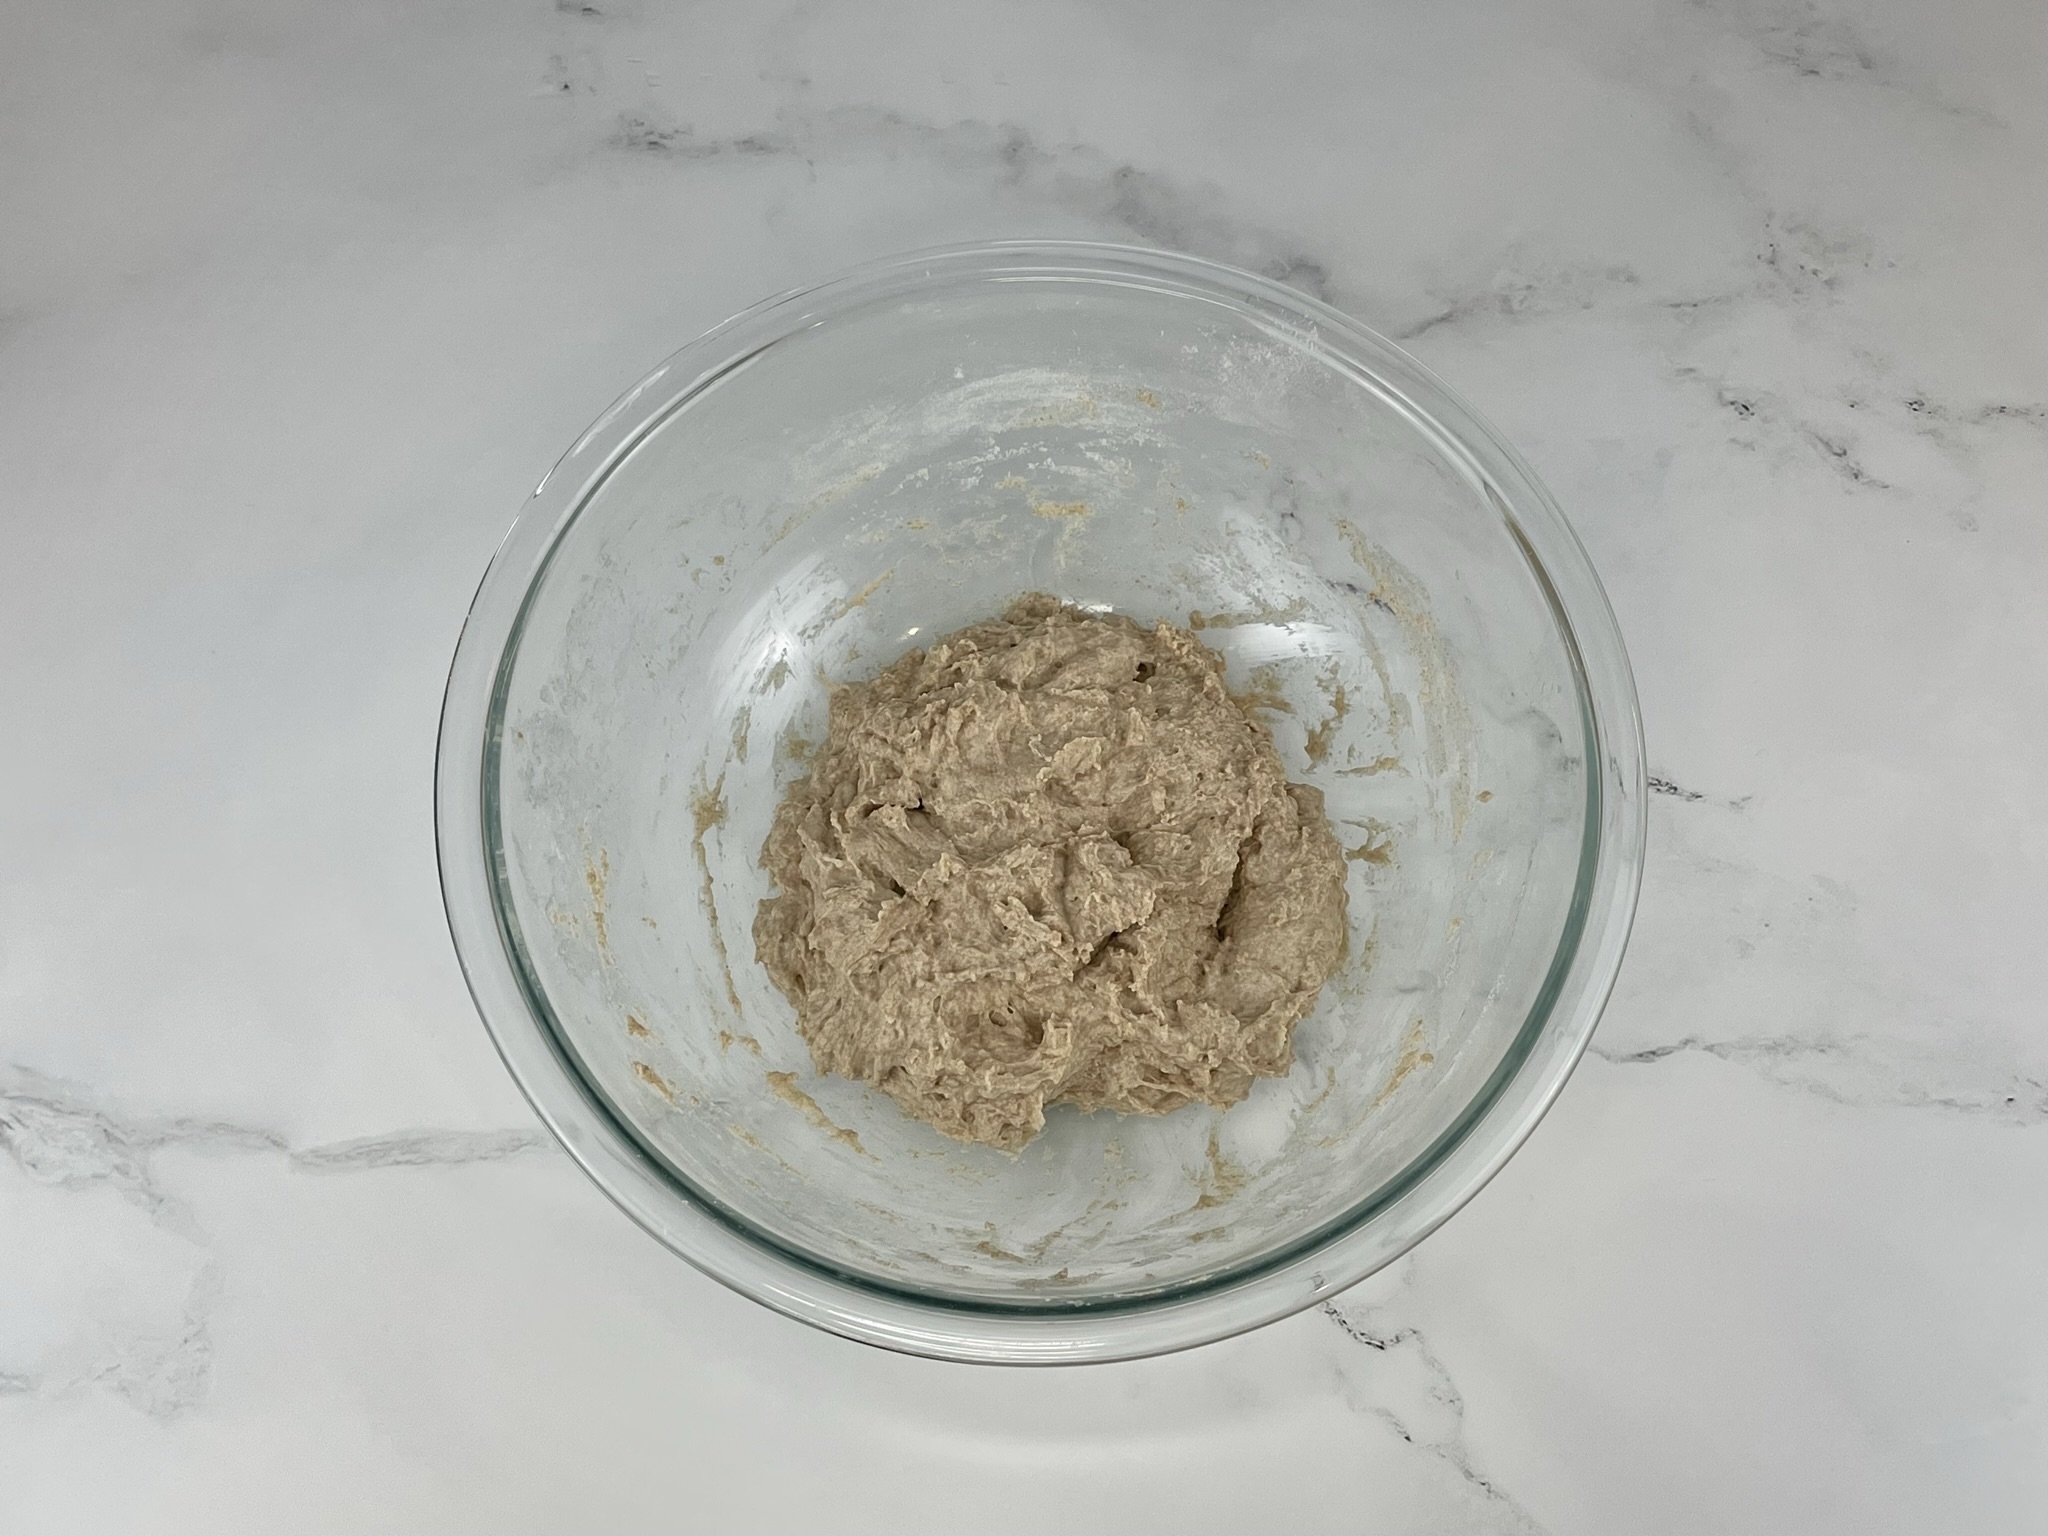
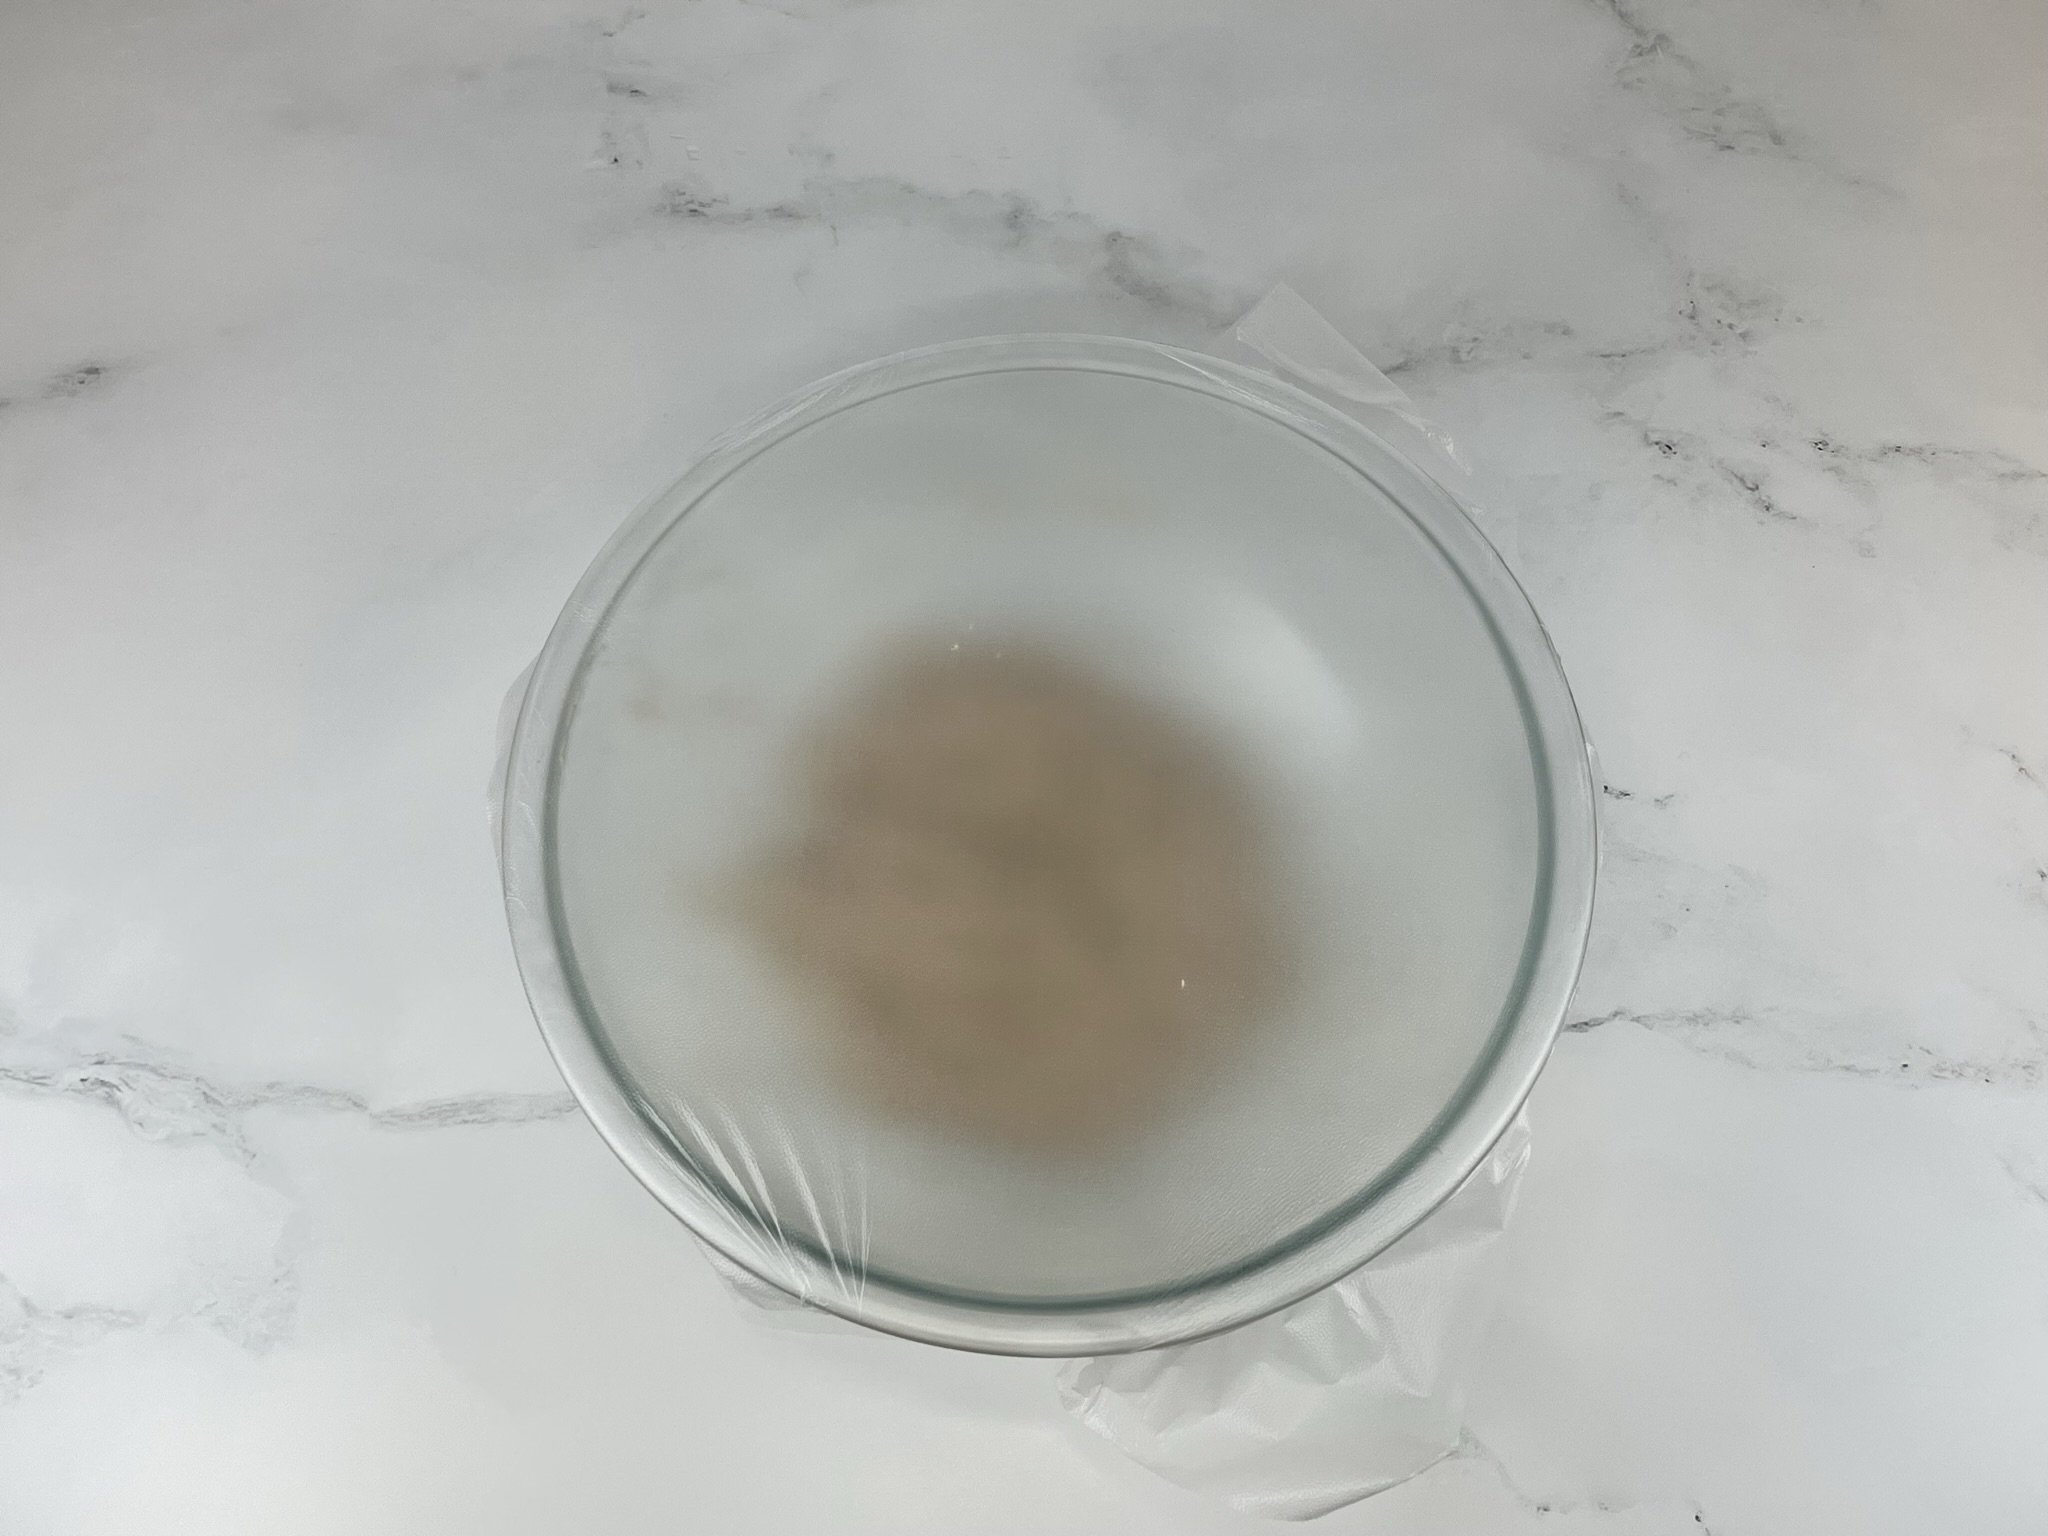
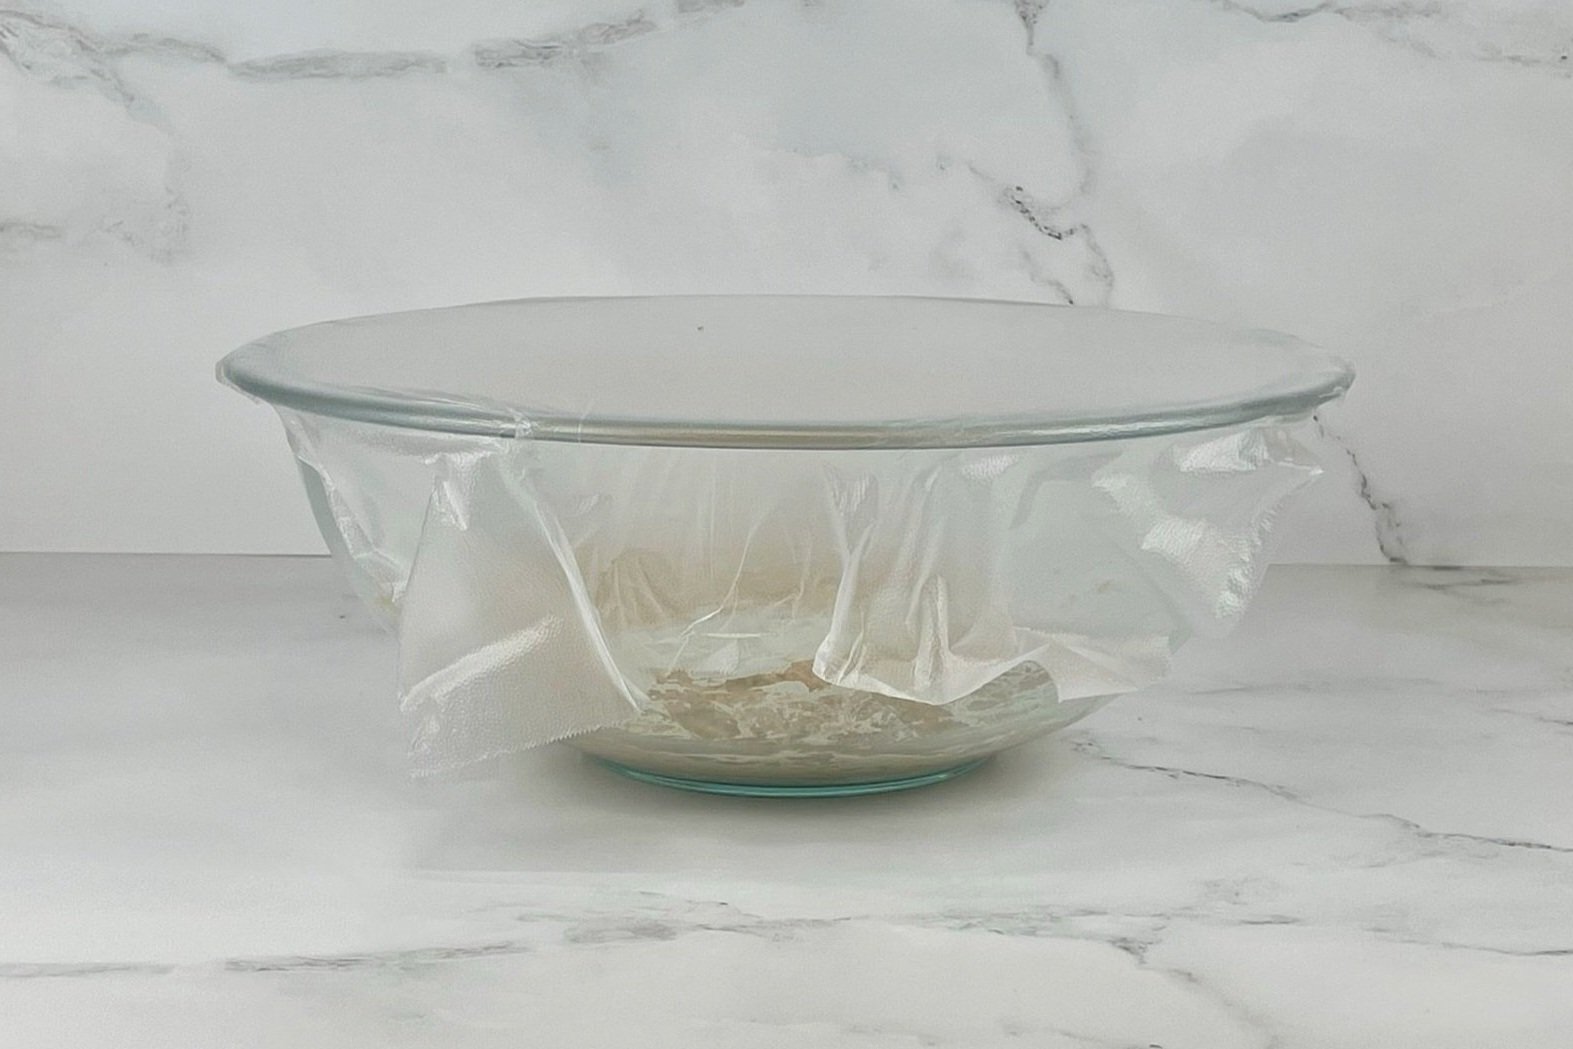
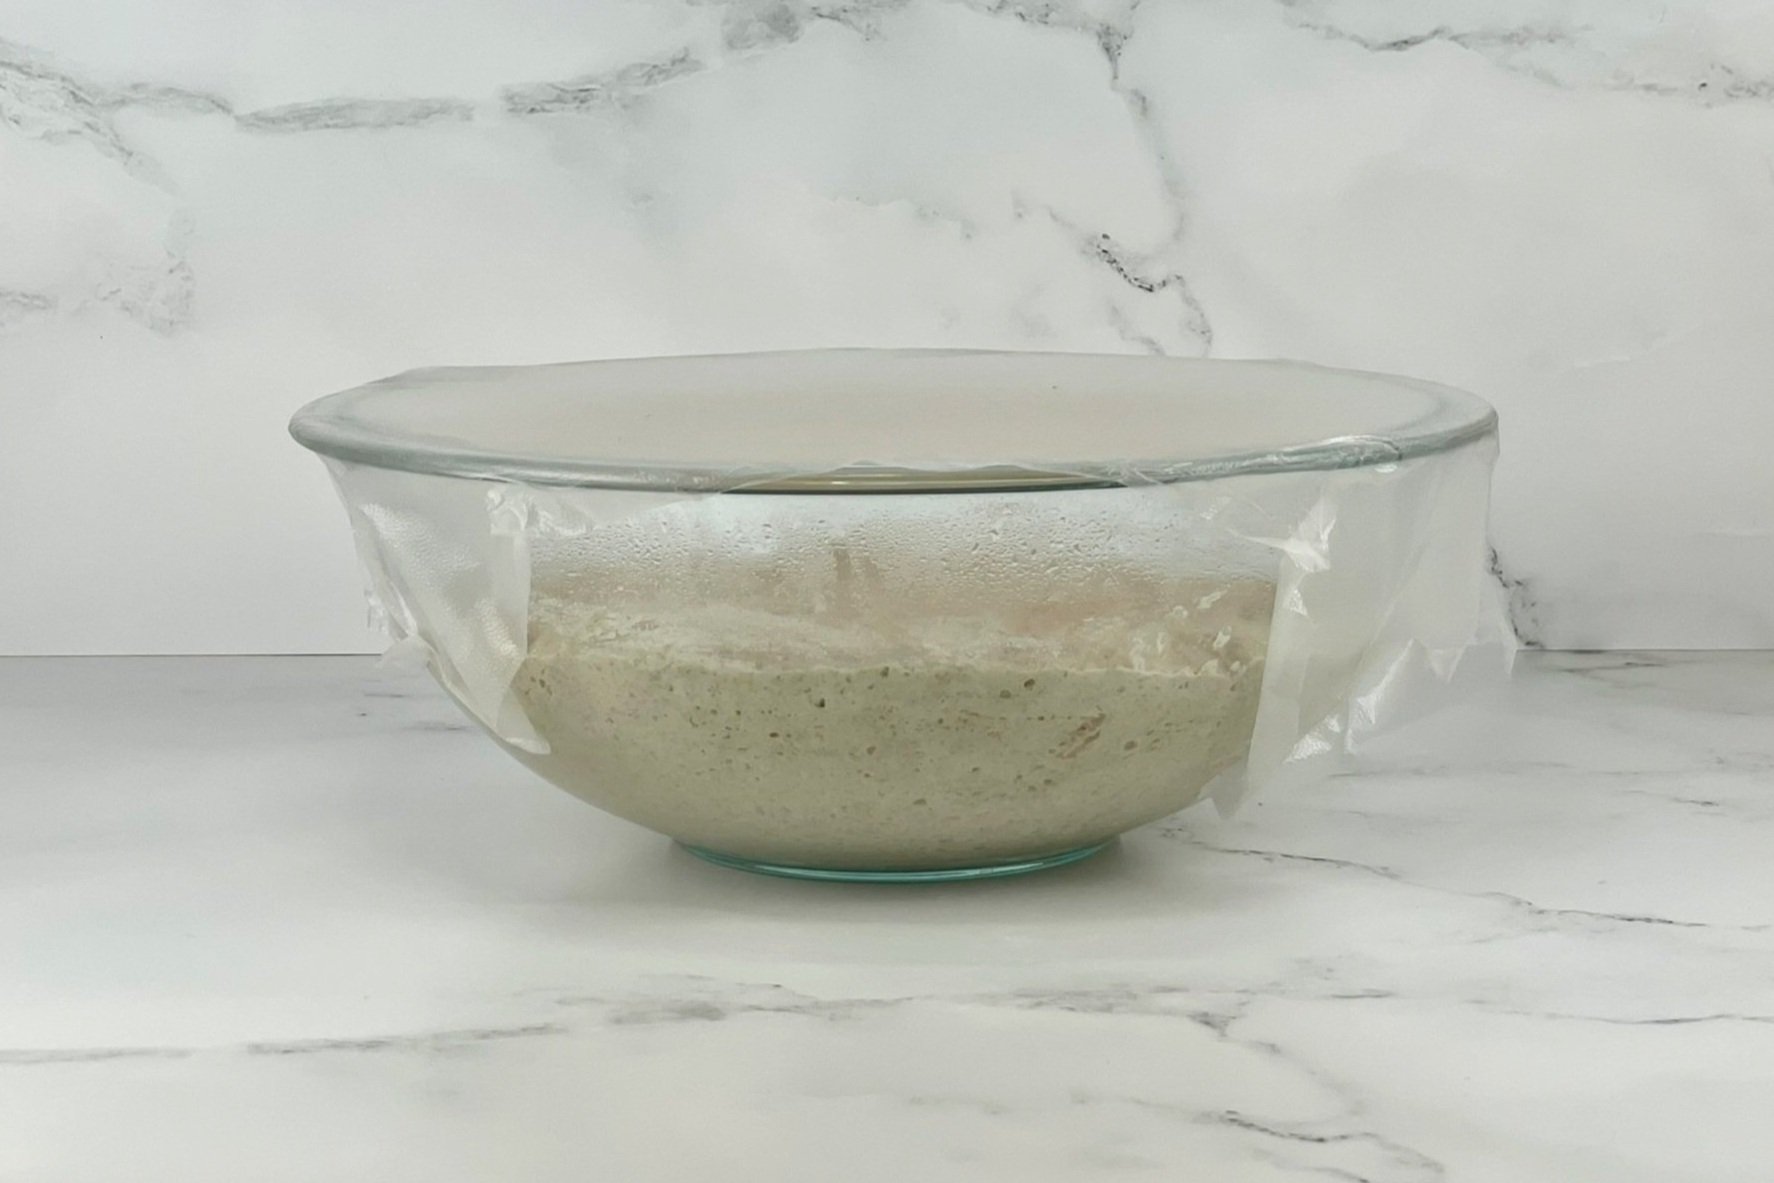
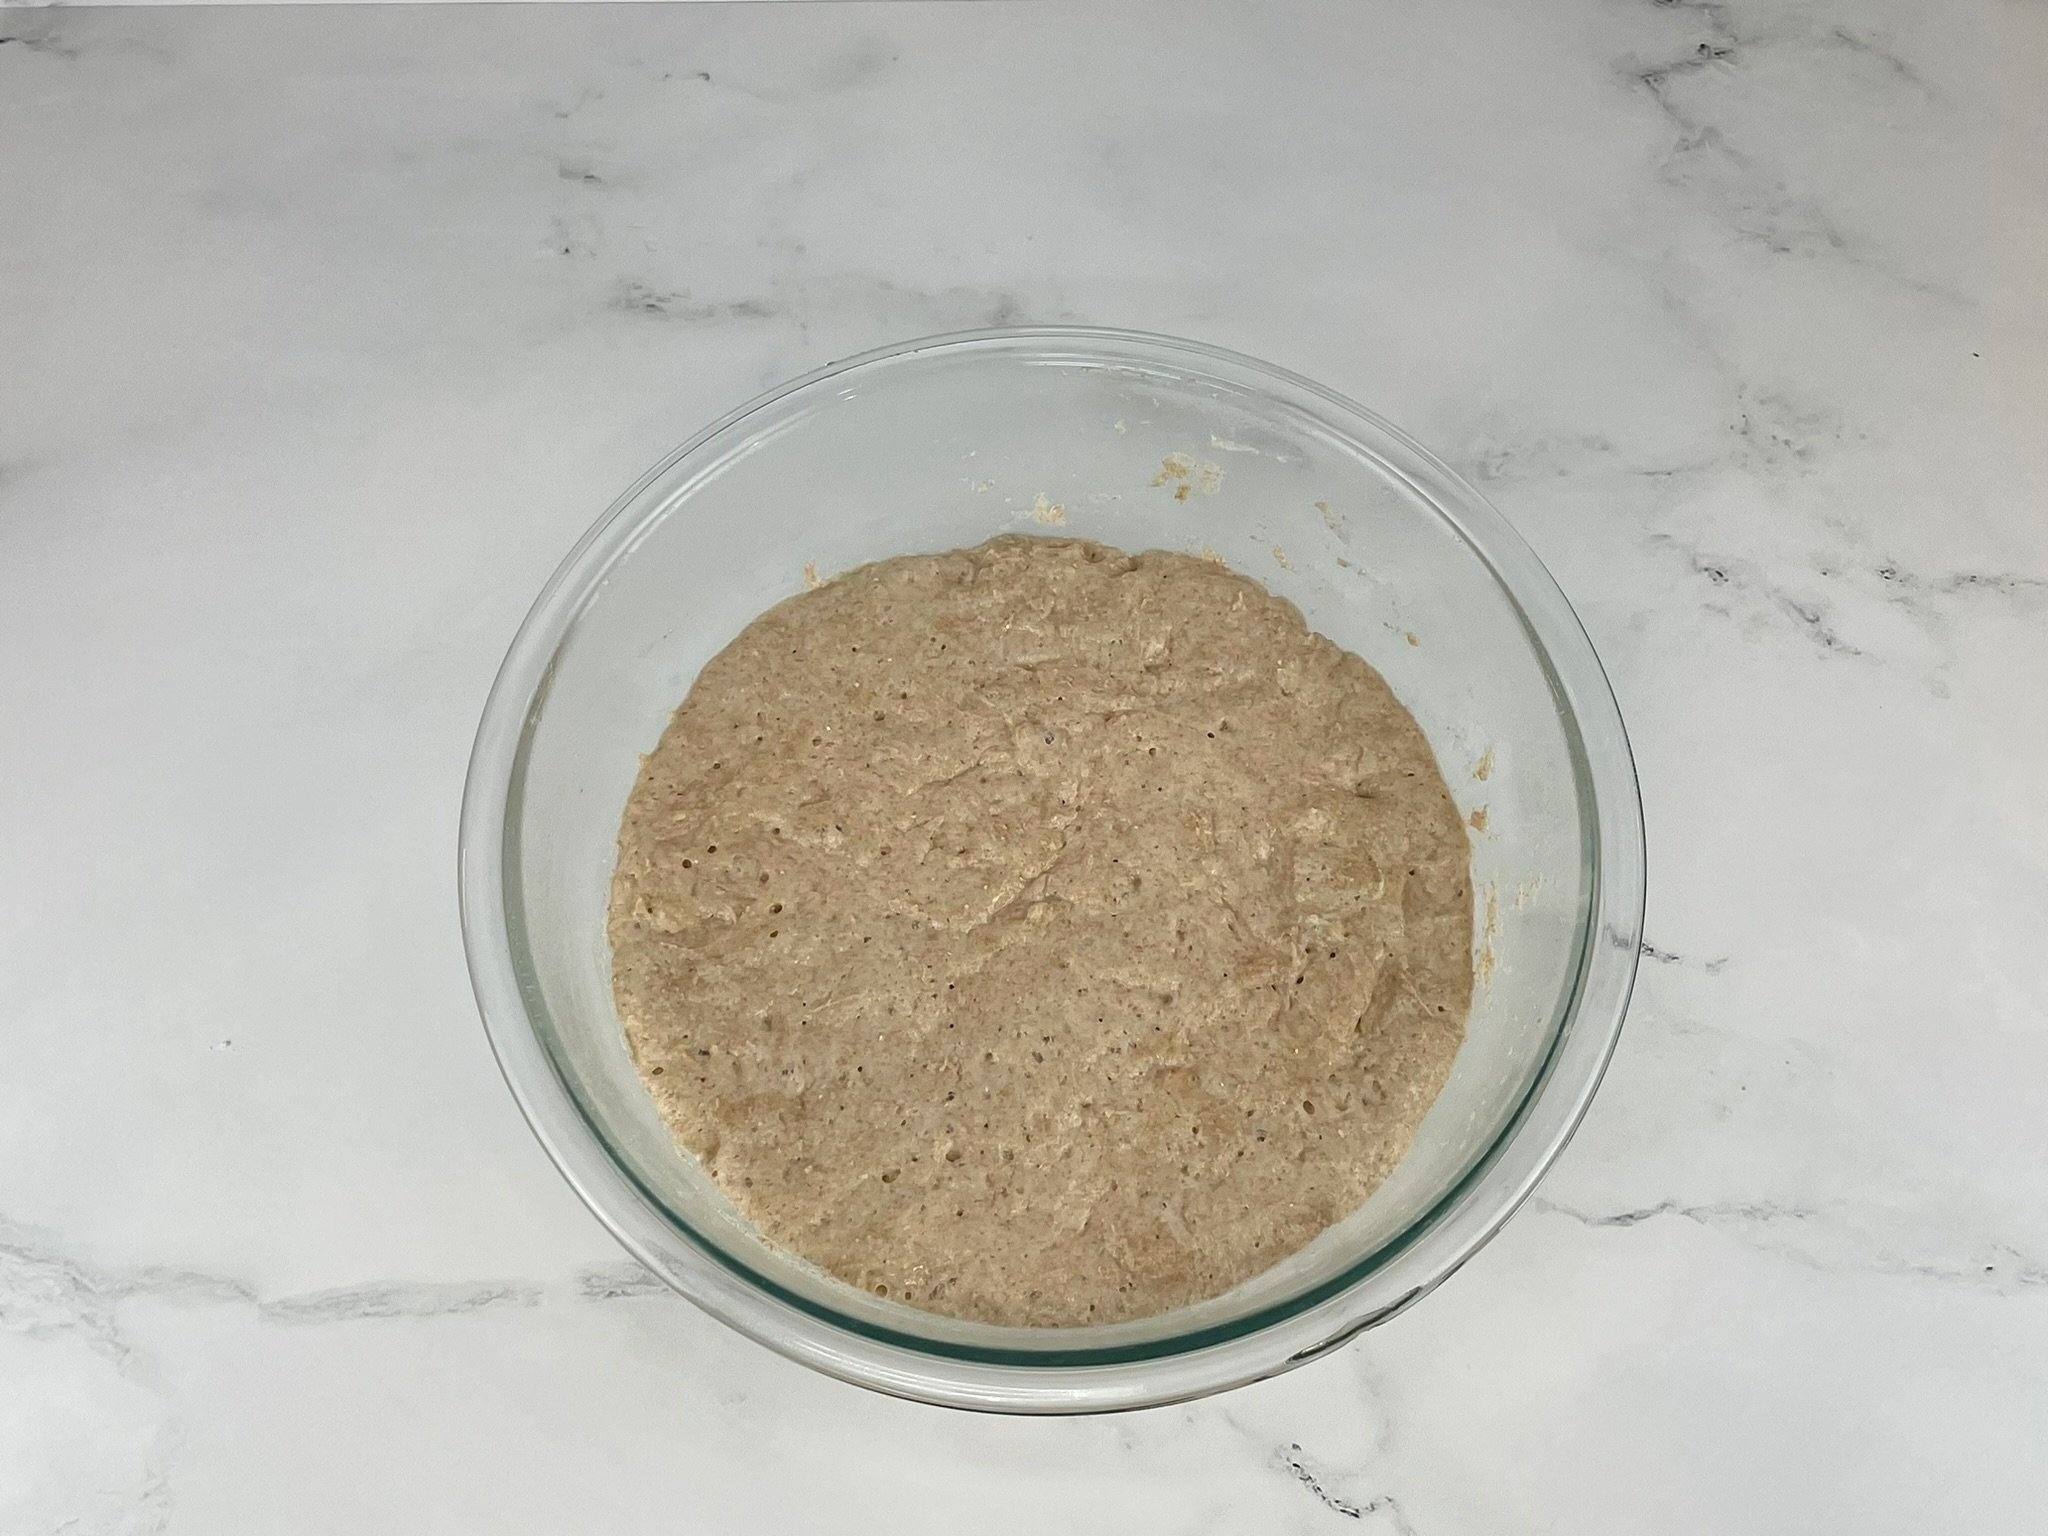
- Pour honey water into the dry flour mixture. Using a Danish dough whisk (or sturdy wooden spoon or spurtle), combine all the ingredients together, and work the dough until it becomes sticky and stringy (showing glutenous strands). Scrape down bowl, cover with plastic wrap and/or clean kitchen towel, and set aside in a warm spot (room temperature between 65°F to 75°F, and away from drafts) for 3 to 5 hours until the dough has doubled in size (see Note #3).
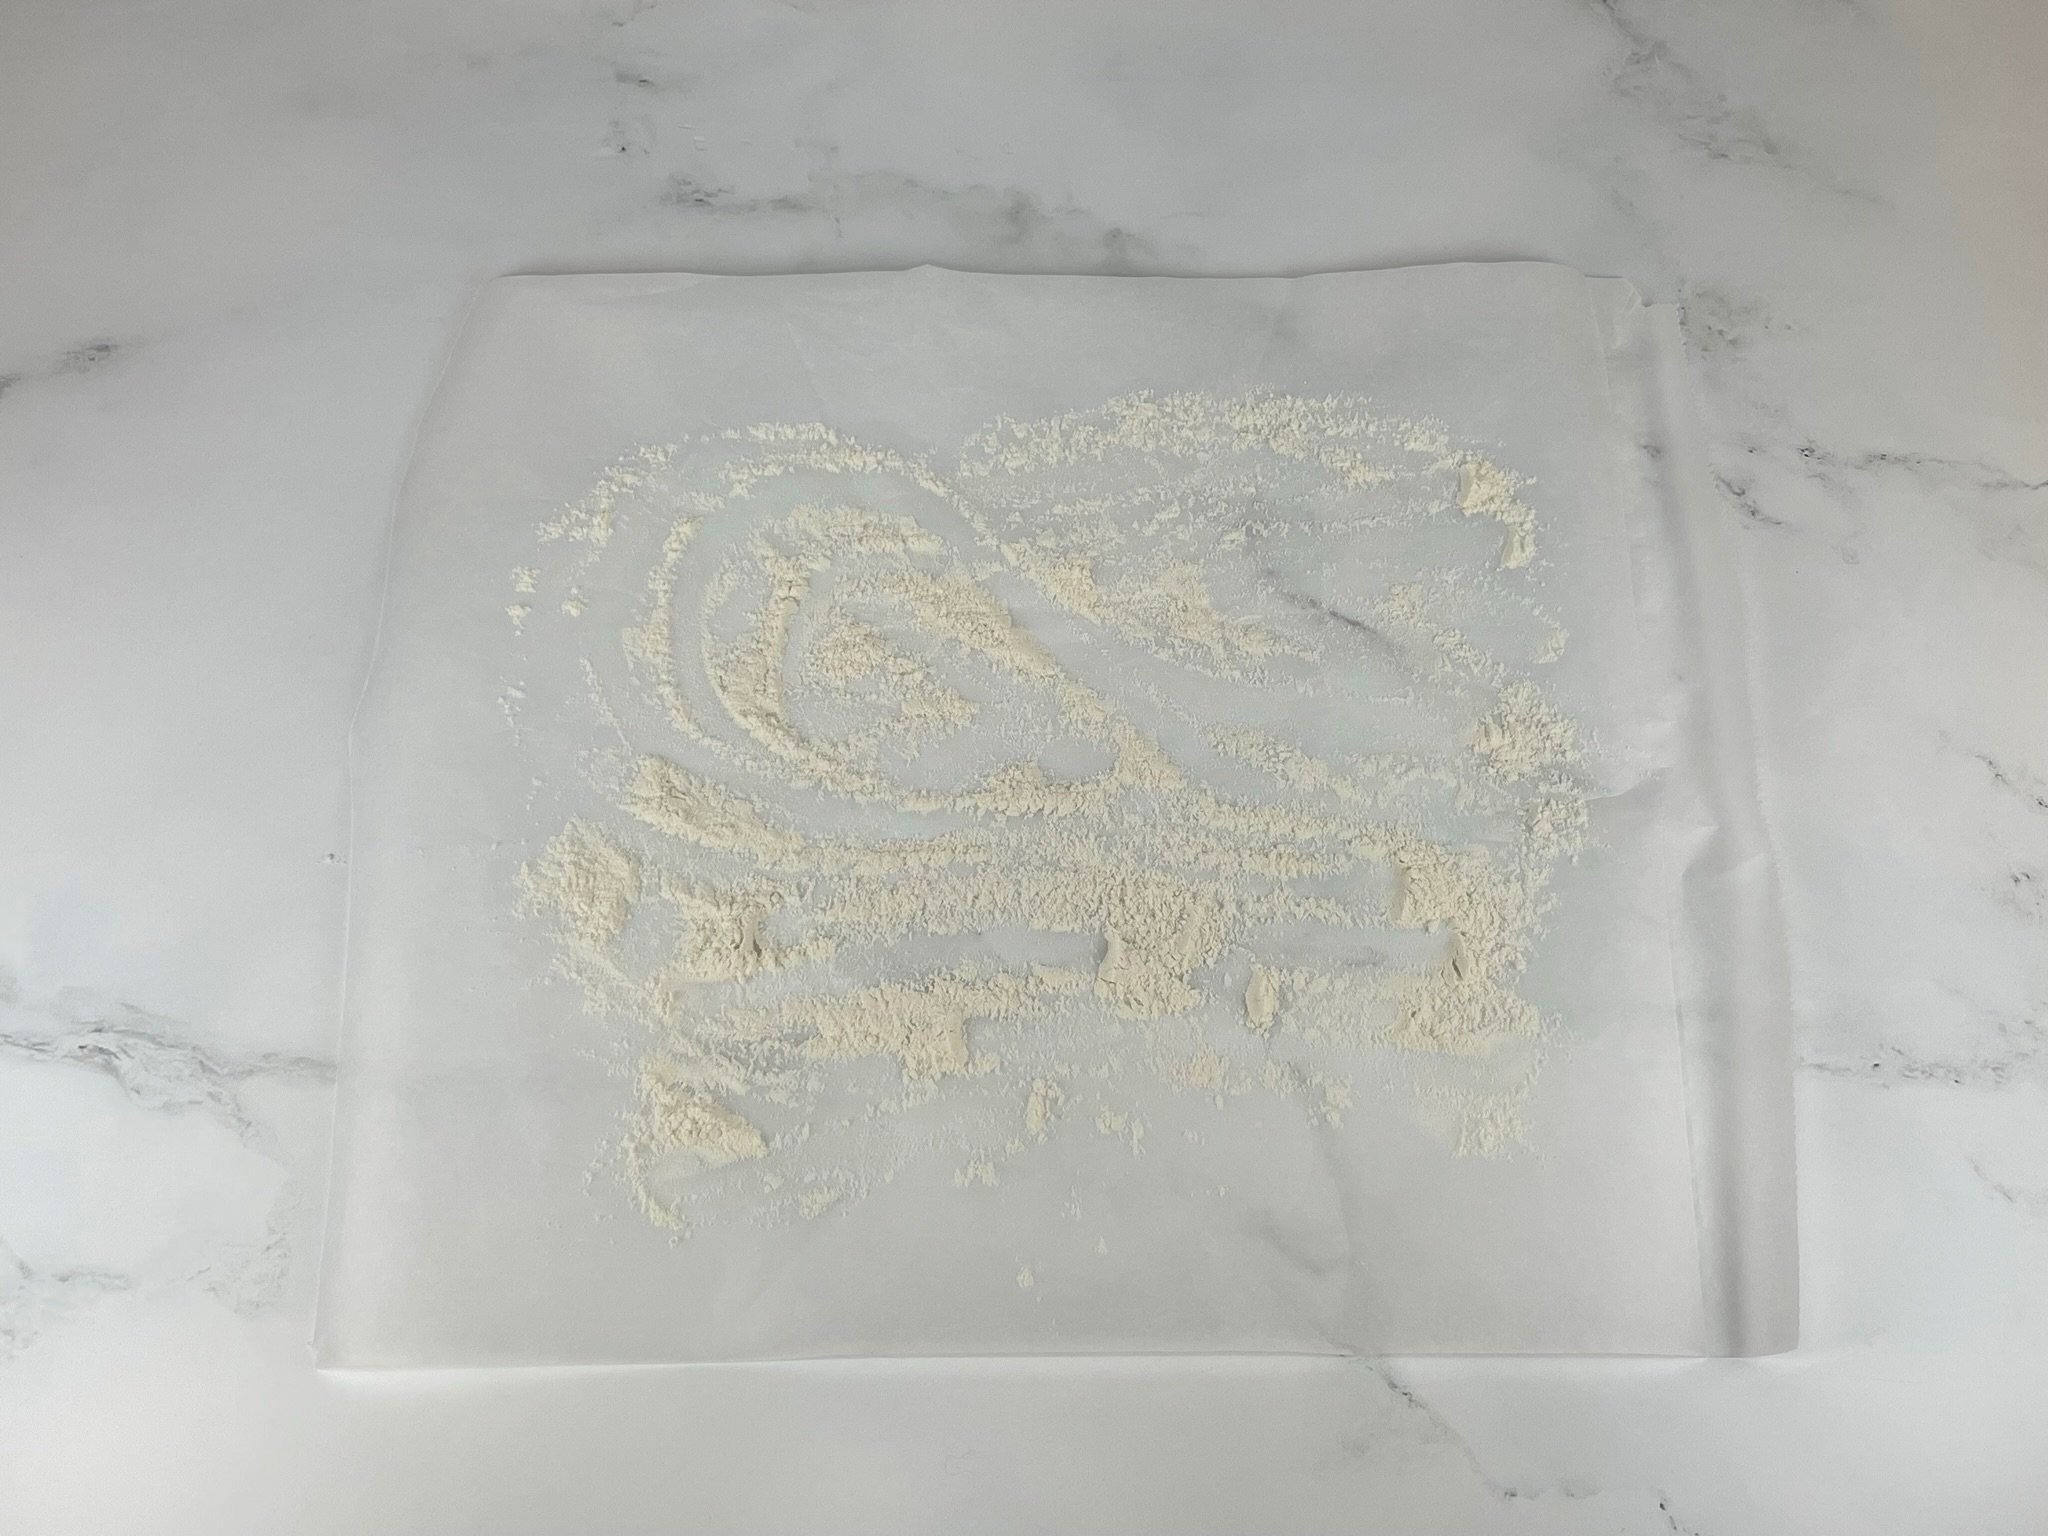
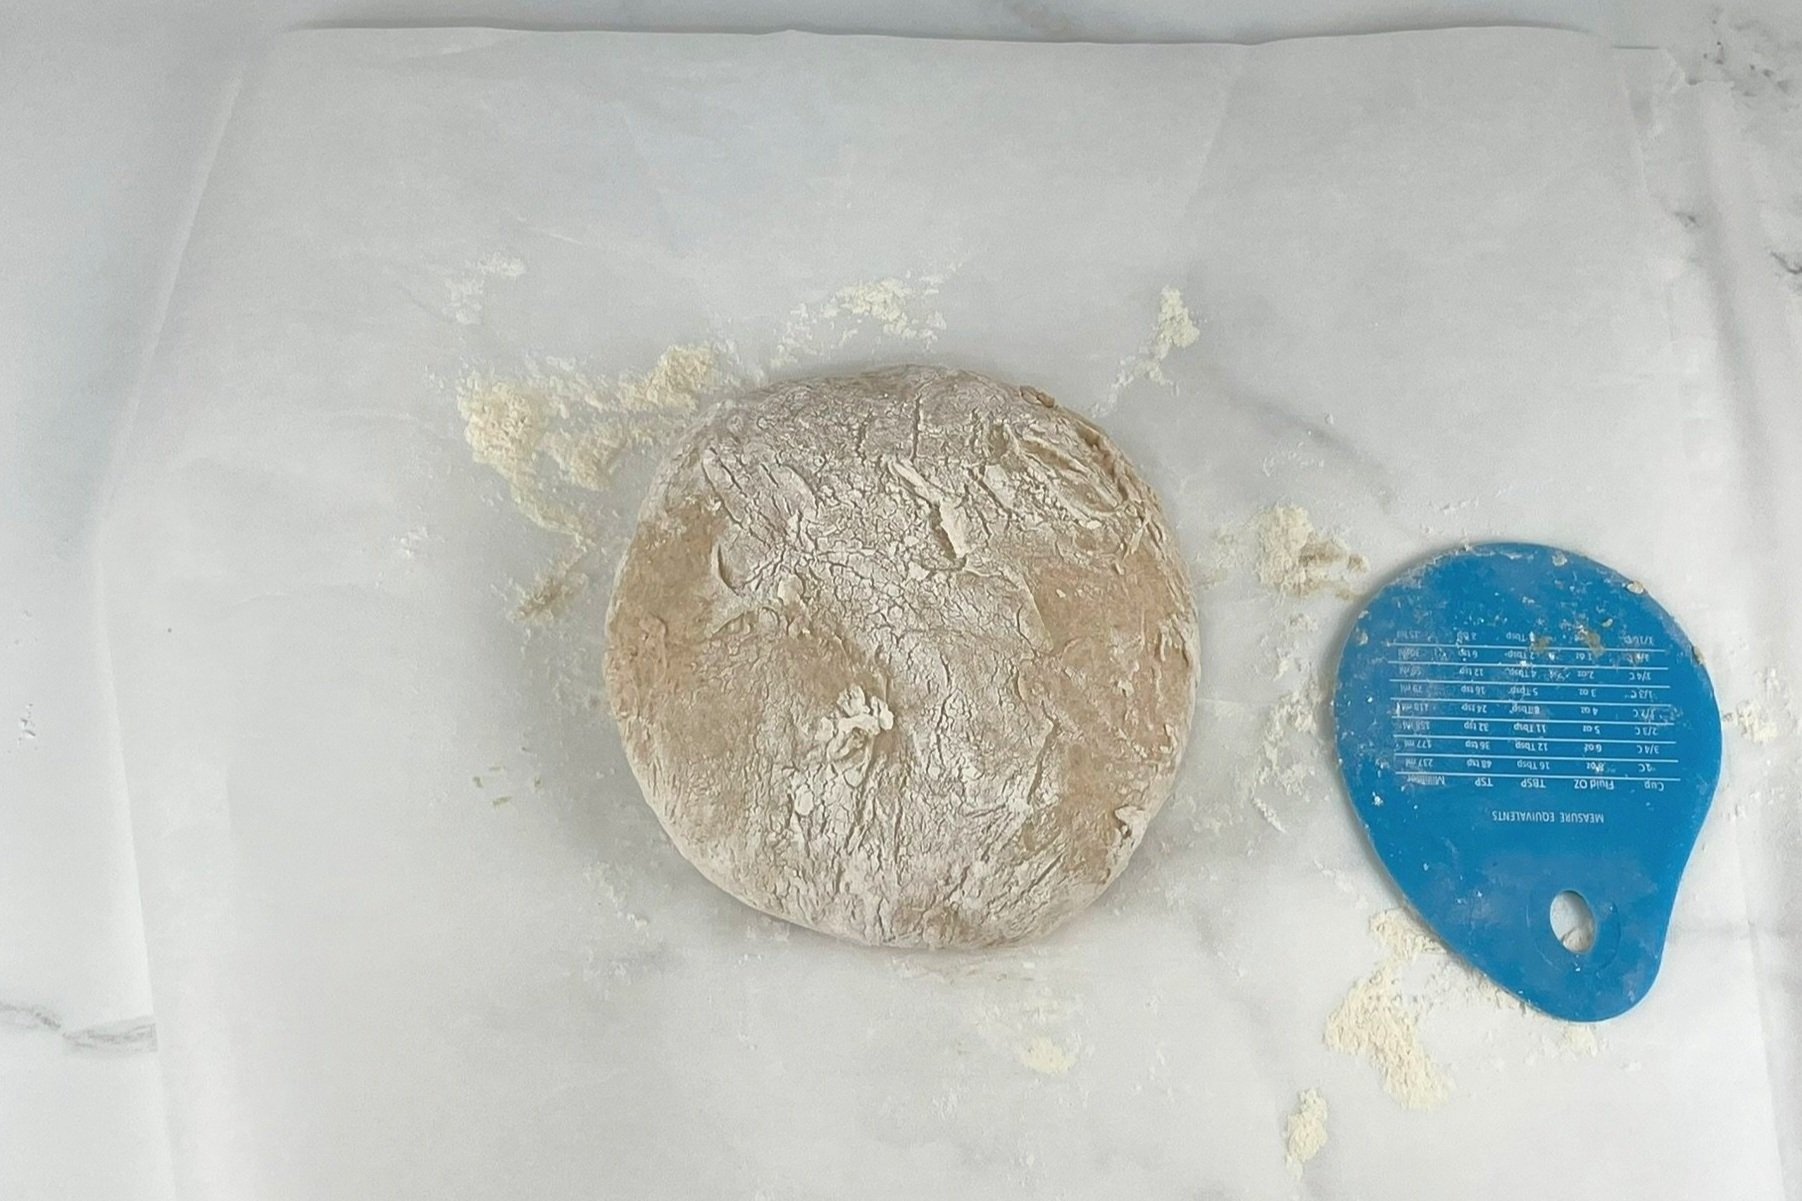
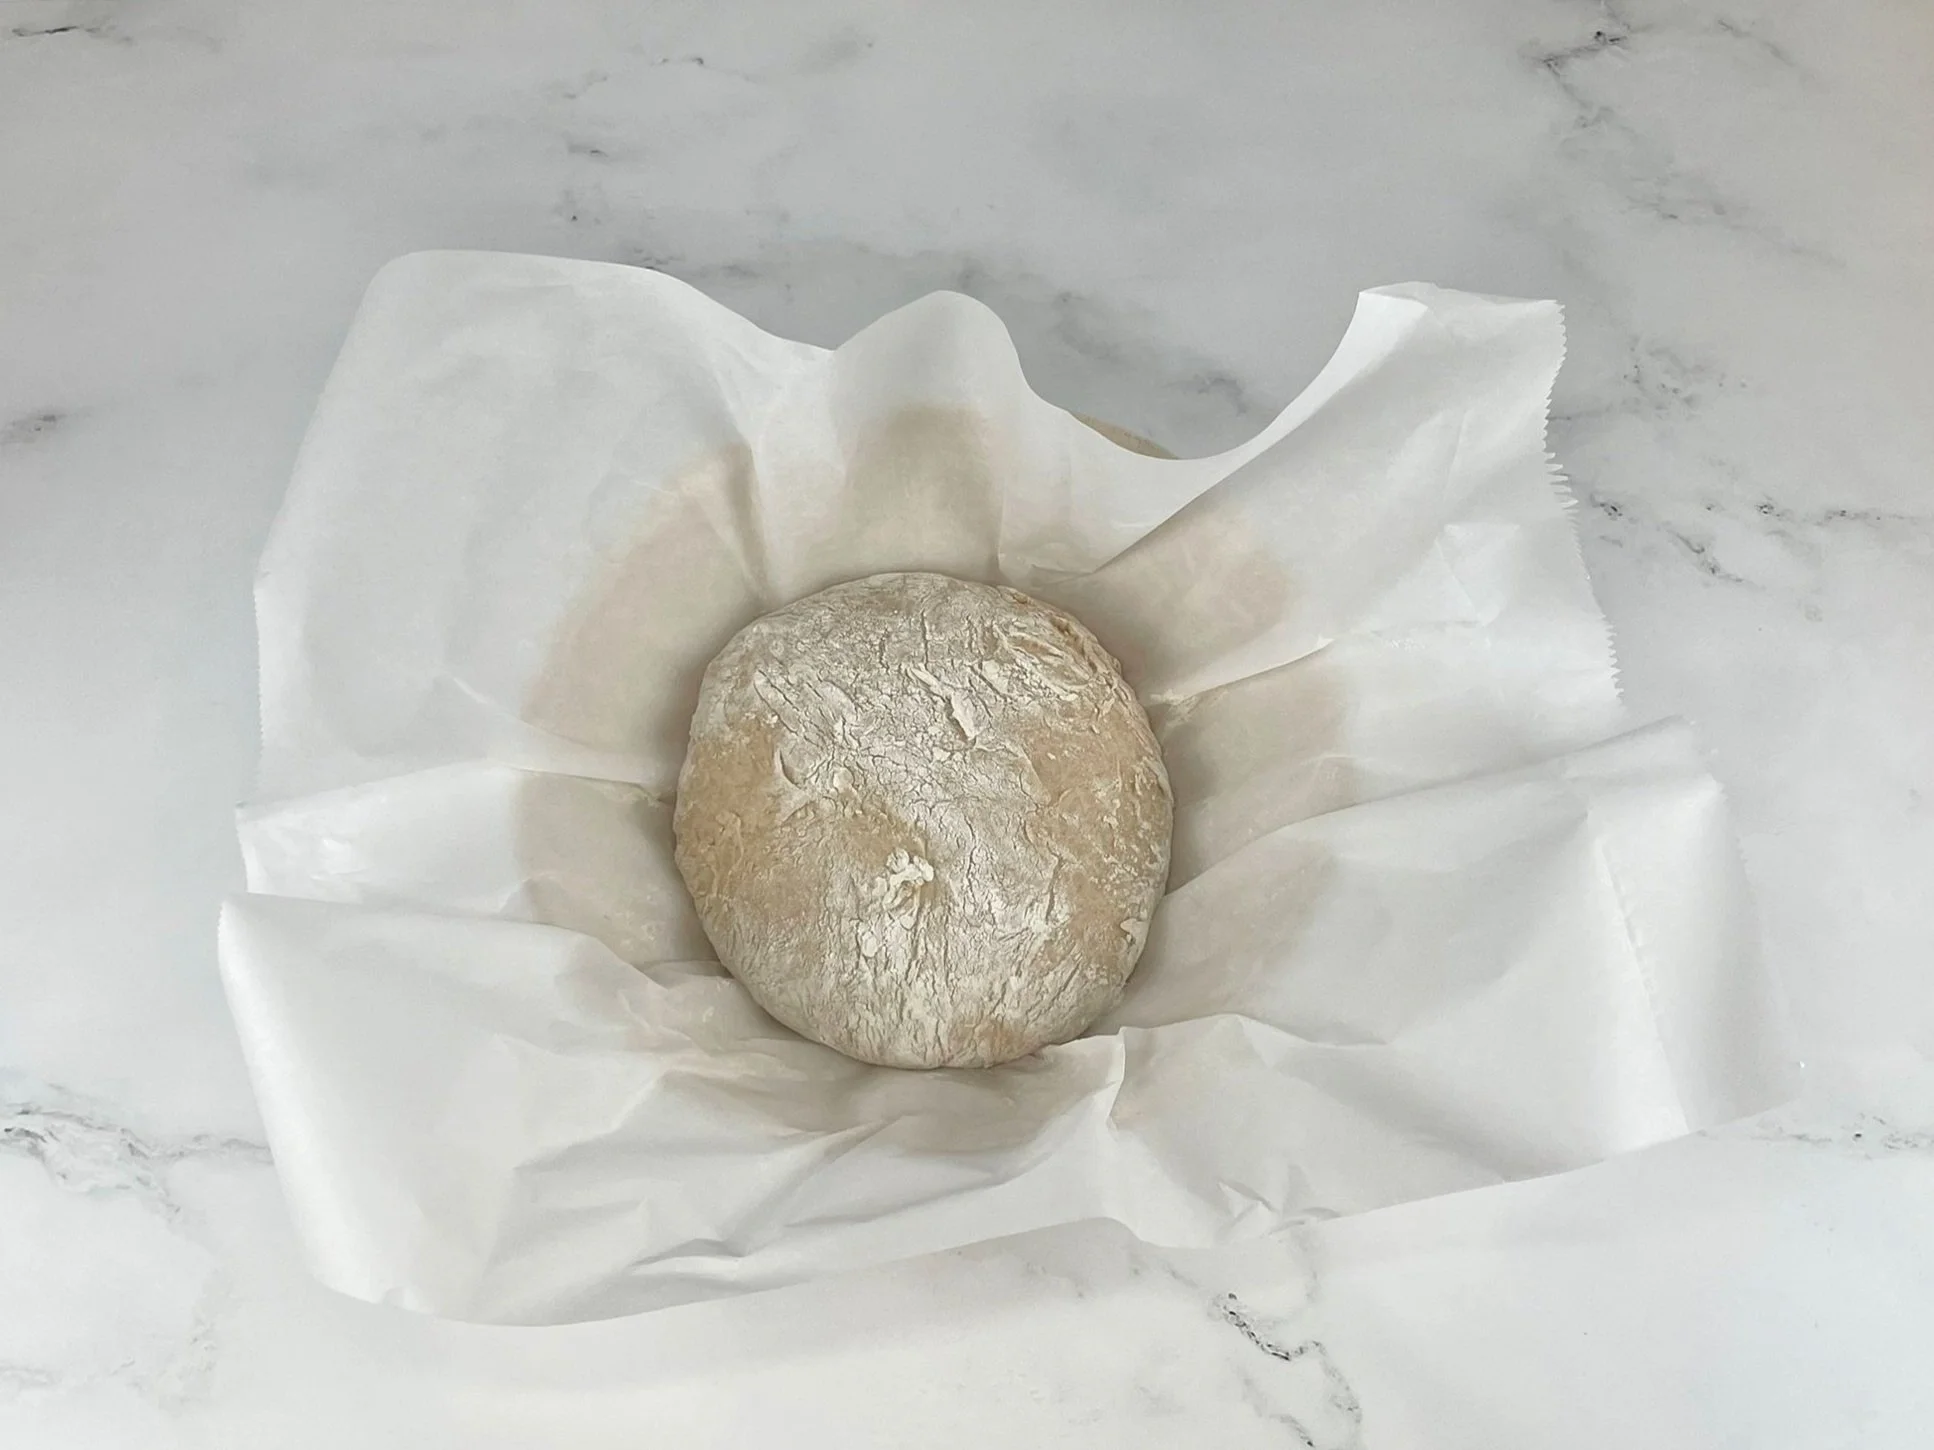
- Generously sprinkle some flour on a large sheet of heavy duty parchment paper, and using a silicone bread scraper, carefully scrape out the dough onto the floured paper. Using a stainless steel pastry scraper (or the silicone bread scraper), scrape and fold the dough over into the middle, just until you form a rough folded mound of dough (do not overwork dough - see Note #4). Gently gather dough with your hands, and flip upside down (folded side now on the bottom). Use hands to gently twist and tuck the dough under a few times until it becomes smooth and round. Dust off and discard any excess flour from paper. Then transfer the parchment paper (and dough) into a proofing basket (9 inch) or clean bowl. Immediately cover with a clean kitchen towel, and let proof for 30 minutes (away from any drafts) while you preheat your oven.
- Place oven racks in the bottom third of your oven, and place a heavy duty Dutch oven with lid (5.5 quart) on the rack. Preheat the pot in the oven until the oven reaches 400°F.
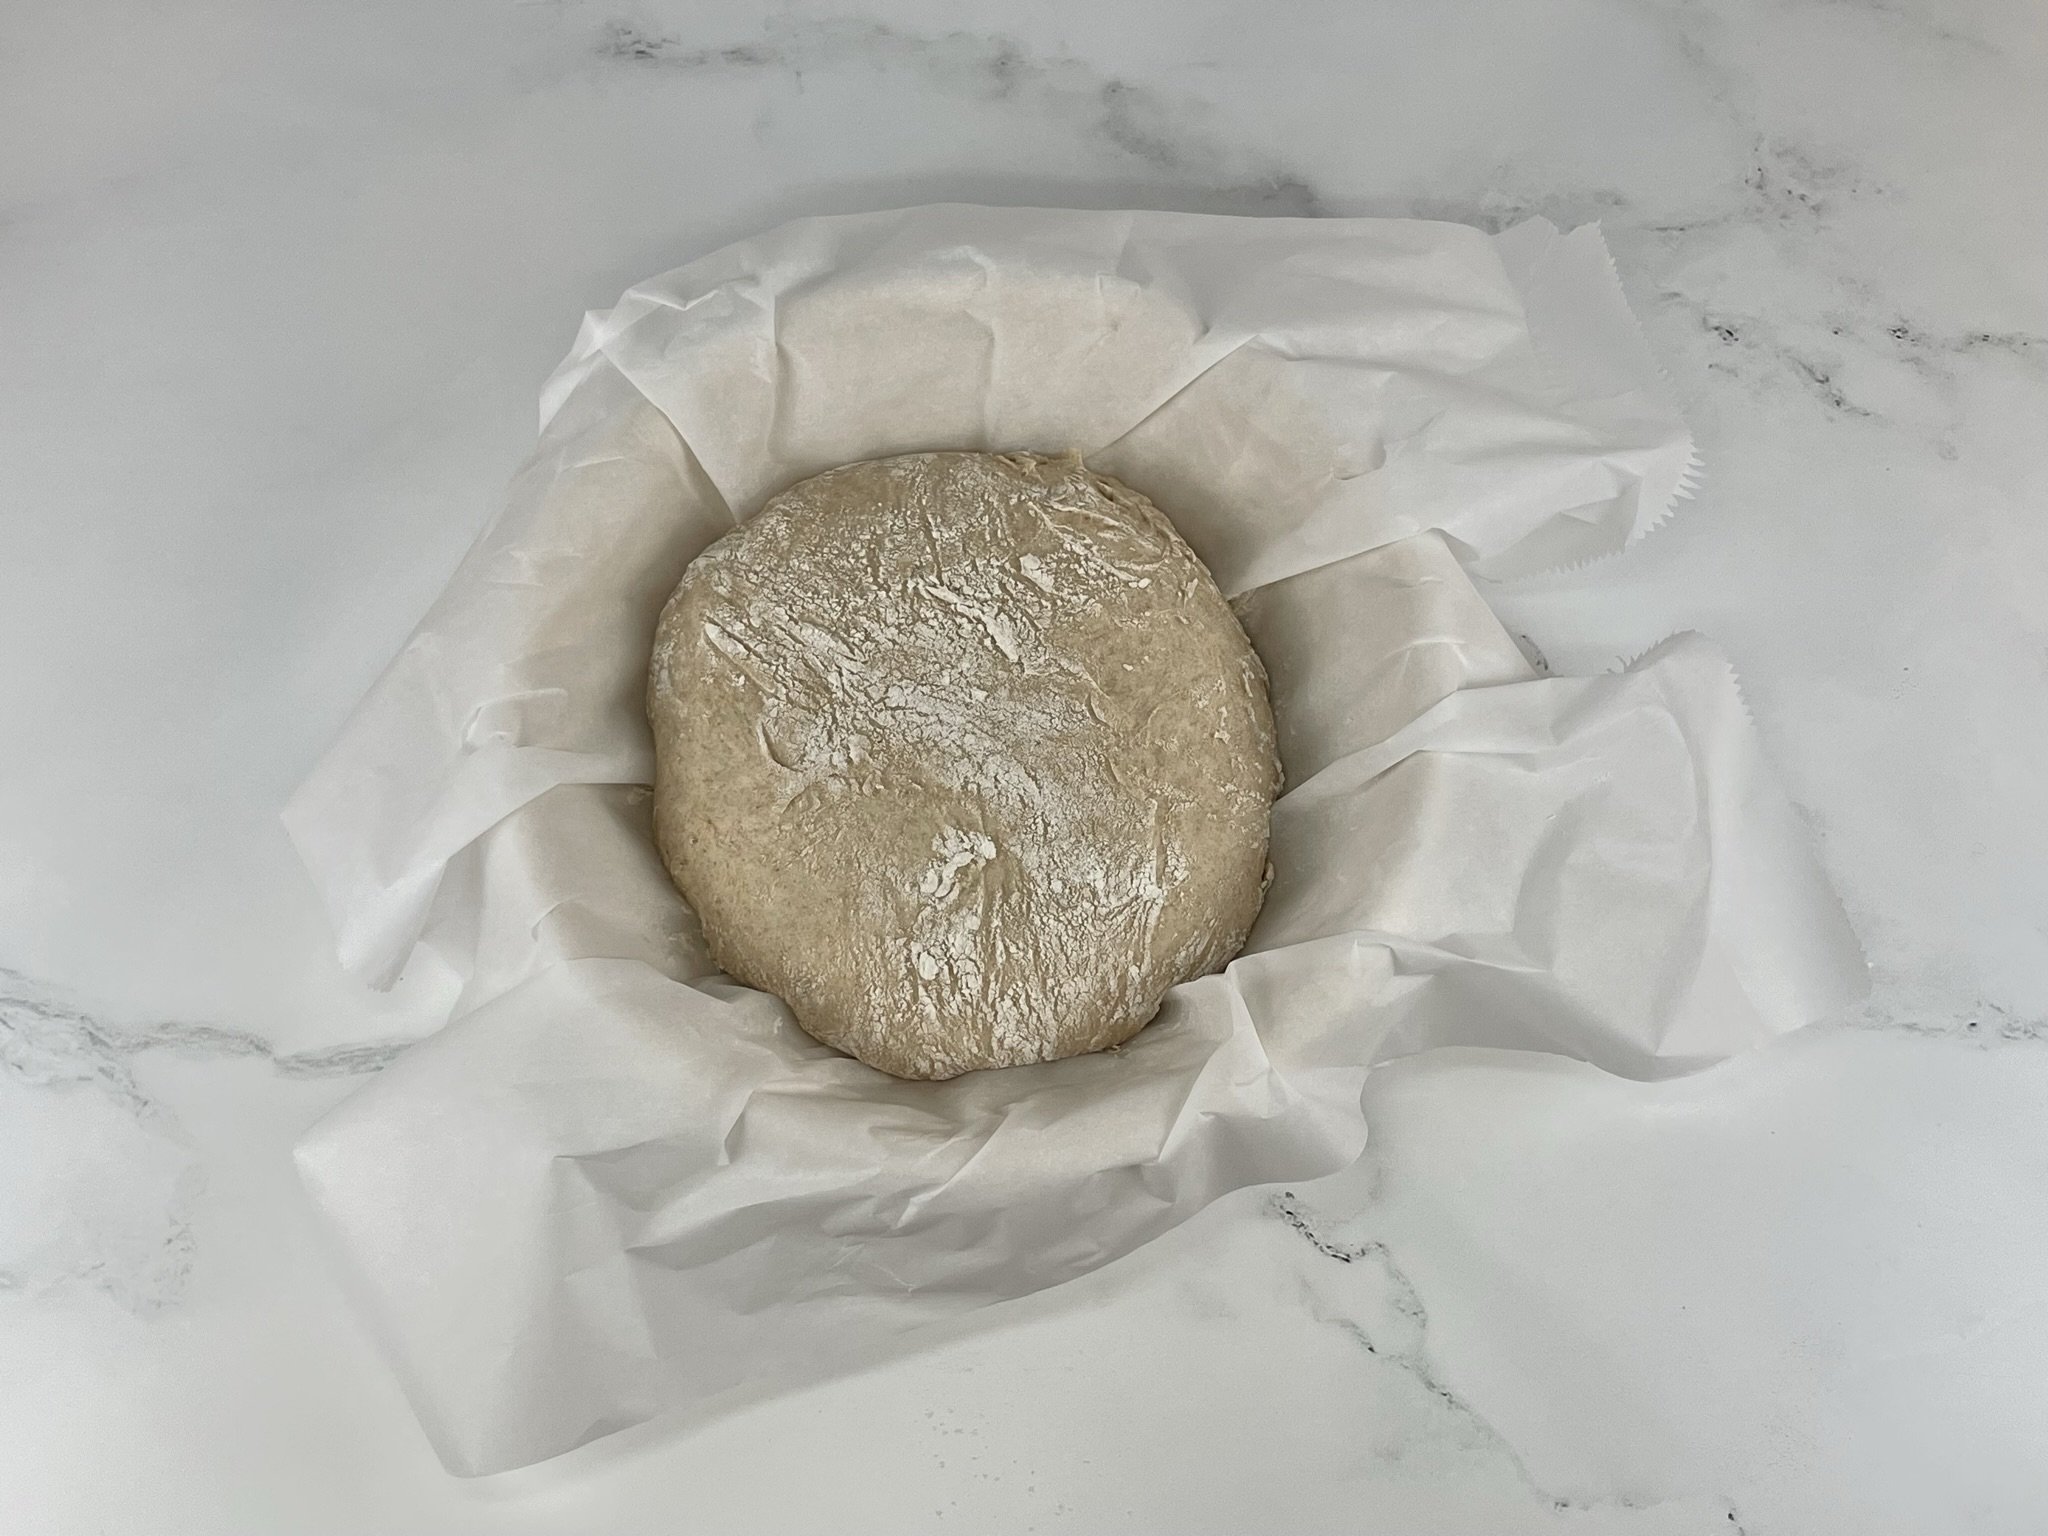
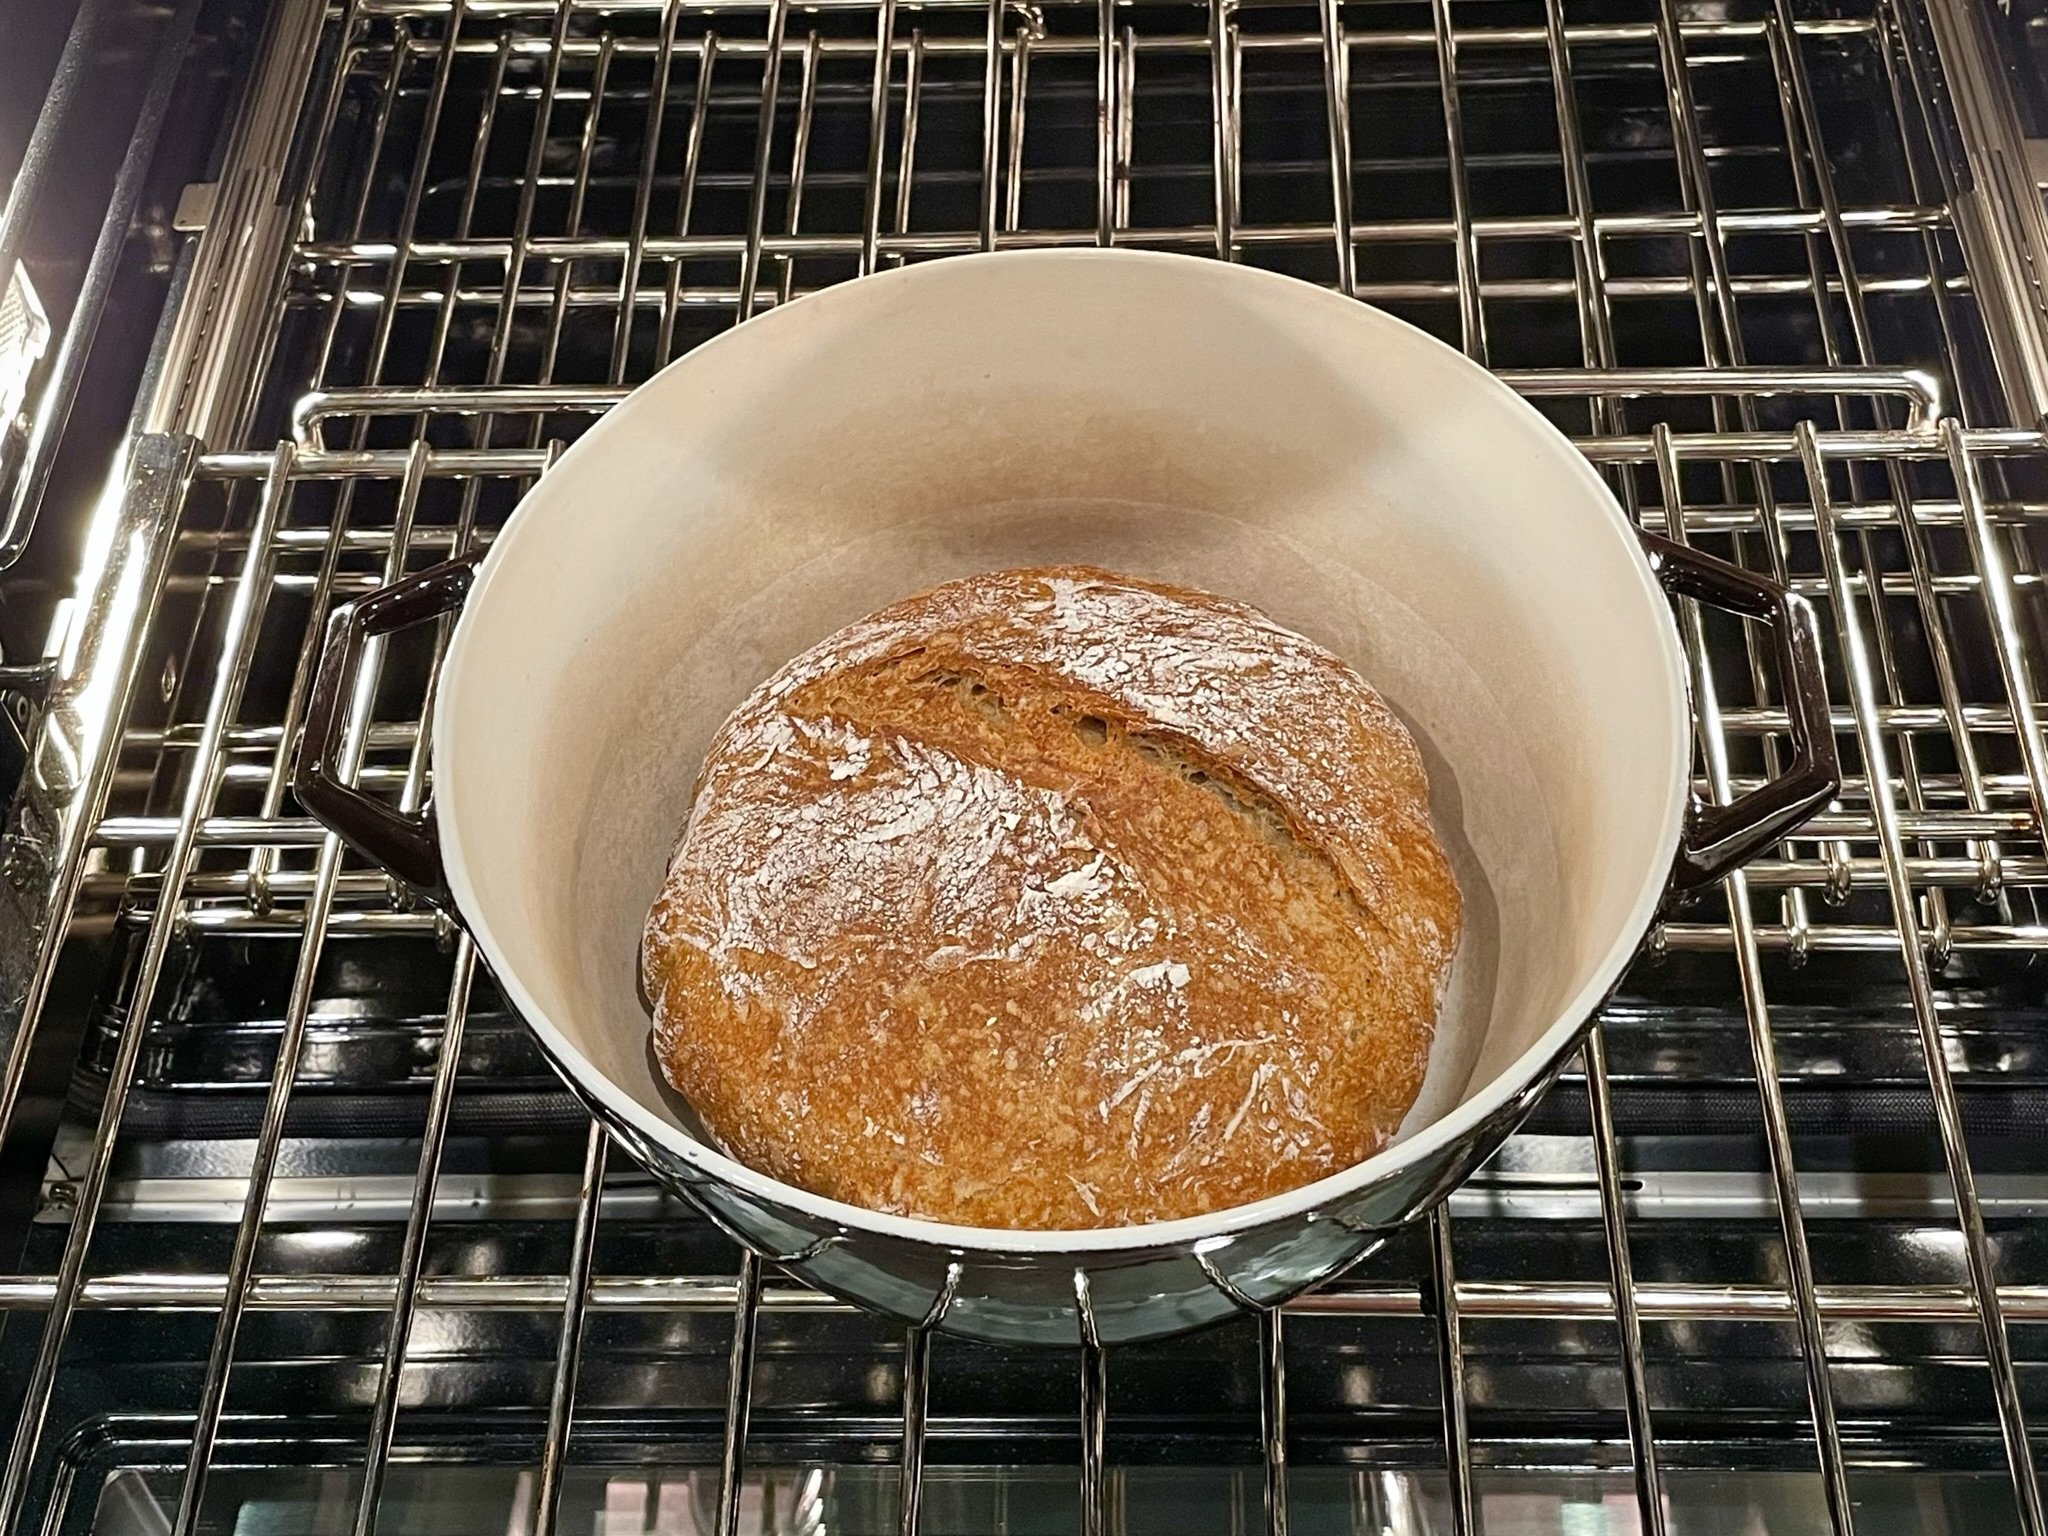
- Once preheated, uncover the dough (should have increased in size), and use a bread lame to score the top of the dough. Lift the parchment paper and transfer paper and dough into the hot Dutch oven. Cover with lid, and bake for 30 minutes.
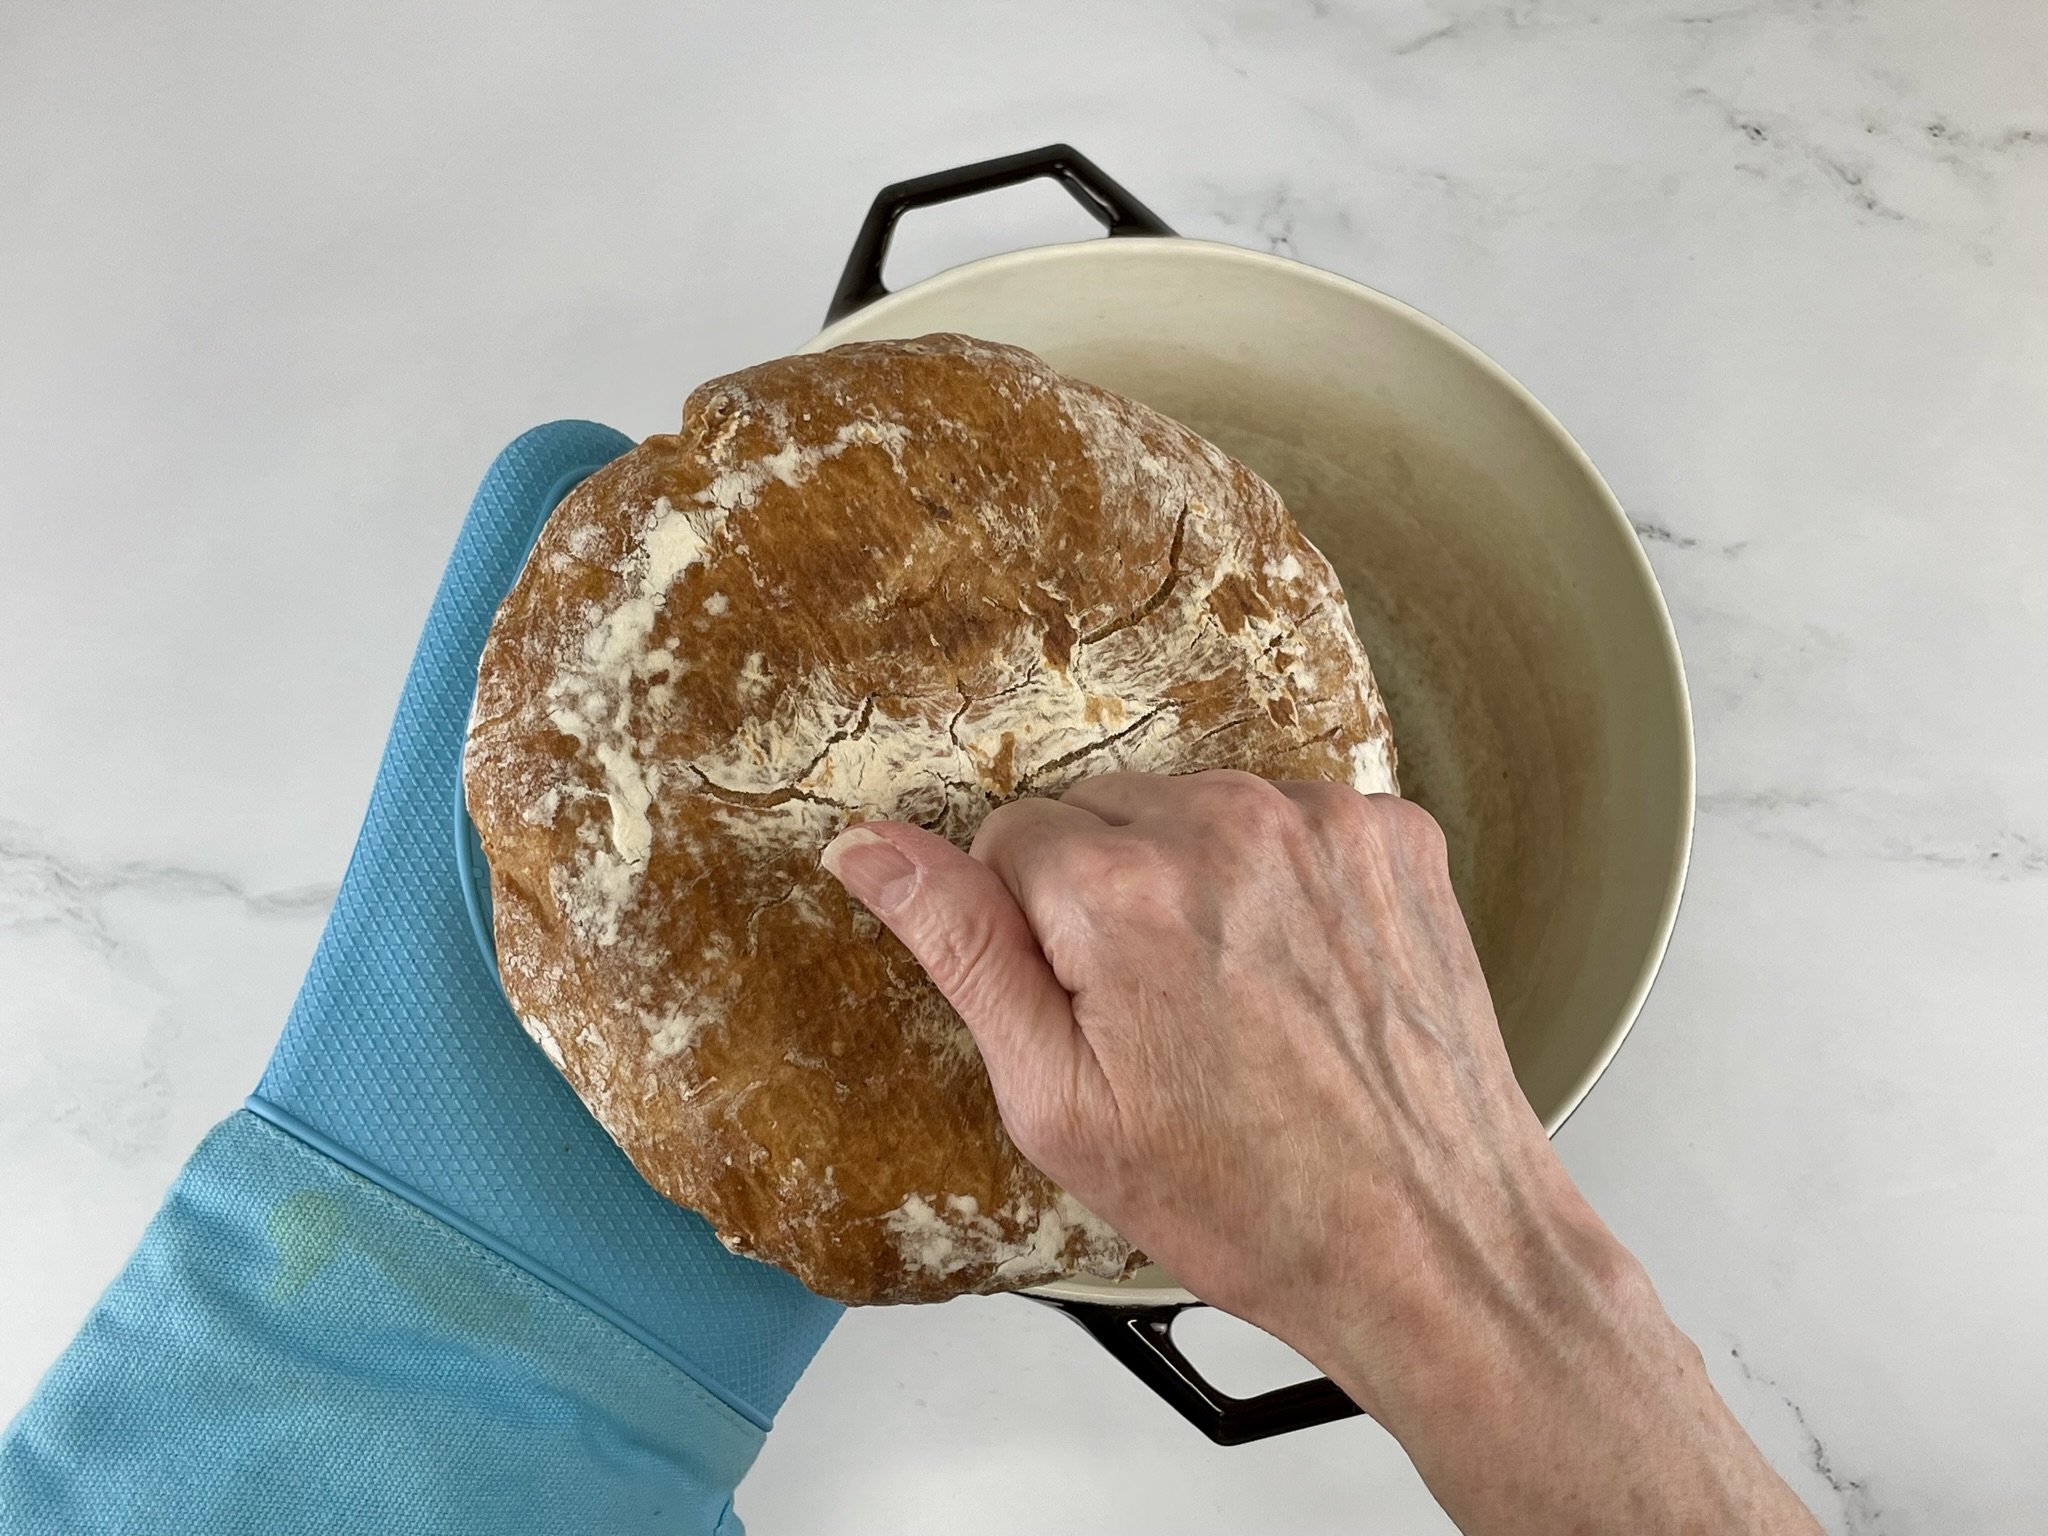
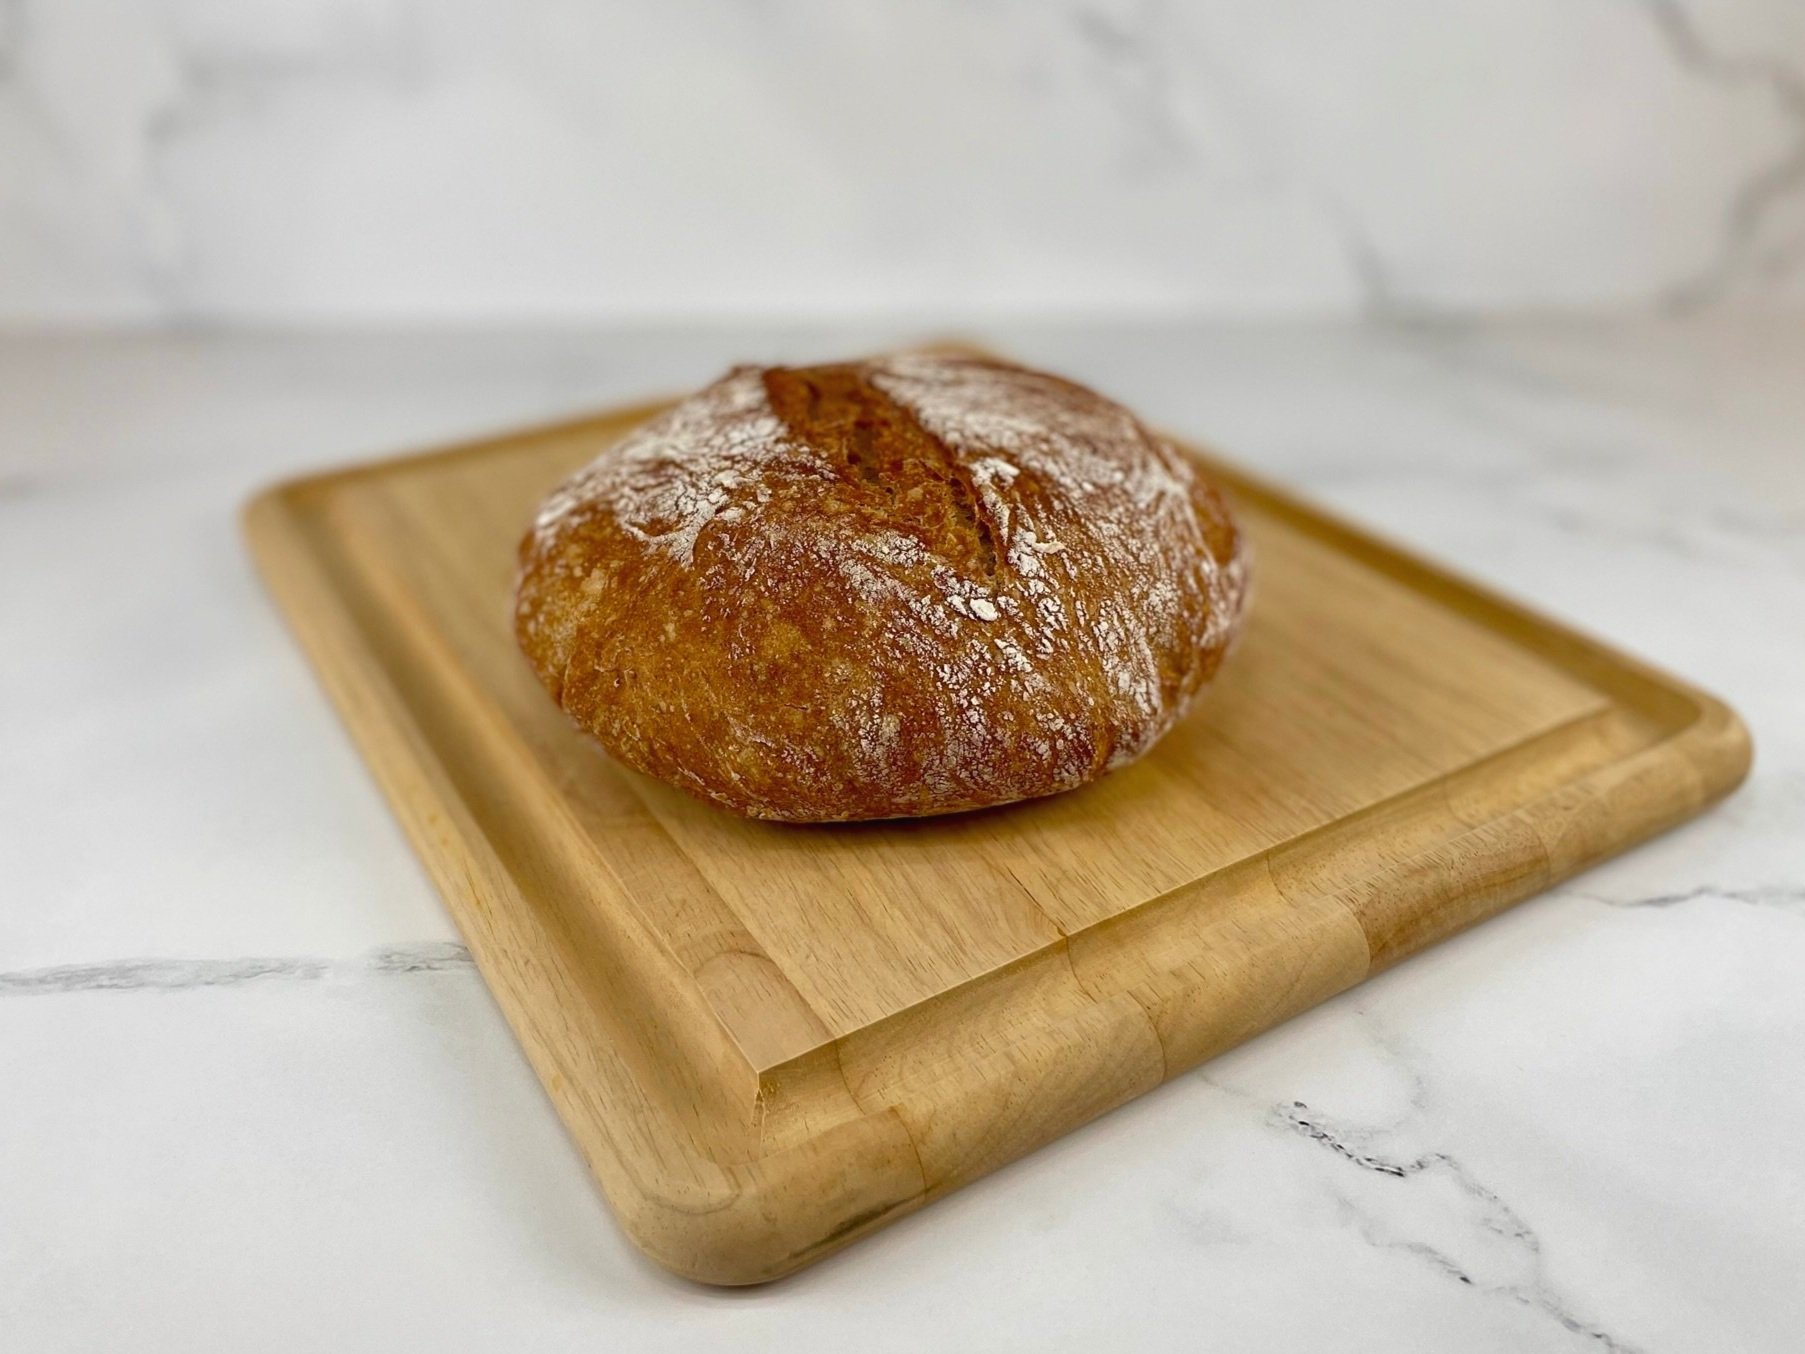
- Remove pot from the oven, uncover, lift the parchment paper out of the pot, and slide the bread back into the Dutch oven (without the paper). Place back into the oven without the lid, and bake uncovered for another 15-20 minutes (20 minutes for crustier bread). Once fully baked, remove bread from the pot, and test for doneness by tapping or knocking on the bottom of the loaf (it should sound like a door knock on wood). Allow to cool on a wire cooling rack (at least 2 hours before slicing - see Note #5).
Notes
- When making bread, it’s best to weigh your ingredients. If you don’t have a scale, be sure to aerate your flour well before you measure. To learn how to aerate flour, visit my Tips and Tricks page and watch the how to video: TIP #1 - How to Aerate Flour!
- The water temperature will drop a bit as soon as you stir in the honey, so it’s best to start with 115°F - 120°F. Once mixed, the water and honey mixture temperature should be between 110°F - 115°F before you add it to the dry ingredients. If the water temperature is too hot, it will kill the yeast.
- This is a very sticky dough and should be pliable. It takes a while to come together, but once it does, if it’s too dry, just add a little more warm filtered water (only 2 tablespoons at a time) until it reaches the desired consistency. Humidity and temperature will play a part in the stickiness of the dough, as well as how long it takes to proof.
- To form the dough, imagine folding over each petal of a flower into the center of the dough ball. Repeat this process until the dough can be flipped over to form a smooth round using your hands.
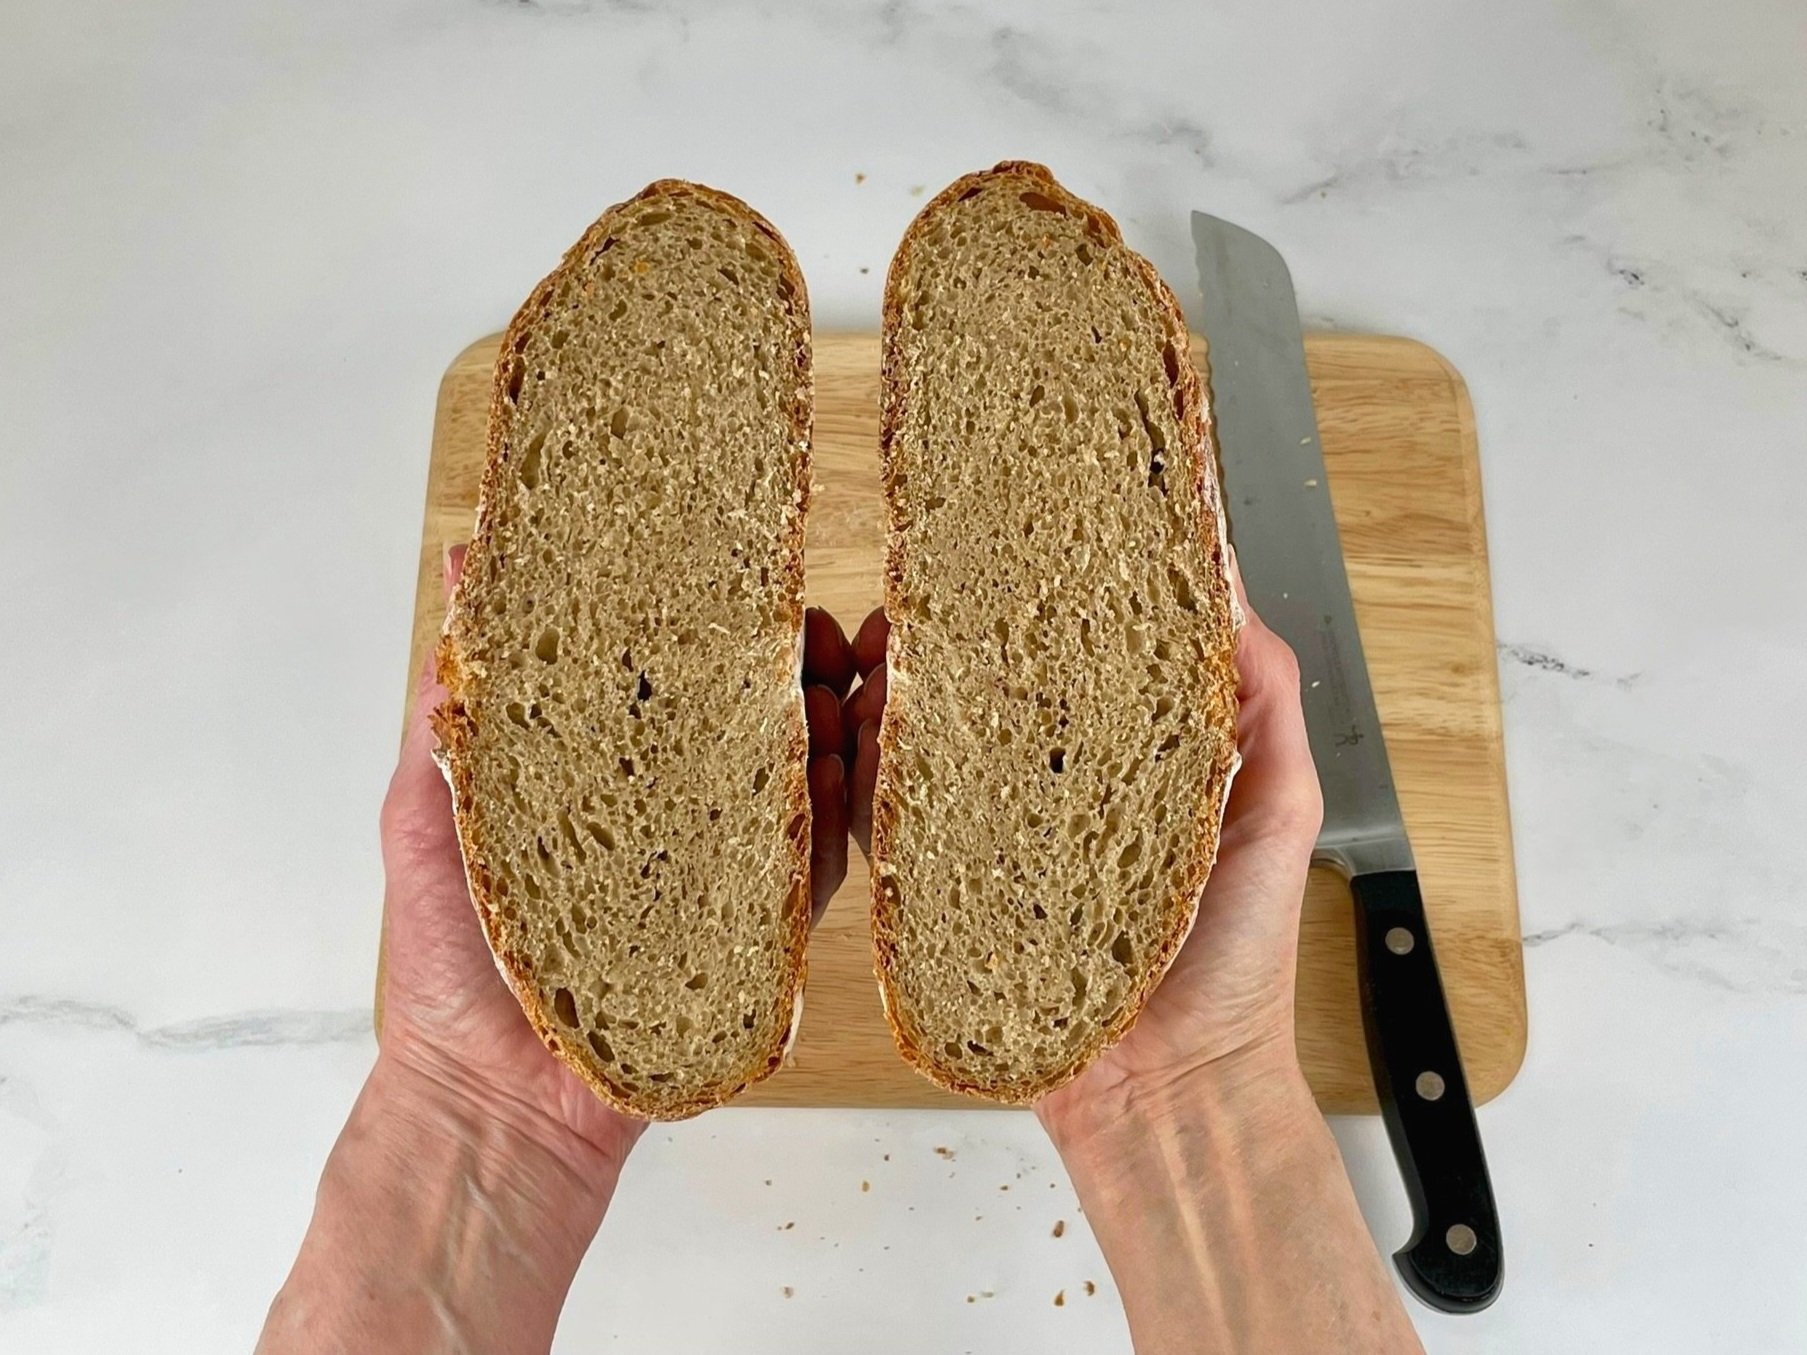
- Although it’s tempting to cut into hot bread, let your bread cool at least 2 hours before cutting into it. This will allow the steam to settle and the crumb to stay moist.
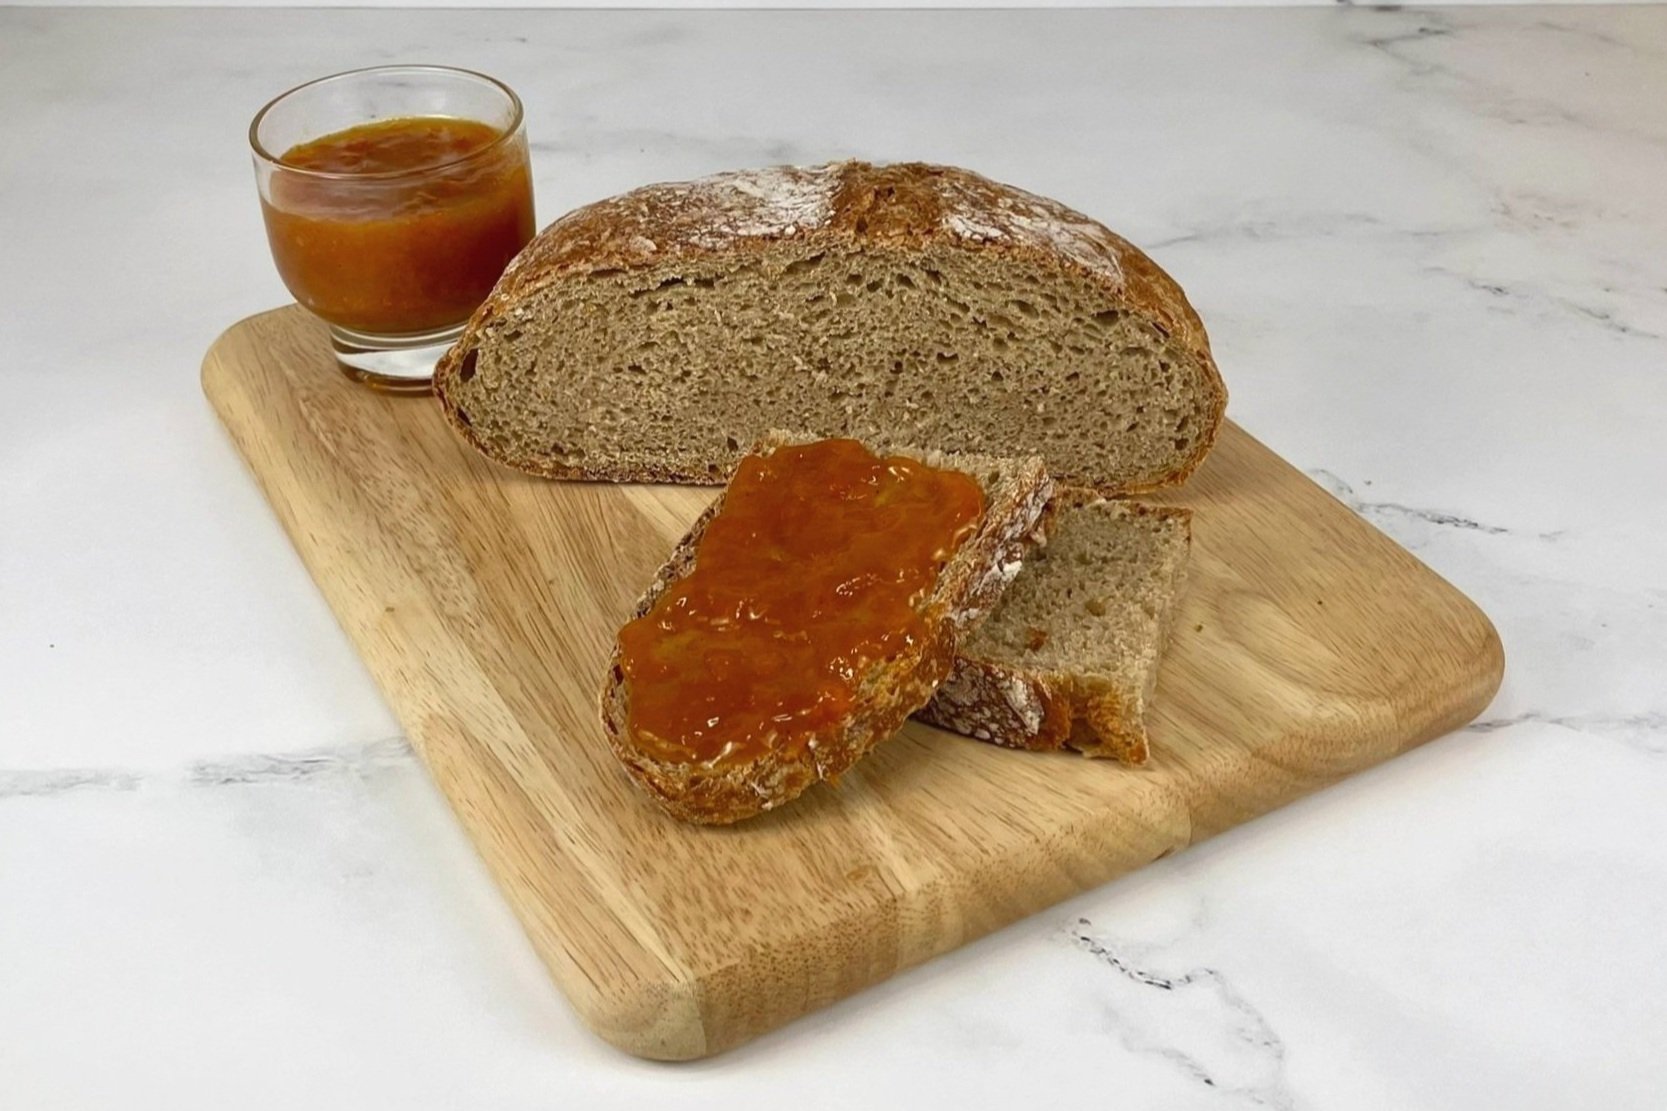
- Slice and enjoy on sandwiches, with my Napa Avocado Toast, or freshly baked with butter and jam. Try it with one of my easy jam recipes, like my Kumquat Marmalade, Honey Fig Jam, or my Easy Perfectly Plum Jam.
- Recipe can be made ahead of time.
- Makes 12 servings.


Nutrition Facts
Calories
132.57Fat (grams)
0.78 gSat. Fat (grams)
0.04 gCarbs (grams)
26.38 gFiber (grams)
2.95 gNet carbs
23.44 gSugar (grams)
1.99 gProtein (grams)
5.48 gSodium (milligrams)
195.78 mgCholesterol (grams)
0 mgNutritional information provided is strictly an estimate and will vary based on ingredient brands and cooking methods.
Step by Step Instructions
STEP 1
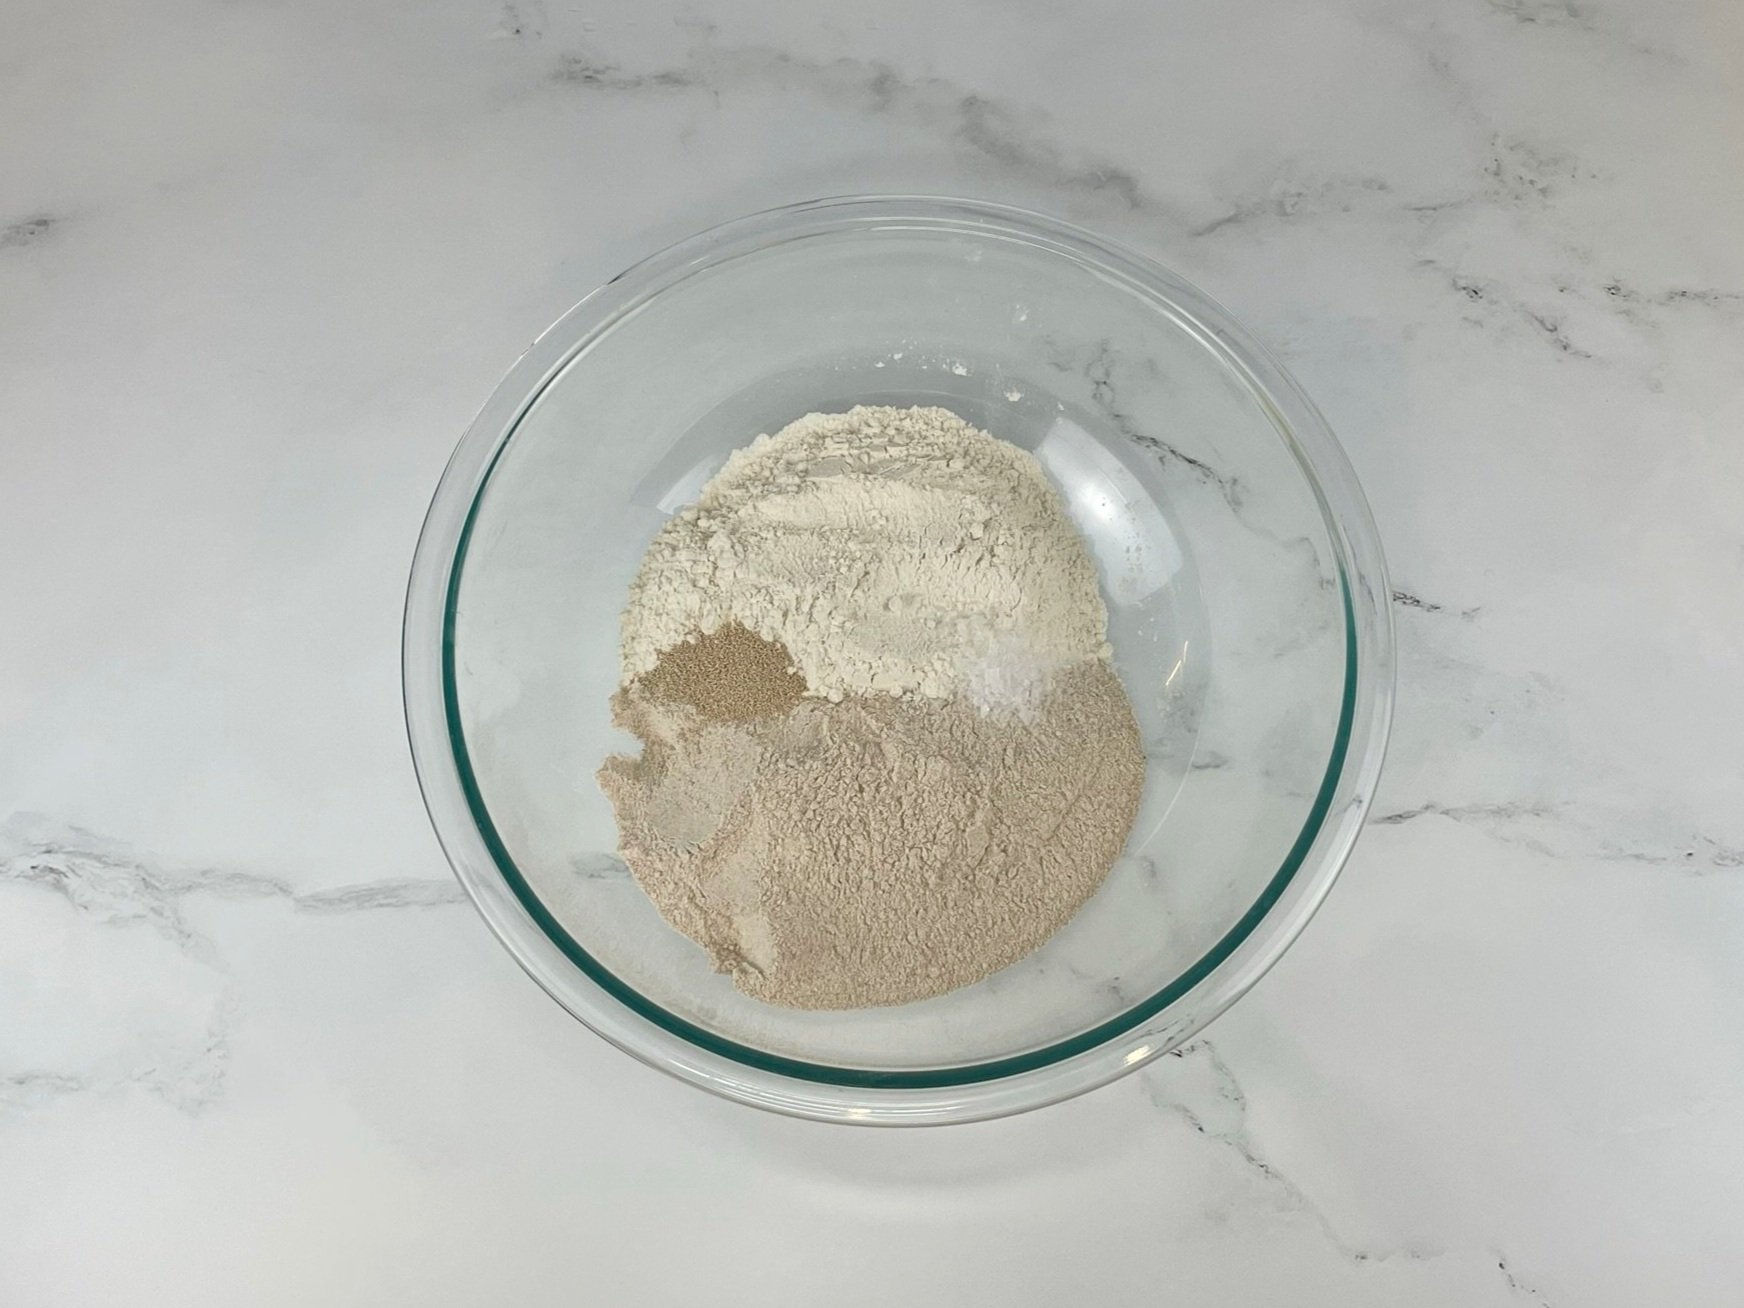
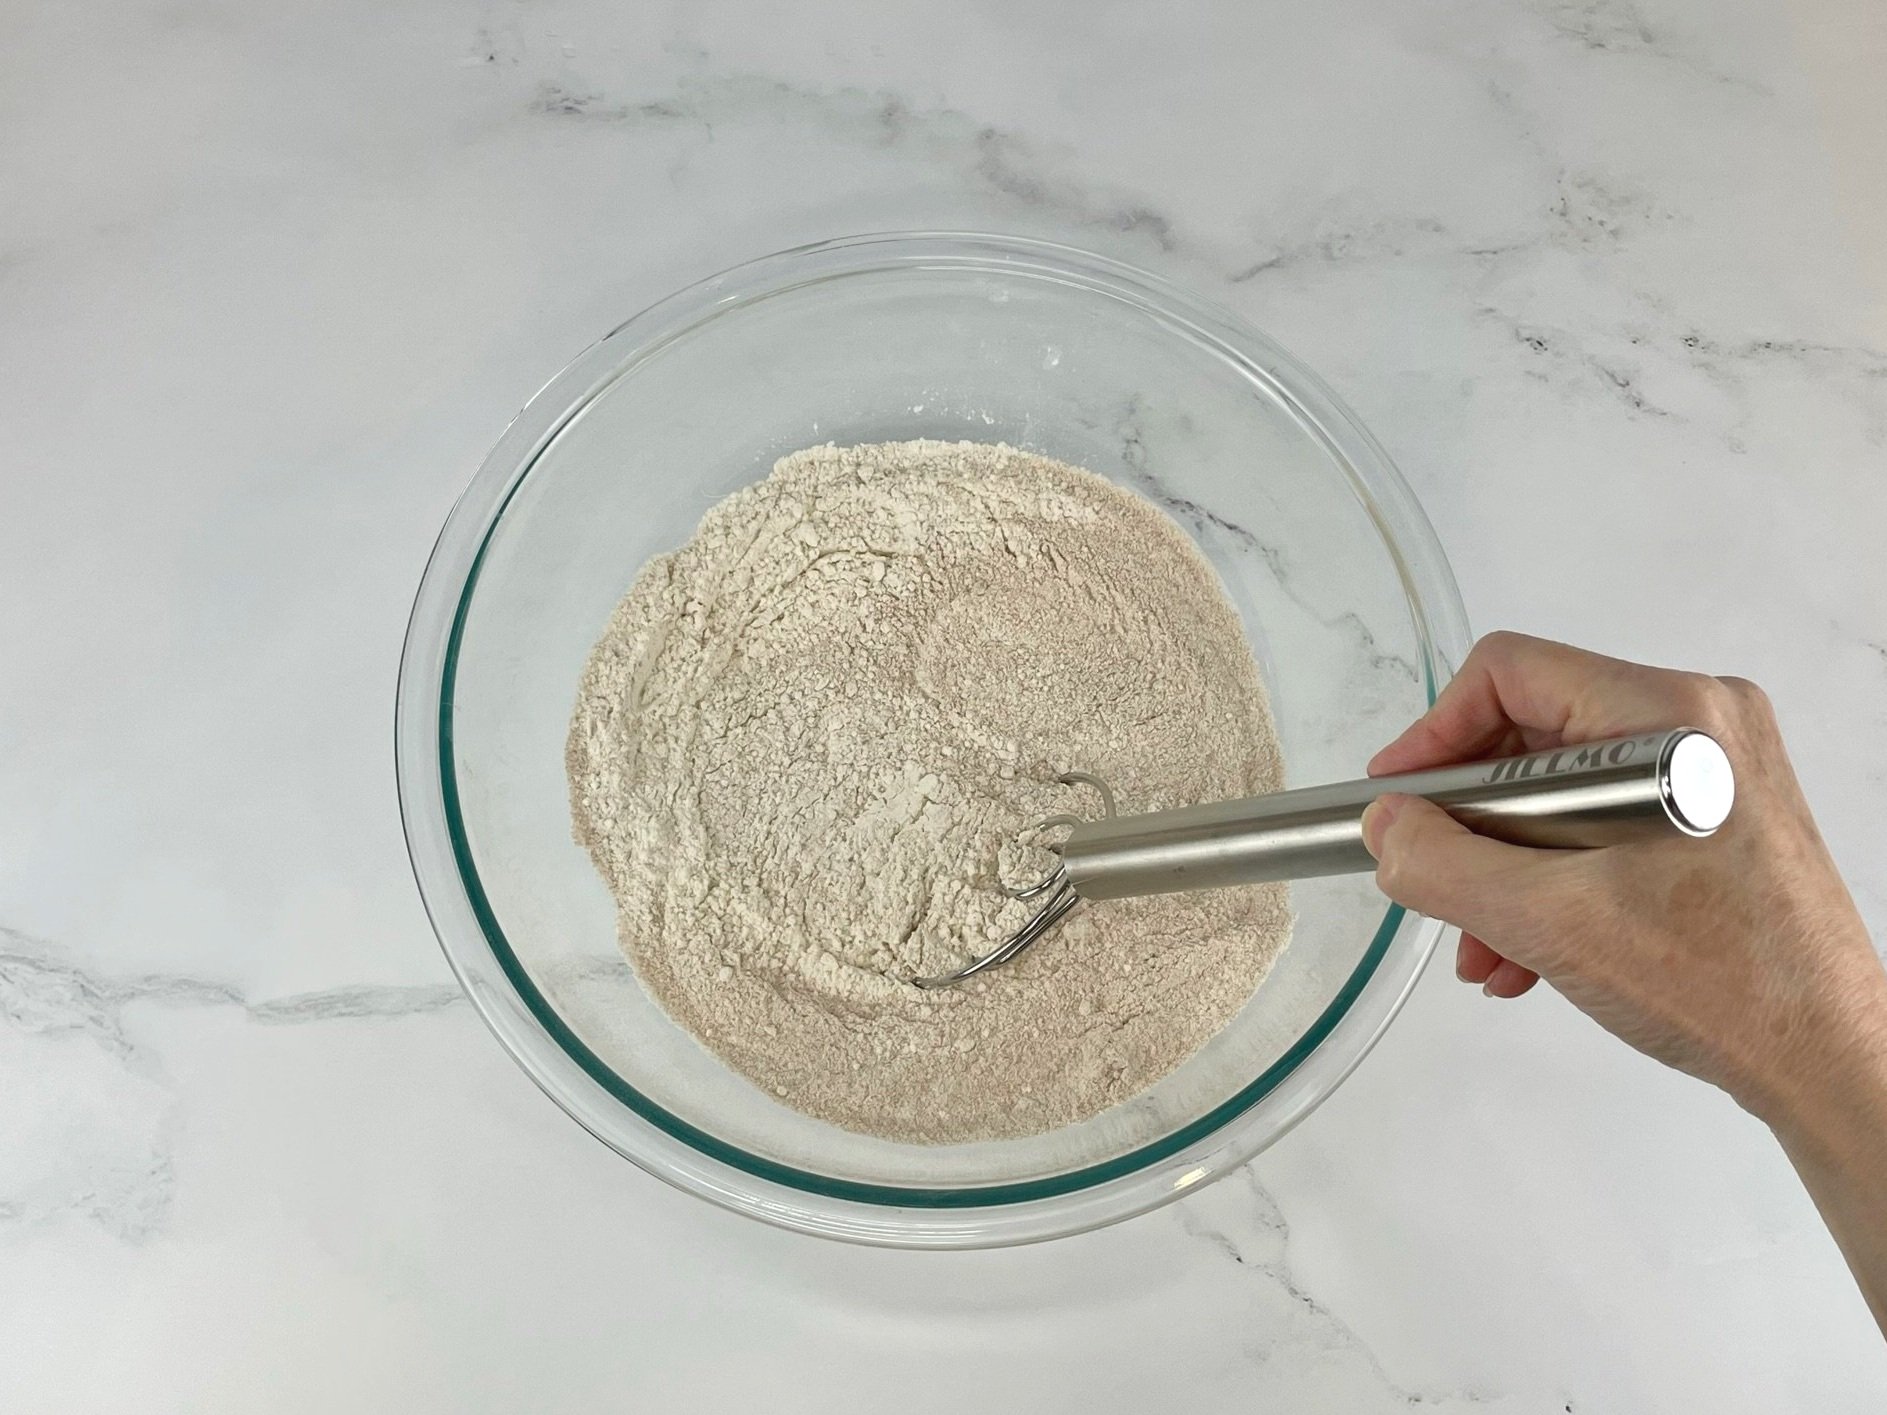
To a large mixing bowl, add 1 ½ cups aerated stone ground whole wheat flour (200g), 1 ½ cups aerated unbleached bread flour 200g - see Note below), 1 teaspoon active dry yeast, and 1 teaspoon Maldon sea salt flakes. Whisk well to combine, and set aside. Bob's Red Mill organic stone ground whole wheat flour, and Gold Medal unbleached bread flour.
Note: When making bread, it’s best to weigh your ingredients. If you don’t have a scale, be sure to aerate your flour well before you measure. To learn how to aerate flour, visit my Tips and Tricks page and watch the how to video: TIP #1 - How to Aerate Flour! Also, I used a Danish dough whisk in the photo below, but I later discovered that using a regular whisk is quicker to combine the dry ingredients in this step.
STEP 2
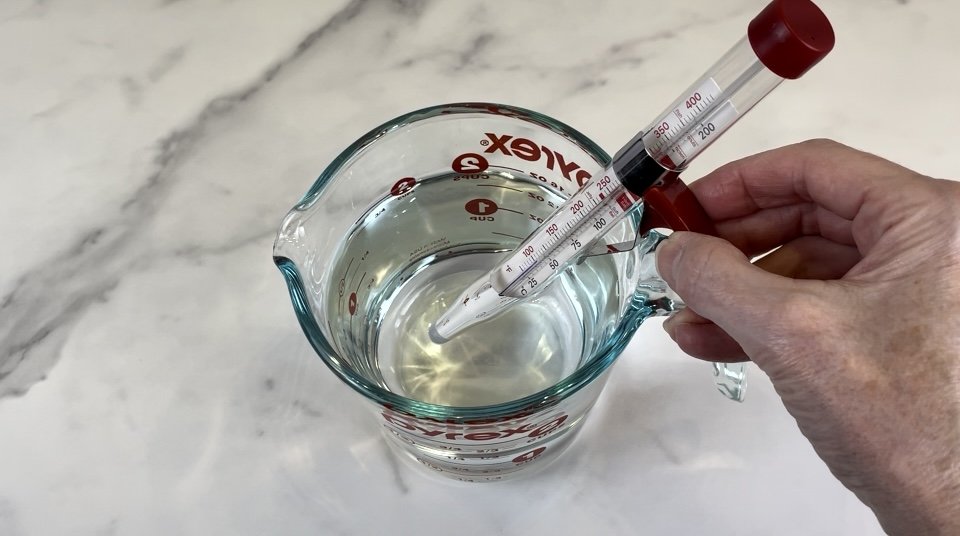
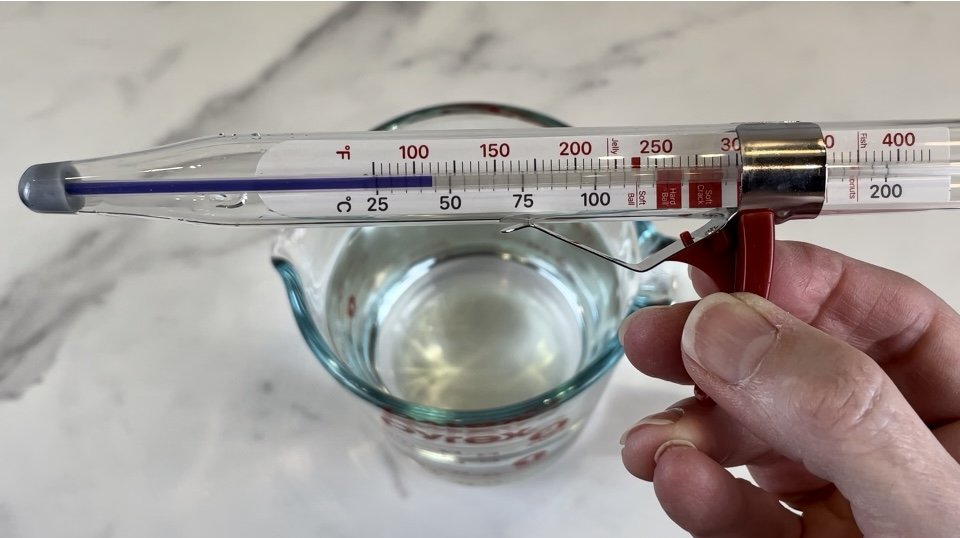
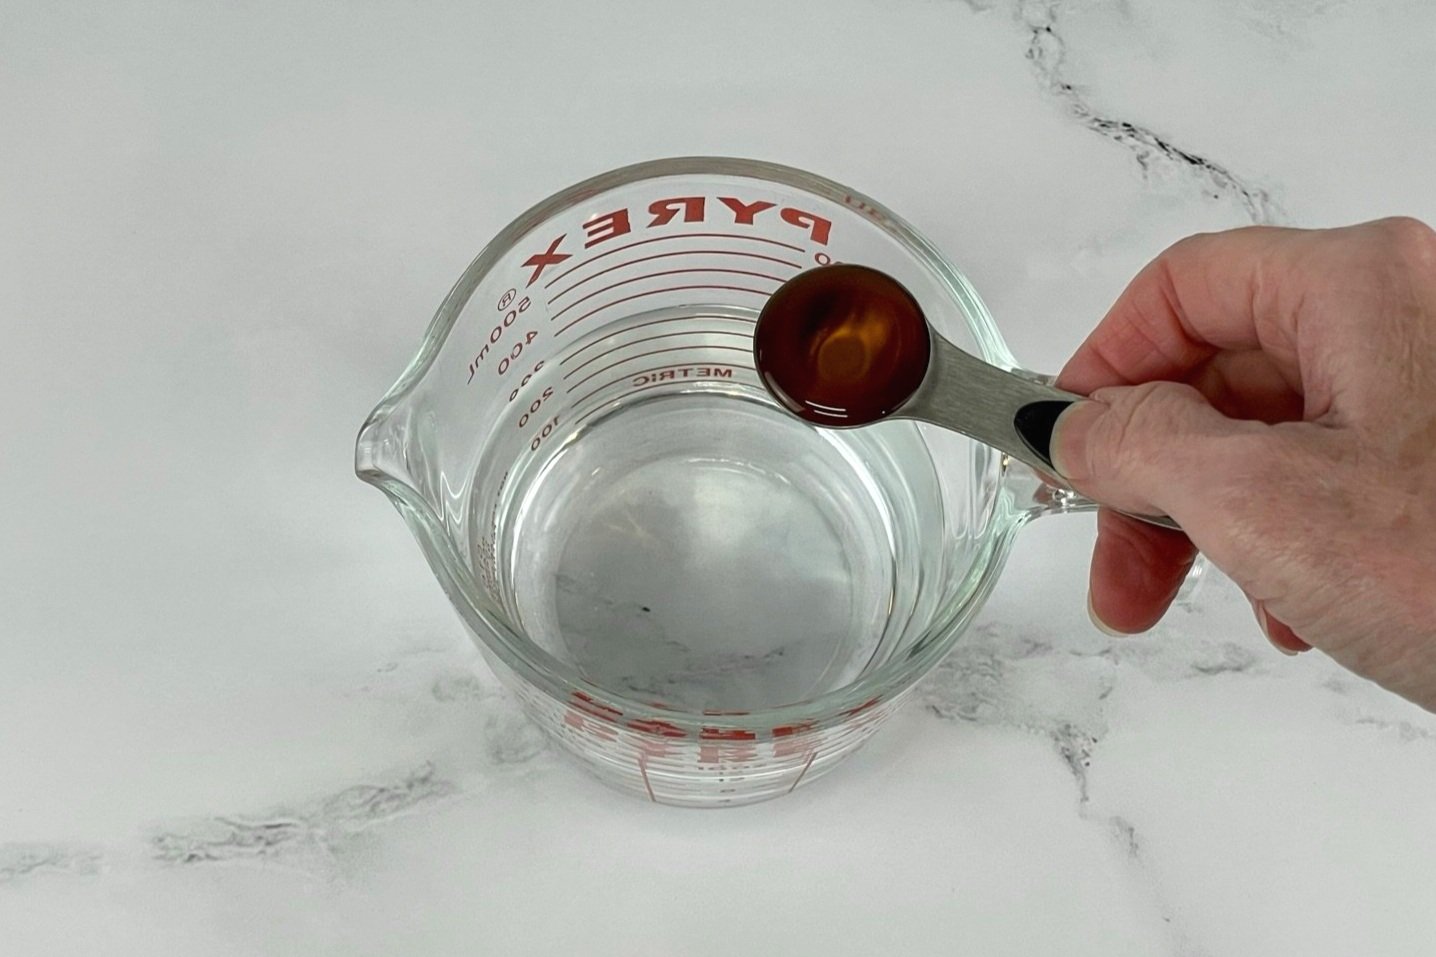
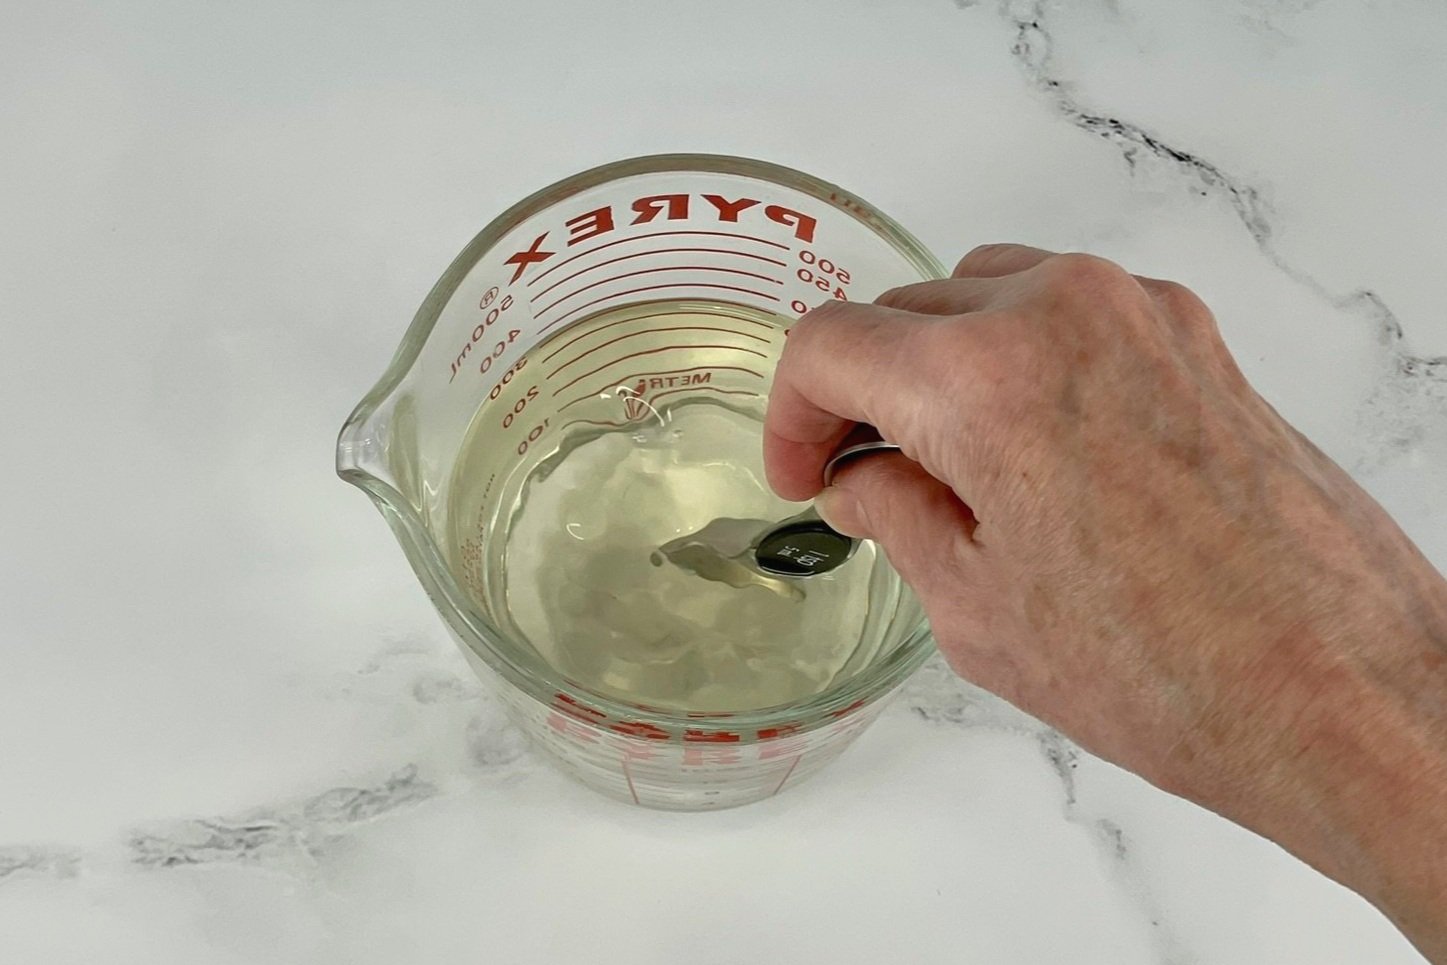
Heat 1 ½ cups filtered water until warm (115°F - 120°F), using a thermometer to test the temperature (see Note below). Dissolve 1 tablespoon honey (or 1 teaspoon sugar) in the water.
Note: The water temperature will drop a bit as soon as you stir in the honey, so it’s best to start with 115°F - 120°F. Once mixed, the water and honey mixture temperature should be between 110°F - 115°F before you add it to the dry ingredients. If the water temperature is too hot, it will kill the yeast.
STEP 3a
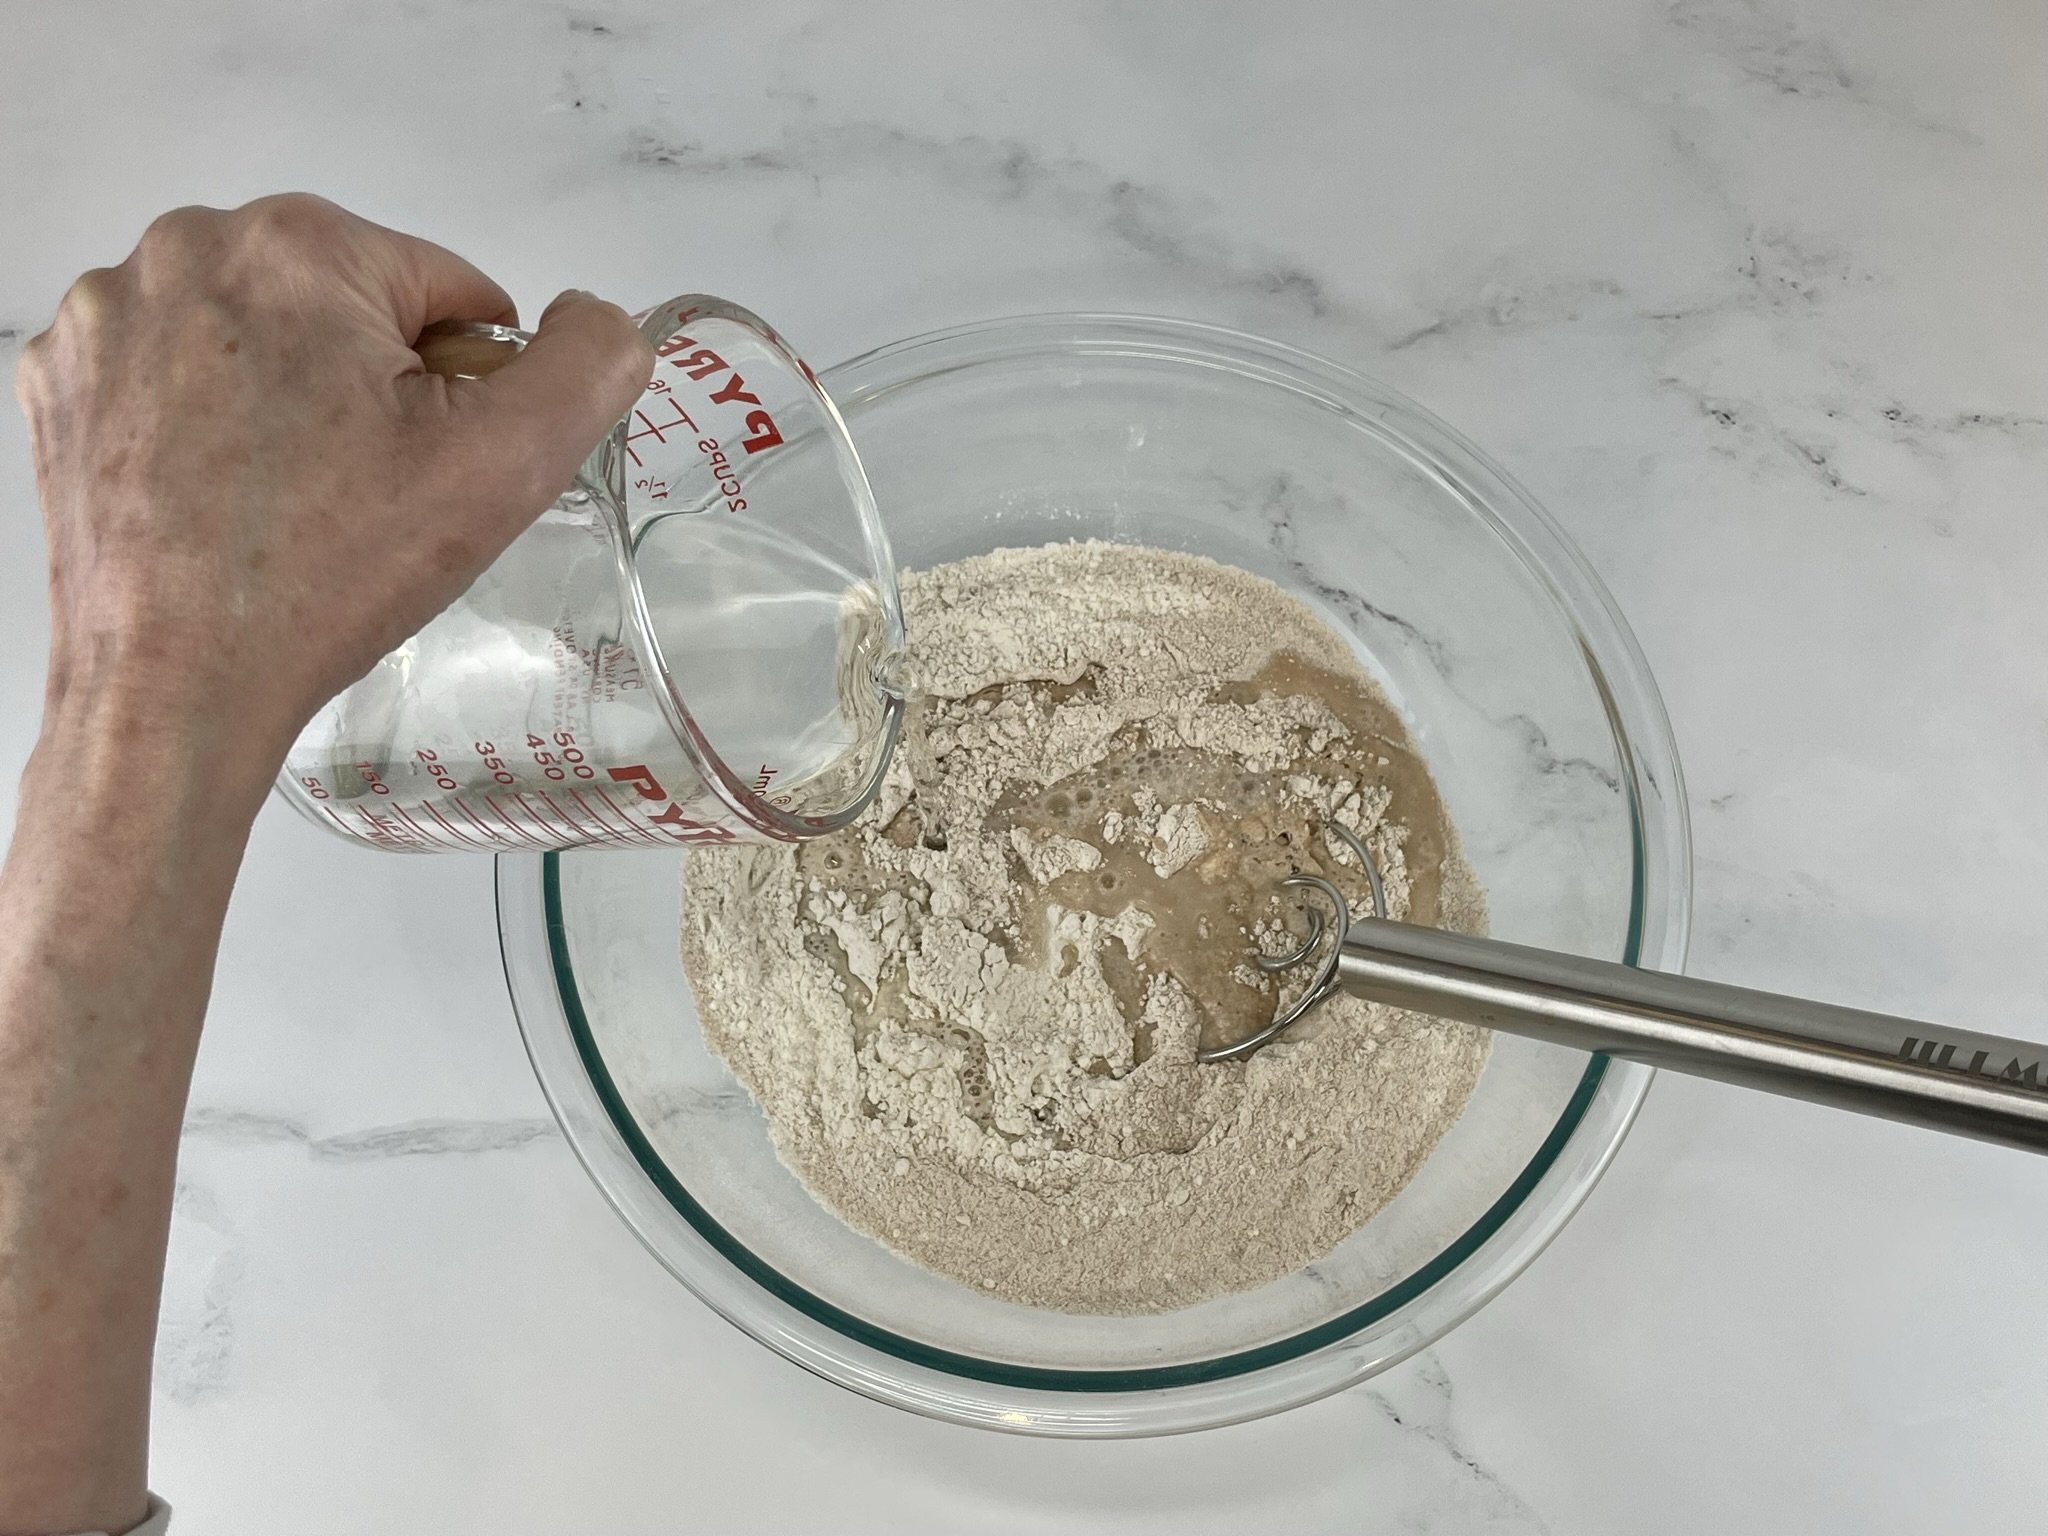
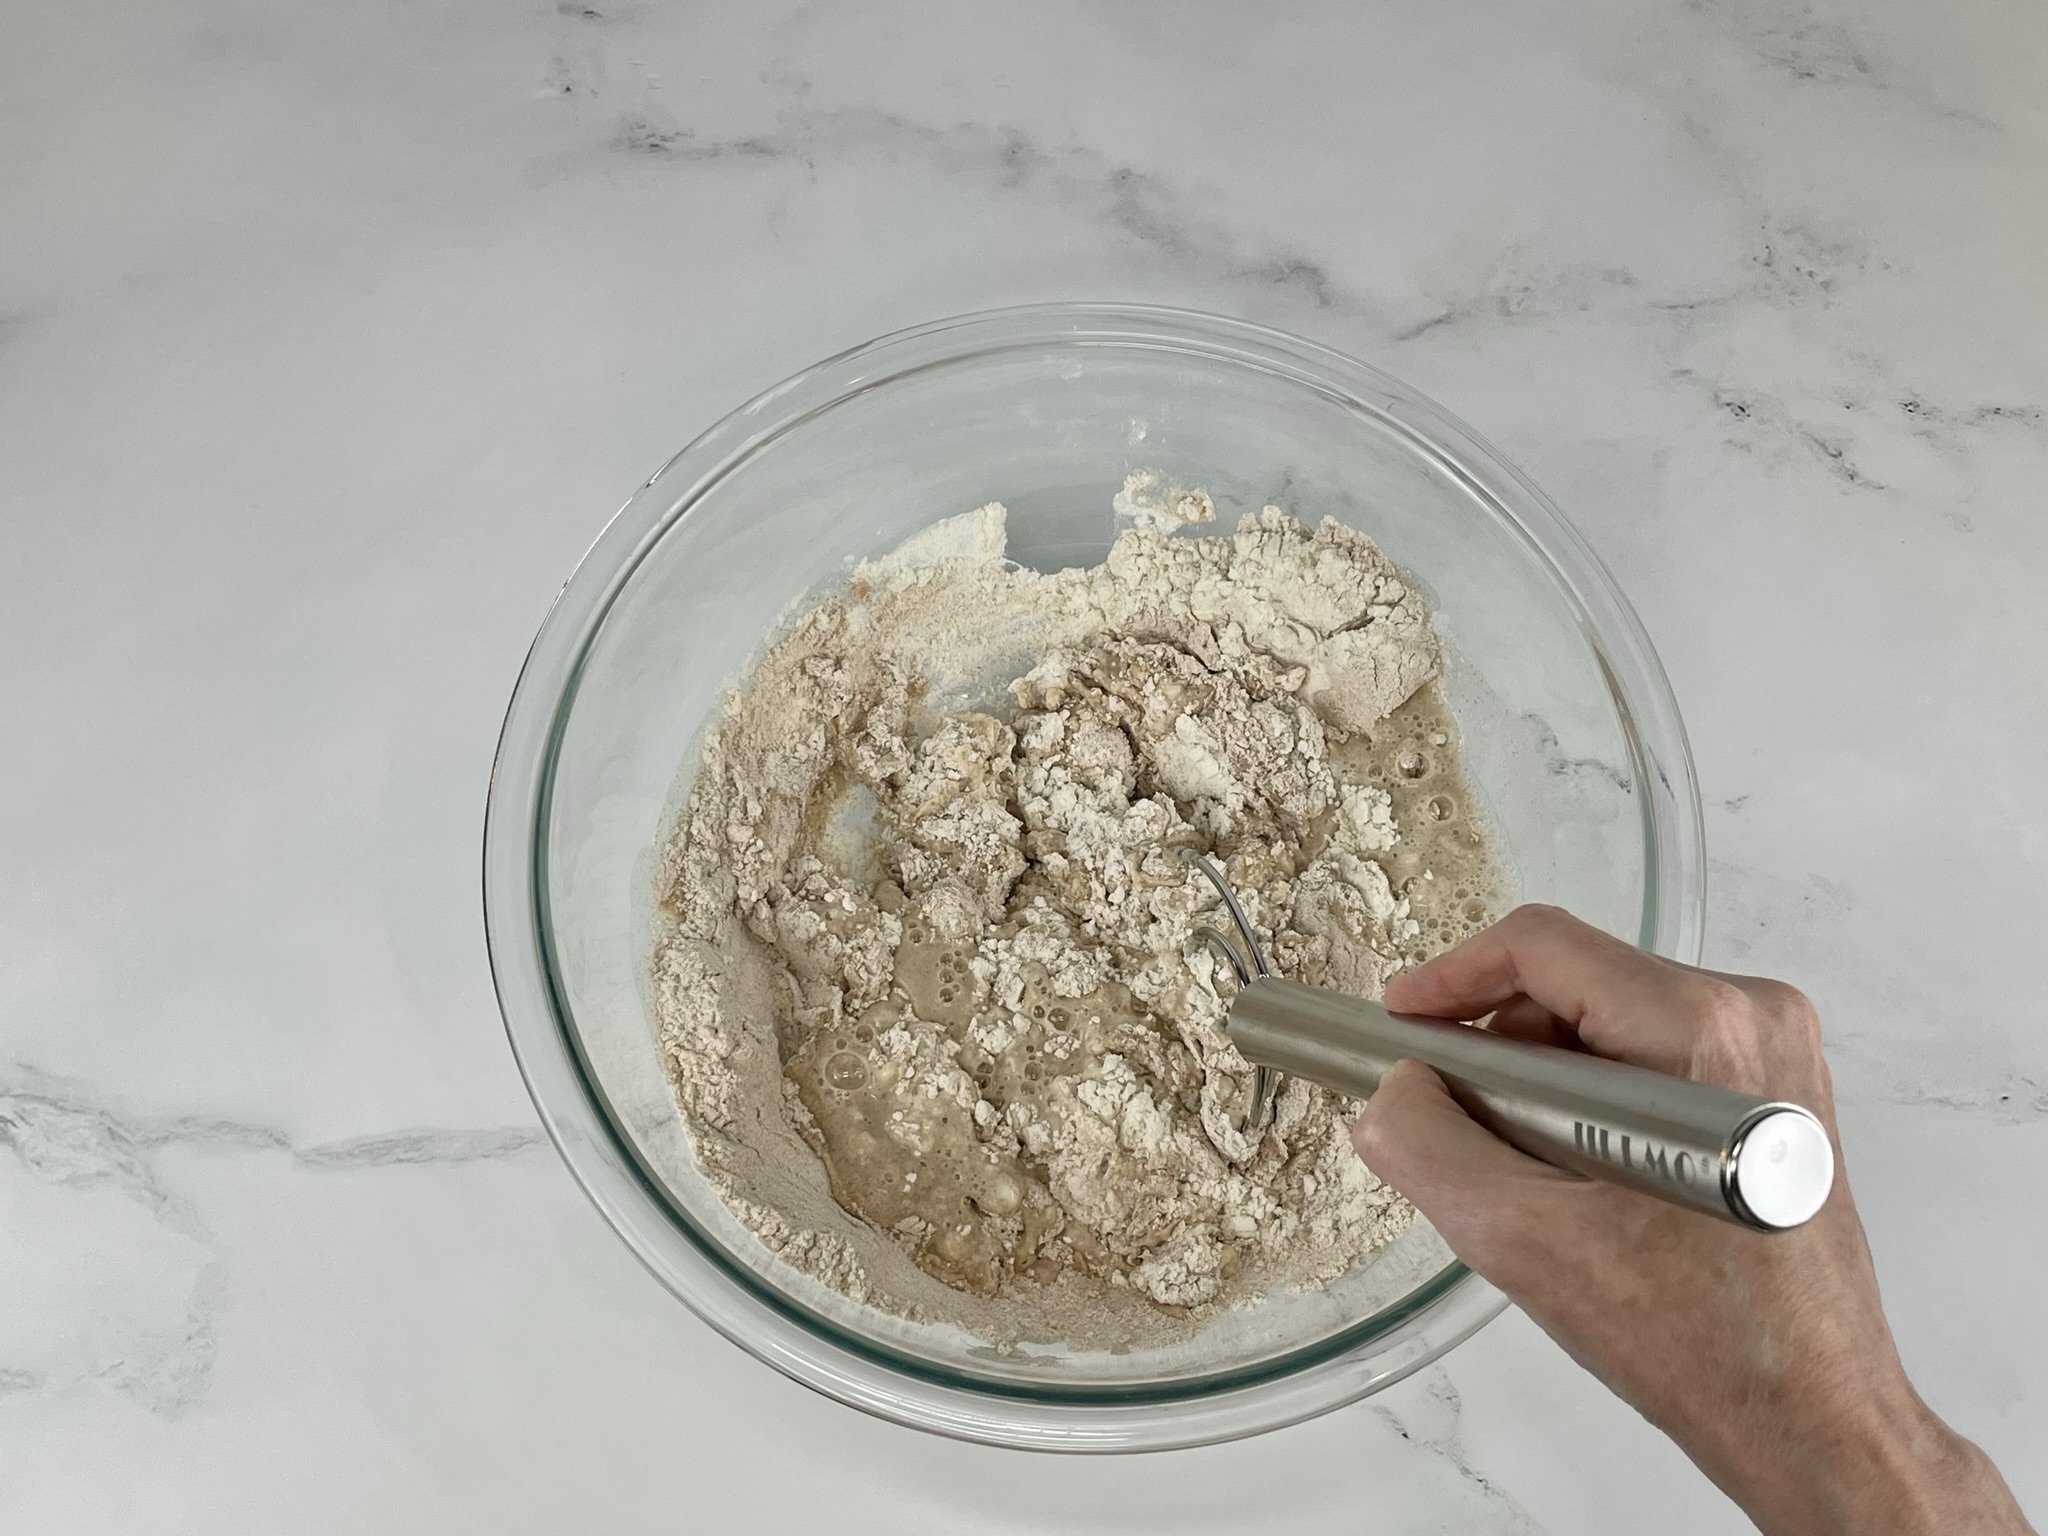
Pour the honey water into the dry flour mixture. Using a Danish dough whisk (or sturdy wooden spoon or spurtle), combine all the ingredients together, scraping the sides of the bowl as you stir. Continue to work the dough with your whisk or spoon until it becomes sticky and stringy (showing glutenous strands - see Note below). Scrape down the sides of the bowl, and cover the bowl with plastic wrap, and/or a clean kitchen towel.
Note: This is a very sticky dough and should be pliable. It takes a while to come together, but once it does, if it’s too dry, just add a little more warm filtered water (only 2 tablespoons at a time) until it reaches the desired consistency.
STEP 3b
Set aside in a warm spot (best room temperature between 65°F to 75°F, and away from drafts) for 3 to 5 hours until the dough has doubled in size.
Note: Humidity and temperature will play a part in the stickiness of the dough, as well as how long it takes to proof.
STEP 4a
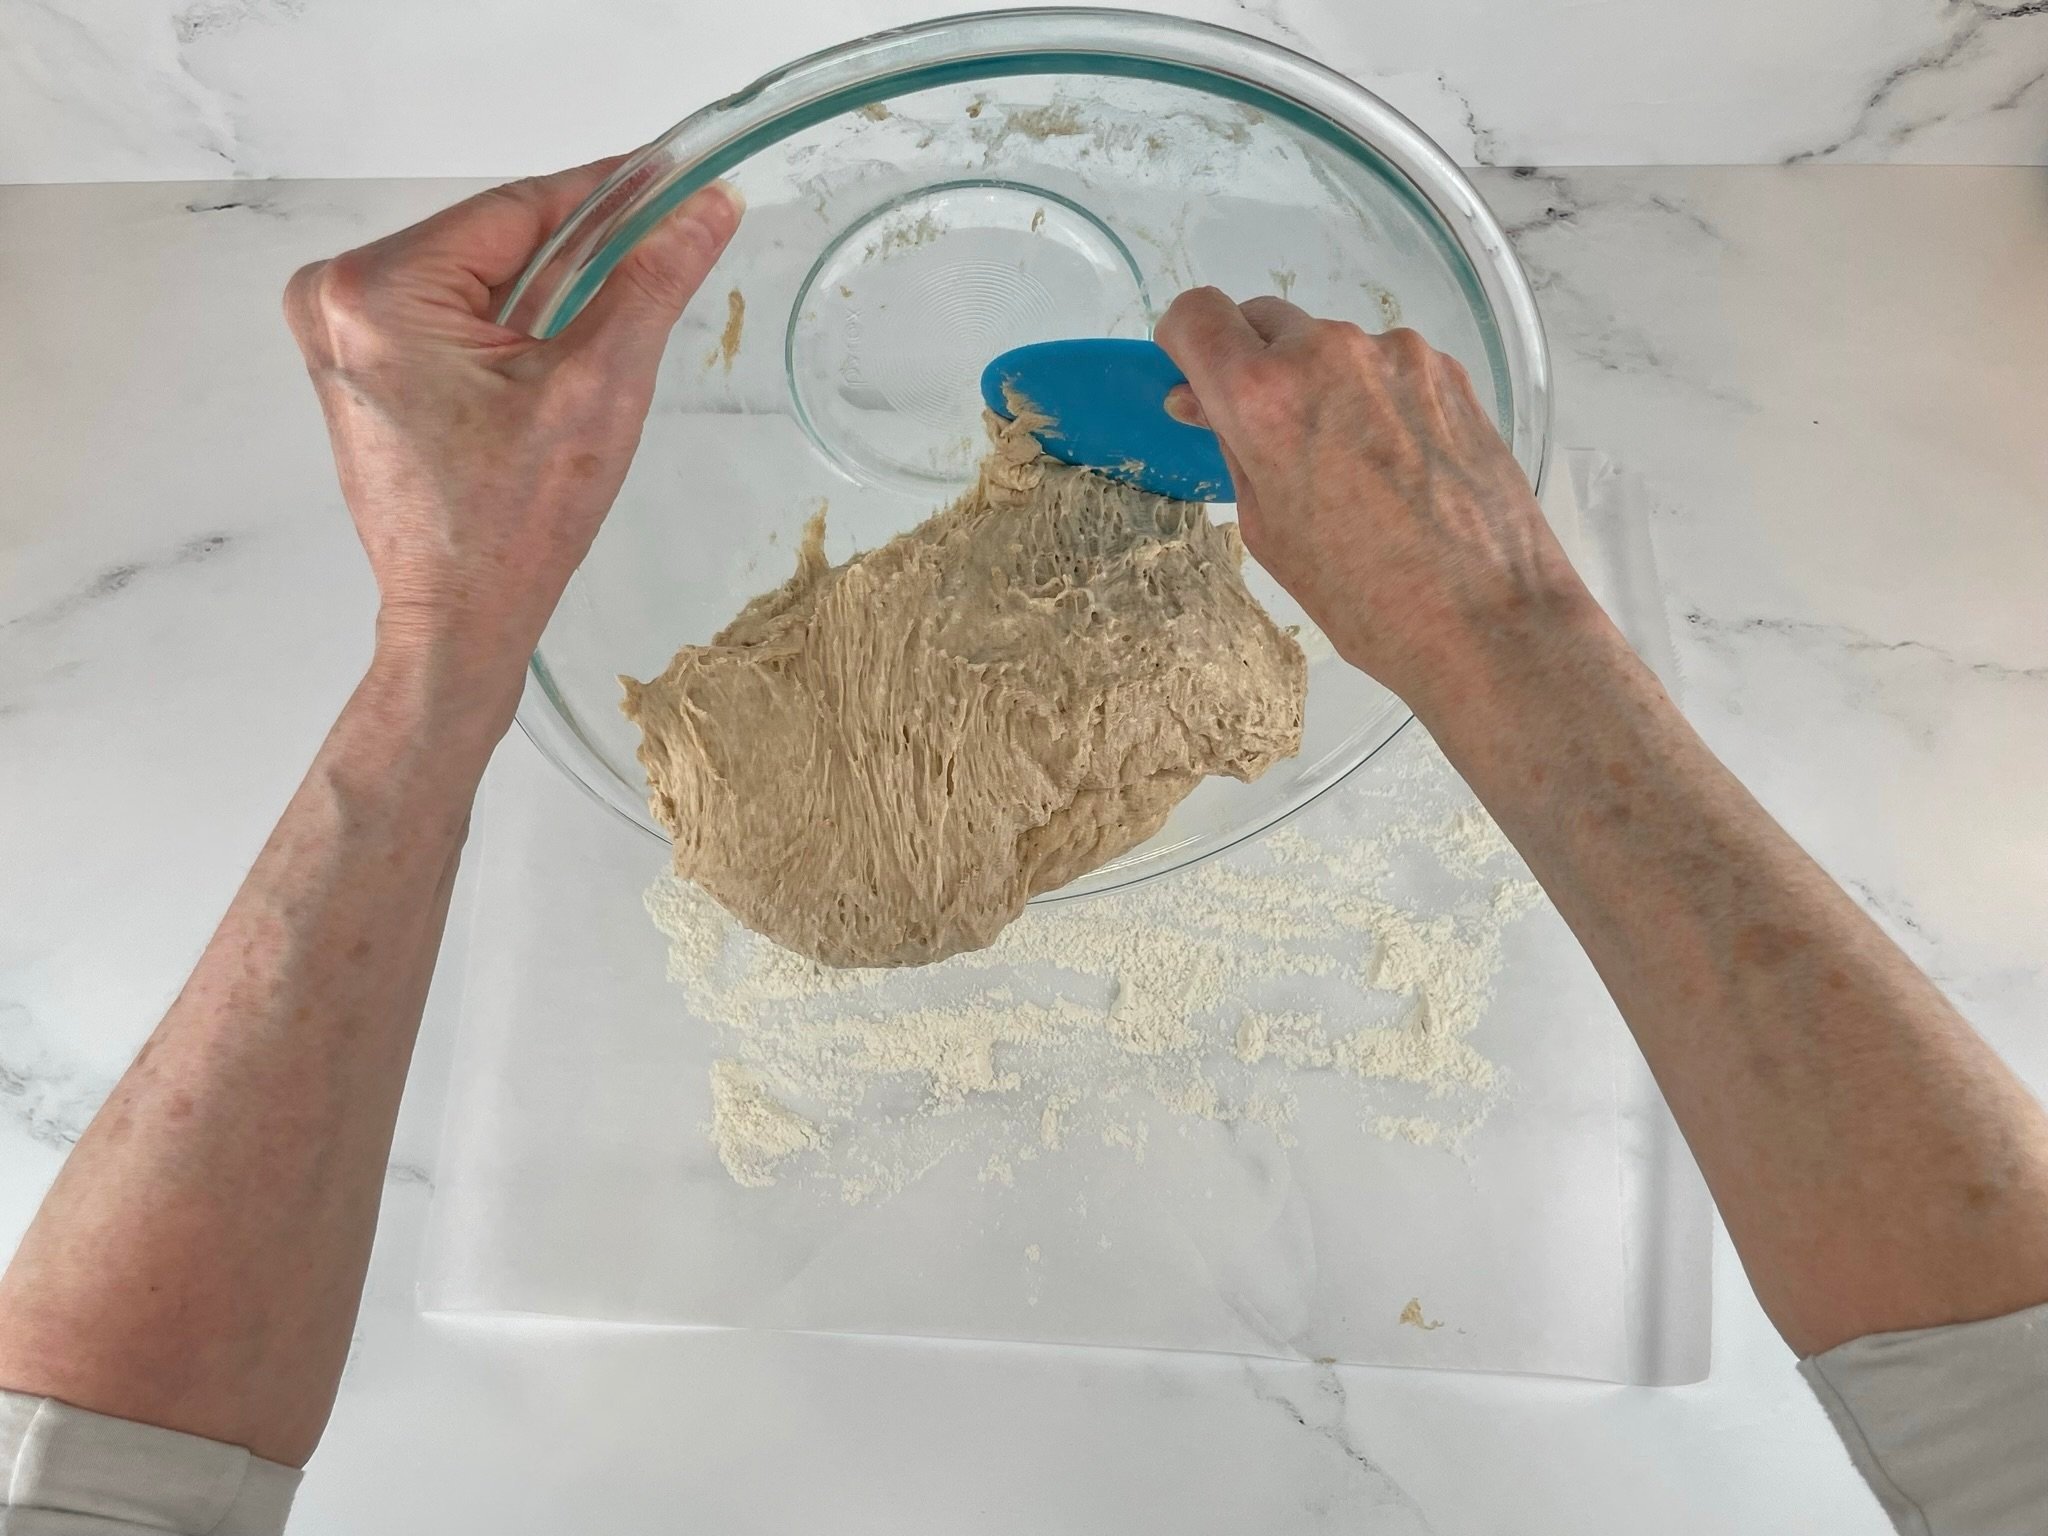
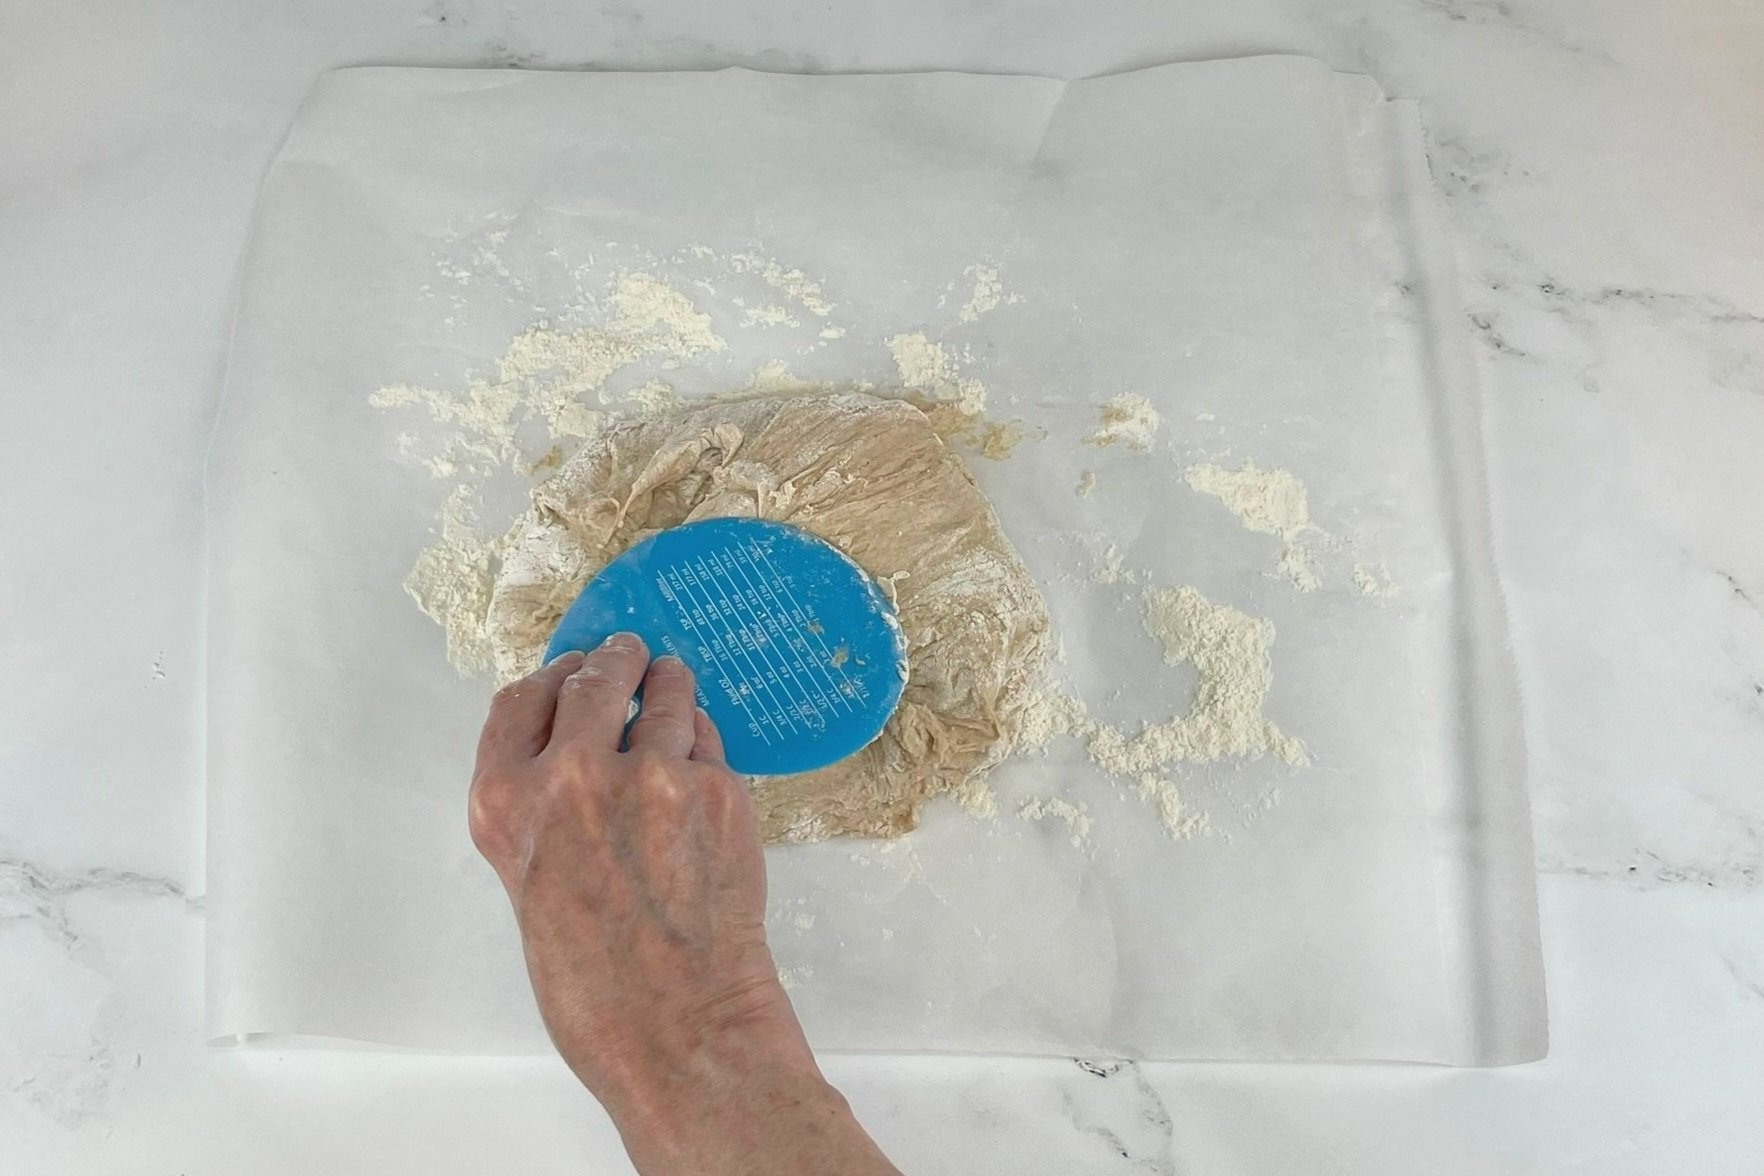
Once dough has doubled in size, generously sprinkle some flour on a large sheet of heavy duty parchment paper, and using a silicone bread scraper, carefully scrape out the sides of the dough from the bowl and dump onto the floured paper. Using a stainless steel pastry scraper (or the silicone bread scraper), scrape each side of the dough under then over into the middle, bringing each side of the dough into the center just until you form a rough folded mound of dough (do not overwork dough - see Note below).
Note: To form the dough, imagine folding over each petal of a flower into the center of the dough ball. Repeat this process until the dough can be flipped over to form a smooth round using your hands.
STEP 4b
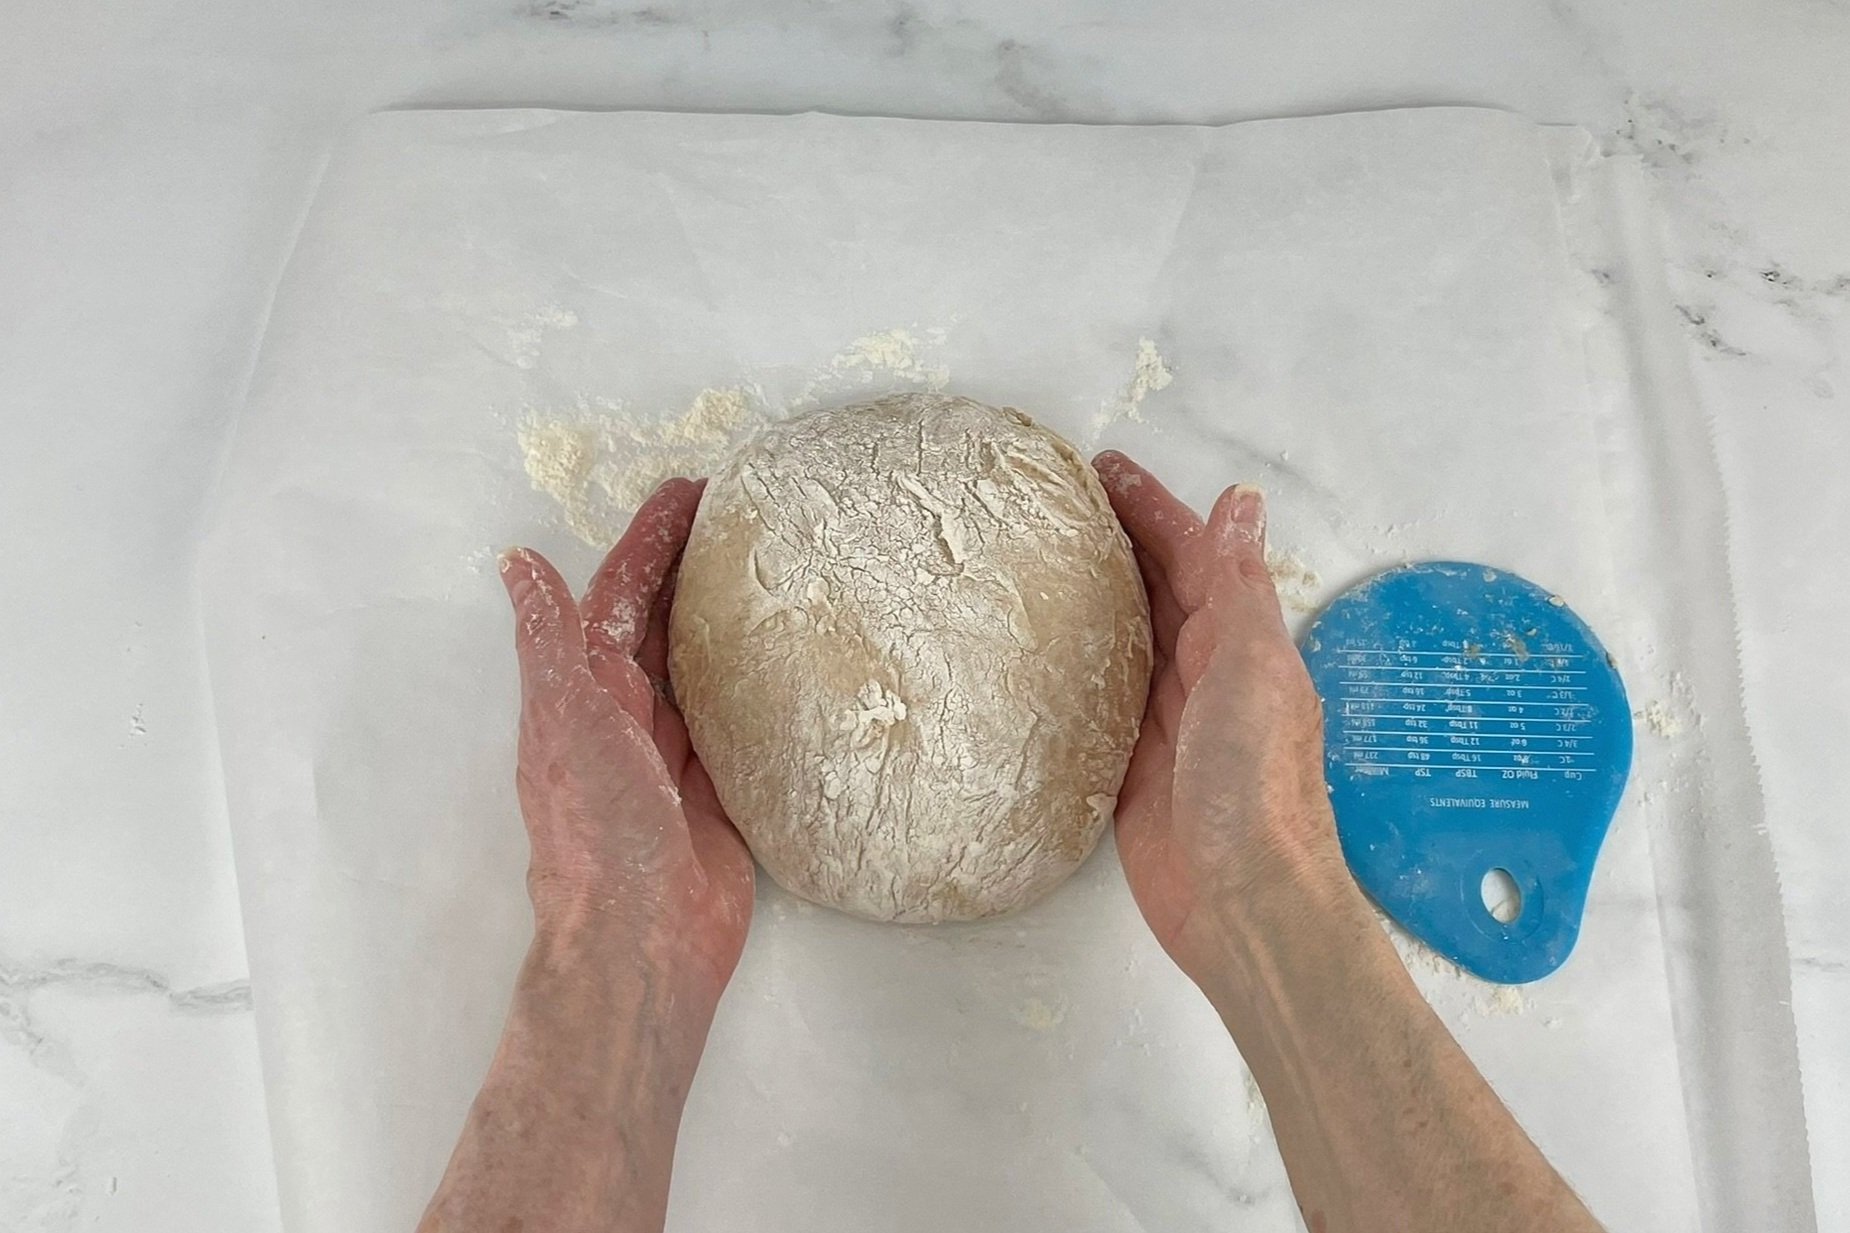
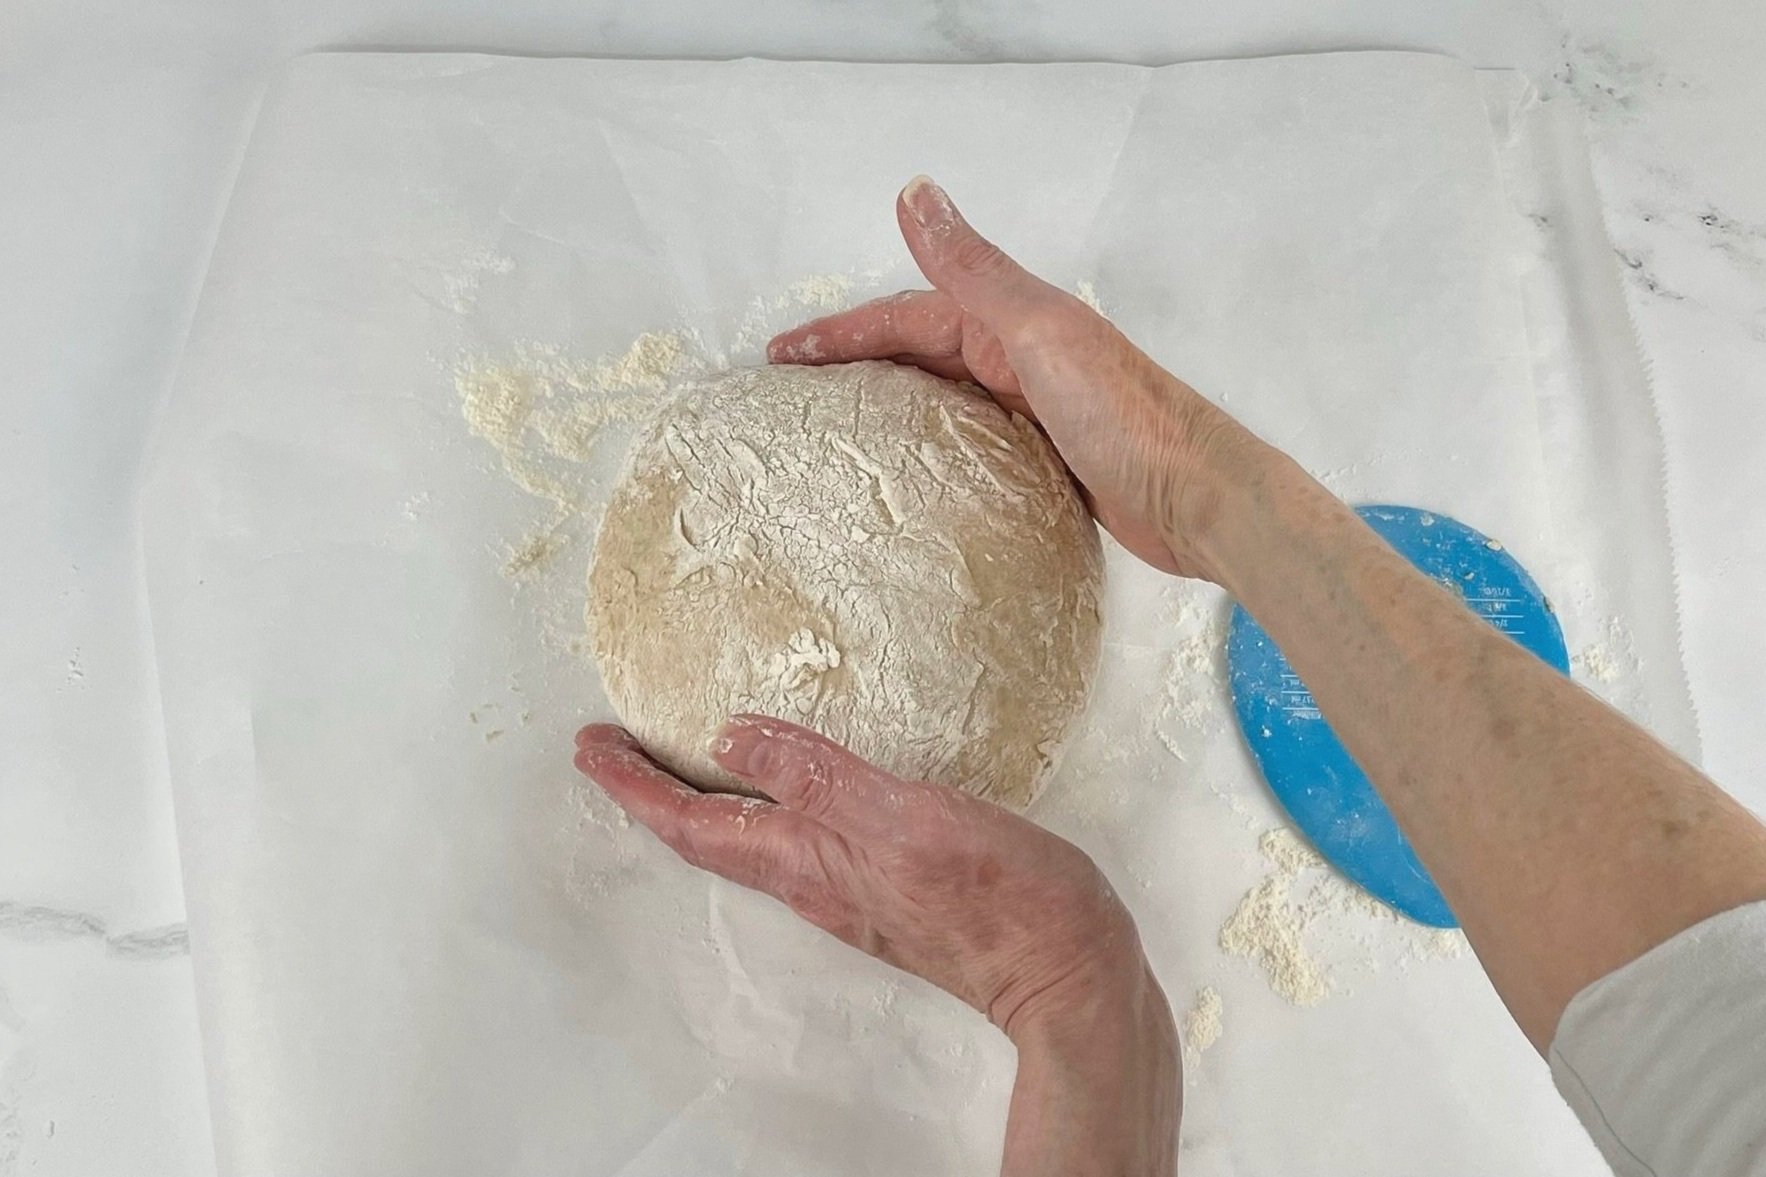
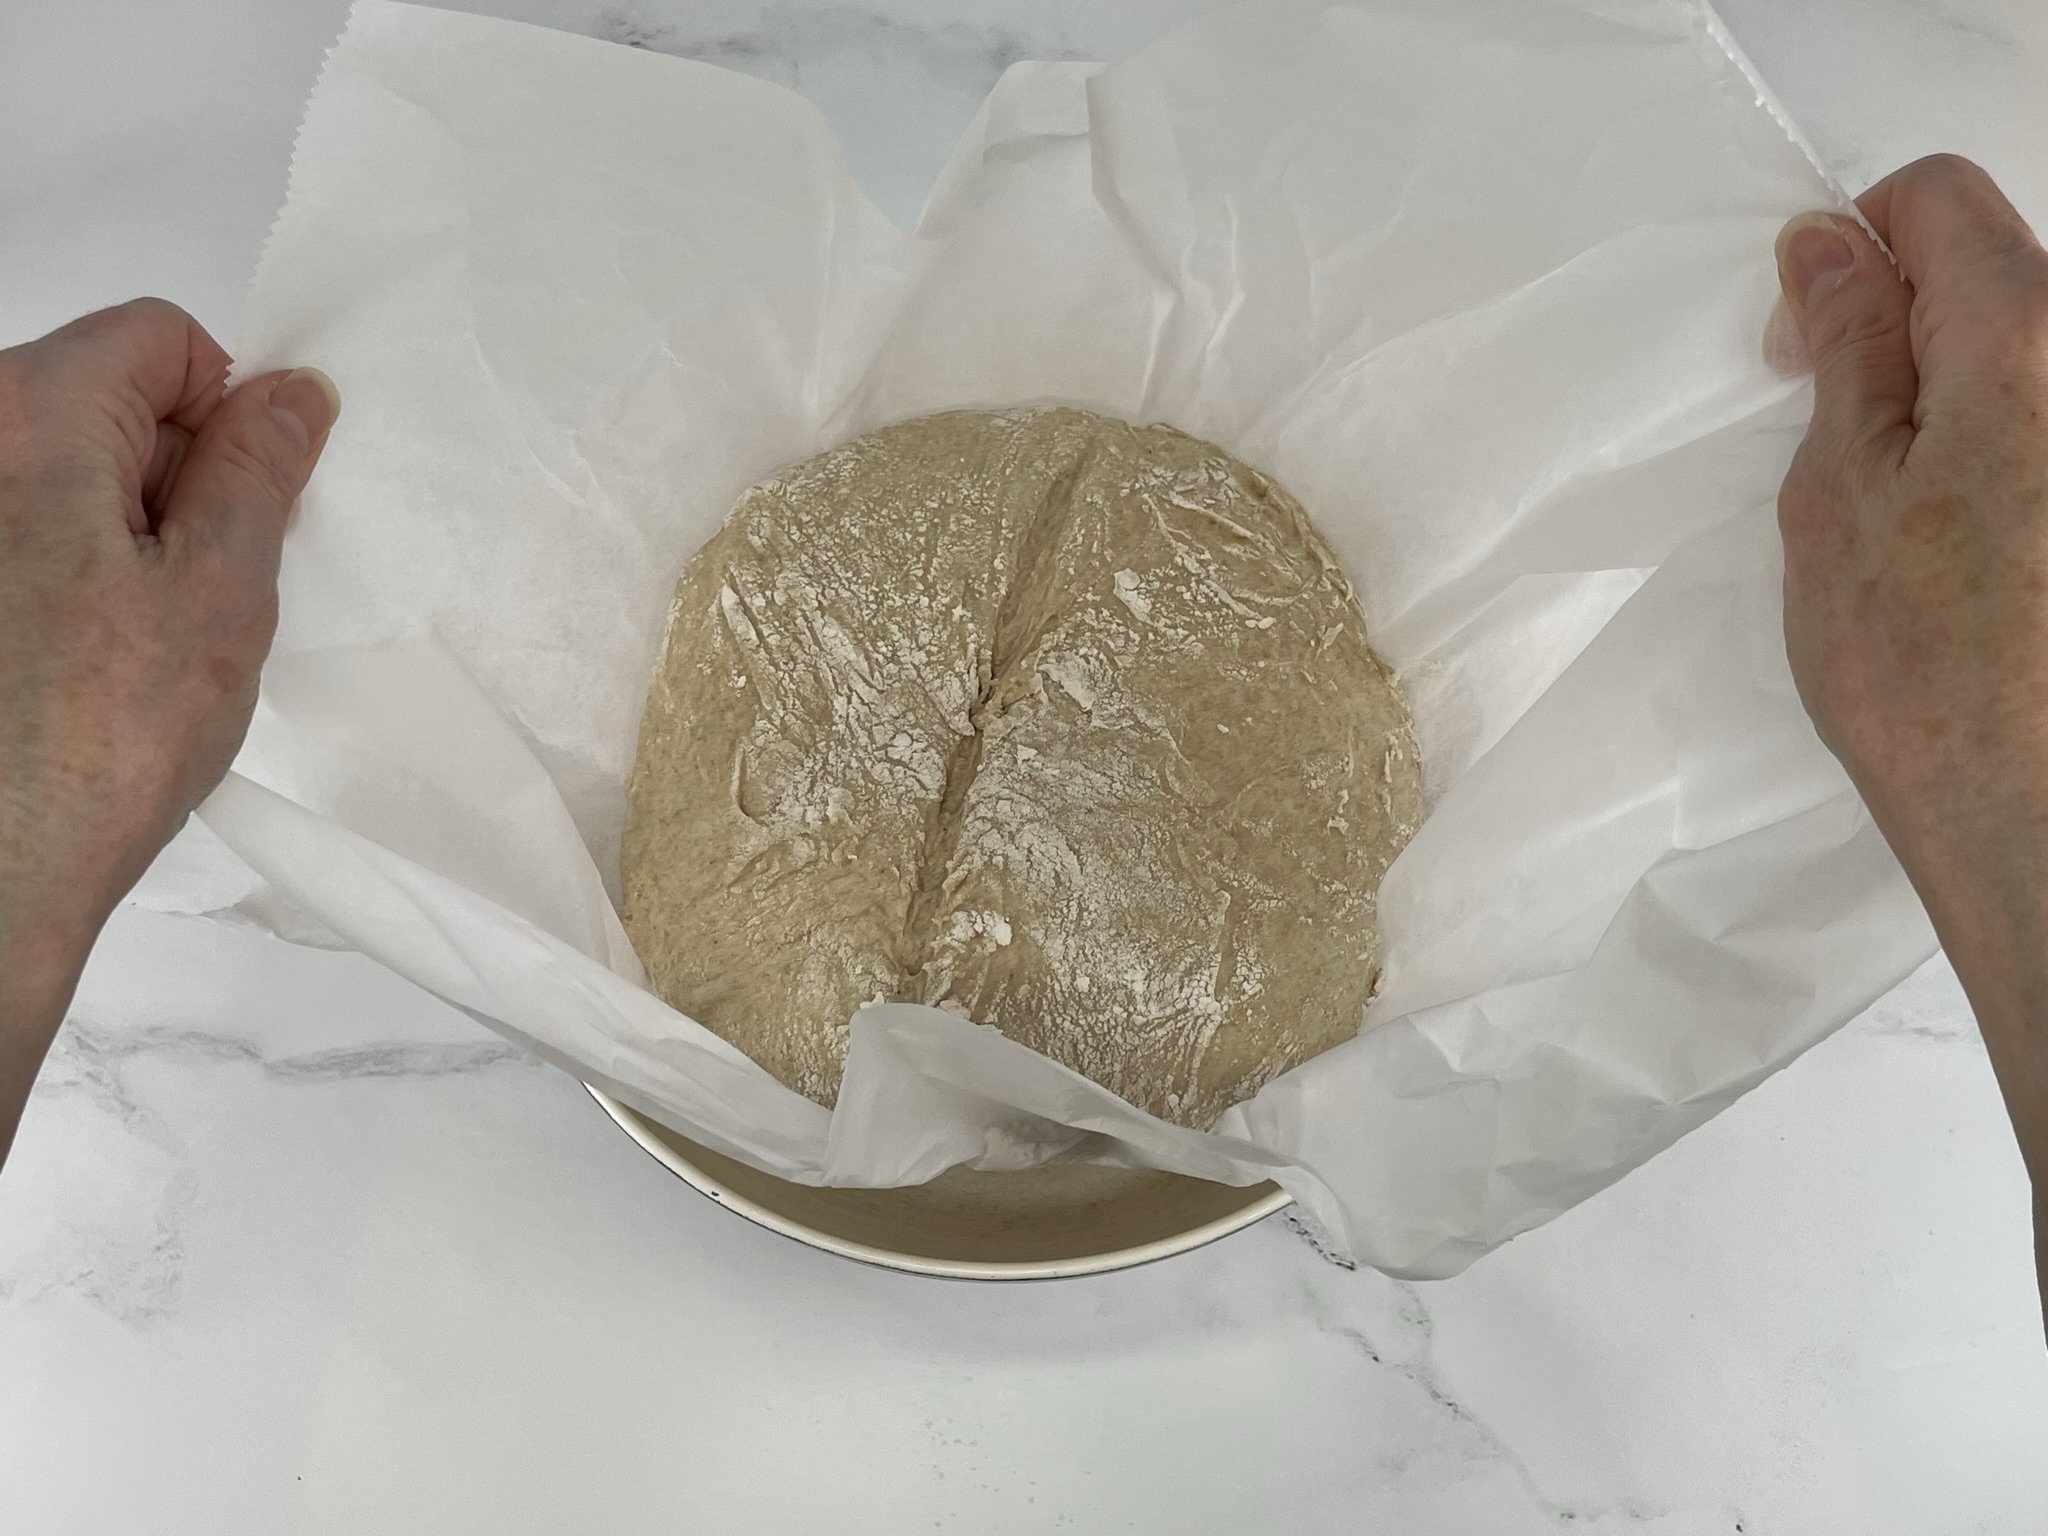
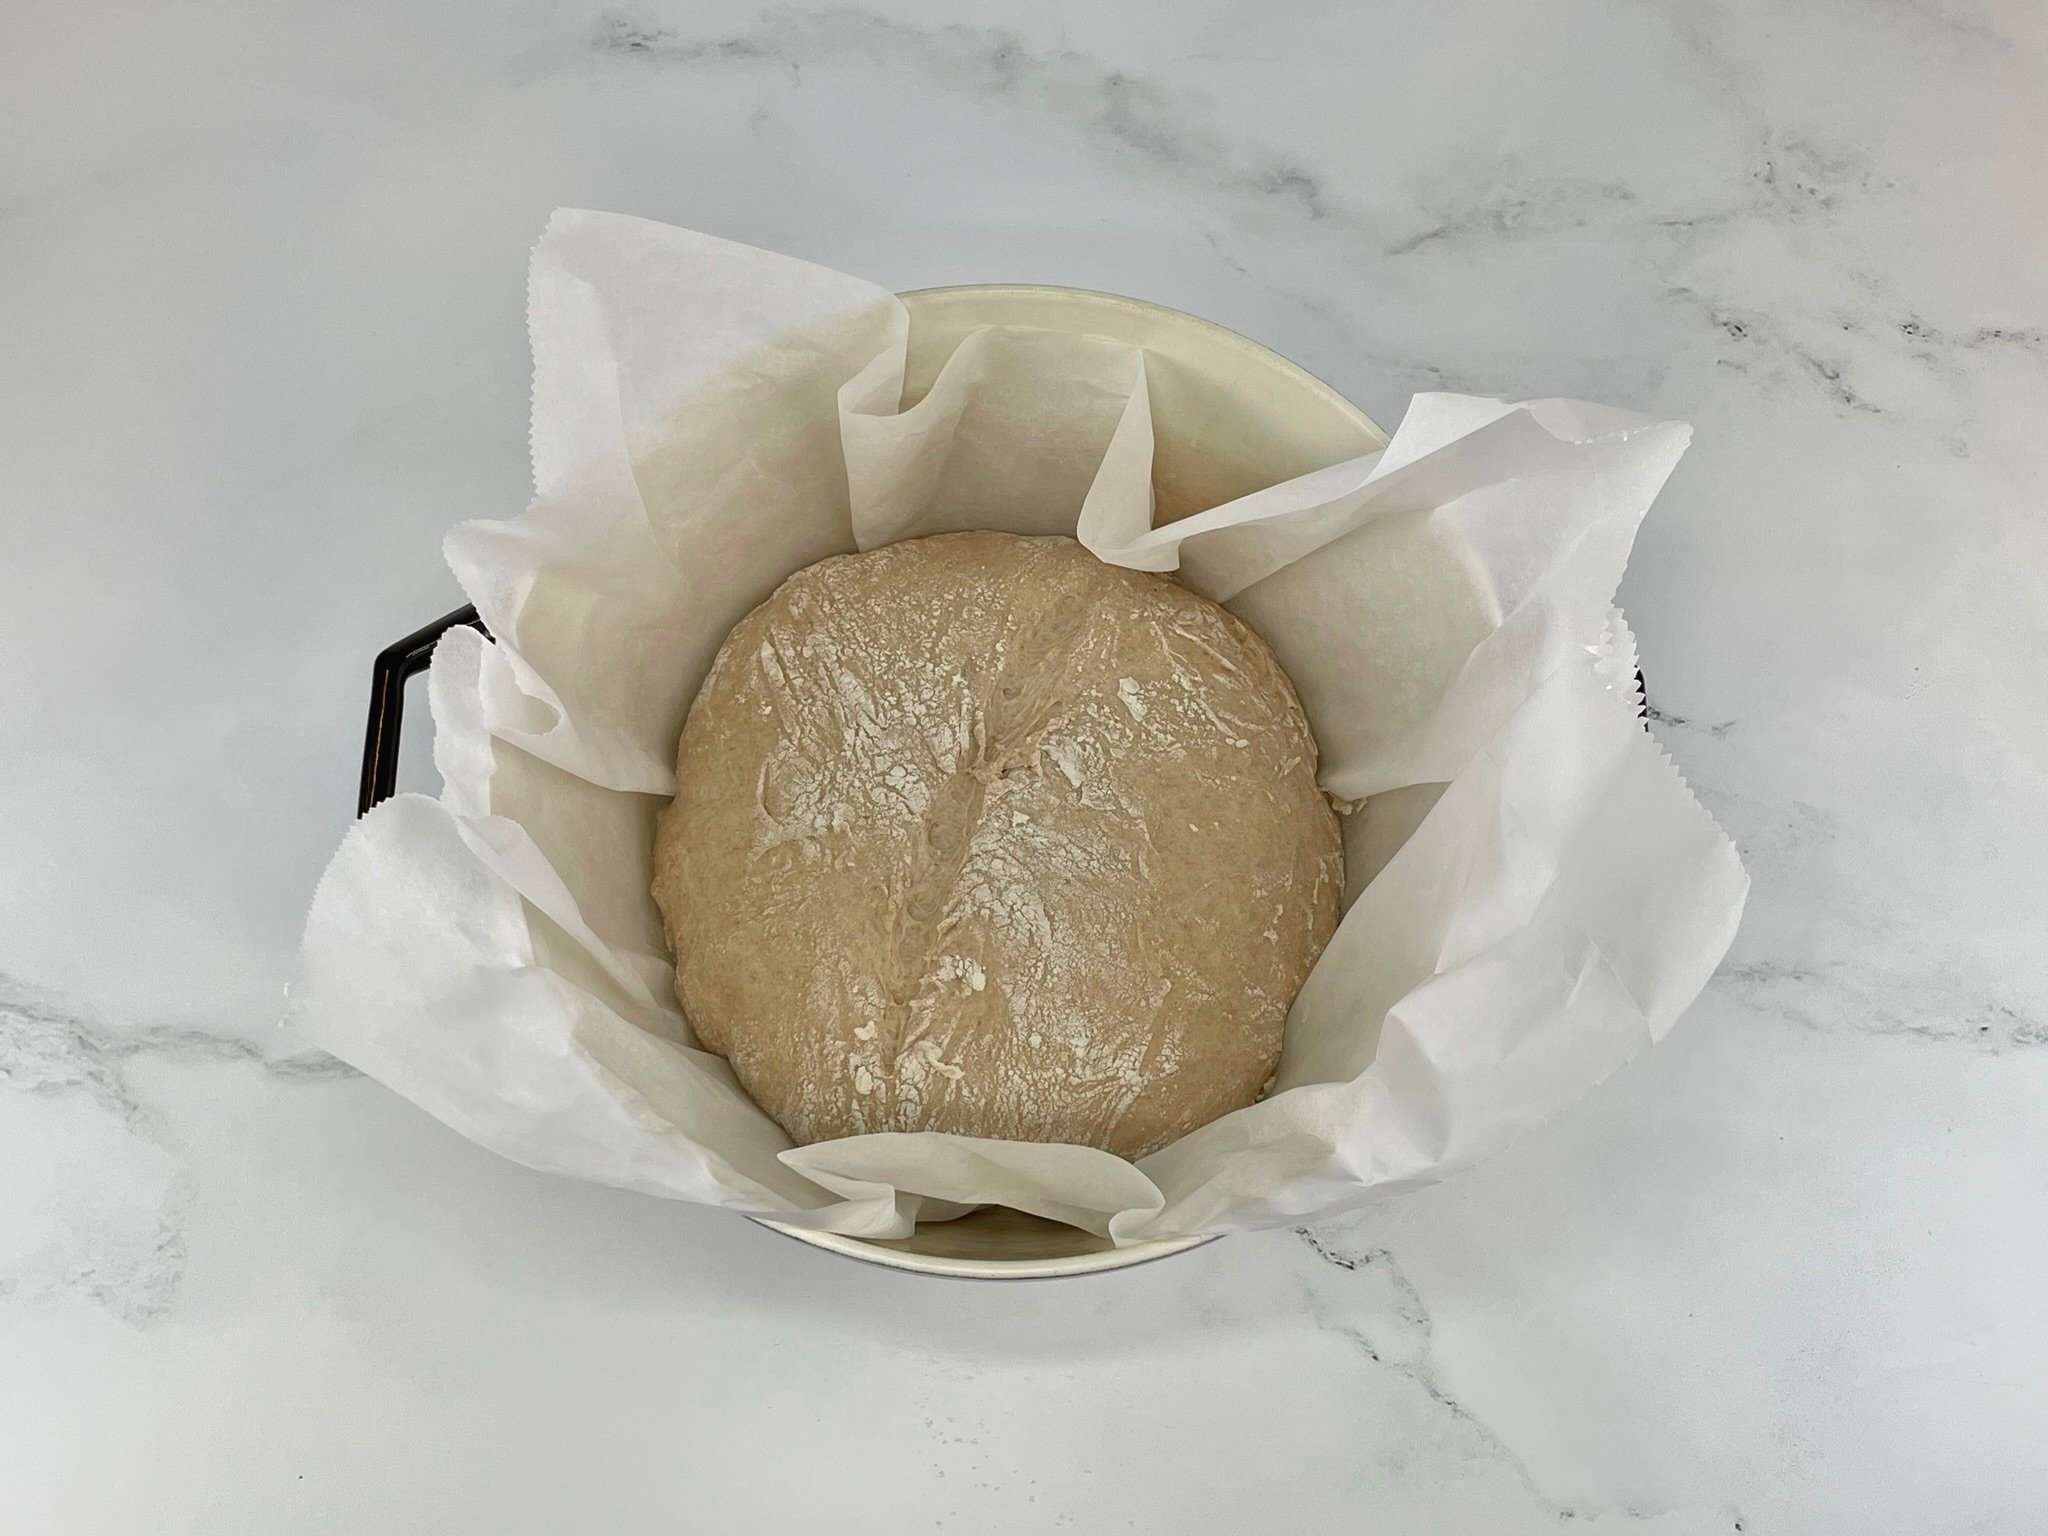
Gently gather up the mound with your hands, and flip over (upside down, so the gathered side is on the bottom and the smooth side on top). Using your hands, gently tuck the dough under, and twist and tuck the mound a few times until it becomes a smooth round shape. Dust off and discard any excess flour from paper, and transfer the parchment paper (and dough) into a proofing basket (9 inch) or clean bowl. Immediately cover with a clean kitchen towel, and let proof for 30 minutes (away from any drafts) while you preheat your oven.

STEP 5
Place oven racks in the bottom third of your oven, and place a heavy duty Dutch oven (5.5 quart) on the rack. Preheat the pot in the oven until the oven reaches 400°F.
STEP 6a
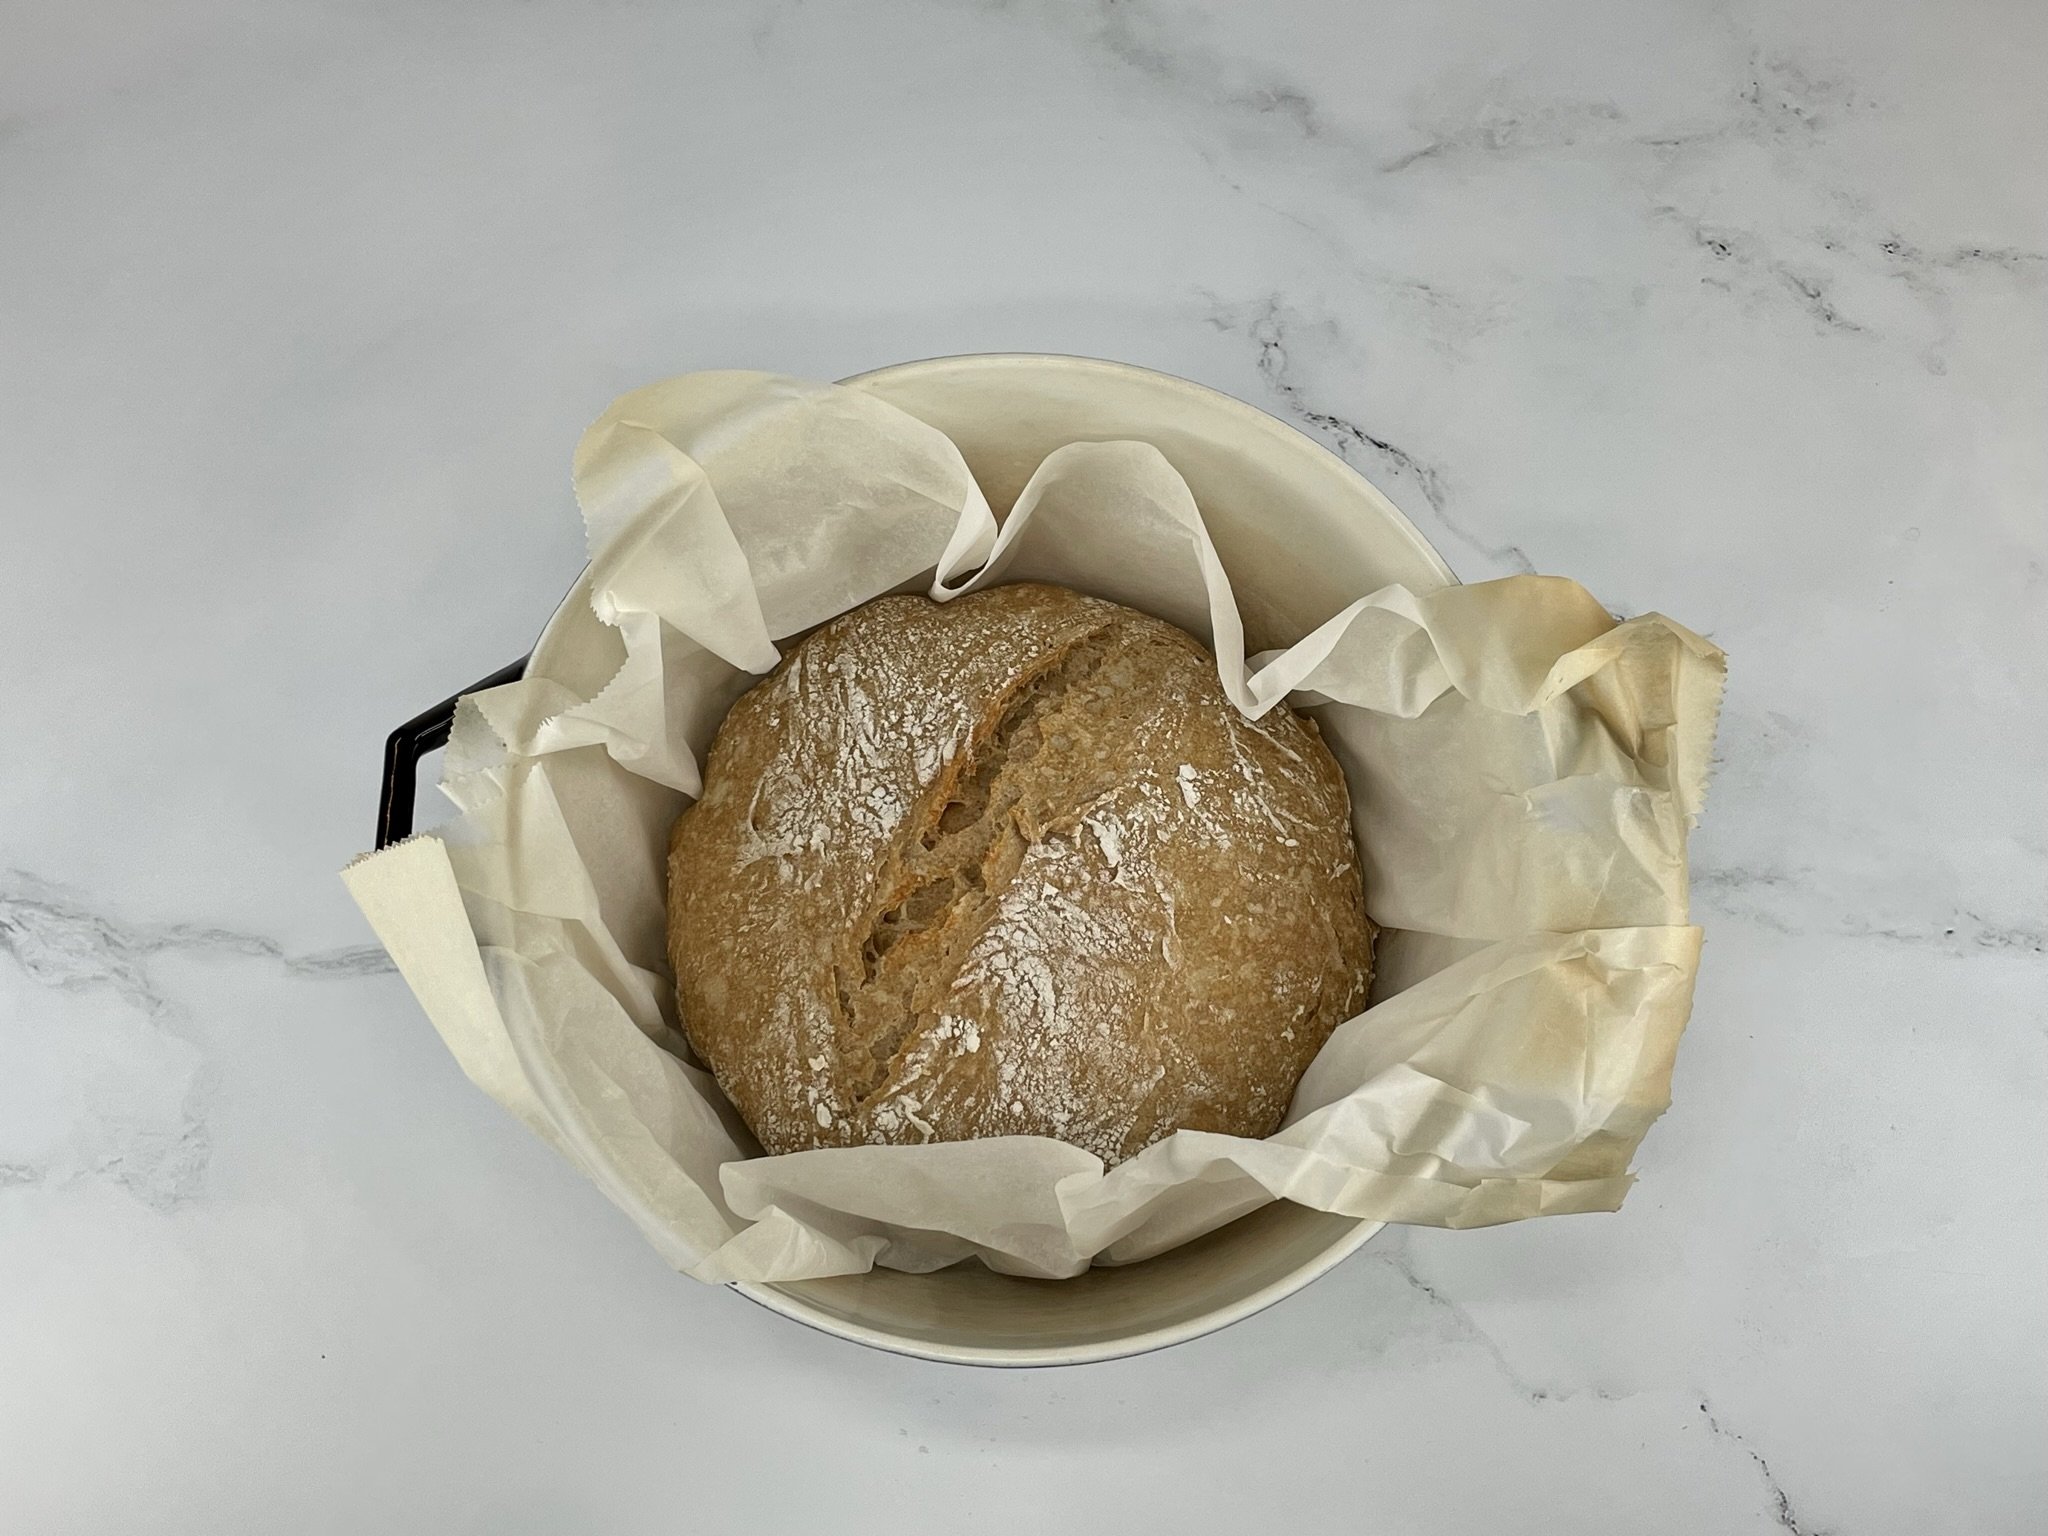
Once preheated, uncover the dough in the proofing basket (should have increased in size). Use a bread lame (or extremely sharp knife or razor blade) to score the top of the dough. Then lift the parchment paper and transfer the paper and dough into the hot Dutch oven. Cover with lid, and bake for 30 minutes.

STEP 7
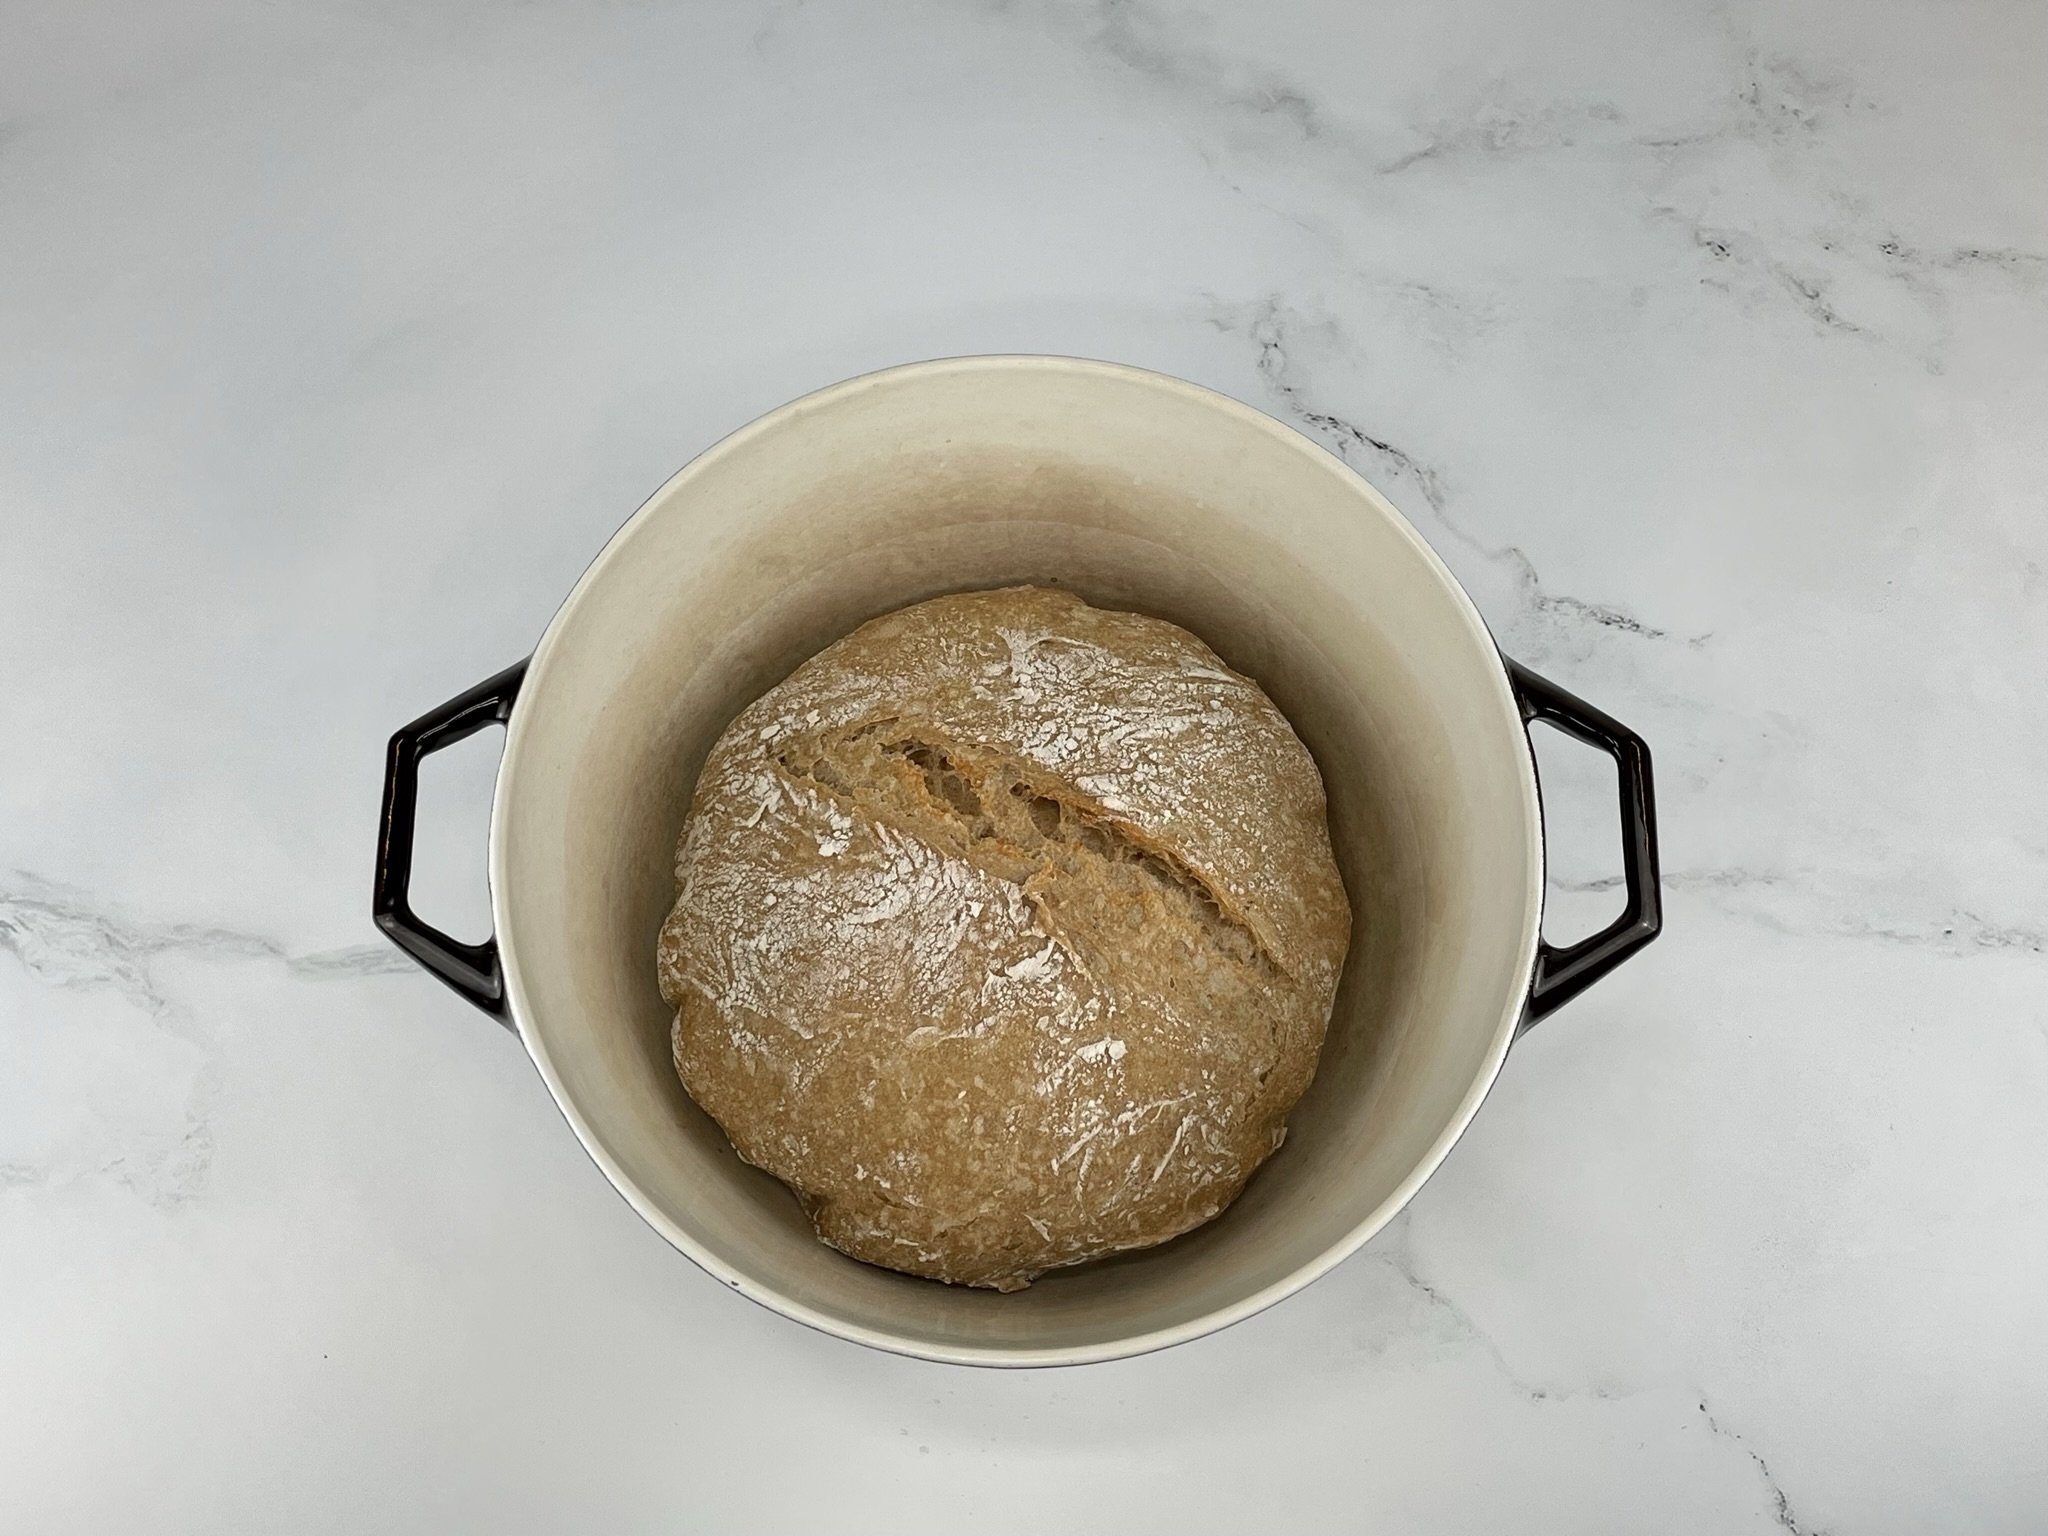
Remove pot from the oven, and uncover (bread will not be fully cooked but will have a partially firm crust). Lift the parchment paper out of the pot, and slide the bread back into the Dutch oven (without the paper). Place back into the oven without the lid, and bake uncovered for another 15-20 minutes (20 minutes for crustier bread). Once fully baked, use oven mitts to remove bread from the pot, and test for doneness by tapping or knocking on the bottom of the loaf (it should sound like a door knock on wood).
SERVING SUGGESTIONS
Allow to cool on a wire cooling rack (at least 2 hours before slicing - see Note below). Slice and enjoy on sandwiches, with my Napa Avocado Toast, or freshly baked with butter and jam. Try it with one of my easy jam recipes, like my Kumquat Marmalade, Honey Fig Jam, or my Easy Perfectly Plum Jam.
Note: Although it’s tempting to cut into hot bread, let your bread cool at least 2 hours before cutting into it. This will allow the steam to settle and the crumb to stay moist.
VIDEO
How to Make No Knead Honey Wheat Country Bread!
Blog Comments & Tips
A heathy & delicious one pot bread recipe!
I typically do not make bread, and have been unsuccessfully trying various bread recipes over the last year. I finally came up with my own spin on a one pot bread recipe that anyone can easily make. My No Knead Honey Wheat Country Bread is a fantastic option for those who want to make homemade bread without the hassle of kneading.
It’s a one pot bread recipe that uses a 50/50 combination of unbleached bread flour and whole wheat flour, mixed with honey, water, and yeast to create a delicious and wholesome loaf. There is no kneading, making it an easy recipe for busy home cooks. In about 3 hours you’ll be ready to bake this delicious loaf of country bread.
There are tons of plain one pot white bread recipes out there, but I wanted to make something different and a little healthier without compromising on flavor. So I opted to combine a healthier whole wheat flour with bread flour, and added honey to give it a subtle sweetness.
So what are the health benefits of Honey Wheat Country Bread (No Knead) versus all white bread?
Higher Fiber Content: Whole wheat flour is naturally high in fiber. This recipe uses 50% whole wheat flour, which helps promote digestive health and keeps you feeling full for longer periods. White bread, on the other hand, is made from refined flour, stripping the grain of its natural fiber, which is essential for digestion.
Lower Glycemic Index: The glycemic index is a measure of how quickly a food raises blood sugar levels. Honey Wheat Country Bread (No Knead) recipe has a lower glycemic index than pure white bread, meaning it raises blood sugar levels more slowly. This can prevent sudden spikes in blood sugar levels, which can lead to energy crashes.
More Nutrients: The addition of honey and wheat flour in this recipe brings a lot of vitamins and minerals that are not found in white bread. Honey contains antioxidants and antibacterial properties that help provide immunity and prevent diseases, while wheat flour provides essential vitamins like vitamin B and E and minerals like iron and zinc.
No Preservatives: Finally, Honey Wheat Country Bread (No Knead) recipe contains no preservatives, unlike many commercially produced white bread. Preservatives are typically added to white bread to increase shelf life, but they also deplete the nutritional value of the bread and can be harmful to your health in the long run.
This Honey Wheat Country Bread (No Knead) recipe represents a much healthier choice compared to white bread. It provides more fiber, essential vitamins and minerals, and is a lot more nutritious overall. So next time you are looking for a healthy bread option, try making some Honey Wheat Country Bread!
Now you have the recipe, ingredients, and equipment, but how to you ensure the best results from our recipe?
My 5 tips to making Honey Wheat Country Bread (No Knead):
I used these two flours for the best results: Bob's Red Mill organic stone ground whole wheat flour, and Gold Medal unbleached bread flour.
Don’t use instant yeast. For this recipe I prefer using Fleischmann’s active yeast in packets versus yeast in a jar, as it’s fresher and lasts longer.
Use a thermometer to determine your water temperature. Try me, I killed my yeast the first couple of times I made bread this year. It’s really hard to tell what is too hot versus a temperature that is just right for the yeast. If it’s too hot, you will kill the yeast and have a brick for bread!
Do not overwork your dough. All it takes is folding the dough over into the middle about 3-5 times, and you are ready to flip it over and gently form into a perfect circle (disc or ball).
Use a heavy duty Dutch oven with lid (5.5 quart). Don’t forget to preheat your Dutch oven, and bake your bread covered for the first 30 minutes so it steams and cooks properly all the way through without getting dry.
It’s time to customize and Pimp My Recipe.
Pimp My Recipe:
Make it Less Sweet: You need the sugar element to activate the yeast, but you can certainly reduce the amount of honey. Just use inly 1 teaspoon of honey for a subtle sweetness that works great with sandwiches. If you want a plant based option, 1 teaspoon of sugar should be the right amount - no need to change this quantity.
Enjoy and let me know what you think by commenting below, rating my recipes, subscribing, following, and liking Prep My Recipe on Pinterest, Instagram, Facebook, YouTube, and TikTok! Don’t forget to subscribe to get updates on new recipes and tips & tricks.
Happy Cooking!
Mich
Footnote: Don’t overwork your dough, otherwise you will knock the air out of the dough and the bread will be heavy as a brick!

Every editorial product is independently selected. We may be compensated or receive an affiliate commission if you purchase products via our links. As Amazon Associates, we earn from qualifying purchases.