
Intensely Chocolate Flourless Cookies

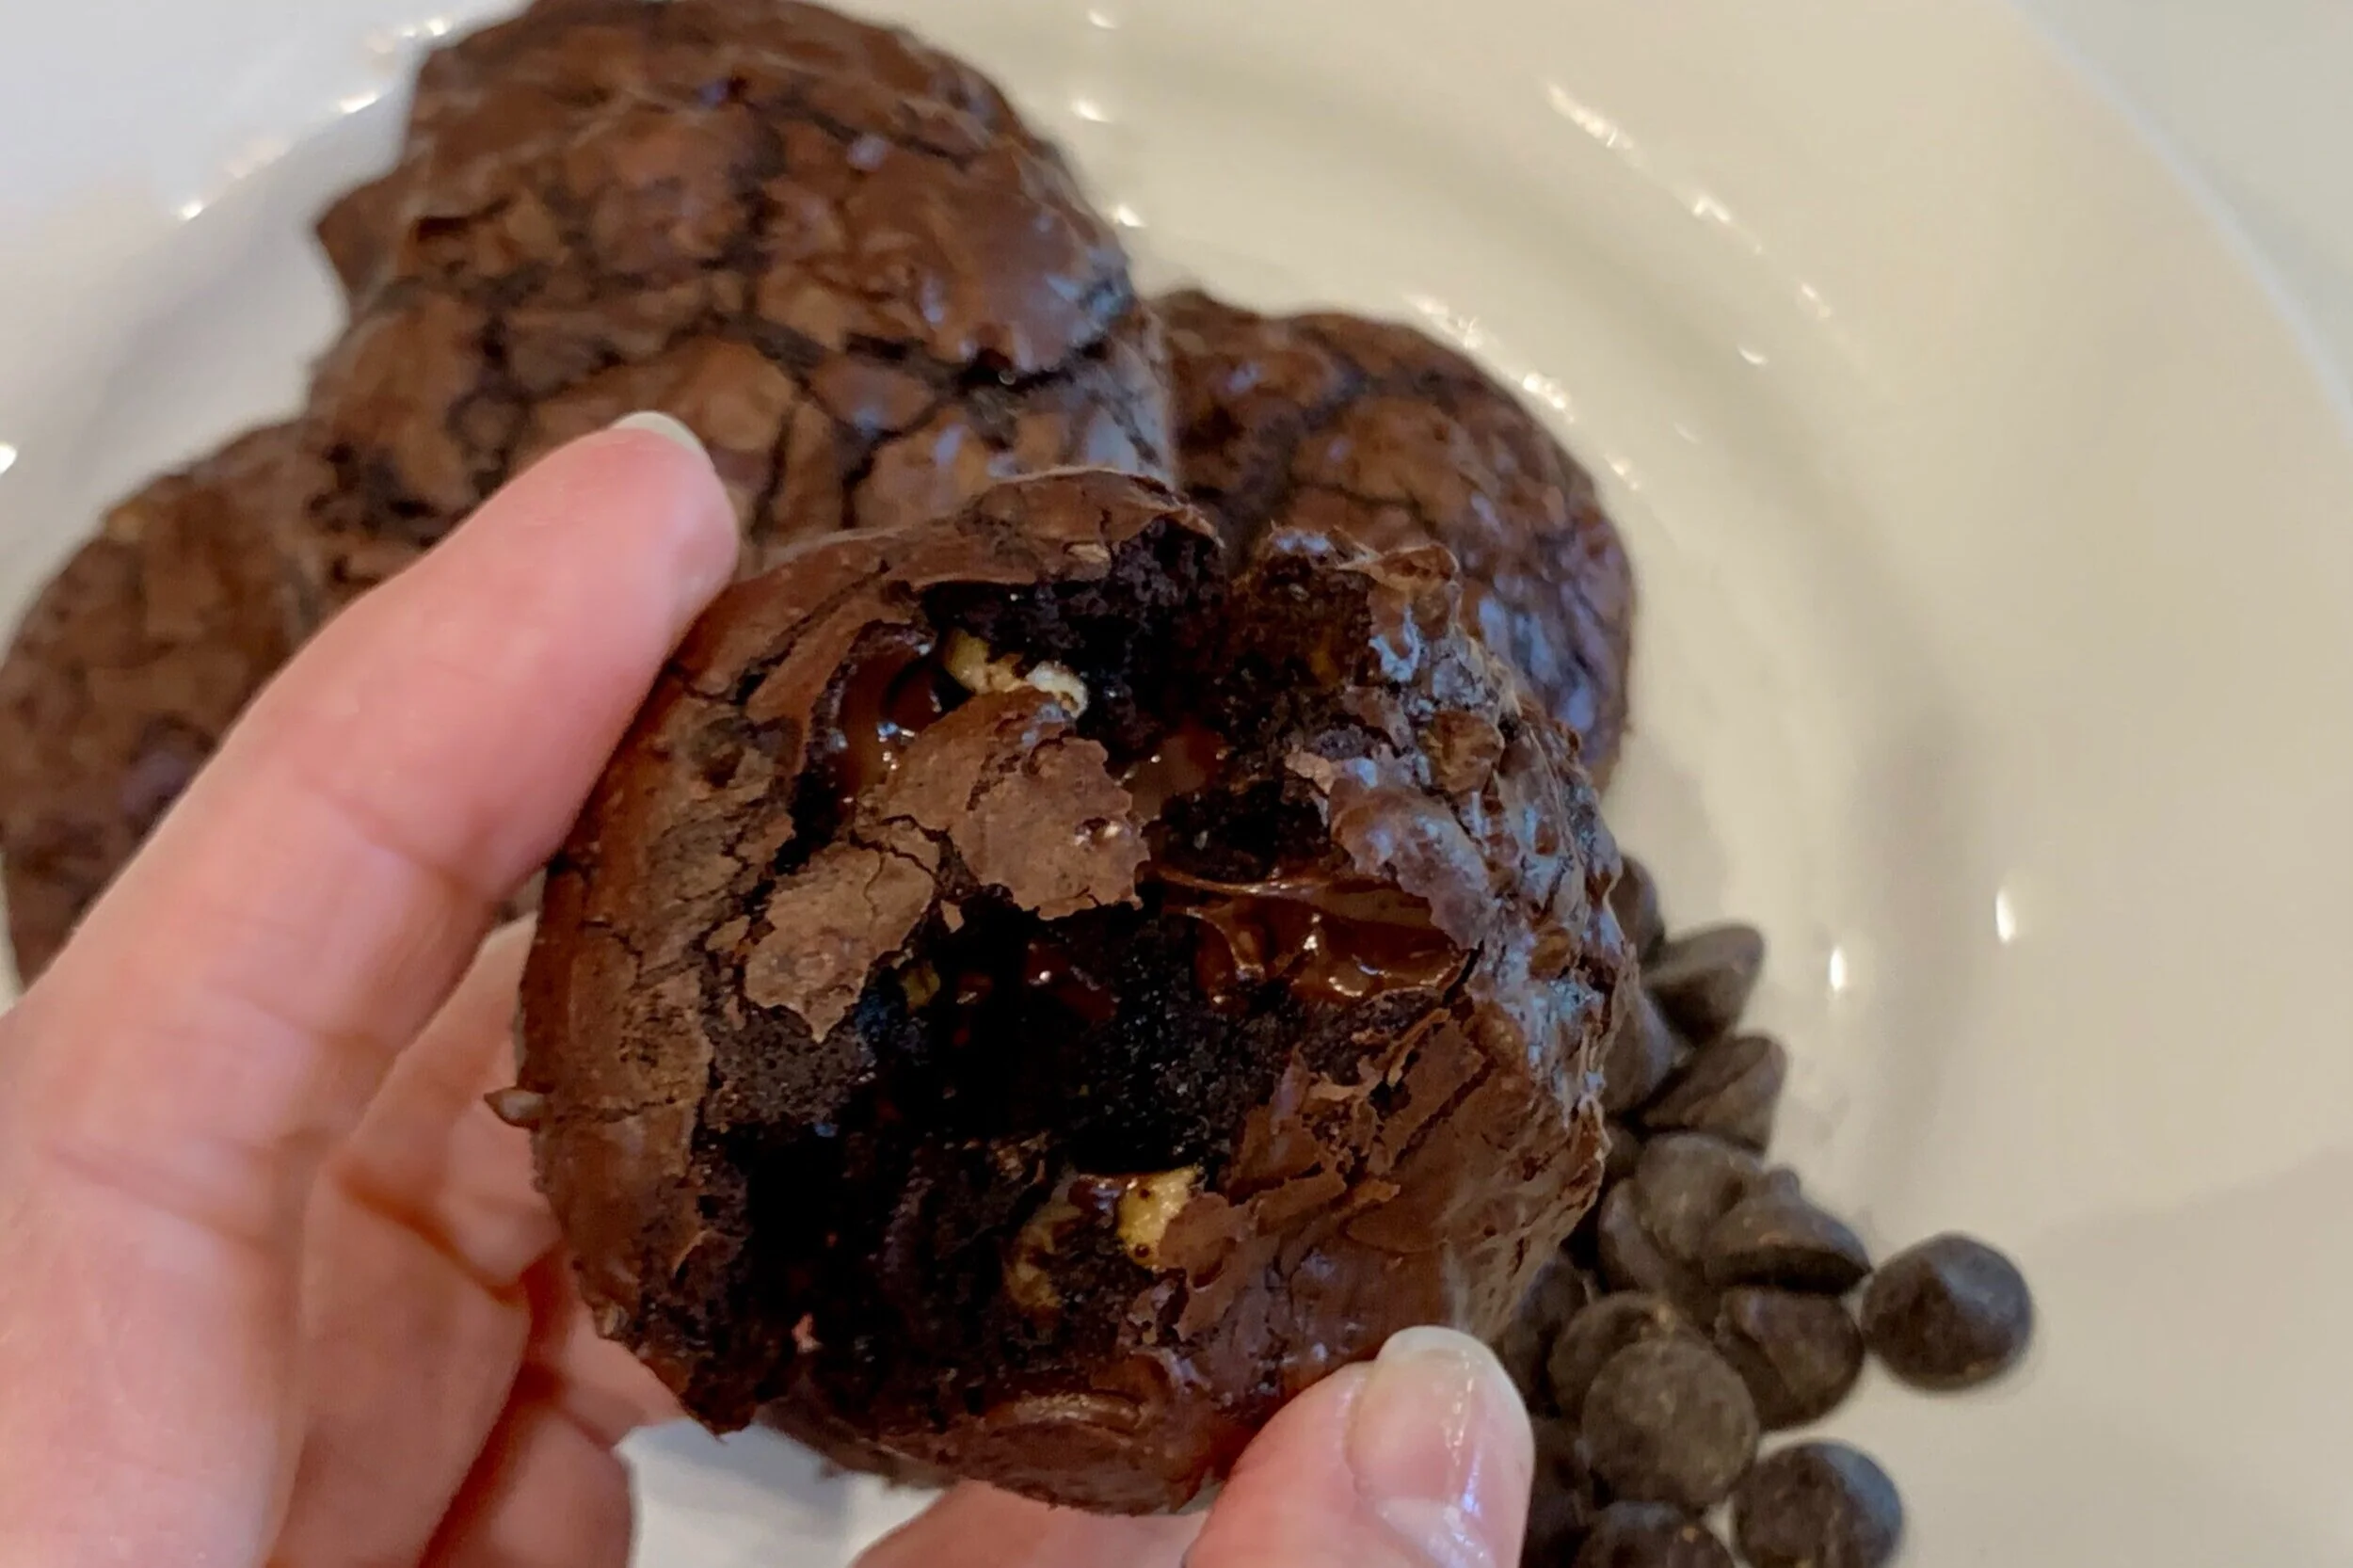
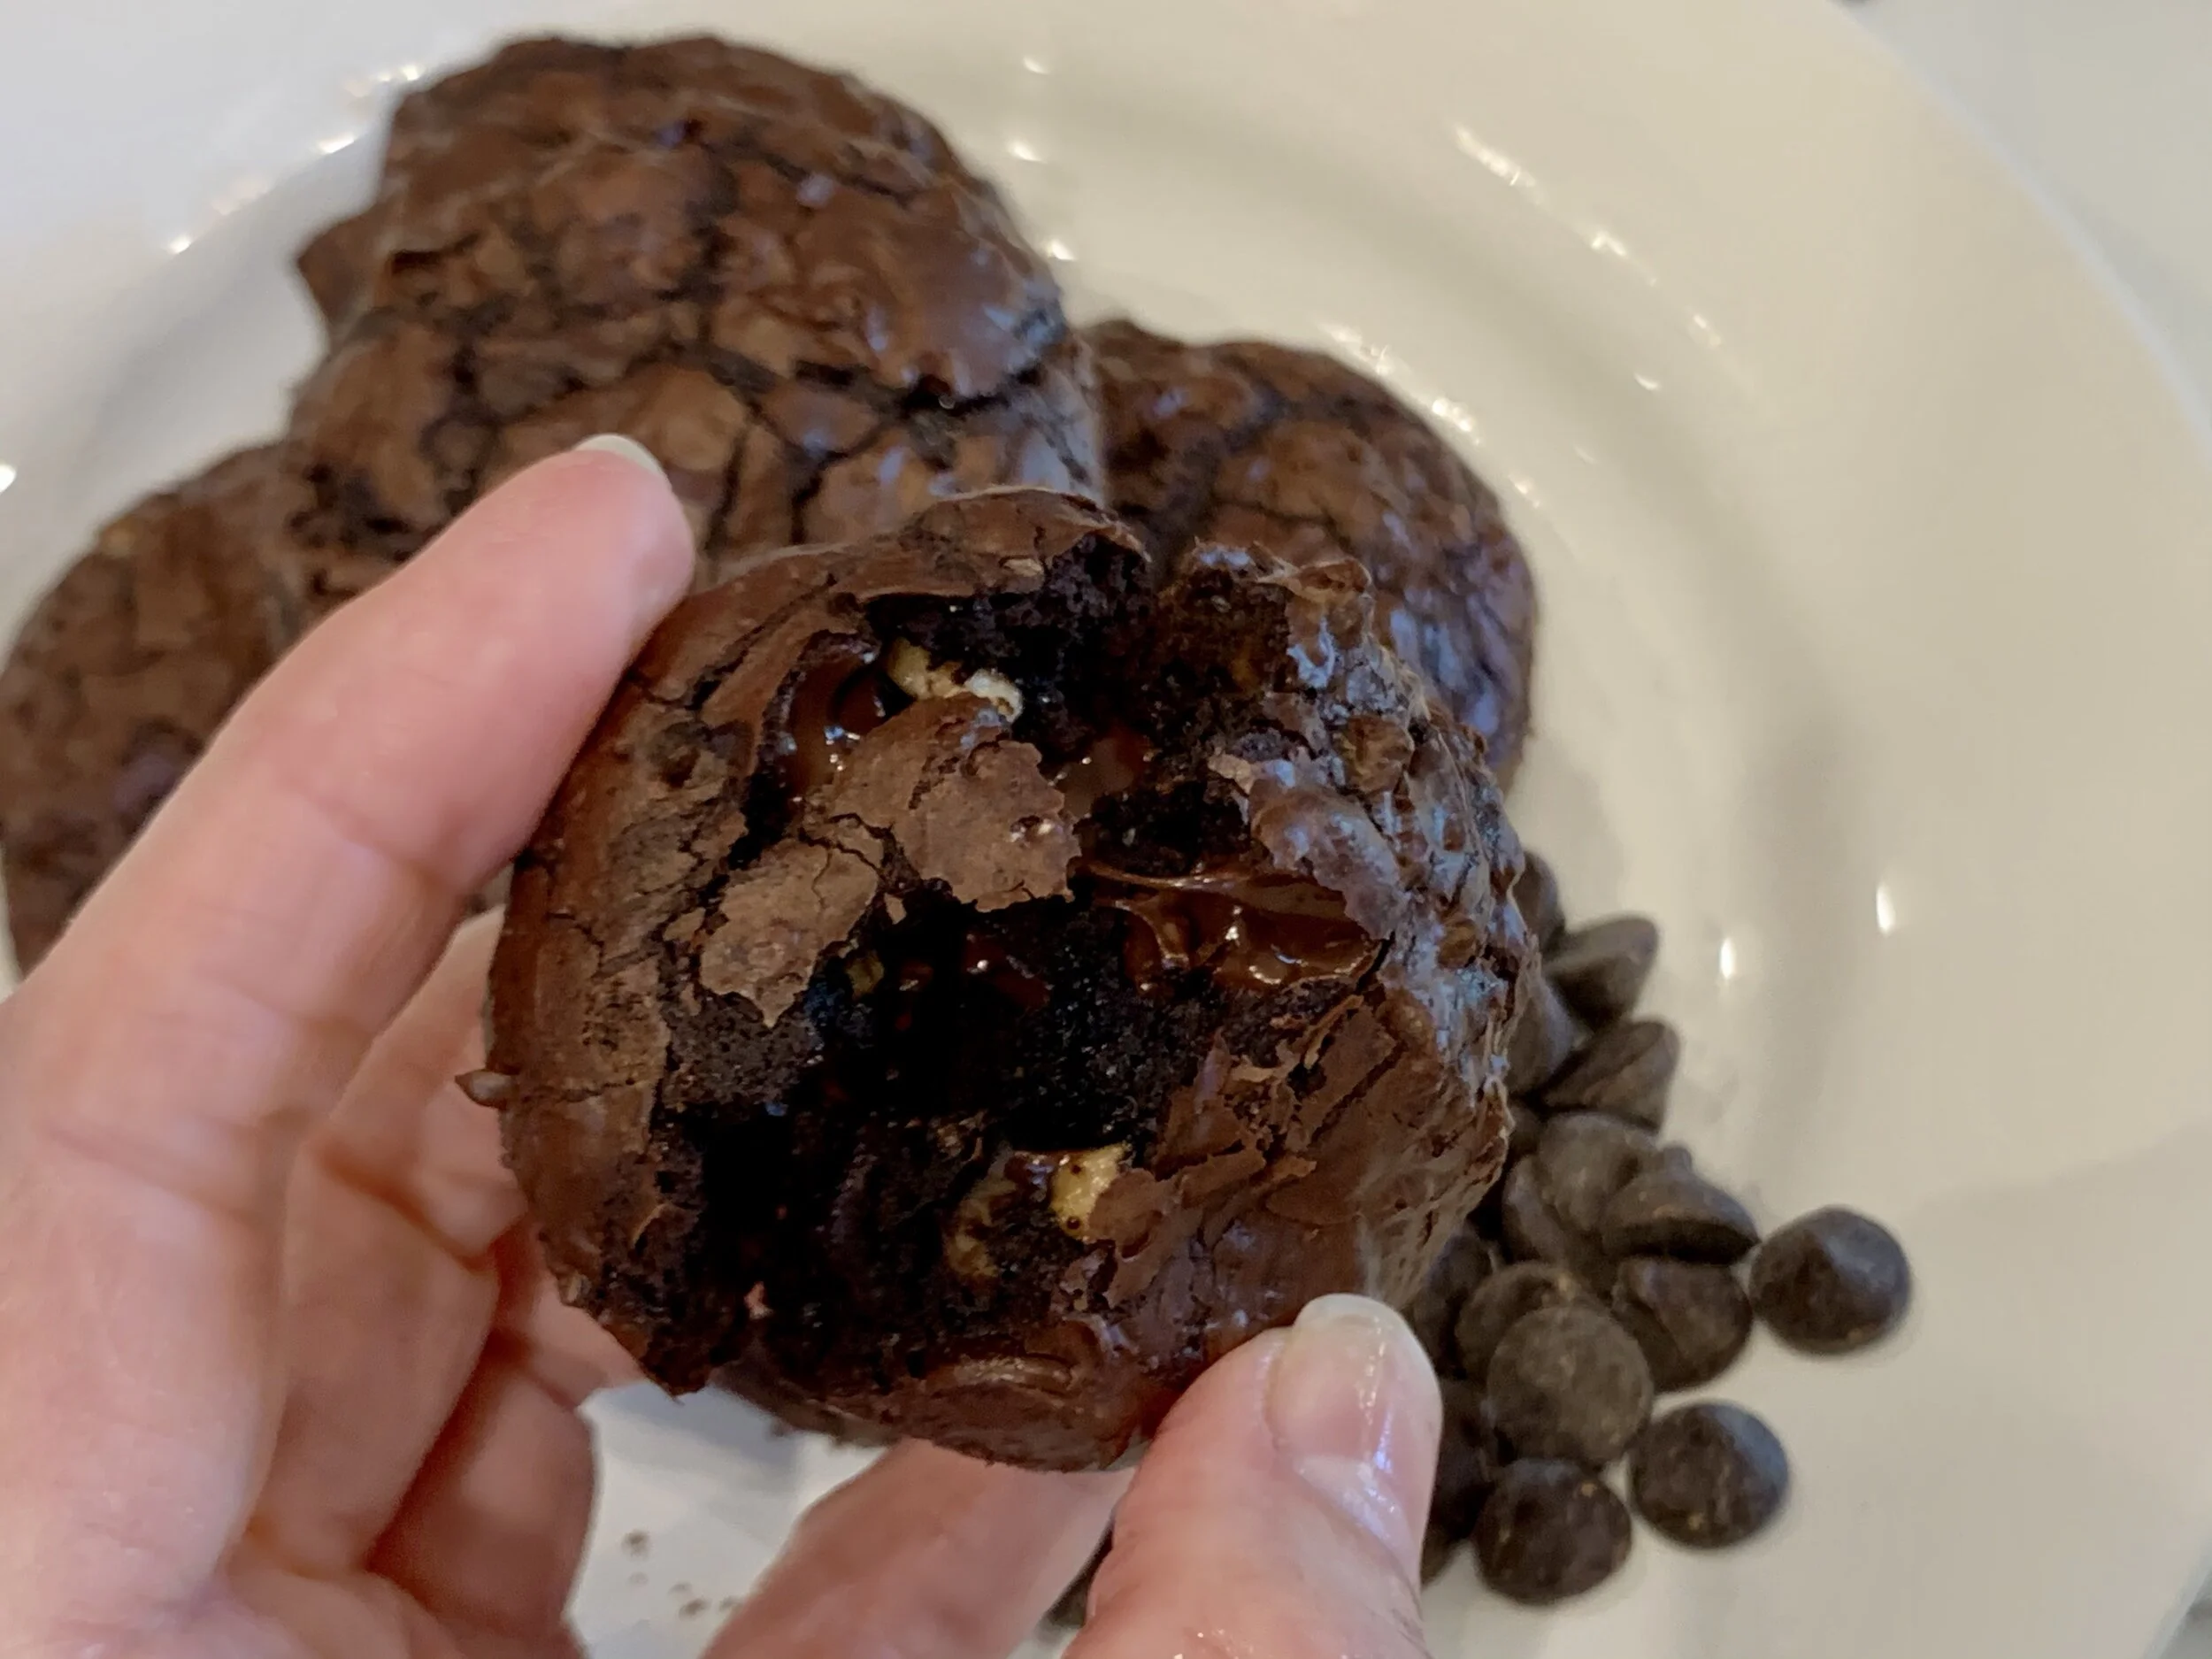
If you are looking for a dessert to win someone’s heart, you must try our super easy recipe for Intensely Chocolate Flourless Cookies. These double chocolate cookies are almost brownie-like and they are so moist and fluffy, you won’t believe they are flourless!
Our step by step instructions below will guide you on how to make these glorious dark chocolate cookies that might be one of the best and most chocolatey cookies you have ever tasted and these cookies are surprisingly gluten-free! In typical Pimp My Recipe fashion, there is also a secret ingredient. To discover some of the tips & tricks used to make these cookies, review our Blog Comments & Tips.
Sign up for a free subscription to our monthly newsletter and access to exclusive content.
To browse some of our favorite kitchen essentials, gadgets, and pantry items, visit our Recommended Products page.
RECIPE
(Check out our Step by Step Instructions below the recipe card.)
Recipe Updated: 4/4/22

INTENSELY CHOCOLATE FLOURLESS COOKIES
Ingredients
Instructions
- Line two baking sheets with parchment paper, then spray lightly with cooking spray and set aside. Place oven rack in the center of oven and preheat oven to 350°F.
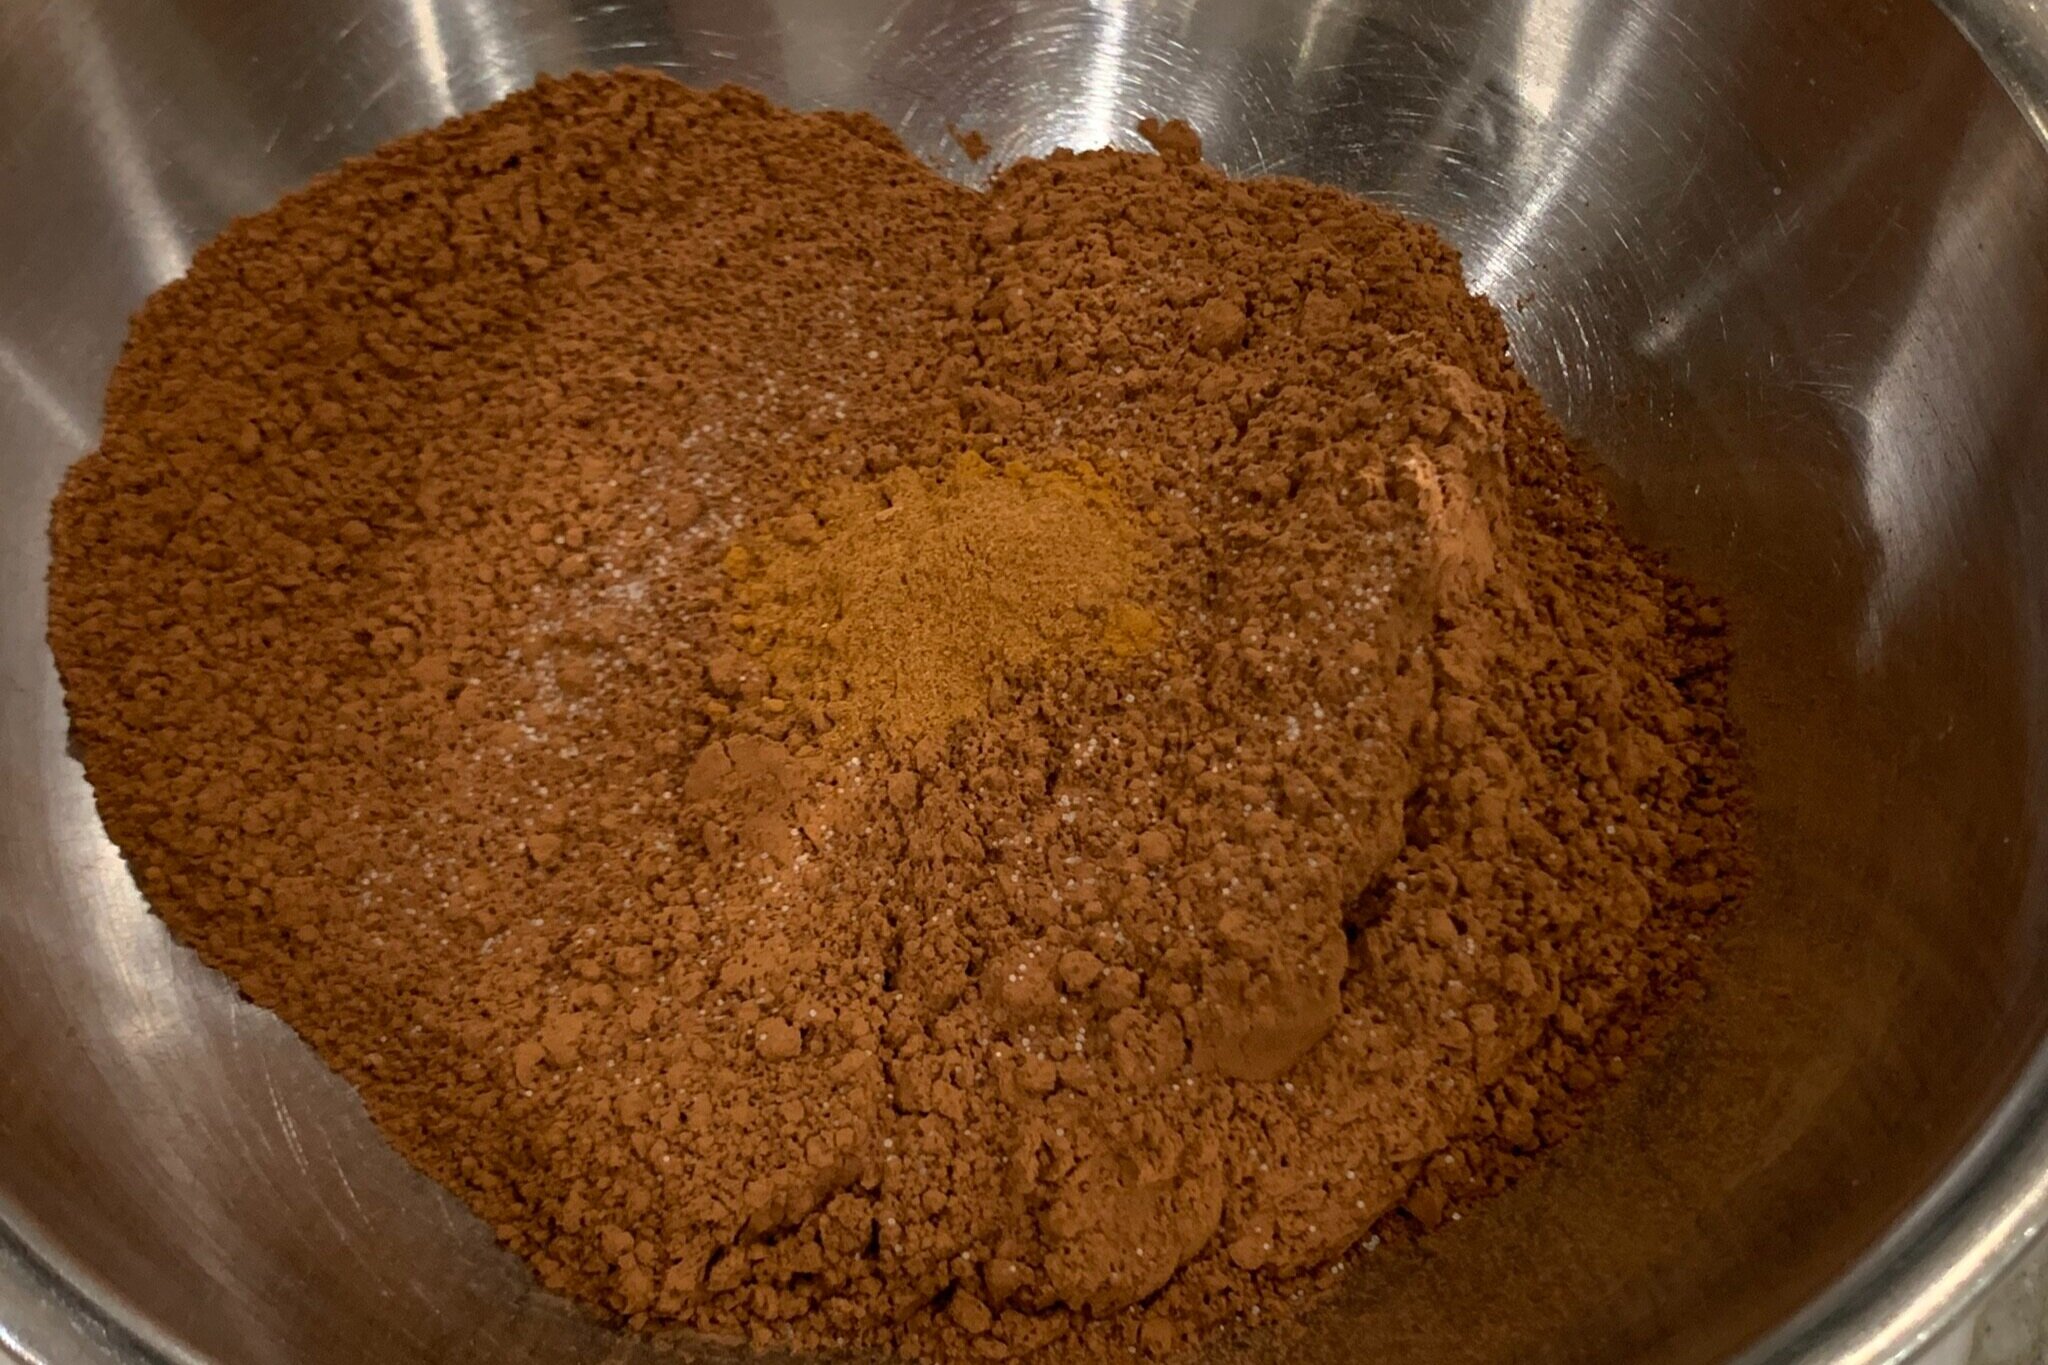
- In a medium mixing bowl, add cocoa powder, salt, and espresso powder. Mix with a whisk to combine and set aside.
- To a small glass bowl, add eggs and vanilla, and set aside.
- Add butter, sugar, and brown sugar to a 2.5 quart saucepan over medium heat. While stirring occasionally, melt, combine, and bring to a brisk simmer (until very bubbly). Remove from heat and cool in saucepan for about 1-2 minutes.
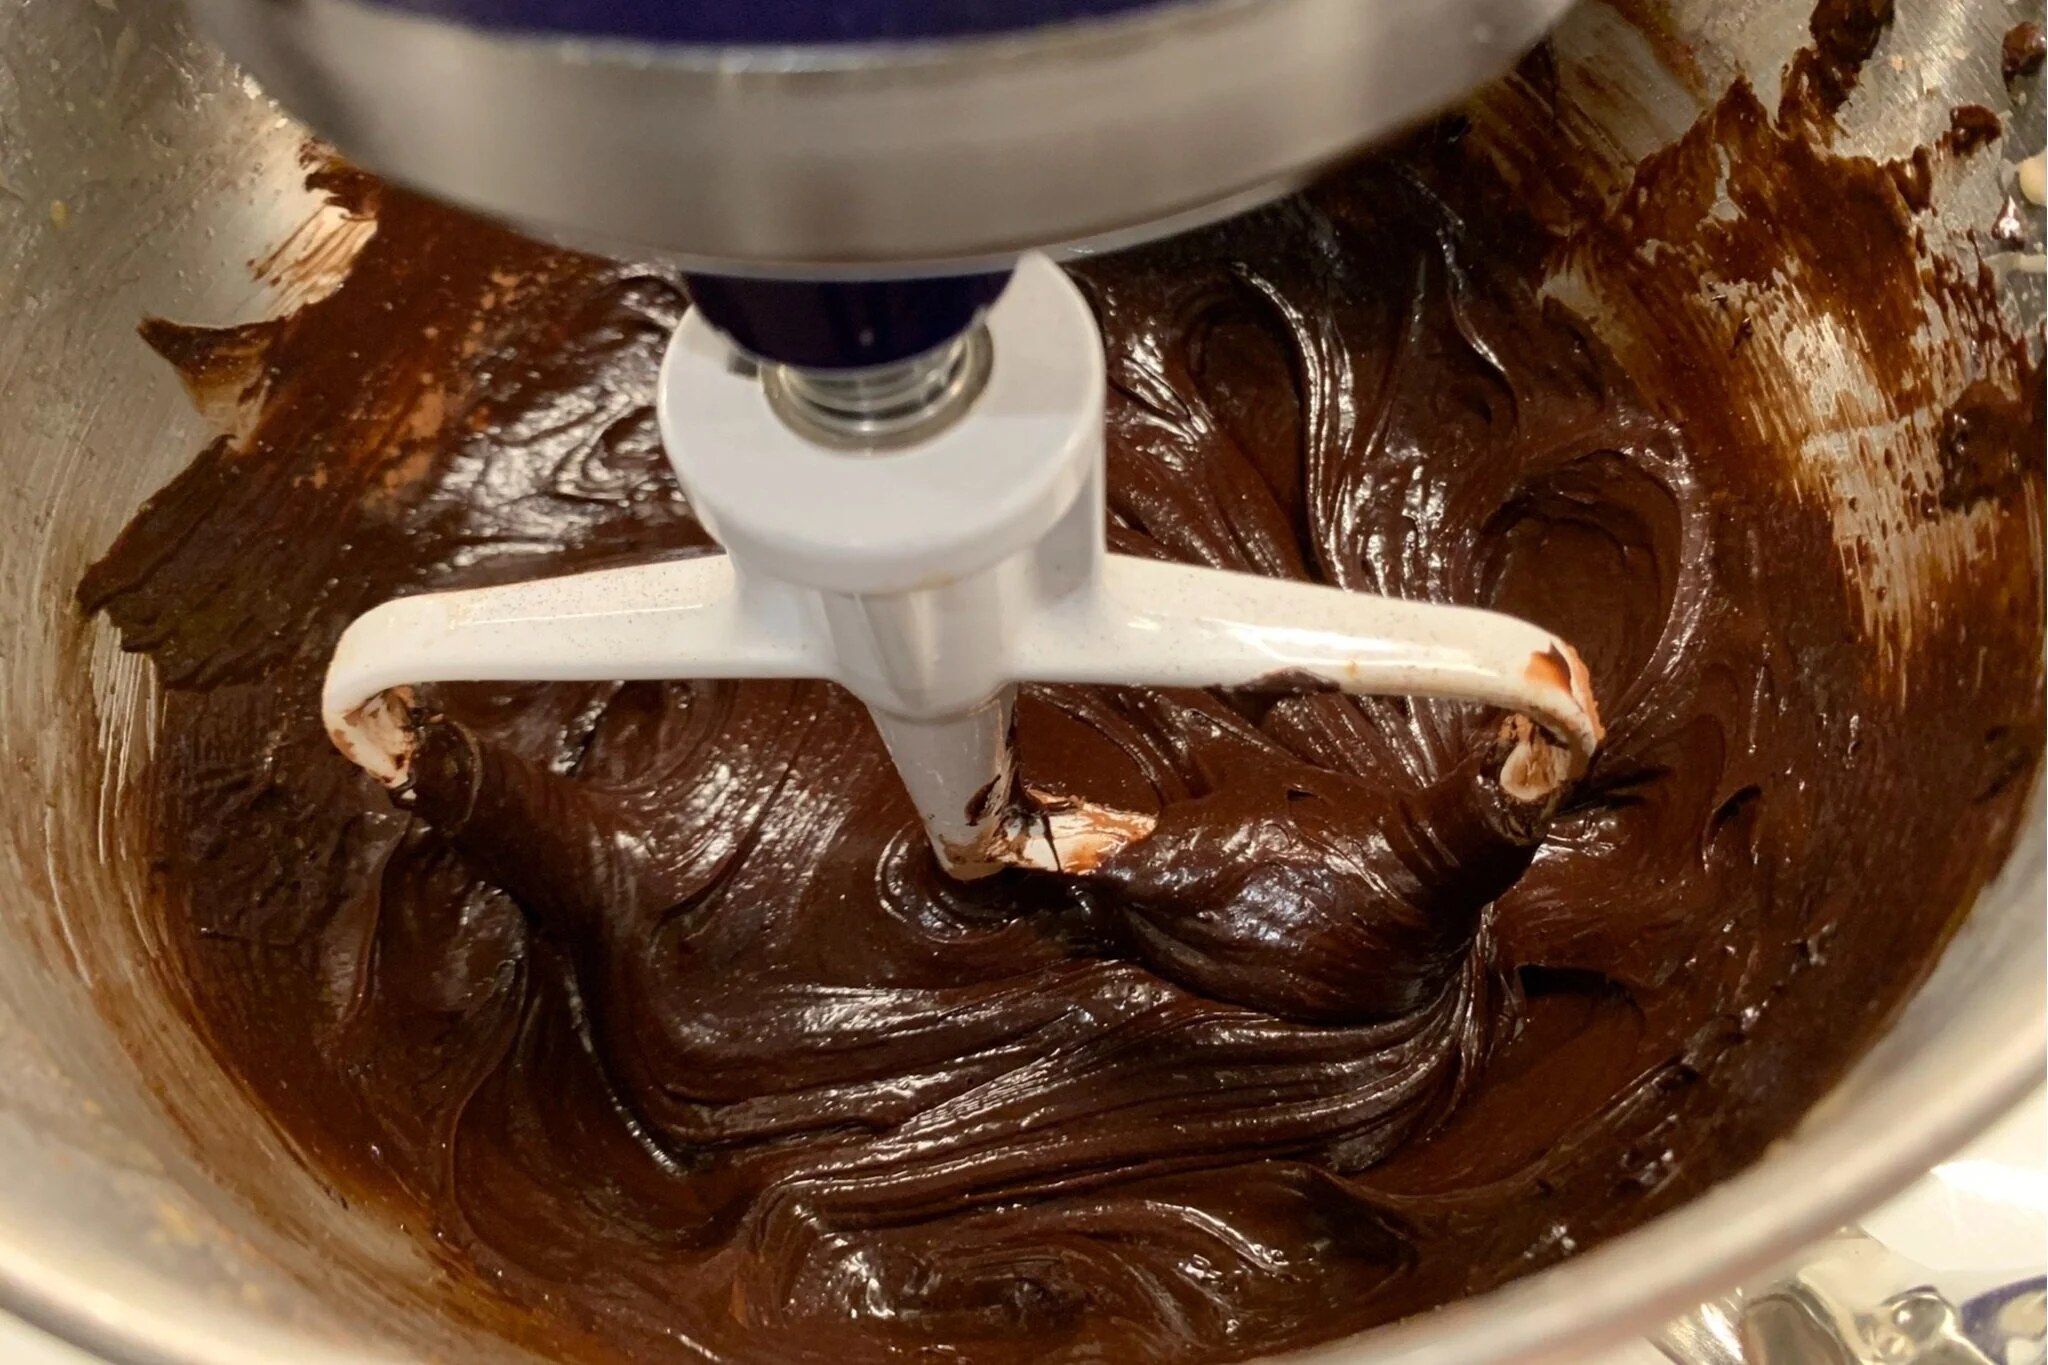
- Carefully pour hot butter/sugar mixture into a heat proof bowl of a stand mixer (or bowl for a hand mixer). Beat mixture on medium-high speed for about 2 minutes, scraping bowl halfway through with a heat proof spatula. Cool for 2 minutes.
- On medium-high speed, add eggs and vanilla and beat for 2 minutes (scrape halfway through). When done, scrape bowl again and beat on high speed for the last 30 seconds (total process takes 2 ½ minutes).
- With stand mixer off, add cocoa mixture to the stand mixer bowl. On very low speed, mix batter for about 15 seconds. Stop and scrape the bowl well. Turn up to medium speed and mix for another 15 seconds (total of 30 seconds).
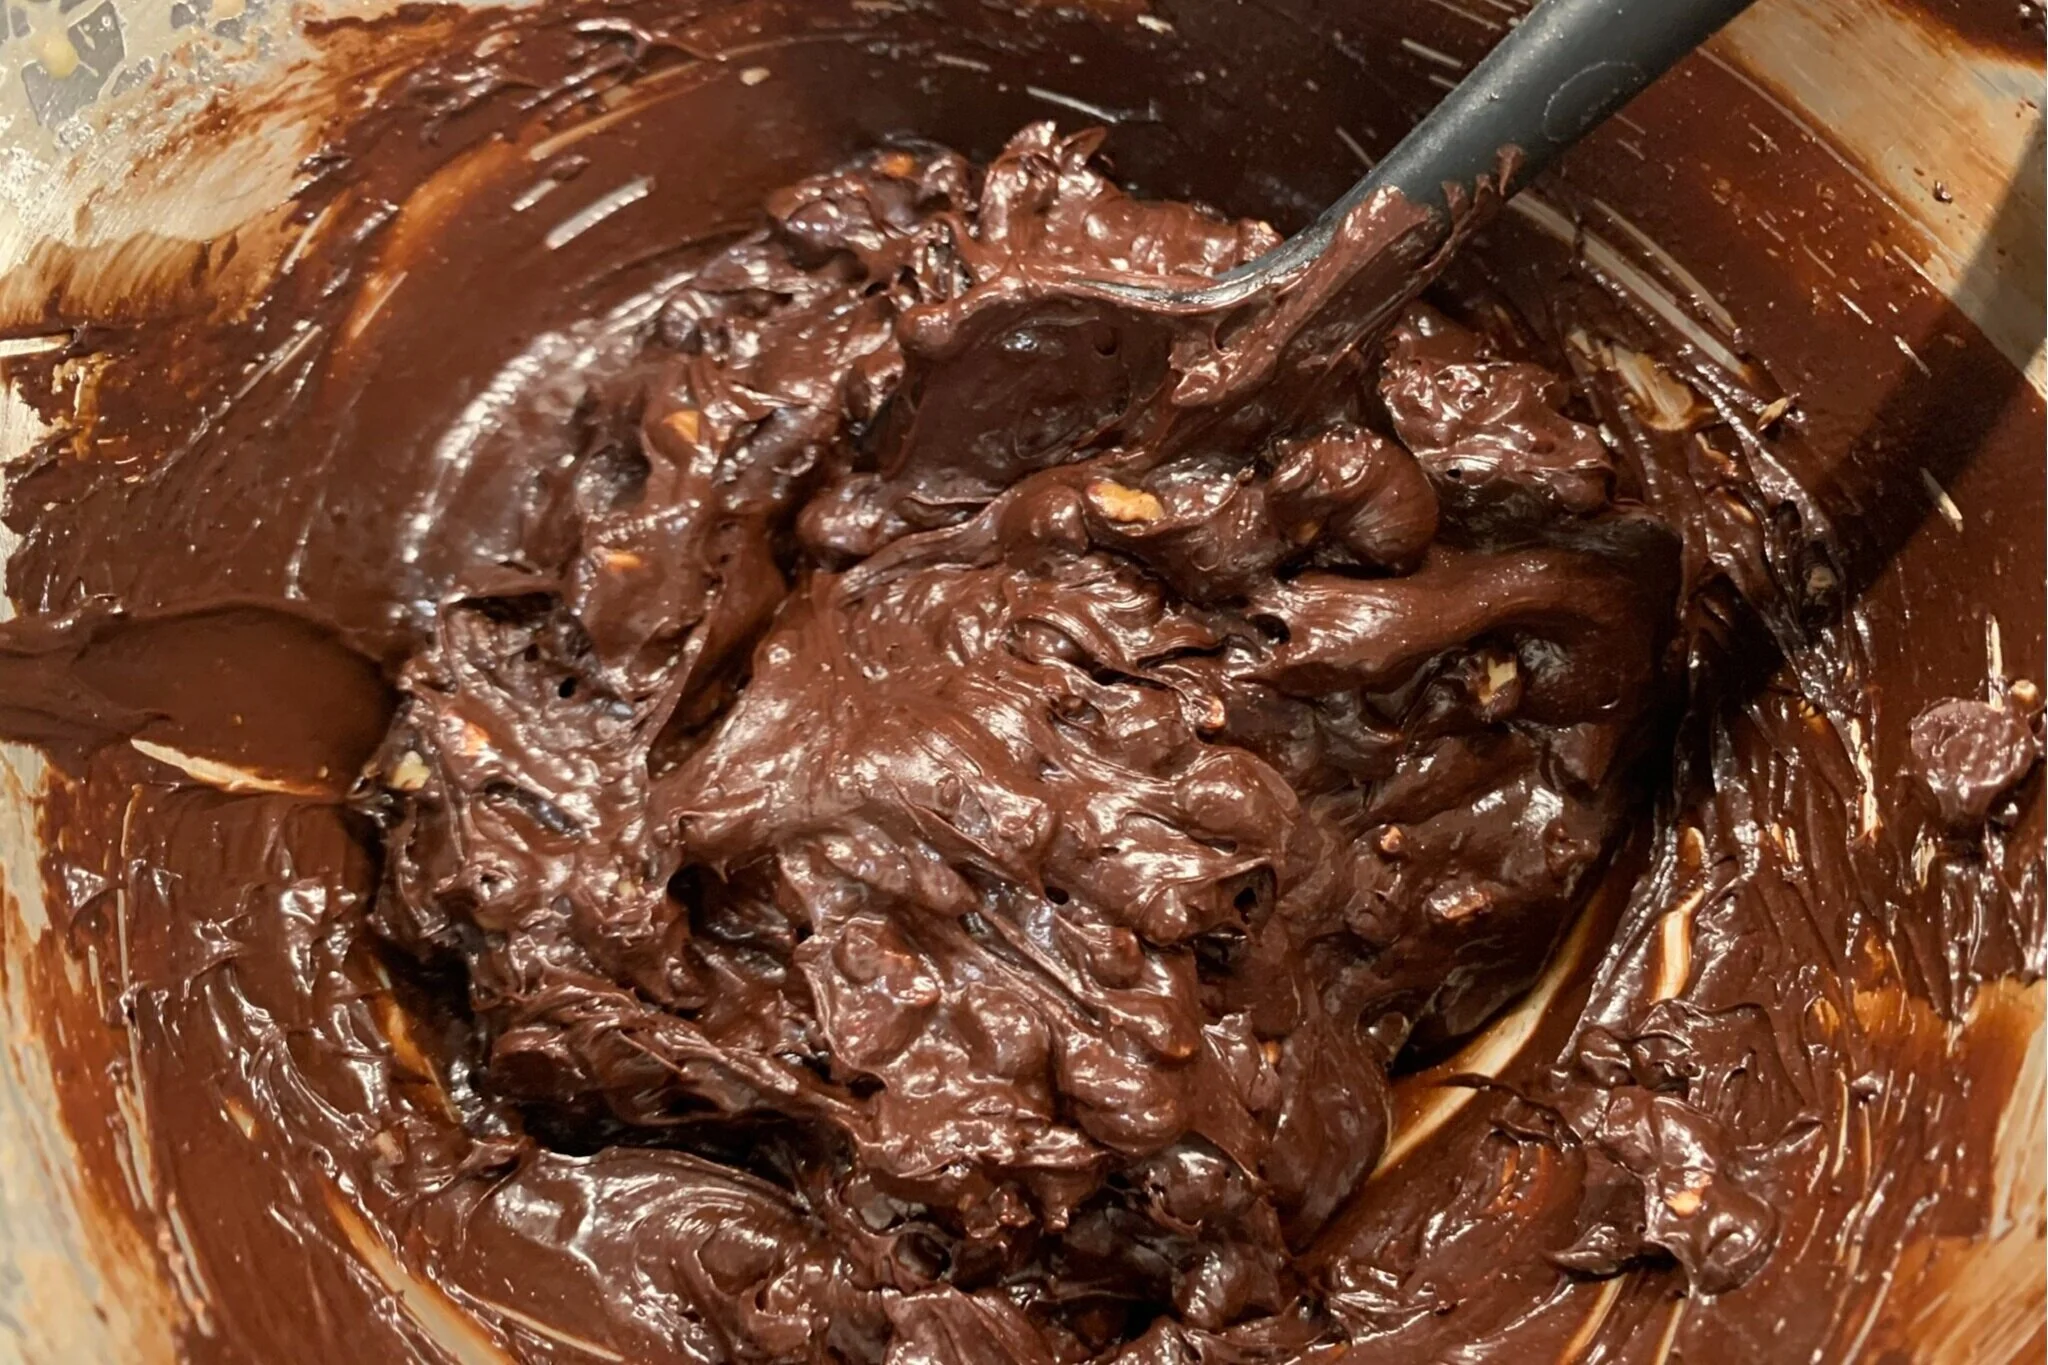
- Stir chocolate chips, toffee bits, and walnuts into the batter and mix until just evenly combined. Batter will be VERY sticky (see Notes section).
- Using a medium scoop (2 inch scoop - approx. 3 Tbs.), scoop batter, level off with a knife, and place each scoop onto lined baking sheet (12 per baking pan). Bake in the center rack of the oven (one pan at a time) for 12-15 minutes, do NOT over bake. Tops will crackle and become shiny when baked.
- (Optional Step - Immediately after removing from the oven, sprinkle a tiny bit of sea salt flakes over the hot cookies.) Allow to rest on the baking sheet for about 10-15 minutes. Gently transfer cookies with a turner onto a wire rack to cool completely.
Notes
- It’s important in this recipe to stop and scrape the sides and bottom of the stand mixer (or mixing bowl) throughout the entire mixing process.
- This batter is very sticky and will thicken when resting. Scoop immediately onto the baking sheet. For cookies that bake evenly and are all the same size, use a knife to level off each scoop.
- If you want larger cookies, use a large scoop (2.4 inch), level off, and then bake an extra minute or two. Your baking time will vary depending on the size of your scoop and your oven.
- If you like thicker cookies that are more brownie like, the batter should be in the shape of a mound when on the baking sheet. If you like a more chewy cookie, just flatten the mound a little with the back of your scooper (or bottom of a glass) so they will spread out a bit more when they cook, then bake for only 10-12 minutes and when done, let them sit on the baking sheet for a full 15 minutes before transferring to a wire rack to cool.
- Optional Ingredient - Toffee Bits: These are rich cookies, so adding toffee bits give them an extra layer of texture and flavor. If you really want to go for it, you can increase the amount to ½ cup of toffee bits, which will result in extra rich cookies that have a bit more texture.
- Once completely cooled, they can be stored on the counter for up to 3 days in an airtight container or Ziploc freezer bag. Can be frozen for up to 2 months and when ready to eat, no need to thaw - just pop a frozen cookie in the microwave for about 20 - 30 seconds and it tastes almost like it’s fresh baked!
- Makes 28 Servings (about 24-28 cookies) 1 cookie per serving.


Nutrition Facts
Calories
199.65Fat (grams)
11.19Sat. Fat (grams)
5.07Carbs (grams)
22.63Fiber (grams)
1.81Net carbs
20.81Sugar (grams)
17.85Protein (grams)
2.98Sodium (milligrams)
36.03Cholesterol (grams)
42.35Nutritional information provided is strictly an estimate and will vary based on ingredient brands and cooking methods.
Step by Step Instructions
PREPARATION
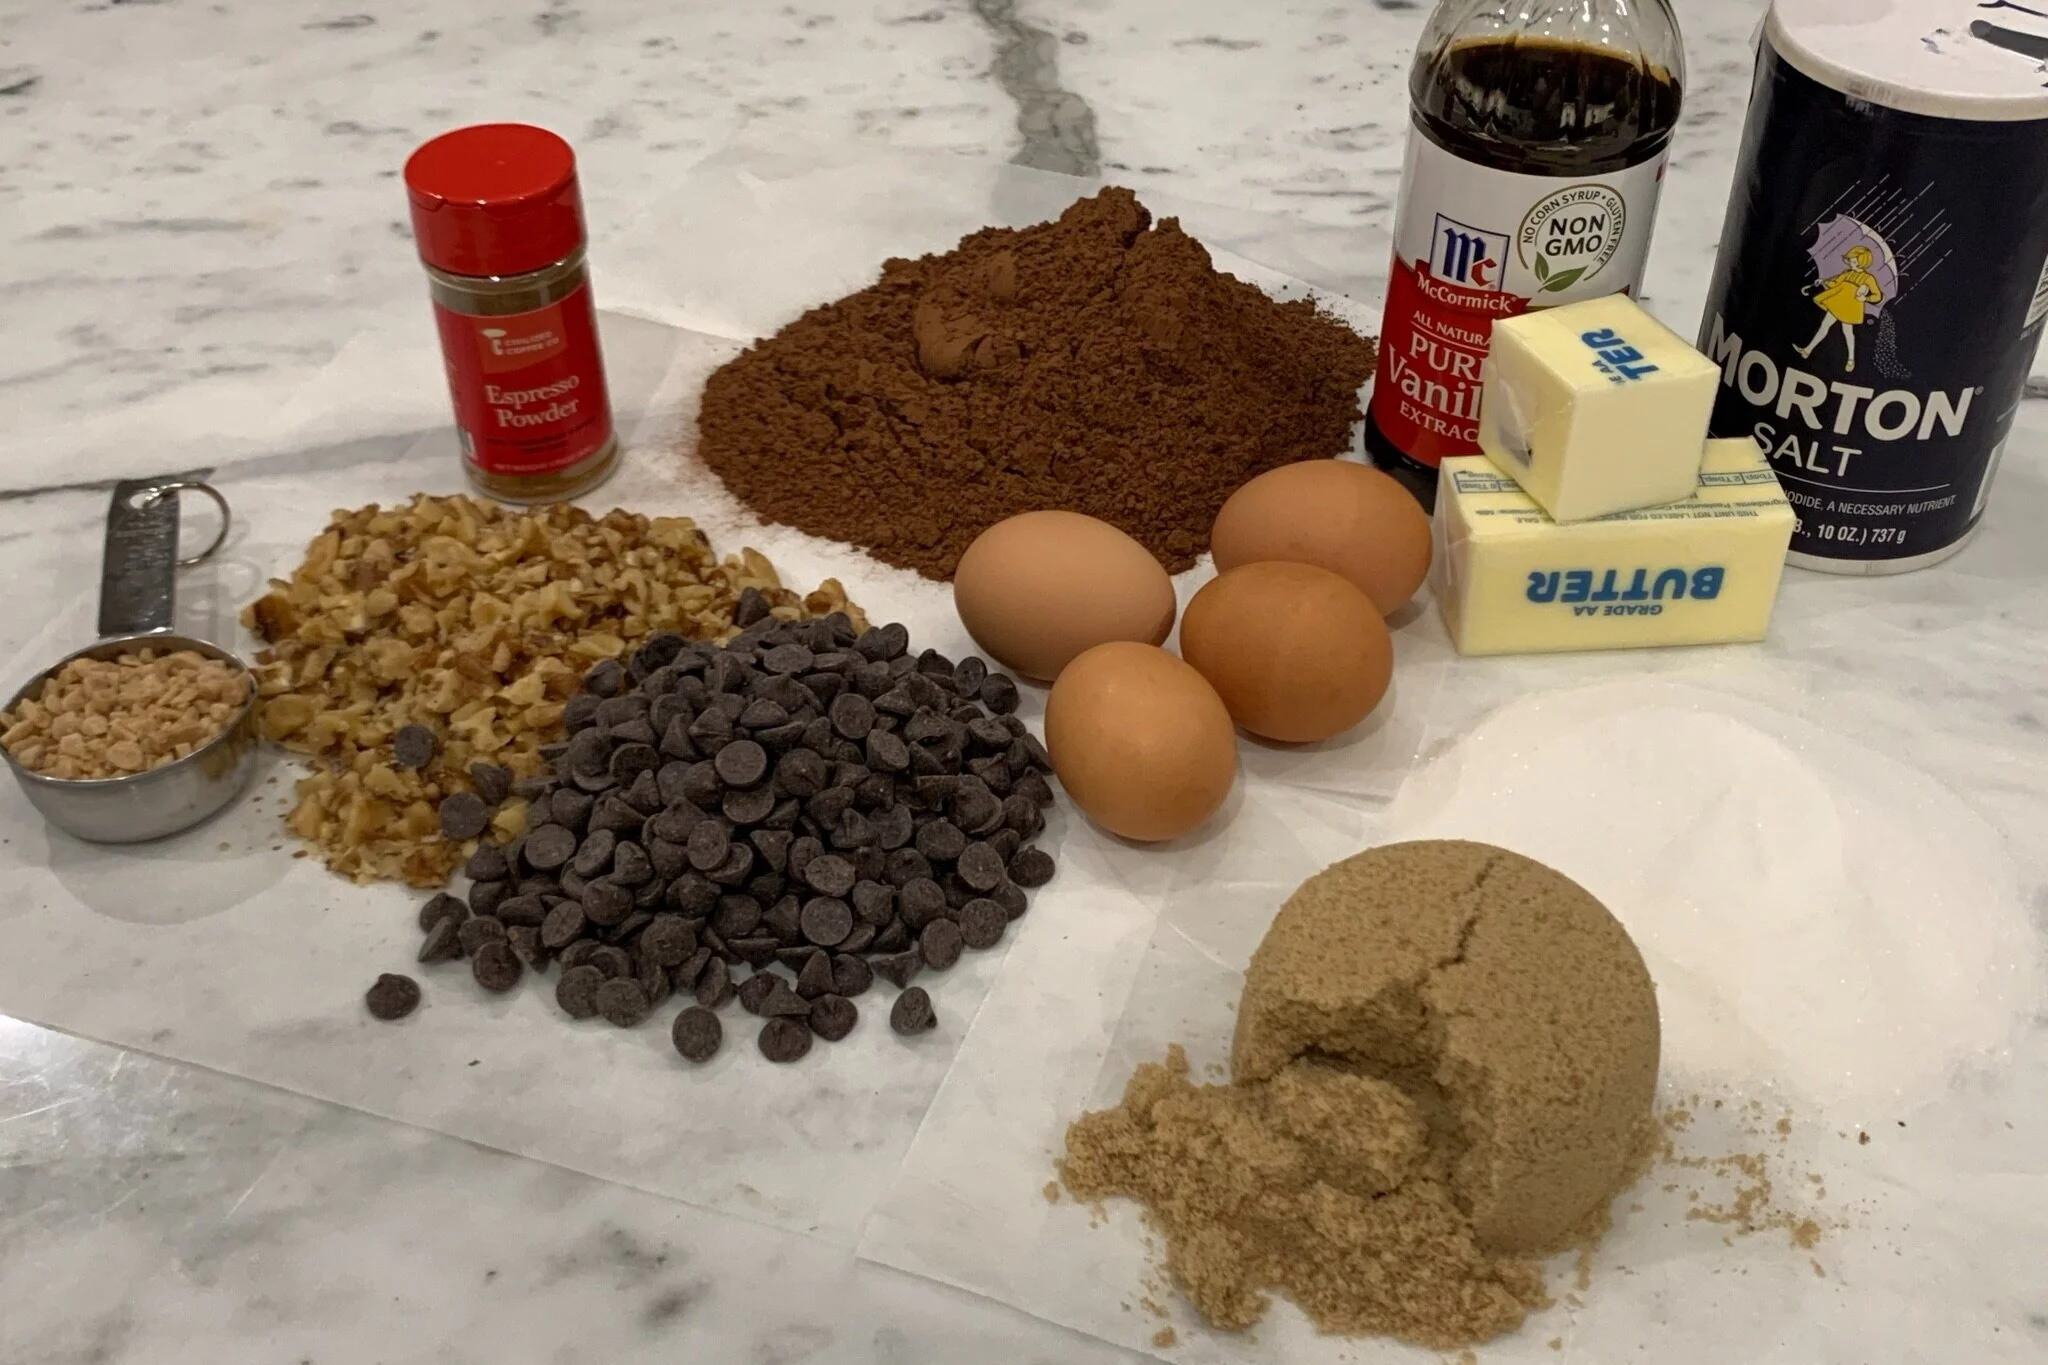
Organize all your tools and ingredients before you begin. Getting all your ingredients in one place at the beginning will shorten your prep time.
STEP 1
Line two baking sheets with parchment paper, then spray paper lightly with cooking spray, and set aside. Place oven rack in the center of the oven and preheat oven to 350°F.
STEP 2
In a medium mixing bowl, add 2 cups Dutch processed cocoa powder, ¼ teaspoon fine salt, and ¼ teaspoon espresso powder. Mix with a whisk (or a fork) to combine, and set aside.

STEP 3
To a small glass bowl, add 4 large eggs (not beaten) and 2 teaspoon pure vanilla extract and set aside.
STEP 4
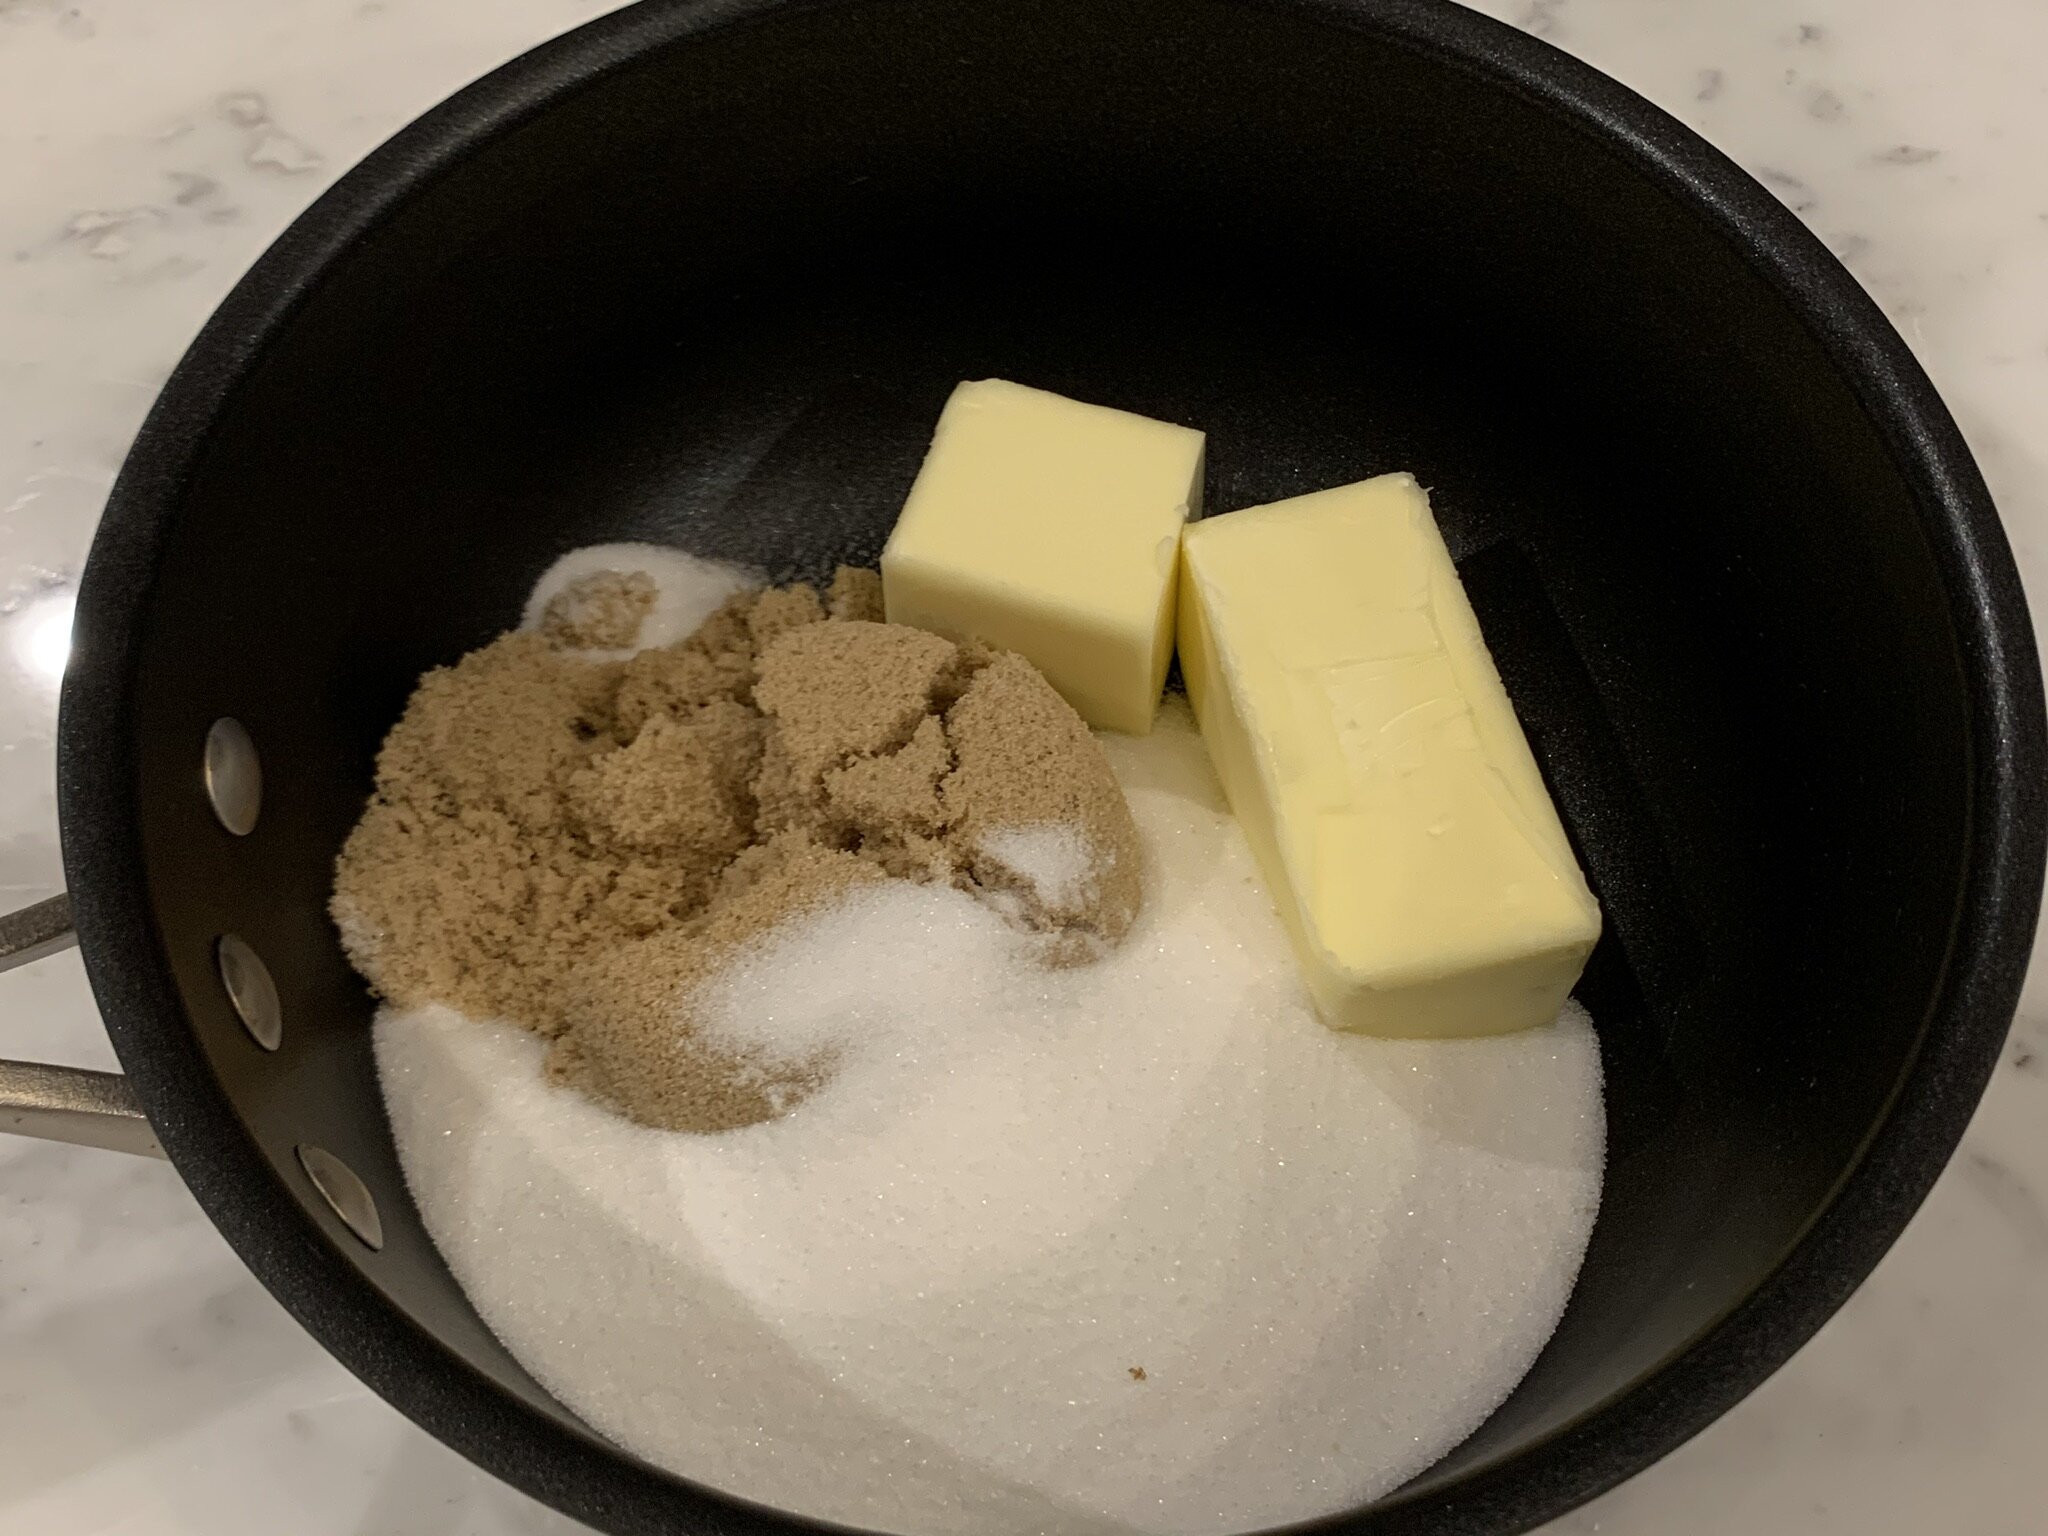
In a 2.5 quart saucepan over medium heat:
a) Add 12 tablespoons unsalted butter, 1 cup granulated sugar, and 1 cup brown sugar (lightly packed).
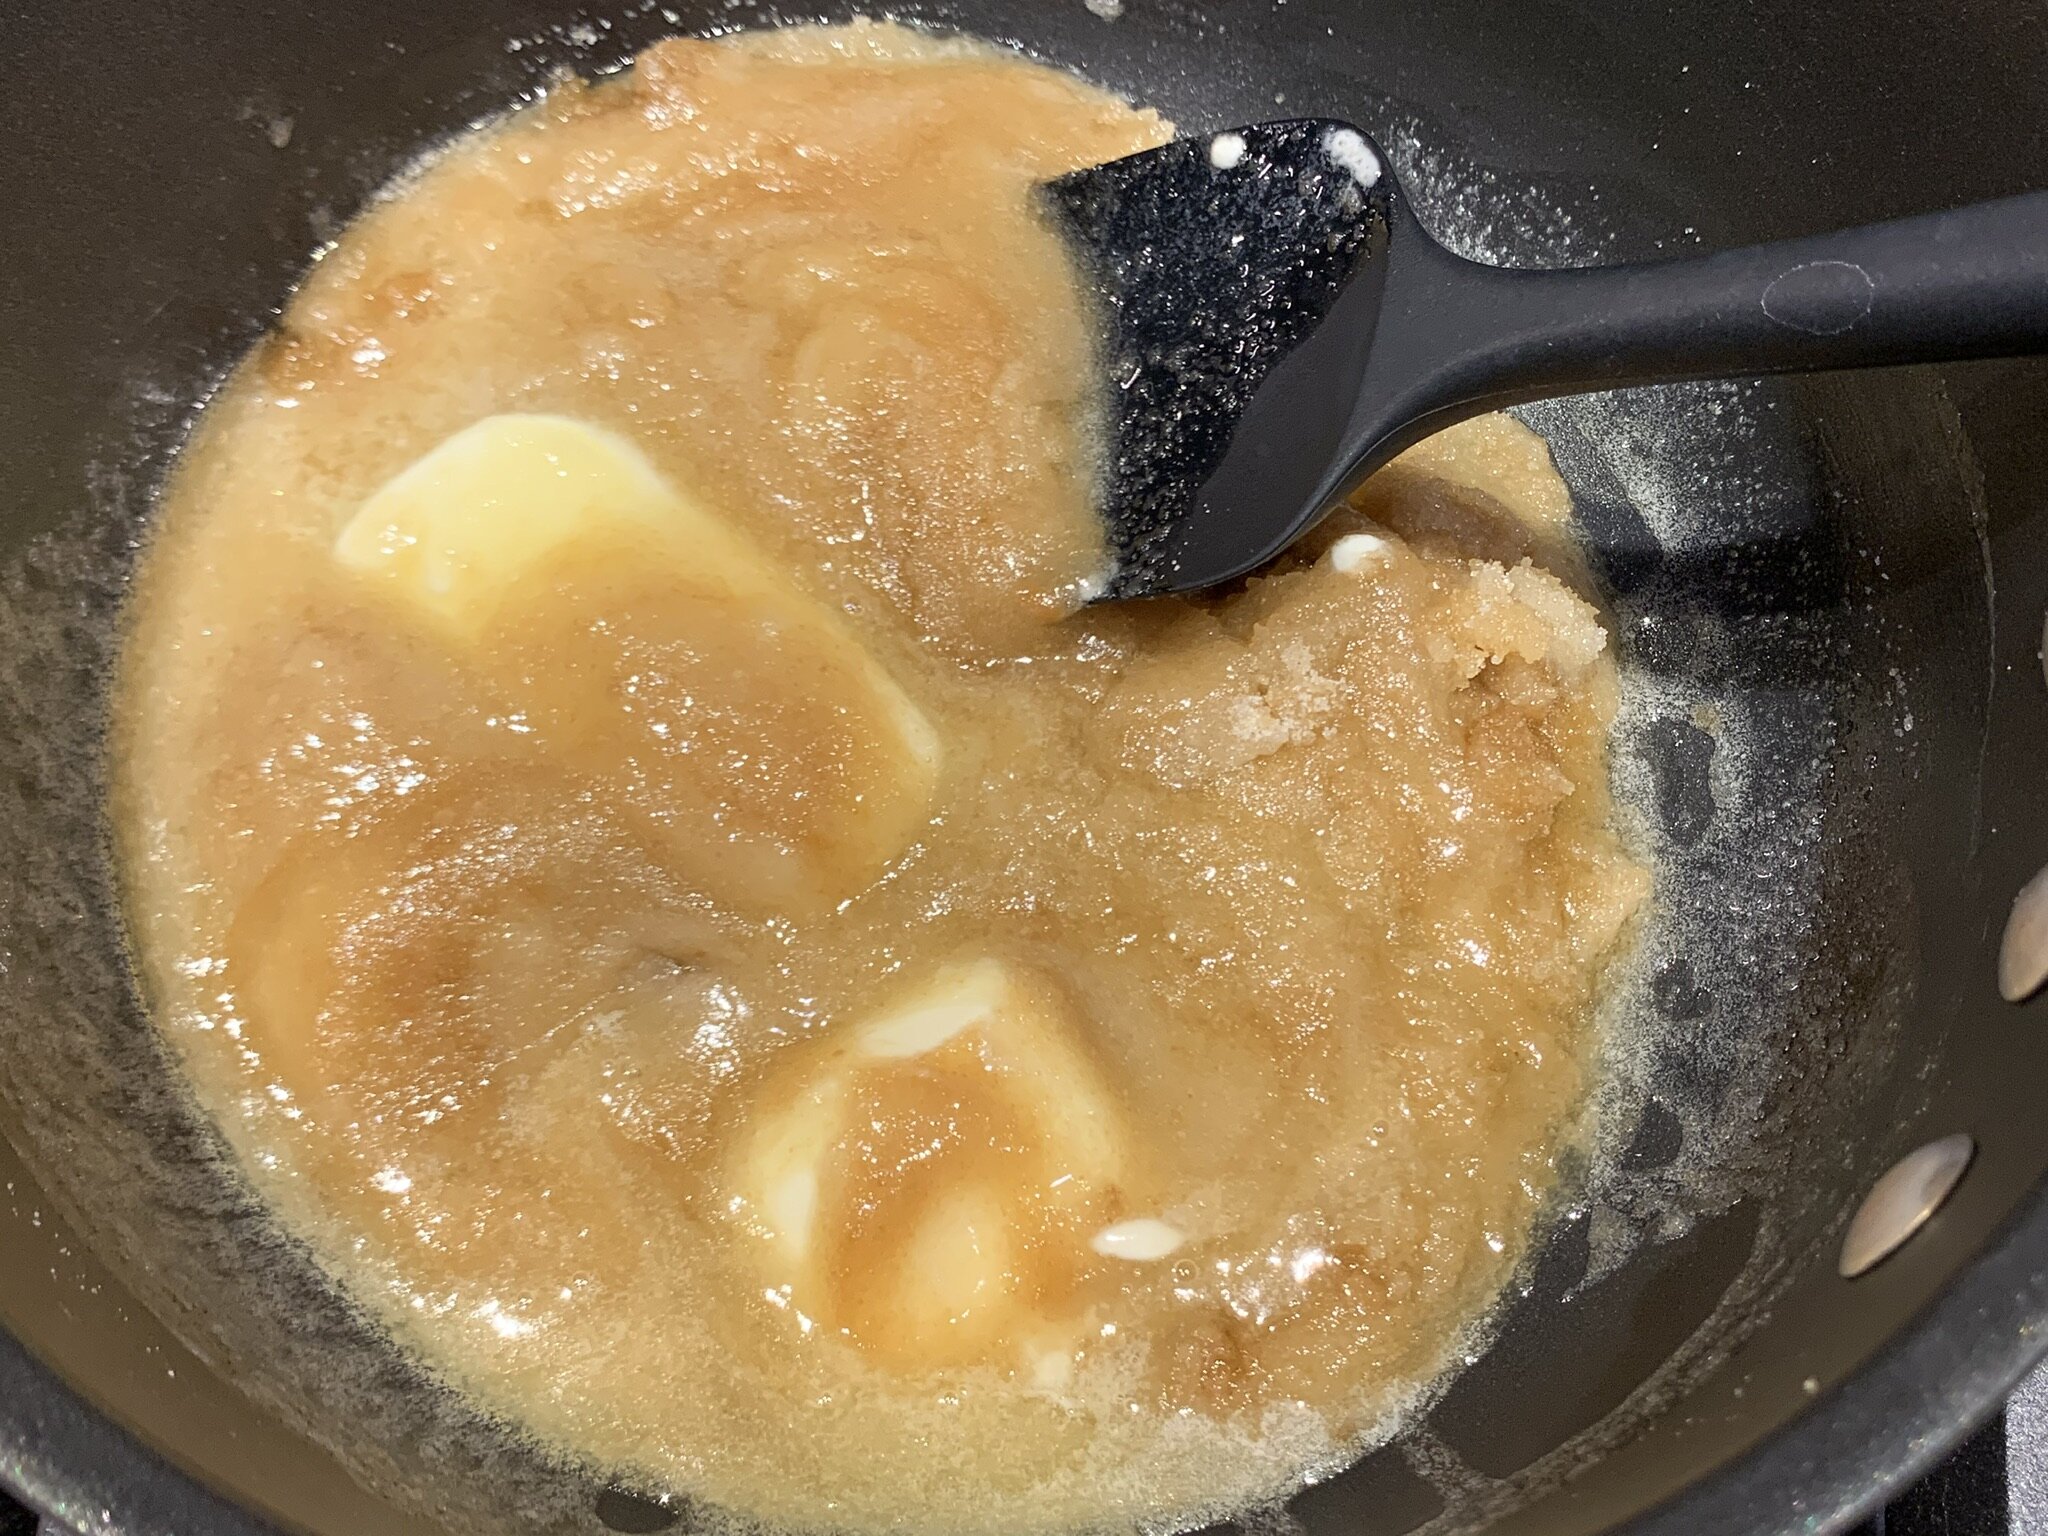
b) While stirring occasionally with a wooden spoon or heat proof spatula, melt ingredients to combine.
c) Bring to a brisk simmer (until very bubbly). Remove from heat and let cool in the saucepan for about 1-2 minutes.


STEP 5a
Carefully pour the hot butter/sugar mixture into a heat proof bowl of a stand mixer (or bowl for a hand mixer).

STEP 5b
Using the paddle attachment, beat mixture on medium-high speed for about 2 minutes, scraping bowl halfway through with a silicone spatula. Cool for 2 minutes.
Note: It’s very important to stop and scrape the sides and bottom of the stand mixer, or mixing bowl throughout the entire mixing process of this recipe.

STEP 6
While mixing on medium-high speed, add the eggs and vanilla and beat for 2 minutes, stopping halfway through to scrape the bottom and sides of the bowl well with a silicone spatula. When done, scrape the bowl again and then beat on high speed for the last 30 seconds (total process takes 2 ½ minutes).

STEP 7a
Turn off stand mixer and add the cocoa mixture to the stand mixer bowl. Then turn the mixer on very low speed and mix the batter for about 15 seconds. Stop and scrape the bowl well.
STEP 7b
Turn up to medium speed and mix for another 15 seconds (total of 30 seconds).
STEP 8
Remove bowl from mixer and add 1 cup dark chocolate chips, ¼ cup toffee bits, and 1 cup roughly chopped walnuts into the batter. With a sturdy spatula or wooden spoon, mix until just evenly combined (see Note below).
Note: This batter will be VERY sticky and will thicken as it rests. Based on various factors including climate and how it’s mixed, if this brownie-like batter is:
Too thin to scoop, just let it sit in the bowl for a few minutes until it thickens.
Thick enough to scoop, then immediately scoop onto the baking sheet and flatten a little to spread them out a bit more.

STEP 9a
Using a medium scoop (2 inch scoop - approx. 3 Tbs. - see Note A below), scoop batter, level off with a knife (see Note B below), and place each scoop onto a lined baking sheet (12 per baking pan).
Note A: If you want larger cookies, use a large scoop (2.4 inch), level off, and then bake an extra minute or two. Your baking time will vary depending on the size of your scoop and your oven.
Note B: For cookies that bake evenly and are all the same size, use a knife to level off each scoop.

STEP 9b
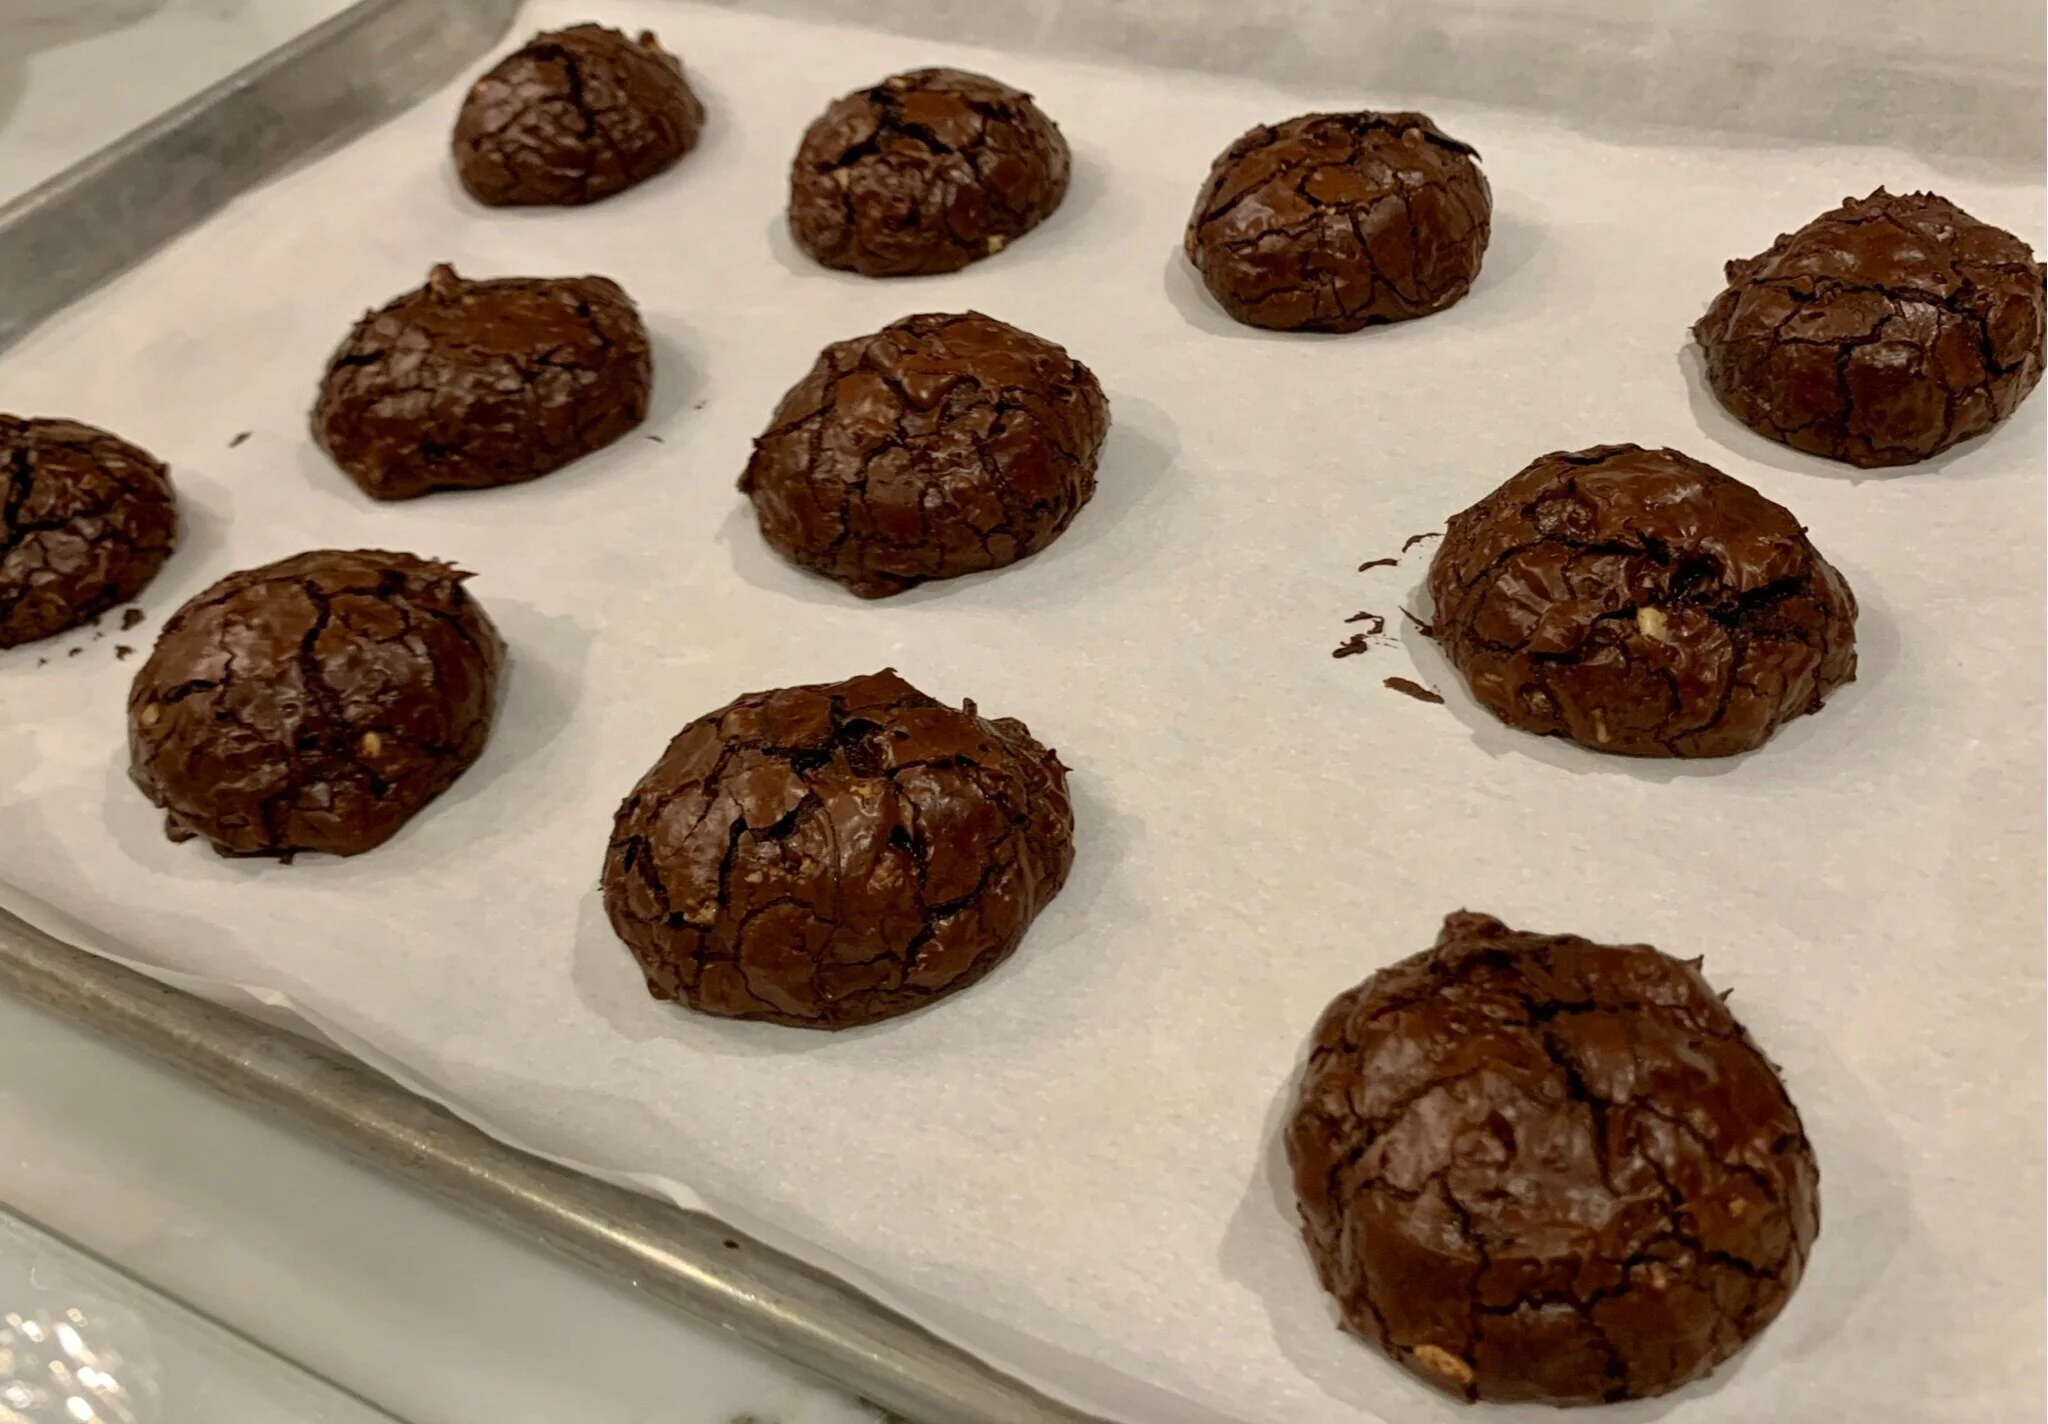
Bake in the center rack of the oven for 12-15 minutes - do NOT over bake (ours bake perfectly in 13 minutes - see Notes A & B below). Tops will crackle and become shiny when baked.
Note A: These cookies will not spread out much during the baking process. Once on the baking sheet, you can flatten the mounds a little by wetting the back of a metal spoon, scooper, bottom of a glass, or your fingers, and then pressing down to spread them out a touch more.
If you like thicker cookies that are more brownie-like, the batter should be in the shape of a mound when on the baking sheet. Don’t flatten them much, or at all.
If you like a more chewy cookie, just flatten the mound so they will spread out a bit more, then bake for only 10-12 minutes. When done, let them sit on the baking sheet for a full 15 minutes before transferring to a wire rack to cool.
Note B: Bake one pan at a time, you may have to do this in two or three batches.
STEP 10a
Immediately after removing from the oven, sprinkle a tiny bit of Maldon sea salt flakes over the hot cookies. Using sea salt flakes is optional; however, we recommend it if you like salty-sweet treats.
Allow to rest on the baking sheet for about 10-15 minutes, otherwise they will be too sticky and soft to transfer.
Note: They will look like puffy mounds when yosu remove them from the oven. Cookies will settle only a little during the cooling period (see Notes section for details).
STEP 10b
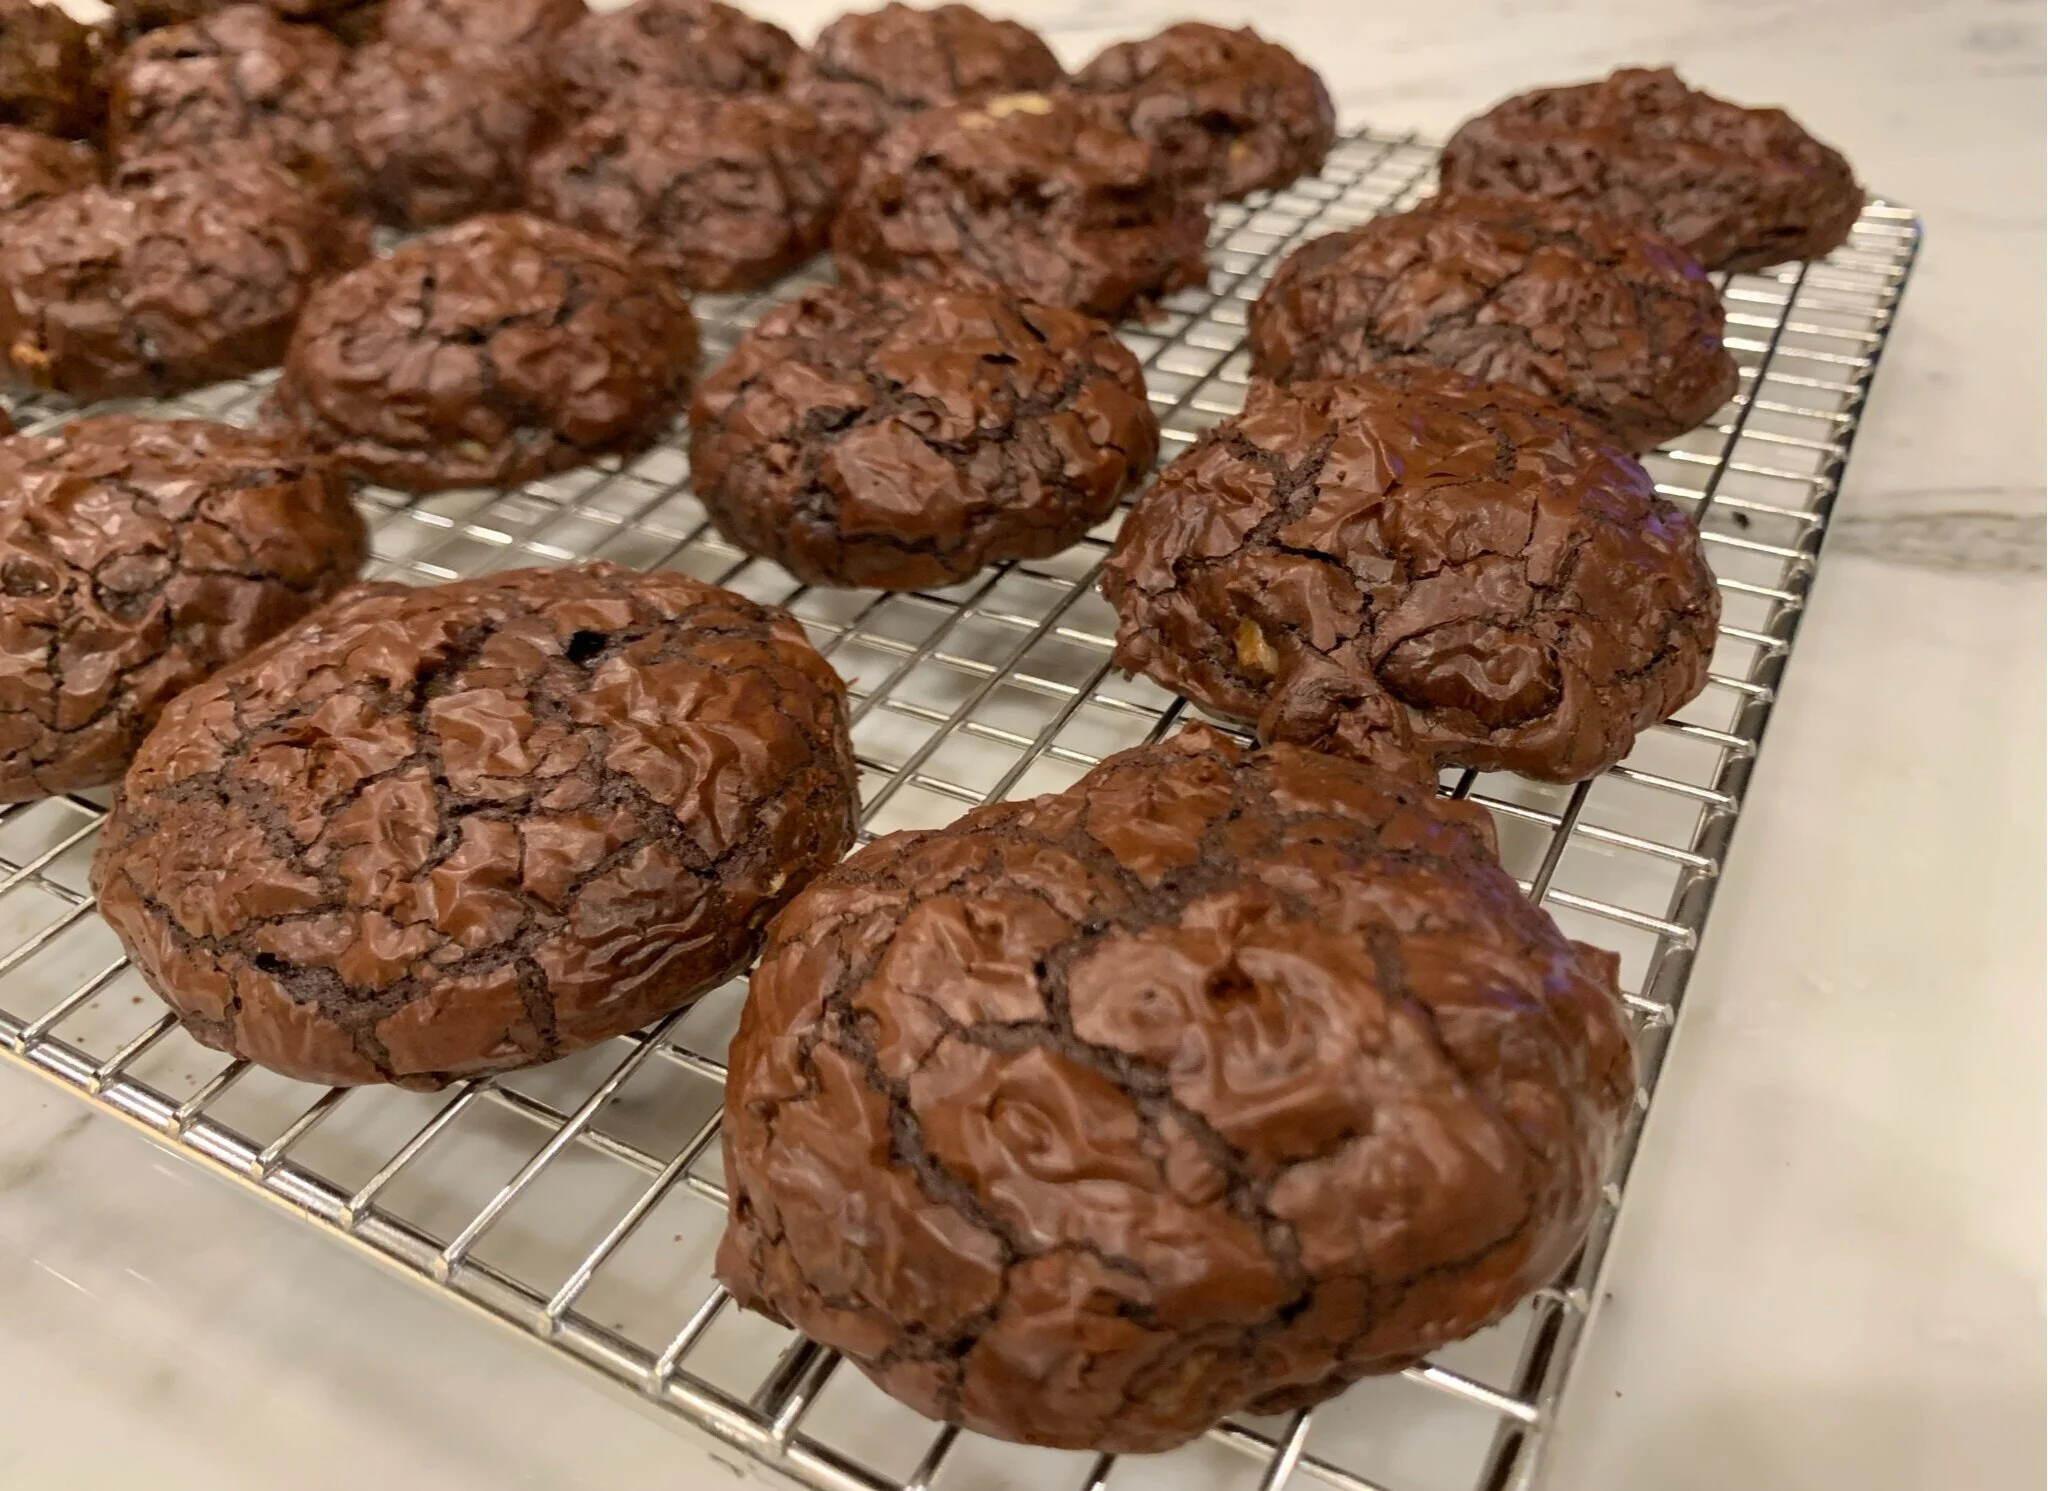
Gently transfer cookies with a spatula turner onto a wire rack to cool completely.
SERVE!
These pillowy, moist, and chocolatey cookies are best served slightly warm. Enjoy!
Notes:
Optional Ingredient (Toffee Bits): These are rich cookies, so adding toffee bits give them an extra layer of texture and flavor. If you really want to go for it, you can increase the amount to ½ cup of toffee bits, which will result in extra rich cookies that have a bit more texture.
Once completely cooled, they can be stored on the counter for up to 3 days in an airtight container or Ziploc freezer bag. Can be frozen for up to 2 months and when ready to eat, no need to thaw - just pop a frozen cookie in the microwave for about 20 - 30 seconds and it tastes almost like it’s fresh baked!
HOW TO VIDEO
How to make the most fluffy and intensely chocolate flourless cookies you have ever tasted!
Blog Comments & Tips
If you love dark chocolate and cookies, look no further!
How to make the most fluffy and intensely chocolate flourless cookies you have ever tasted!”
Let me tell you a little story about one of my top 5 favorite bakeries. When I was planning our wedding, I was looking for a gluten-free dessert option for our dessert table, because some of our guests had specific dietary restrictions. Almost every gluten-free cookie I have ever tried was not very appetizing, so I was somewhat skeptical in finding one that I liked. When I discovered the brownie crackle flourless cookies from Vanilla Bake Shop in Southern California, I felt like I had gone to chocolate heaven! Gluten-free, flourless, or not, they are truly one of my favorite cookies ever!!
I have never found a recipe that came close to their brownie crackle cookies. Believe me when I say, I’ve tried MANY recipes and bakeries and until now, none have been comparable. What makes ours come as close as I’ve found? Our secret ingredient…espresso powder, which brings out an extra rich and chocolatey flavor in these cookies.
Some of our tricks to making these amazing, chocolatey flourless cookies are the high quality ingredients and the technique. Our top 3 tips are ridiculously simple; 1) scrape your mixing bowl often and thoroughly, 2) beat well, scrape a lot, beat more, scrape some more, and 3) let them cool on the baking sheet for at least 10 minutes…or trust us, they will stick!
These cookies are best eaten slightly warm. If you made too many and you don’t want them to go to waste, just freeze them (fully baked). When ready to eat, pop a frozen cookie in the microwave for about 20 - 30 seconds and it tastes almost like it’s fresh baked!
Enjoy and let us know what you think!
Mich
Footnote: If you like the taste of salty-sweet desserts, try sprinkling on a little finishing salt on the cookies when they are right out of the oven. We use Maldon sea salt flakes .

Adapted from the Flourless Dark Chocolate Brownie Cookies recipe by Yammie's Noshery, we’ve changed some of the techniques and zhuzhed up the recipe a bit to make it extra rich, moist and chocolatey.
Every editorial product is independently selected. We may be compensated or receive an affiliate commission if you purchase products via our links. As Amazon Associates, we earn from qualifying purchases.