
Toffee Caramel Ice Cream Pie

Perfect for summer weather, our Toffee Caramel Ice Cream Pie is ridiculously easy and absolutely yummy! This decadent dessert tastes sinful, but doesn’t leave you weighed down like most ice cream mud pies. A delicious light caramel swirl ice cream is smoothed into our quick and easy vanilla wafer crust. It’s topped with toffee bits, and drizzled with warmed caramel sauce just before serving. No matter the weather, this pie is so delicious year round!
To make this quick dessert even easier, use a store bought cookie crust. Although our crust takes it over the top, you will still end up with a scrumptious and fun dessert. If using all store bought ingredients, this recipe can be prepared in 10 minutes from start to finish! Perfect make ahead dessert that can chill overnight. To learn about how to make a dairy free version, read more about this in our Blog Comments & Tips.
Sign up for a free subscription to our monthly newsletter and access to exclusive content.
To browse some of our favorite kitchen essentials, gadgets, and pantry items, visit our Recommended Products page.
RECIPE
(Check out our Step by Step Instructions below the recipe card.)
Recipe Updated: 3/30/22

TOFFEE CARAMEL ICE CREAM PIE
Ingredients
Instructions
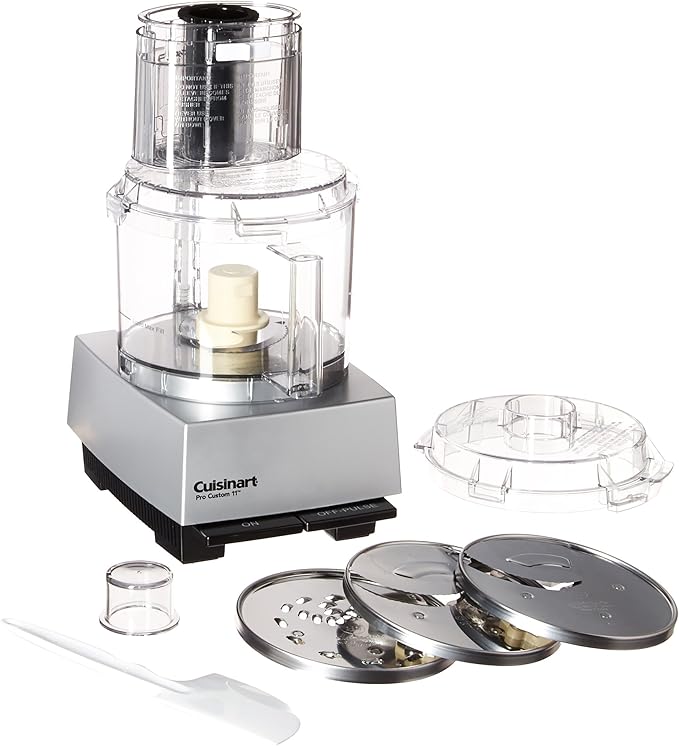
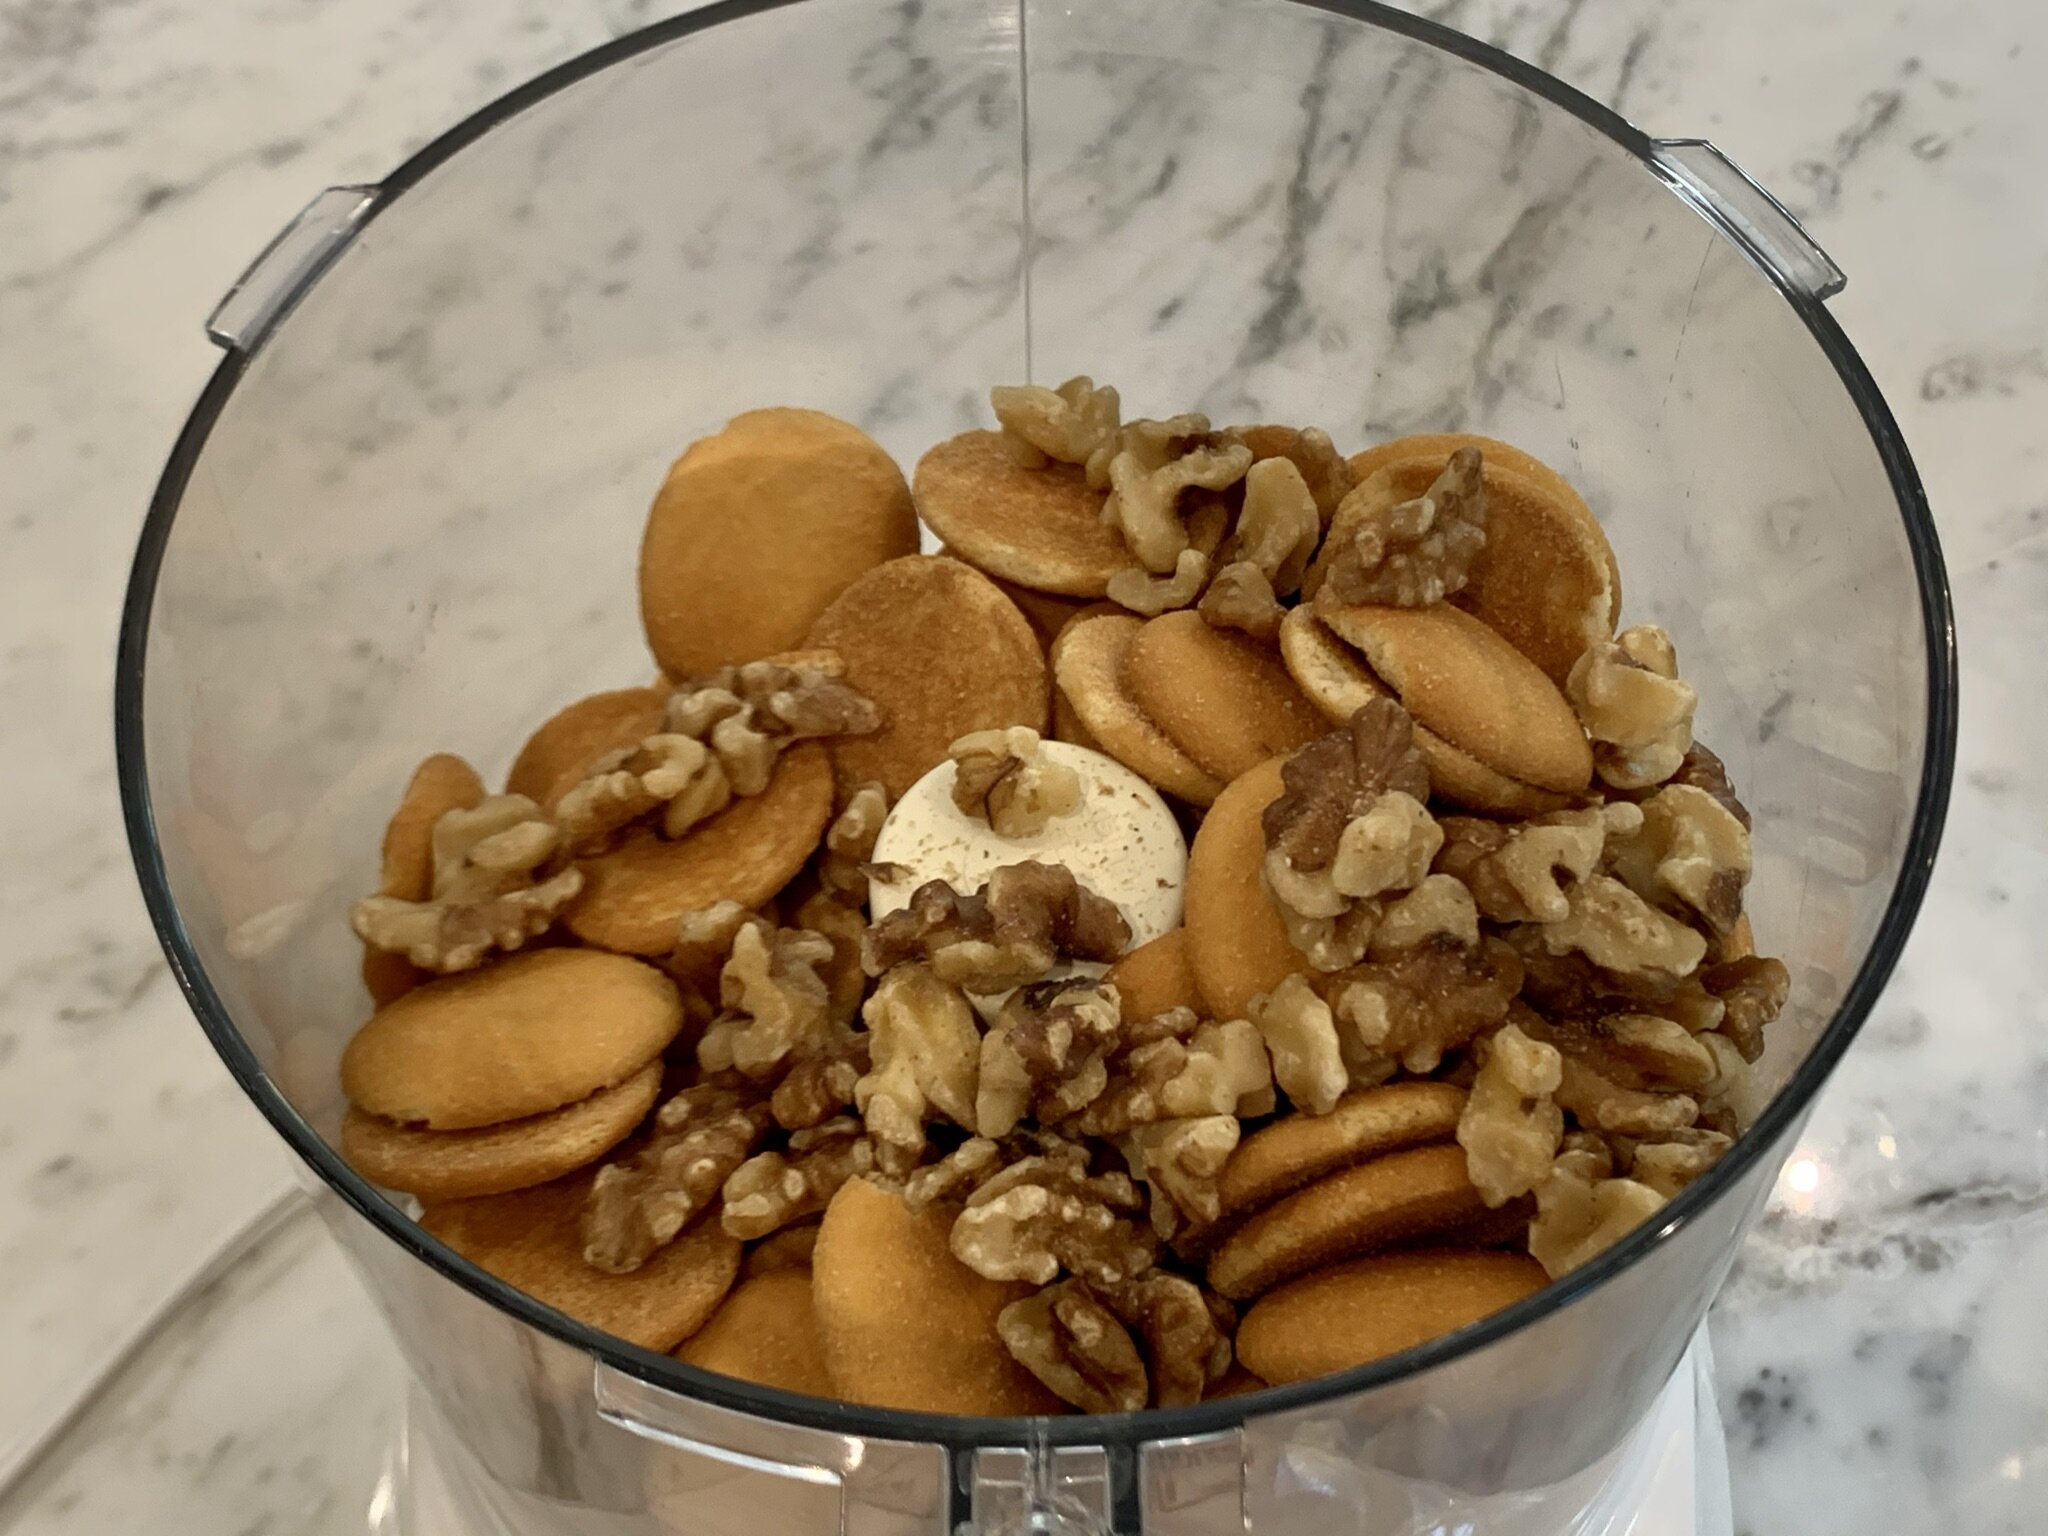
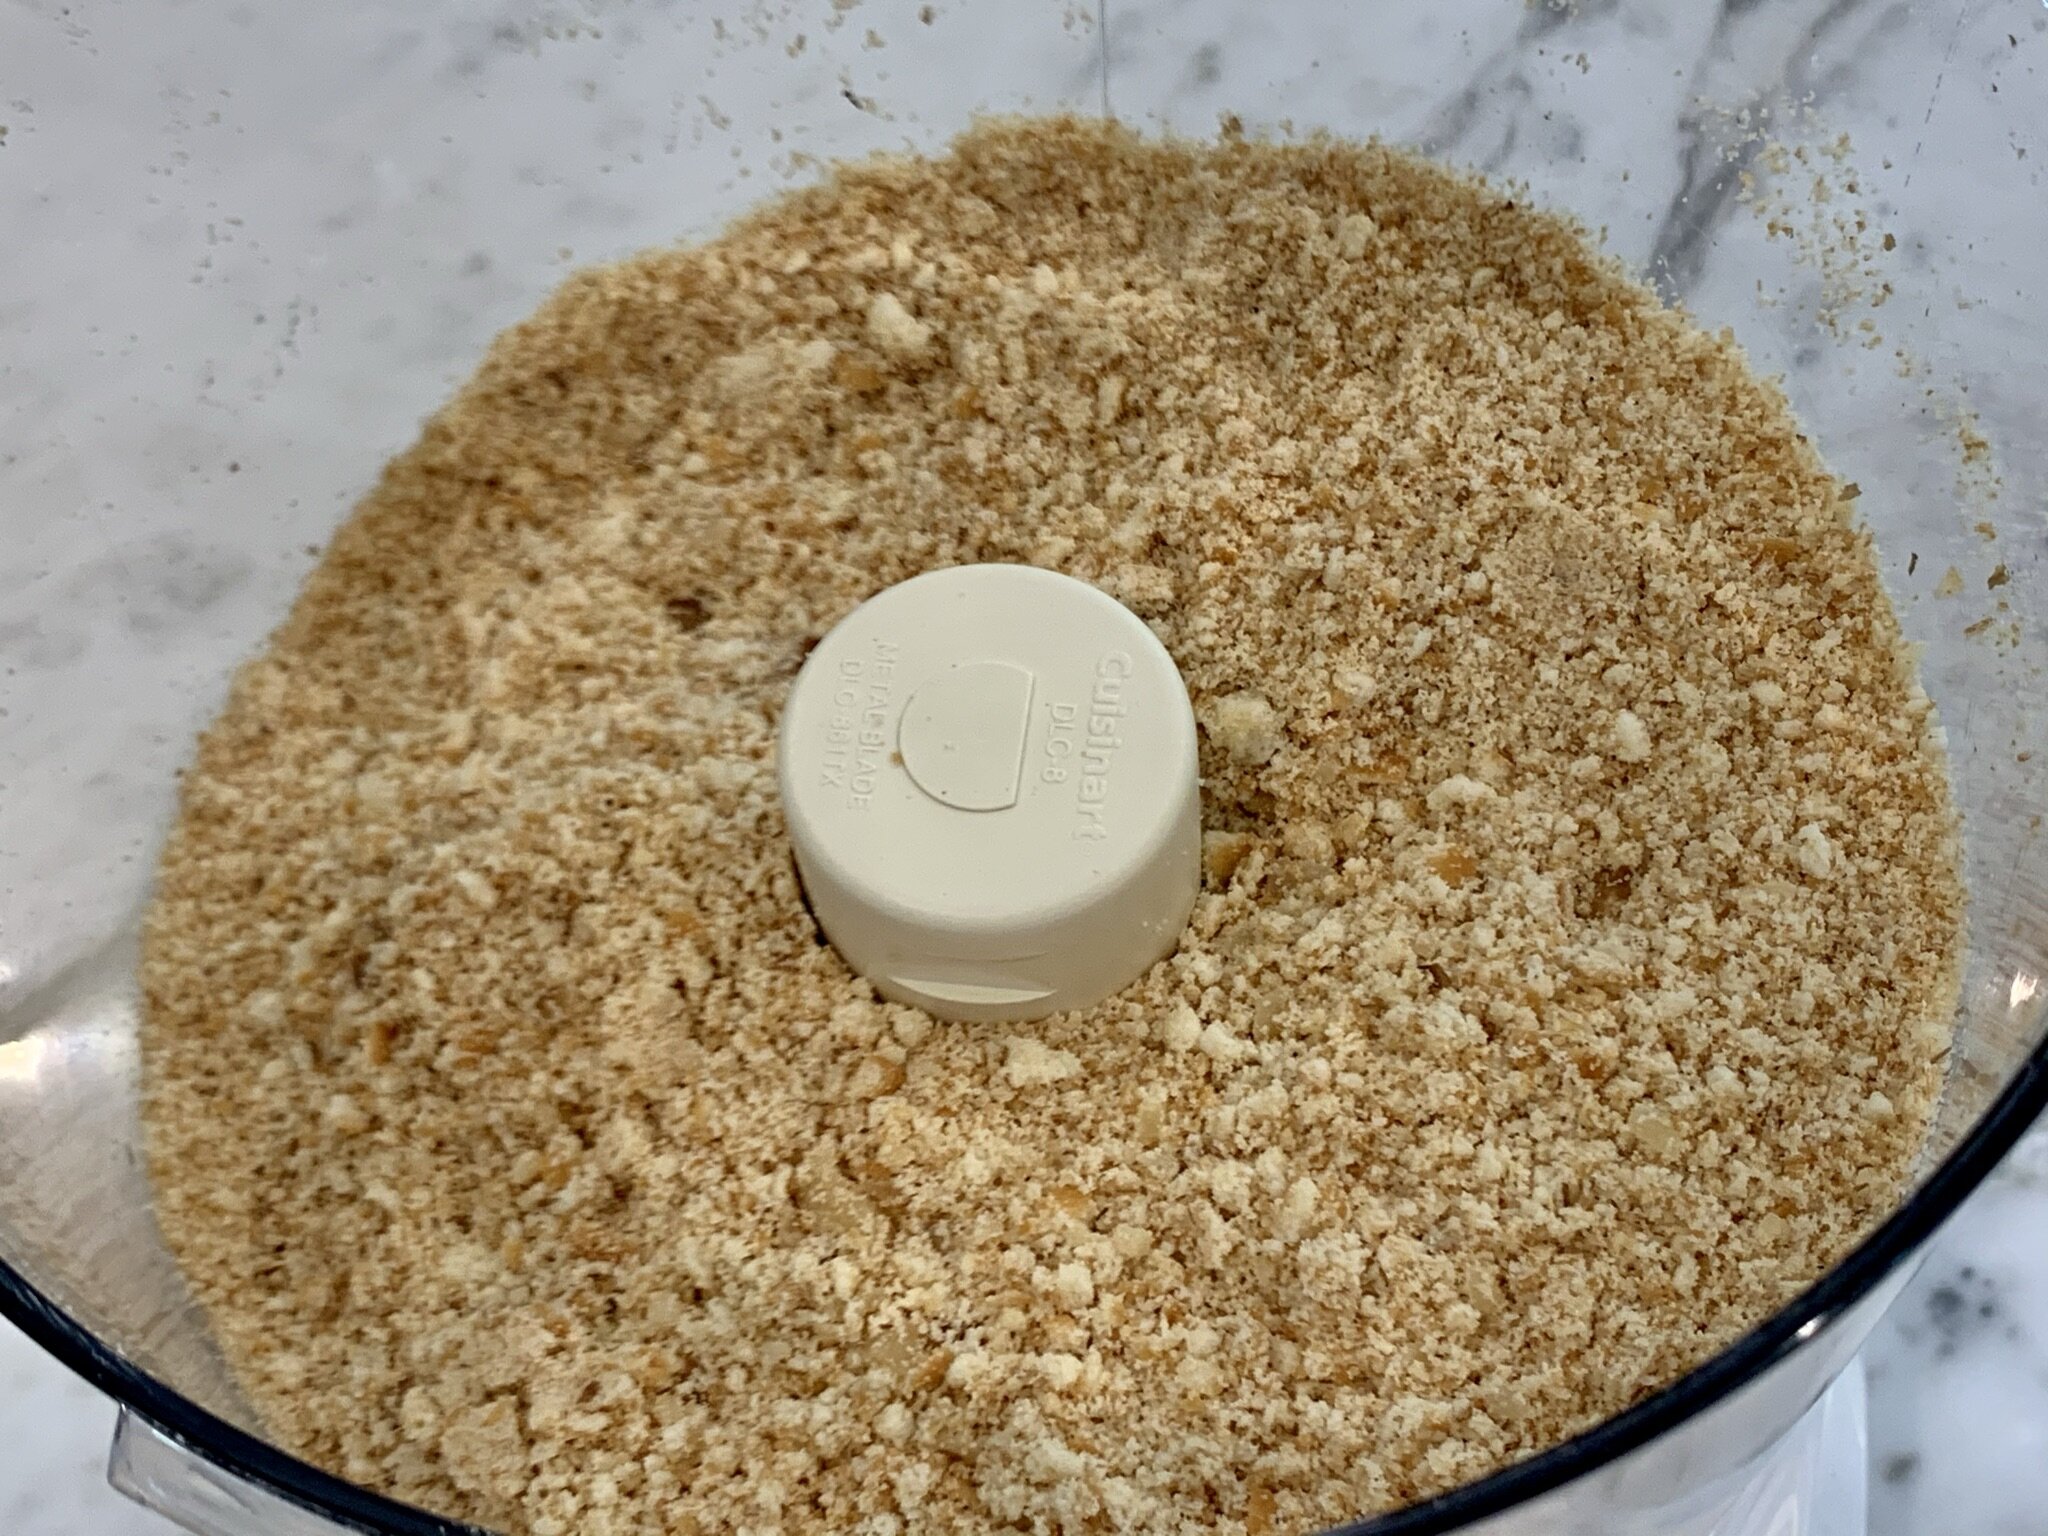
- Preheat your oven to 350°F. Spray a 9 ½ inch glass pie pan with cooking spray. Place Nilla wafers, and walnuts in a large food processor, and pulse into medium crumbs. Add sugar, and pulse into fine crumbs.
- In a medium microwave safe bowl (2 ½ quart glass bowl), melt salted butter. Add crumb mixture to the melted butter, and stir very well to combine (about 2-3 minutes). Crumbs should be completely coated and will increase in volume as they absorb the liquid.
- Press mixture firmly into prepared 9 ½ inch glass pie pan with the bottom of a metal measuring cup or a flat bottom glass. Bake for 10-12 minutes until it becomes golden brown and fragrant. Remove from the oven and cool completely.
- Soften ice cream by thawing in its container for 5-10 minutes at room temperature (see Note #2 below). Dump about ¾ of the container into the prepared and cooled crust. Spread into the bottom and edges of the crust (make sure there are no air gaps). Then add remaining ice cream, spread to edges (leaving the top crust exposed, and swirl the top. Evenly sprinkle English Toffee Bits all over the top of the ice cream, and freeze uncovered for 3-4 hours. Cover with plastic wrap, then freeze for another 4 hours (or overnight).
- When ready to serve (see Notes #3 & #4 below), pour caramel sauce into a microwave safe bowl, and microwave until it bubbles up (about 15-20 seconds), then stir well. Serve slices of the ice cream pie in shallow bowls, drizzle warm caramel sauce (about ½ tablespoon each) over each slice, and garnish with a dollop of whipped cream.
Notes
- Short on time? Buy a ready made cookie crust, and store bought real whipped cream. If using all store bought ingredients, this recipe can be prepared in 10 minutes from start to finish!
- Ice cream should be soft, easy to scoop, and spreadable, but not melted.
- Make sure this pie is frozen solid before serving, otherwise you will end up with a soupy mess! Slow churned, light ice cream has more air whipped into it, which makes it melt a bit faster.
- When serving, run a knife under hot water and wipe clean before each slice.
- Recipe can be made ahead!
- Recipe serves 8, but can easily serve up to 10 people!


Nutrition Facts
Calories
488.33Fat (grams)
23.76Sat. Fat (grams)
10.76Carbs (grams)
64.36Fiber (grams)
0.44Net carbs
63.92Sugar (grams)
53.07Protein (grams)
6.67Sodium (milligrams)
281.35Cholesterol (grams)
45.59Nutritional information provided is strictly an estimate and will vary based on ingredient brands and cooking methods. Optional garnish (whipped cream) is not included in the nutritional calculations).
Step by Step Instructions
Nilla Wafer Crust
CRUST PREPARATION
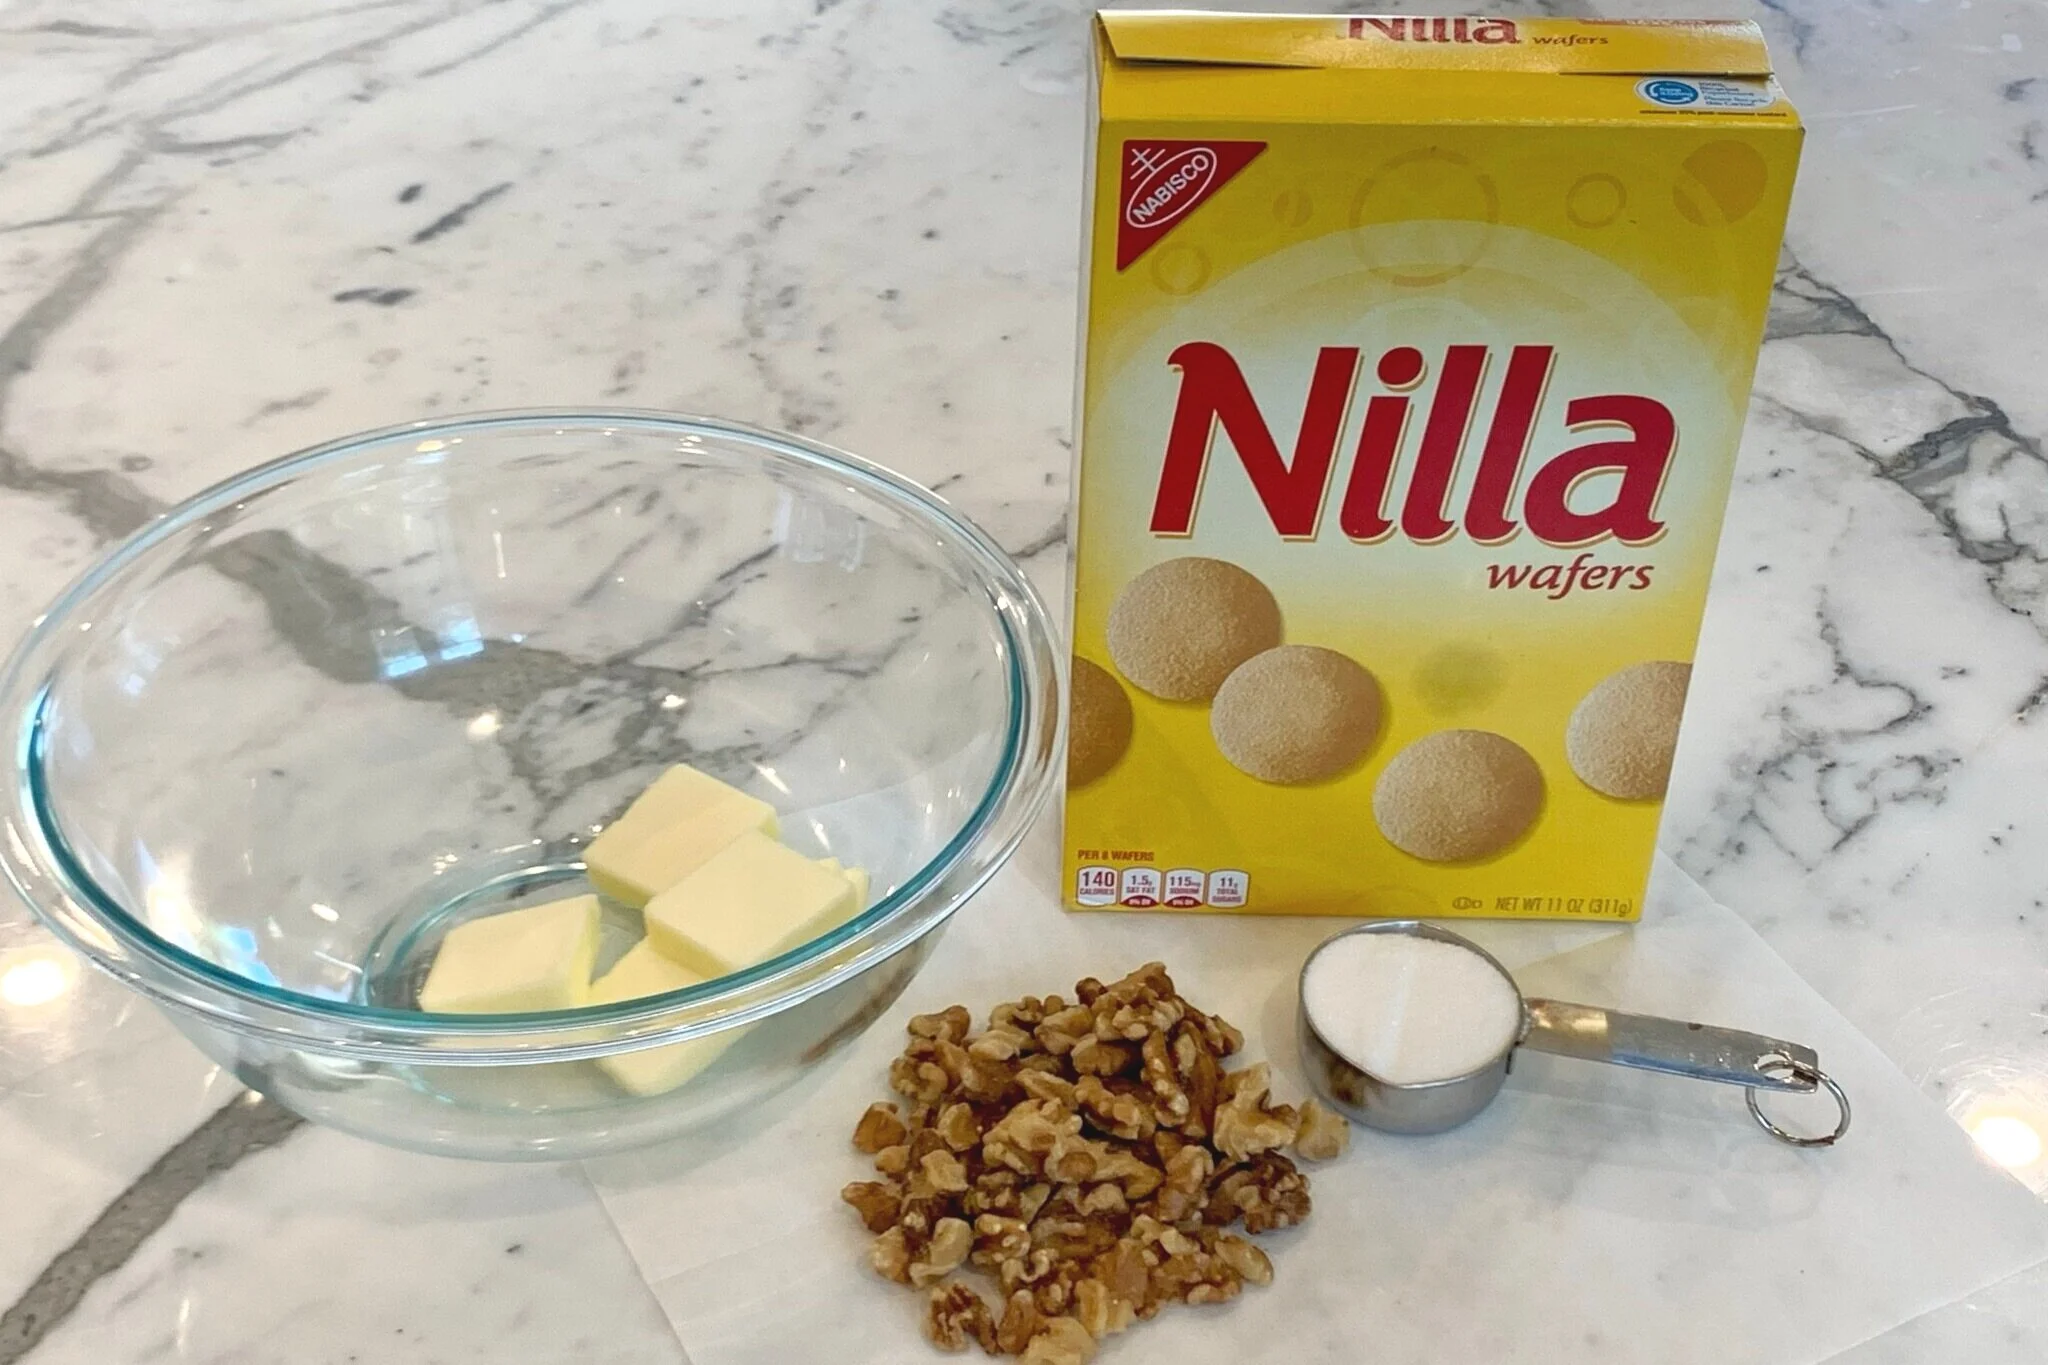
Organize all your tools and ingredients before you begin. Getting all your ingredients in one place at the beginning will shorten your prep time.
STEP 1
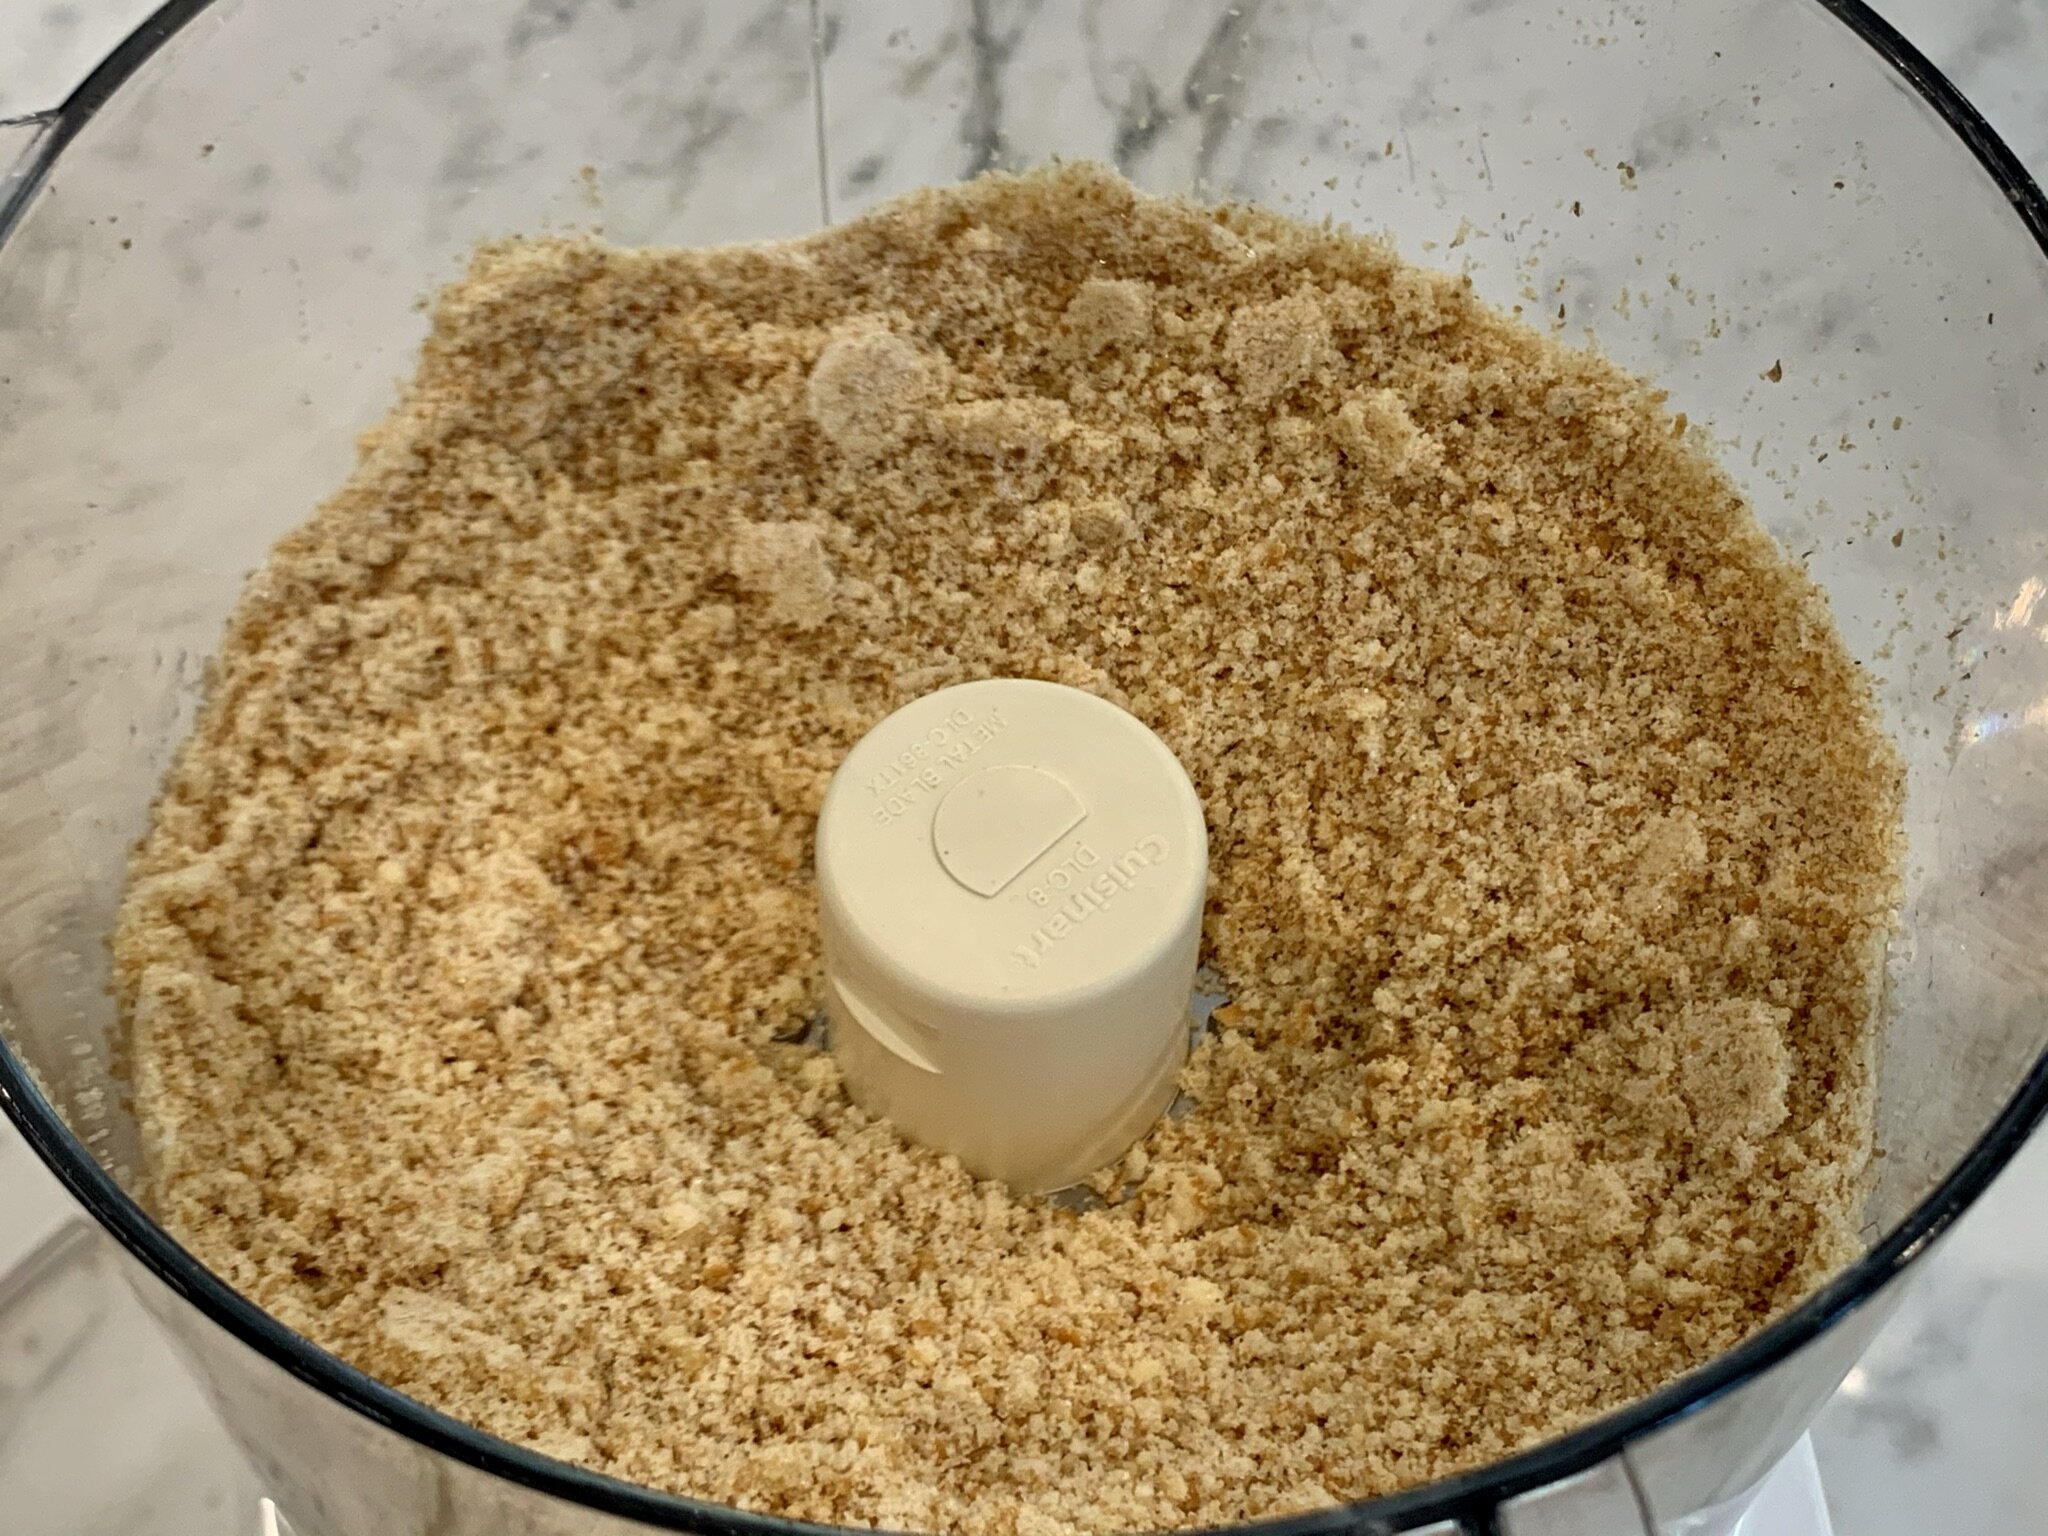
Preheat your oven to 350°F. Spray a 9 ½ inch glass pie pan with cooking spray. Place 60 Nilla Wafer Cookies (vanilla wafers), and ½ cup walnut pieces in a large food processor, and pulse into medium crumbs. Add ¼ cup granulated sugar, and pulse until mixture turns into fine crumbs.

STEP 2
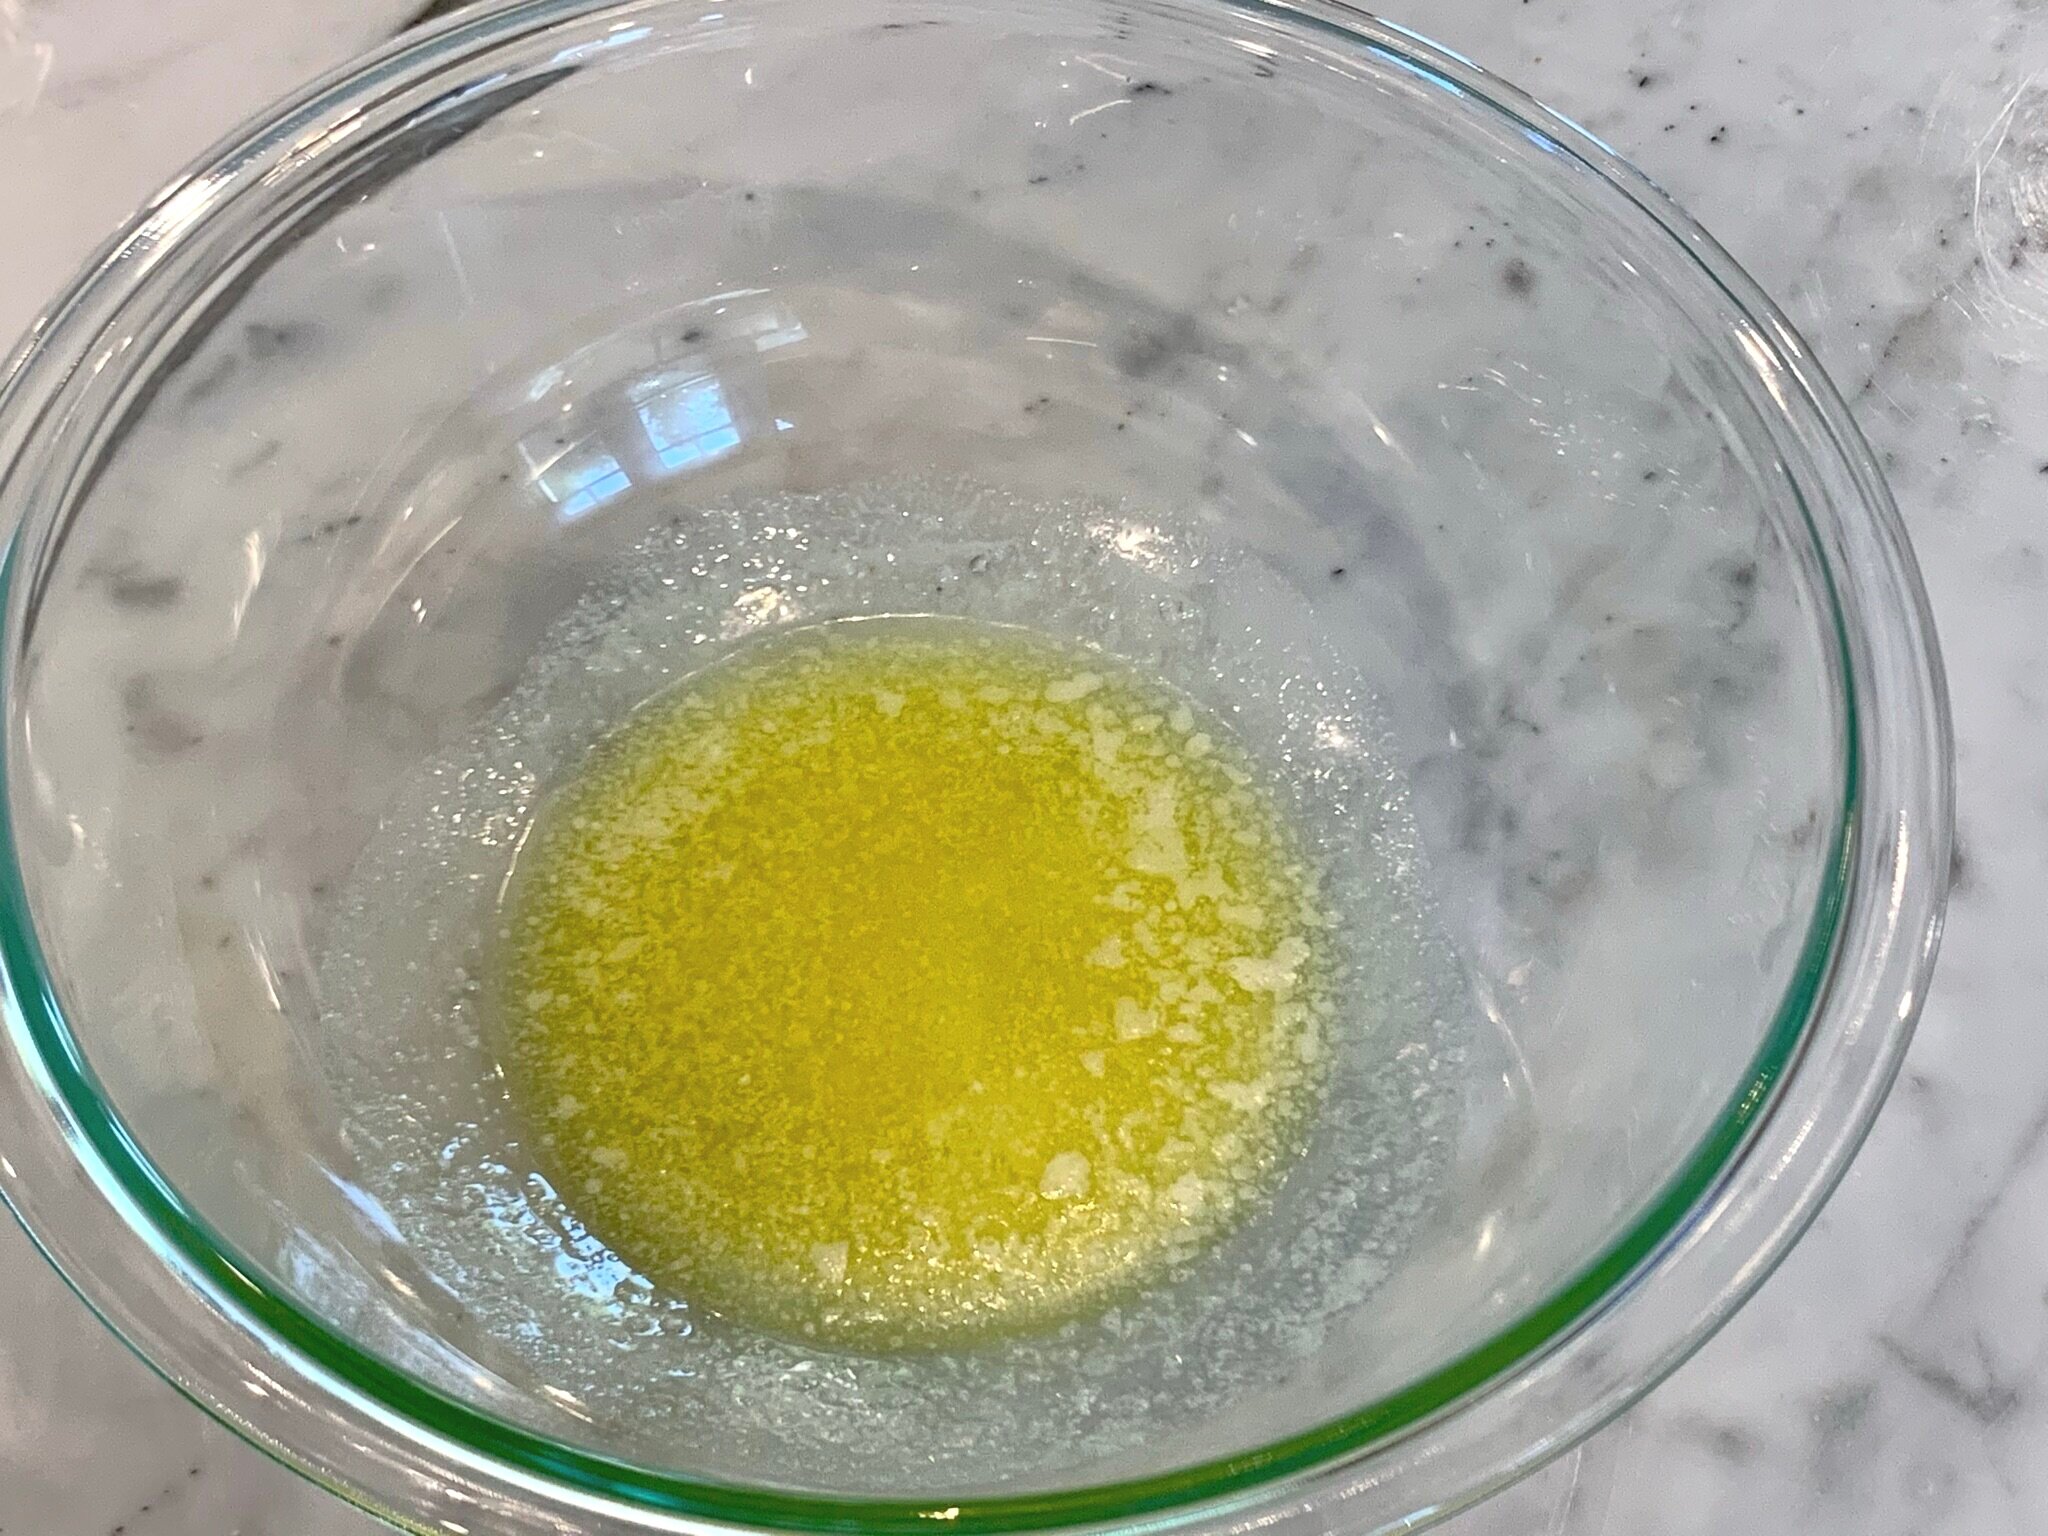
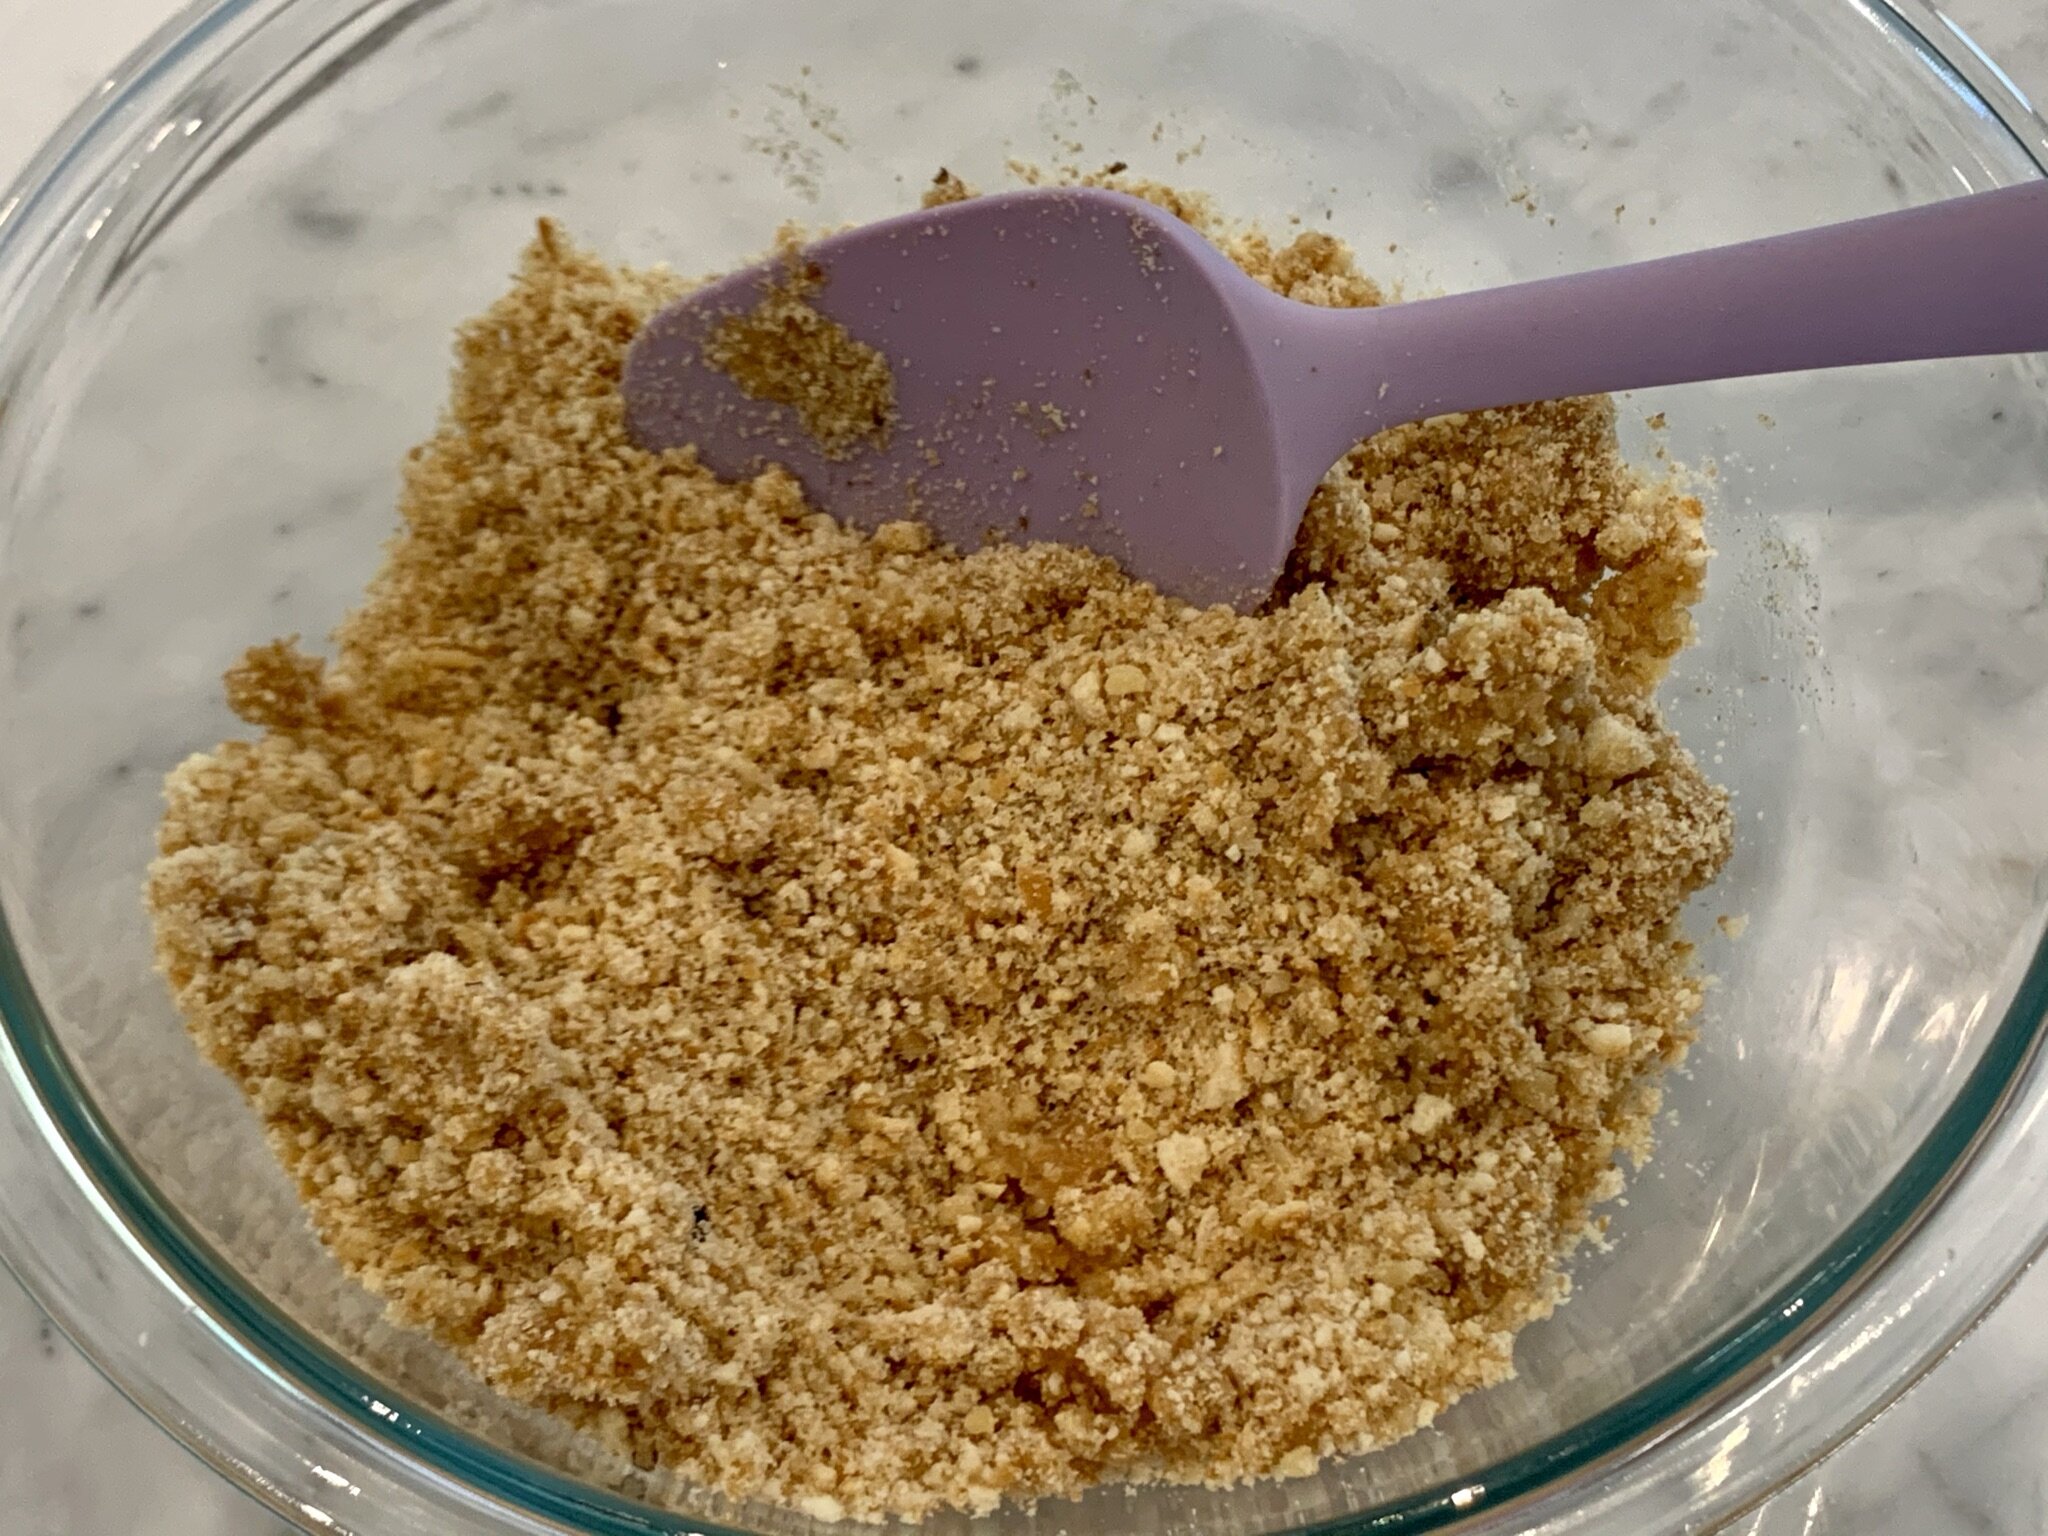
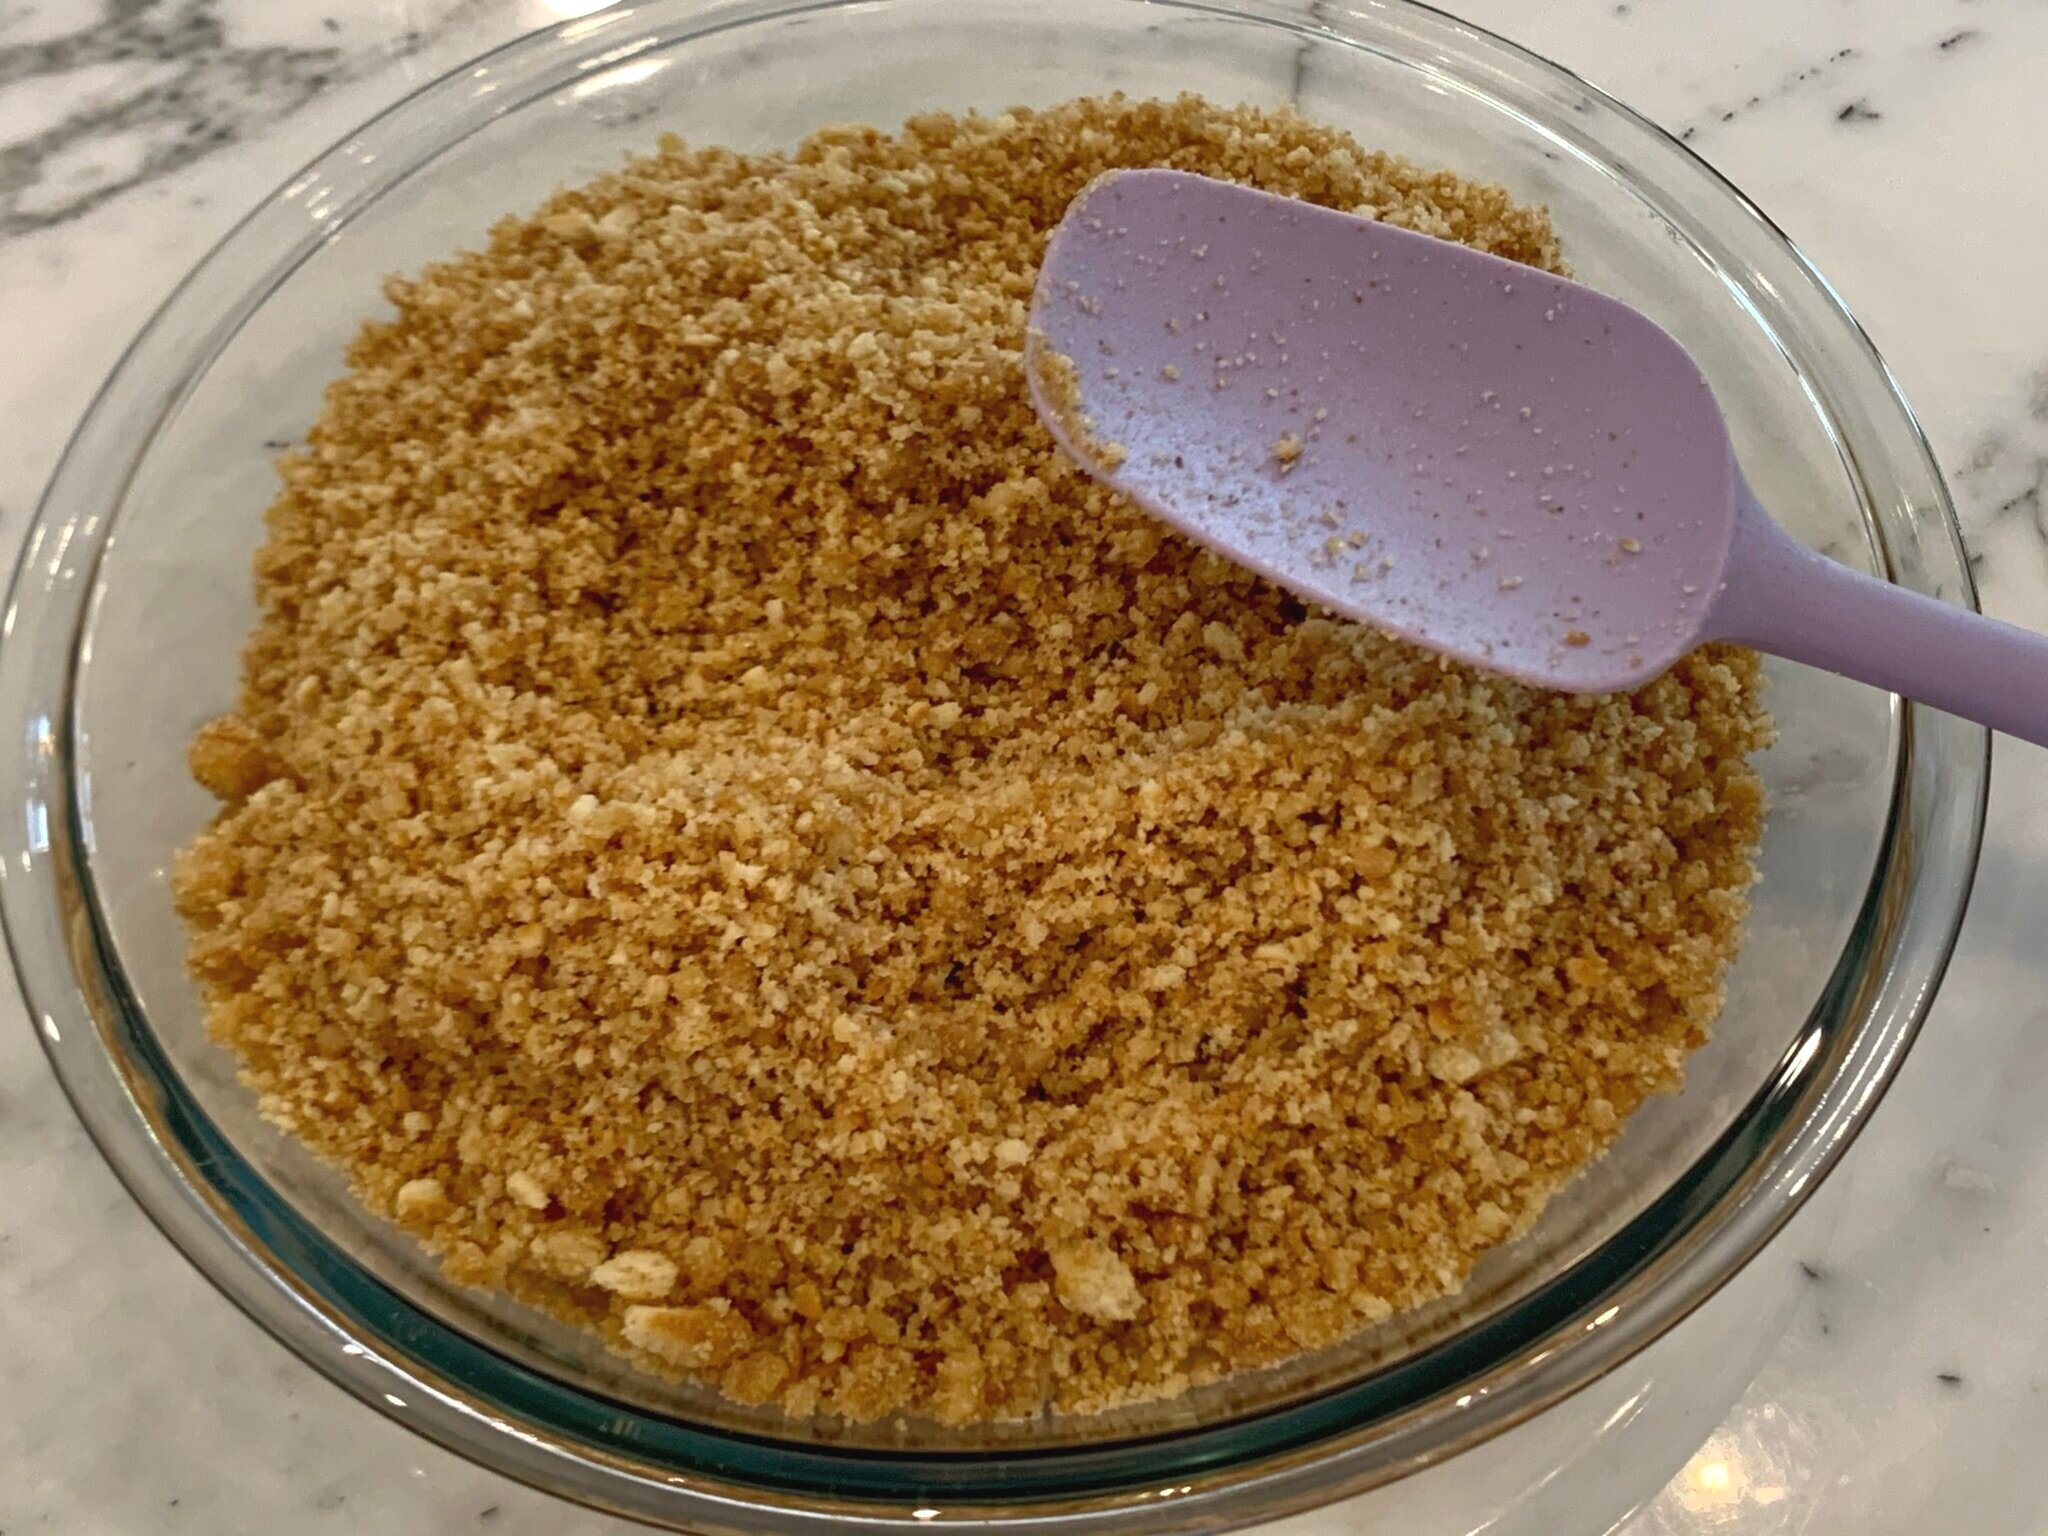
In a medium microwave safe bowl (2 ½ quart glass bowl), melt ⅓ cup salted butter. Add crumb mixture to the melted butter, and stir very well to combine (about 2-3 minutes). Crumbs should be completely coated and will increase in volume as they absorb the liquid.
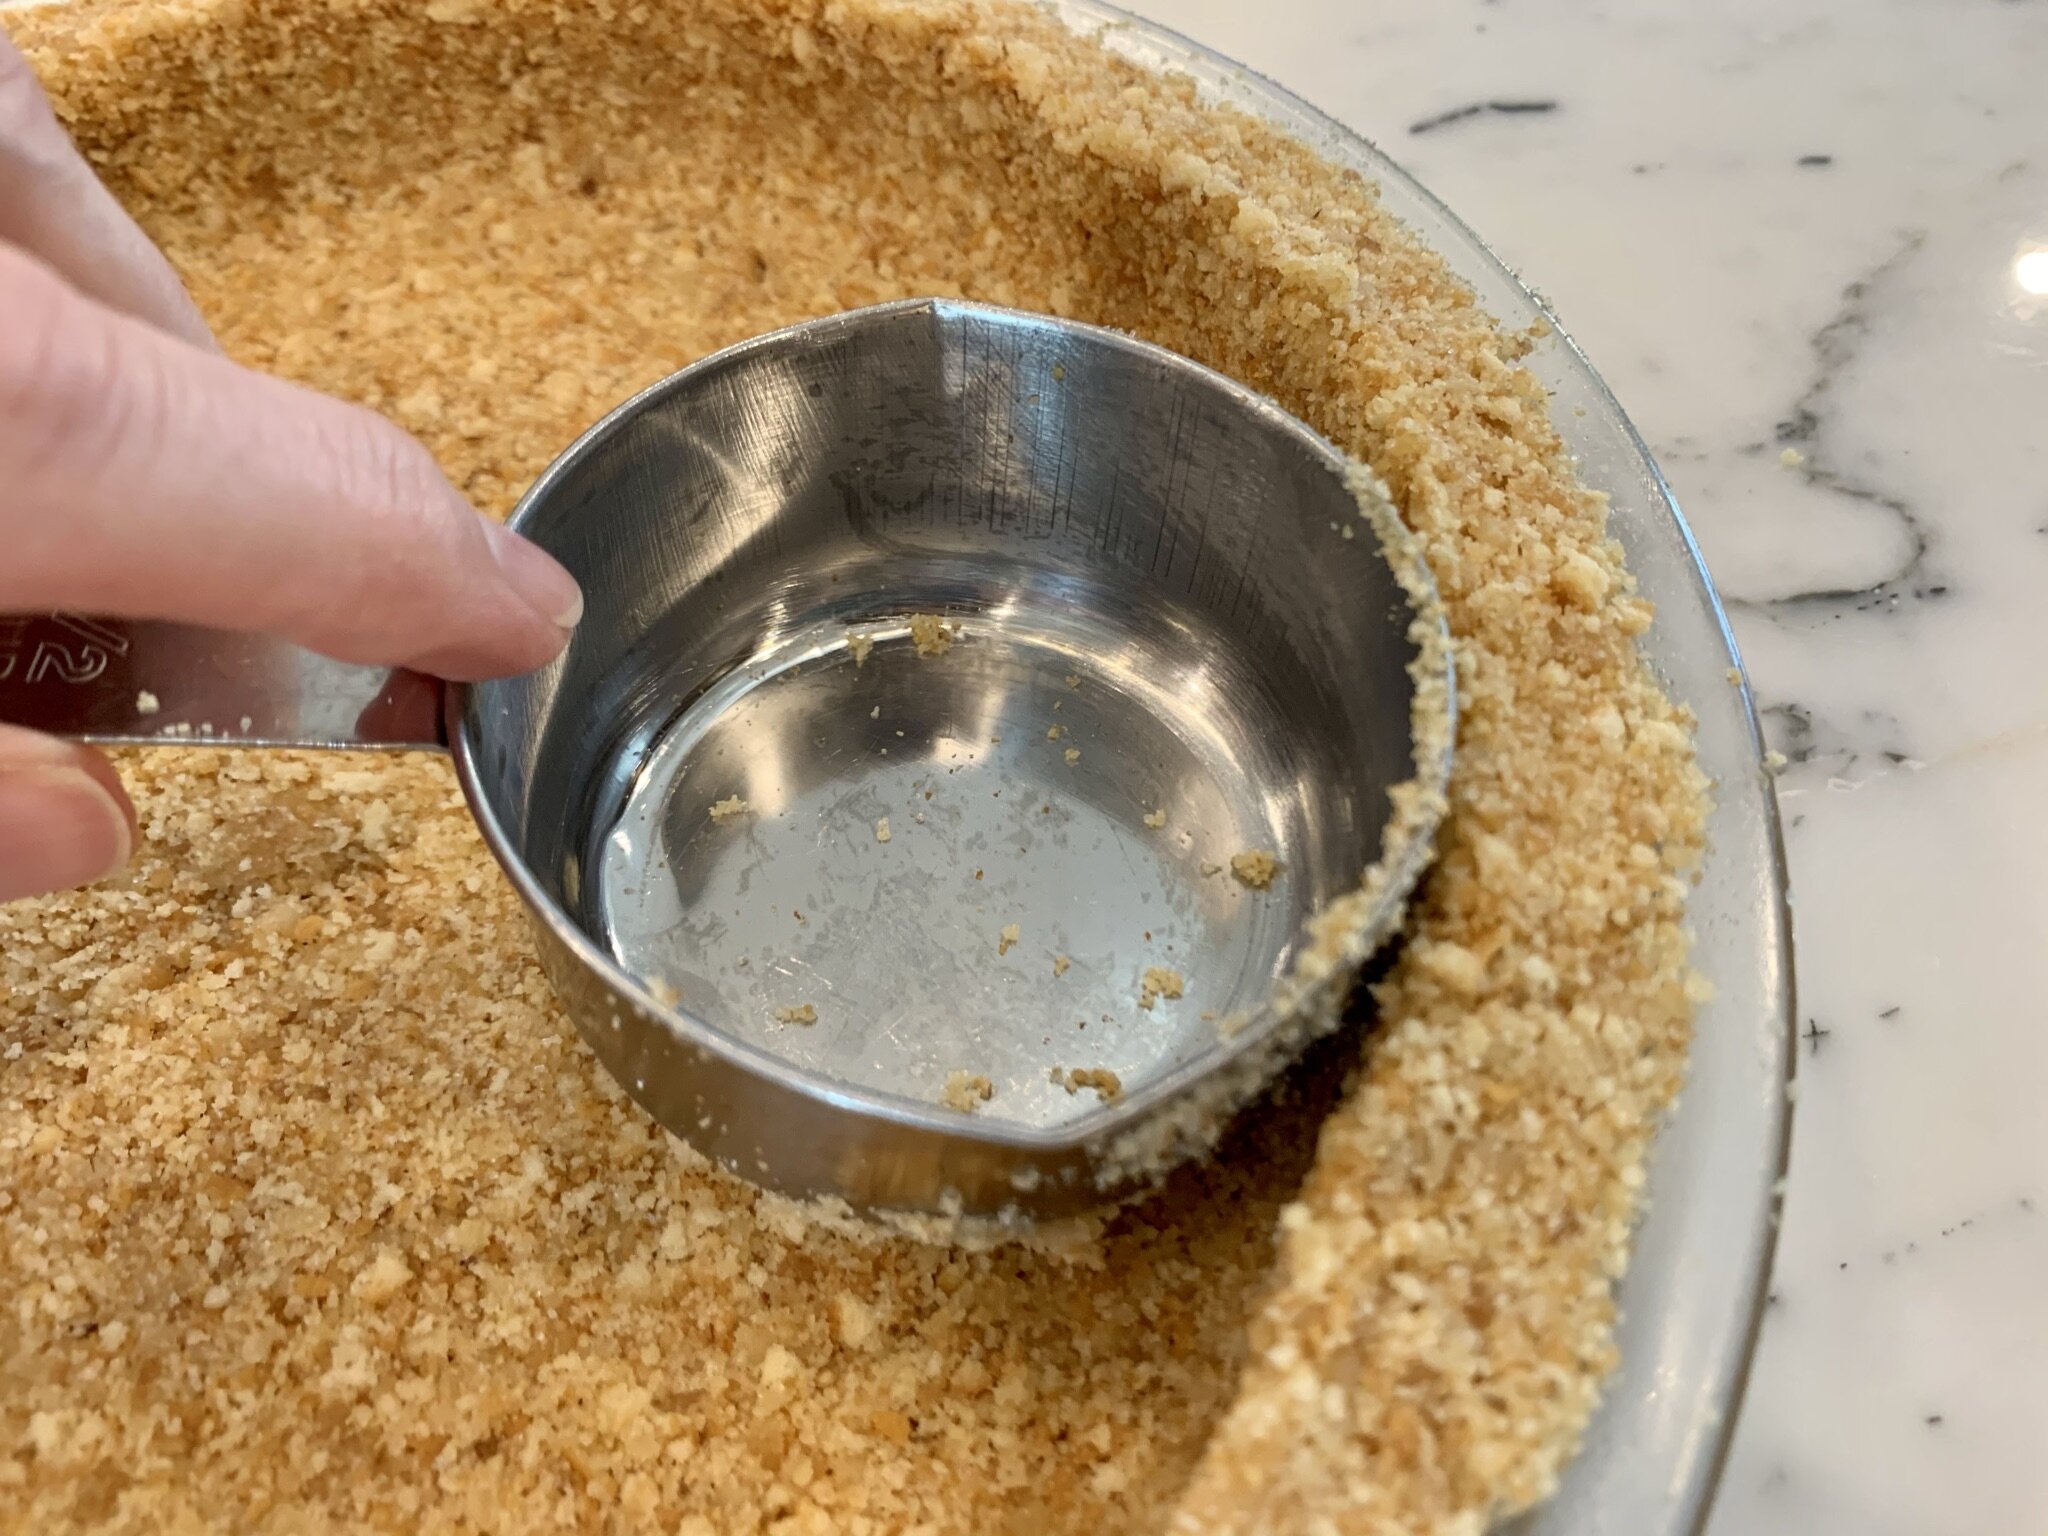
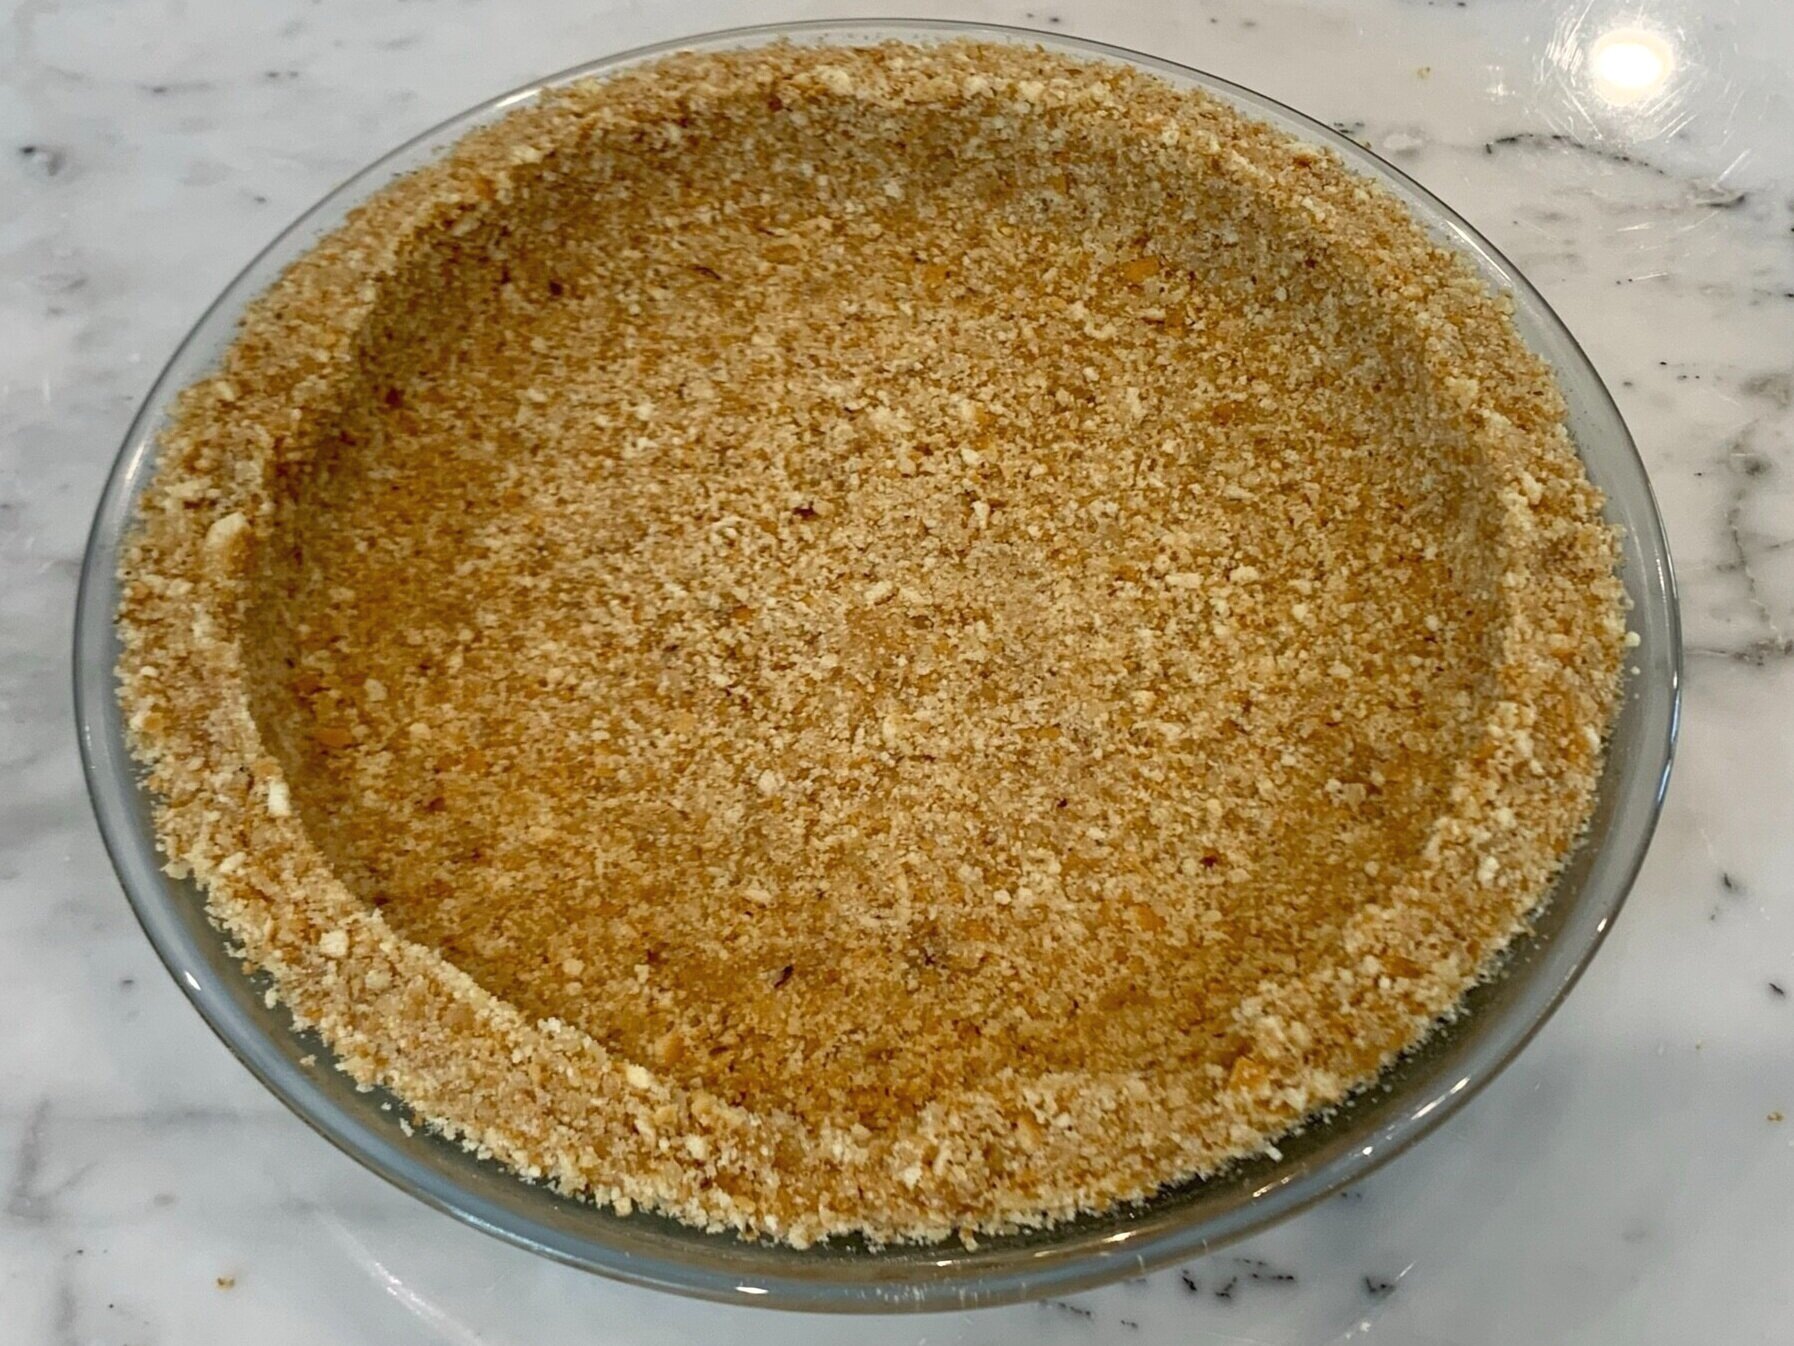
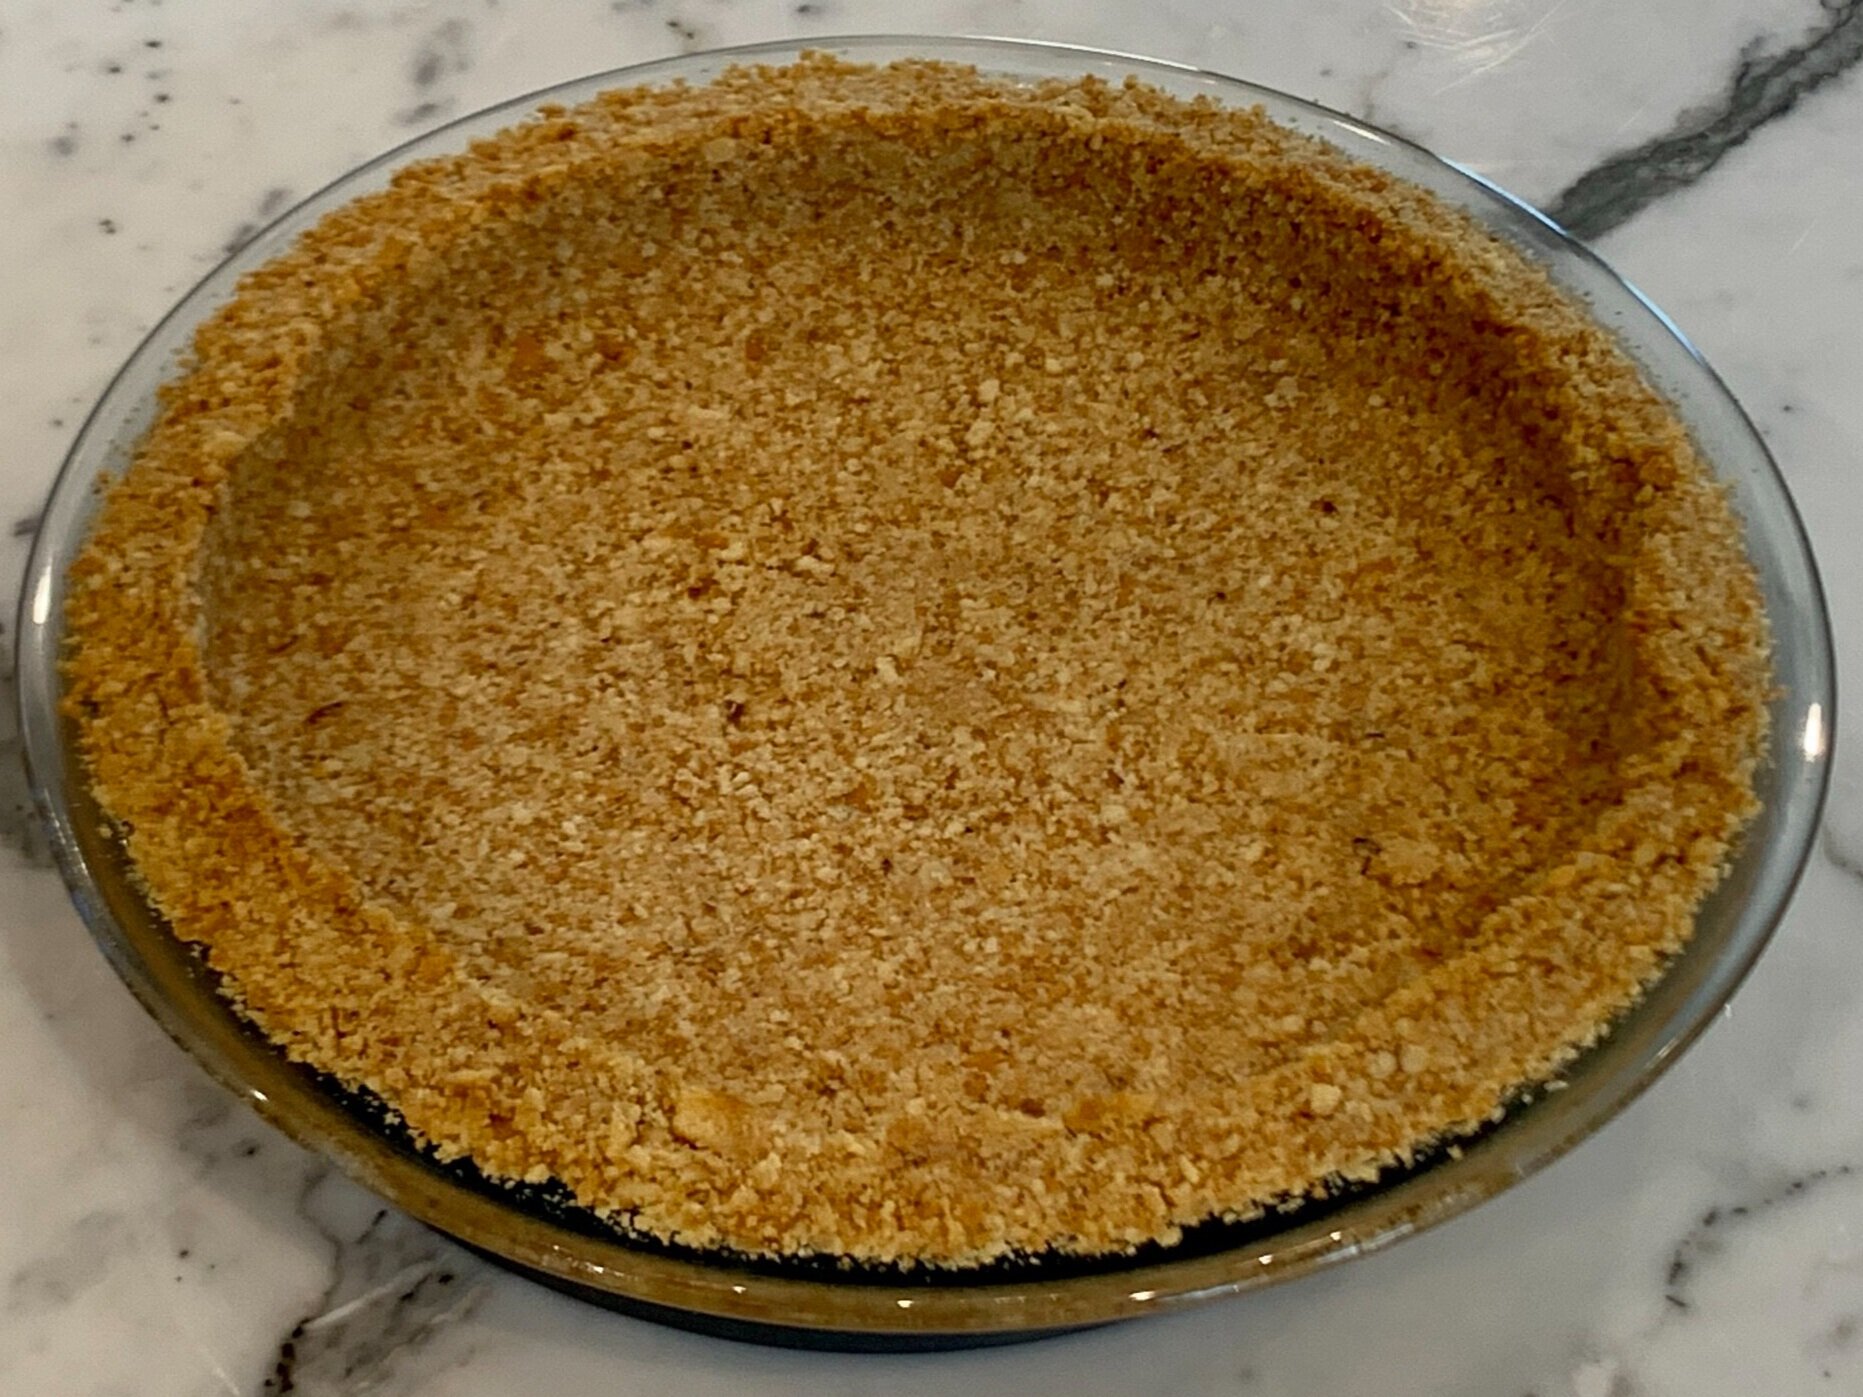
STEP 3
Press mixture firmly into prepared 9 ½ inch glass pie pan with the bottom of a metal measuring cup or a flat bottom glass. Bake for 10-12 minutes until it becomes golden brown and fragrant. Remove from the oven and cool completely.
Filling
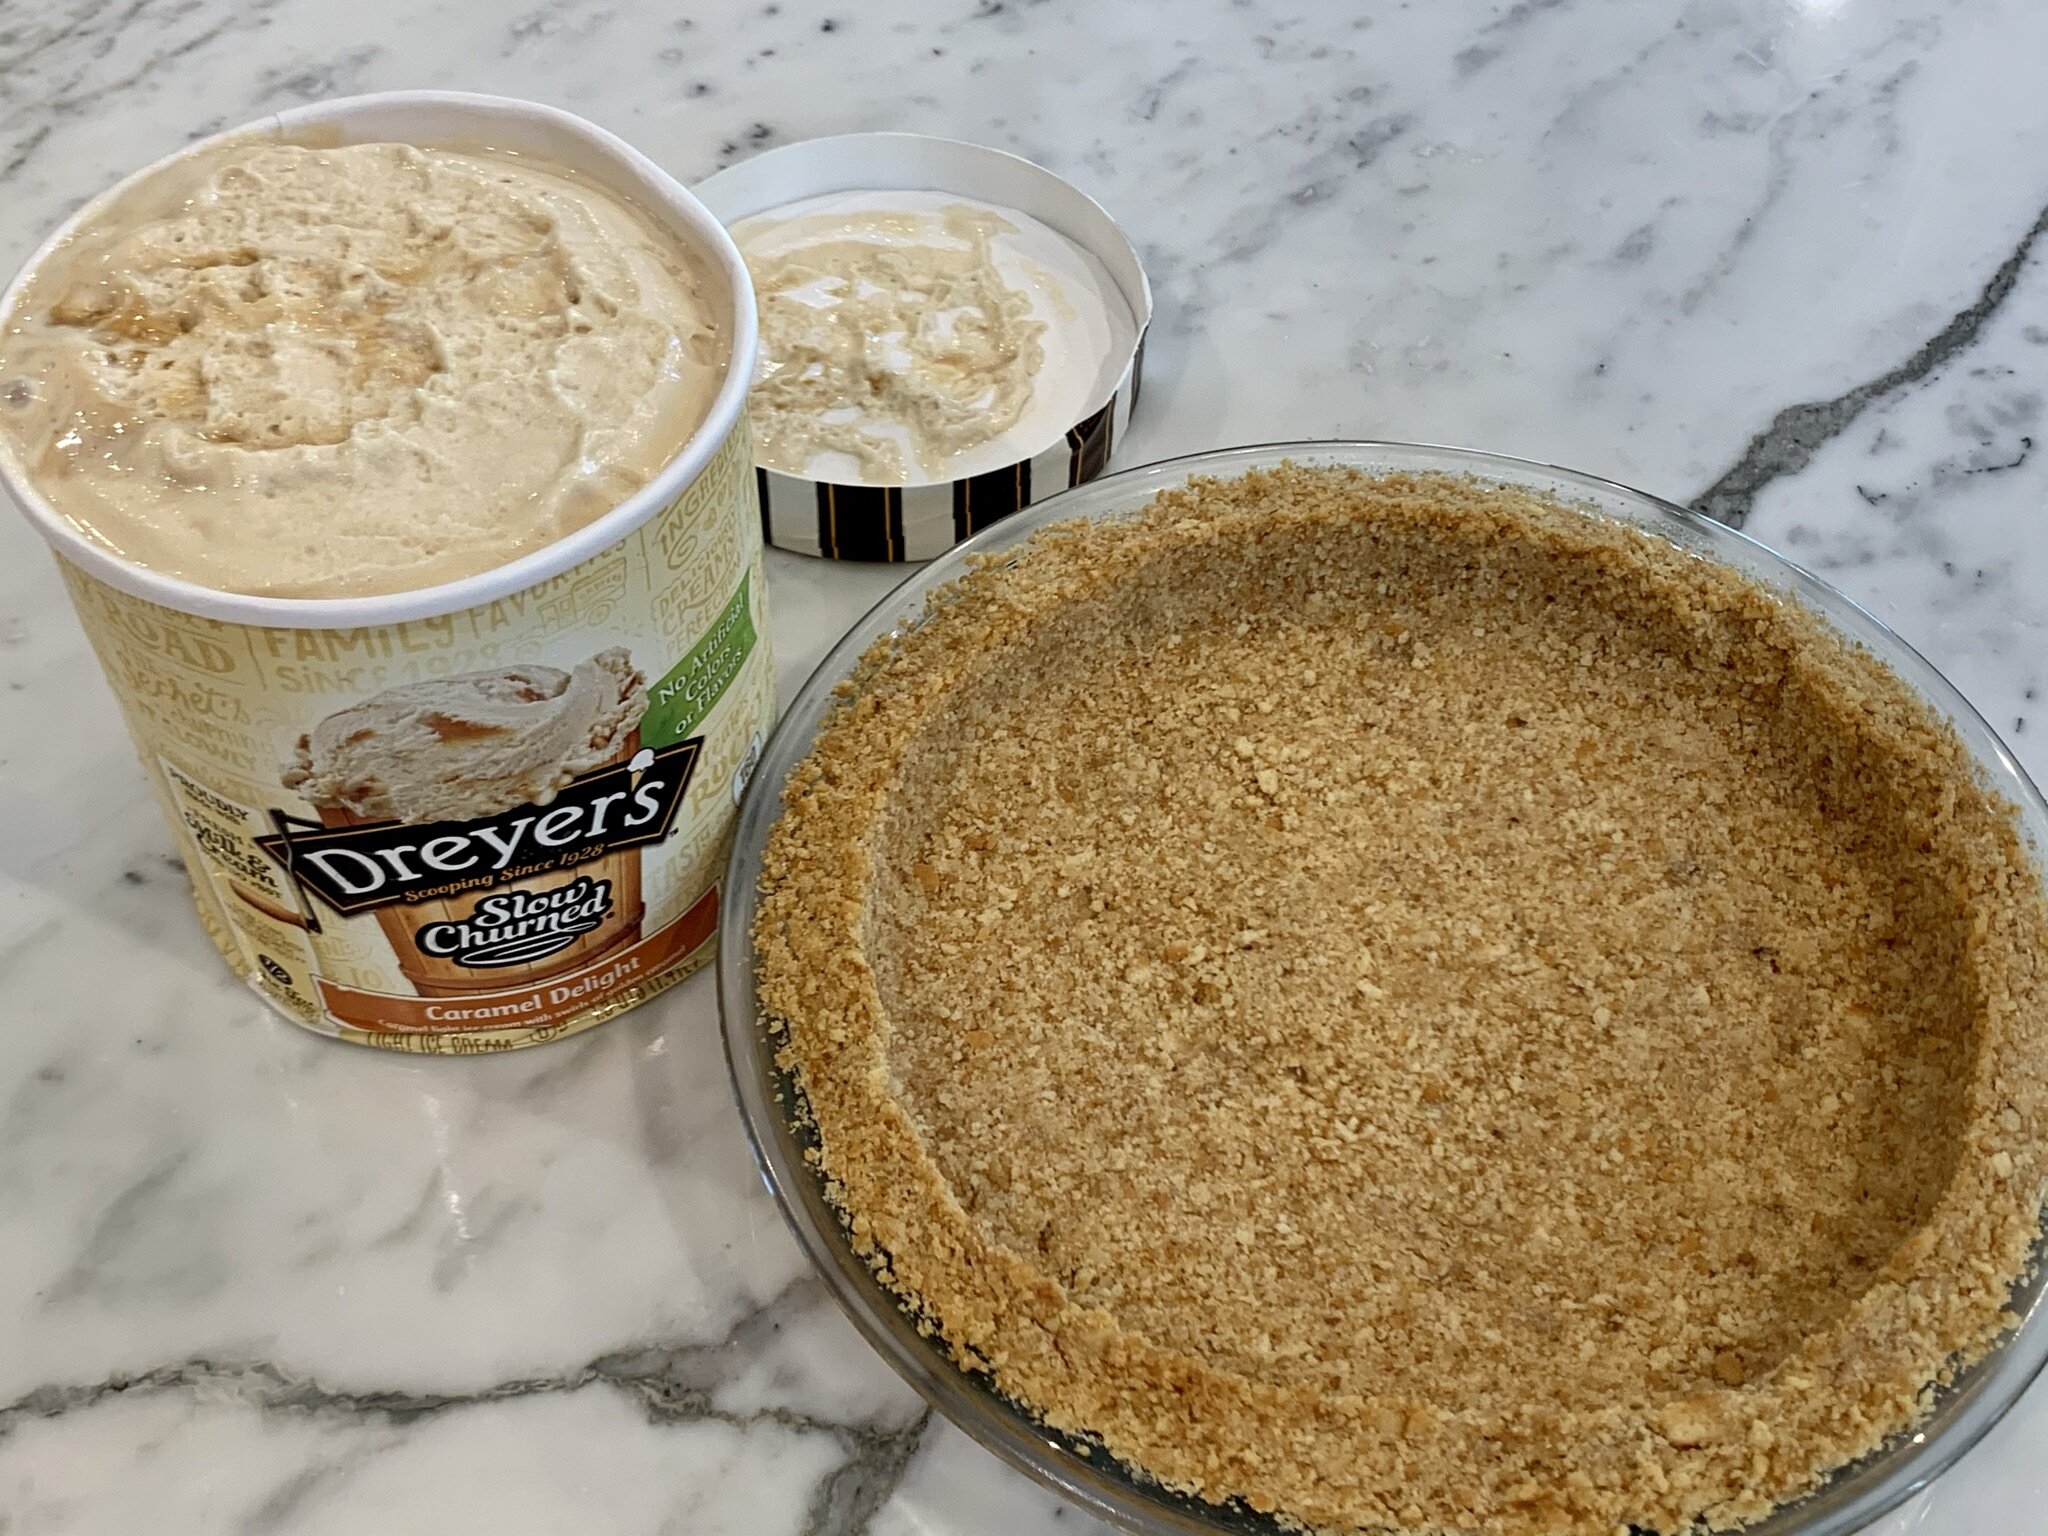
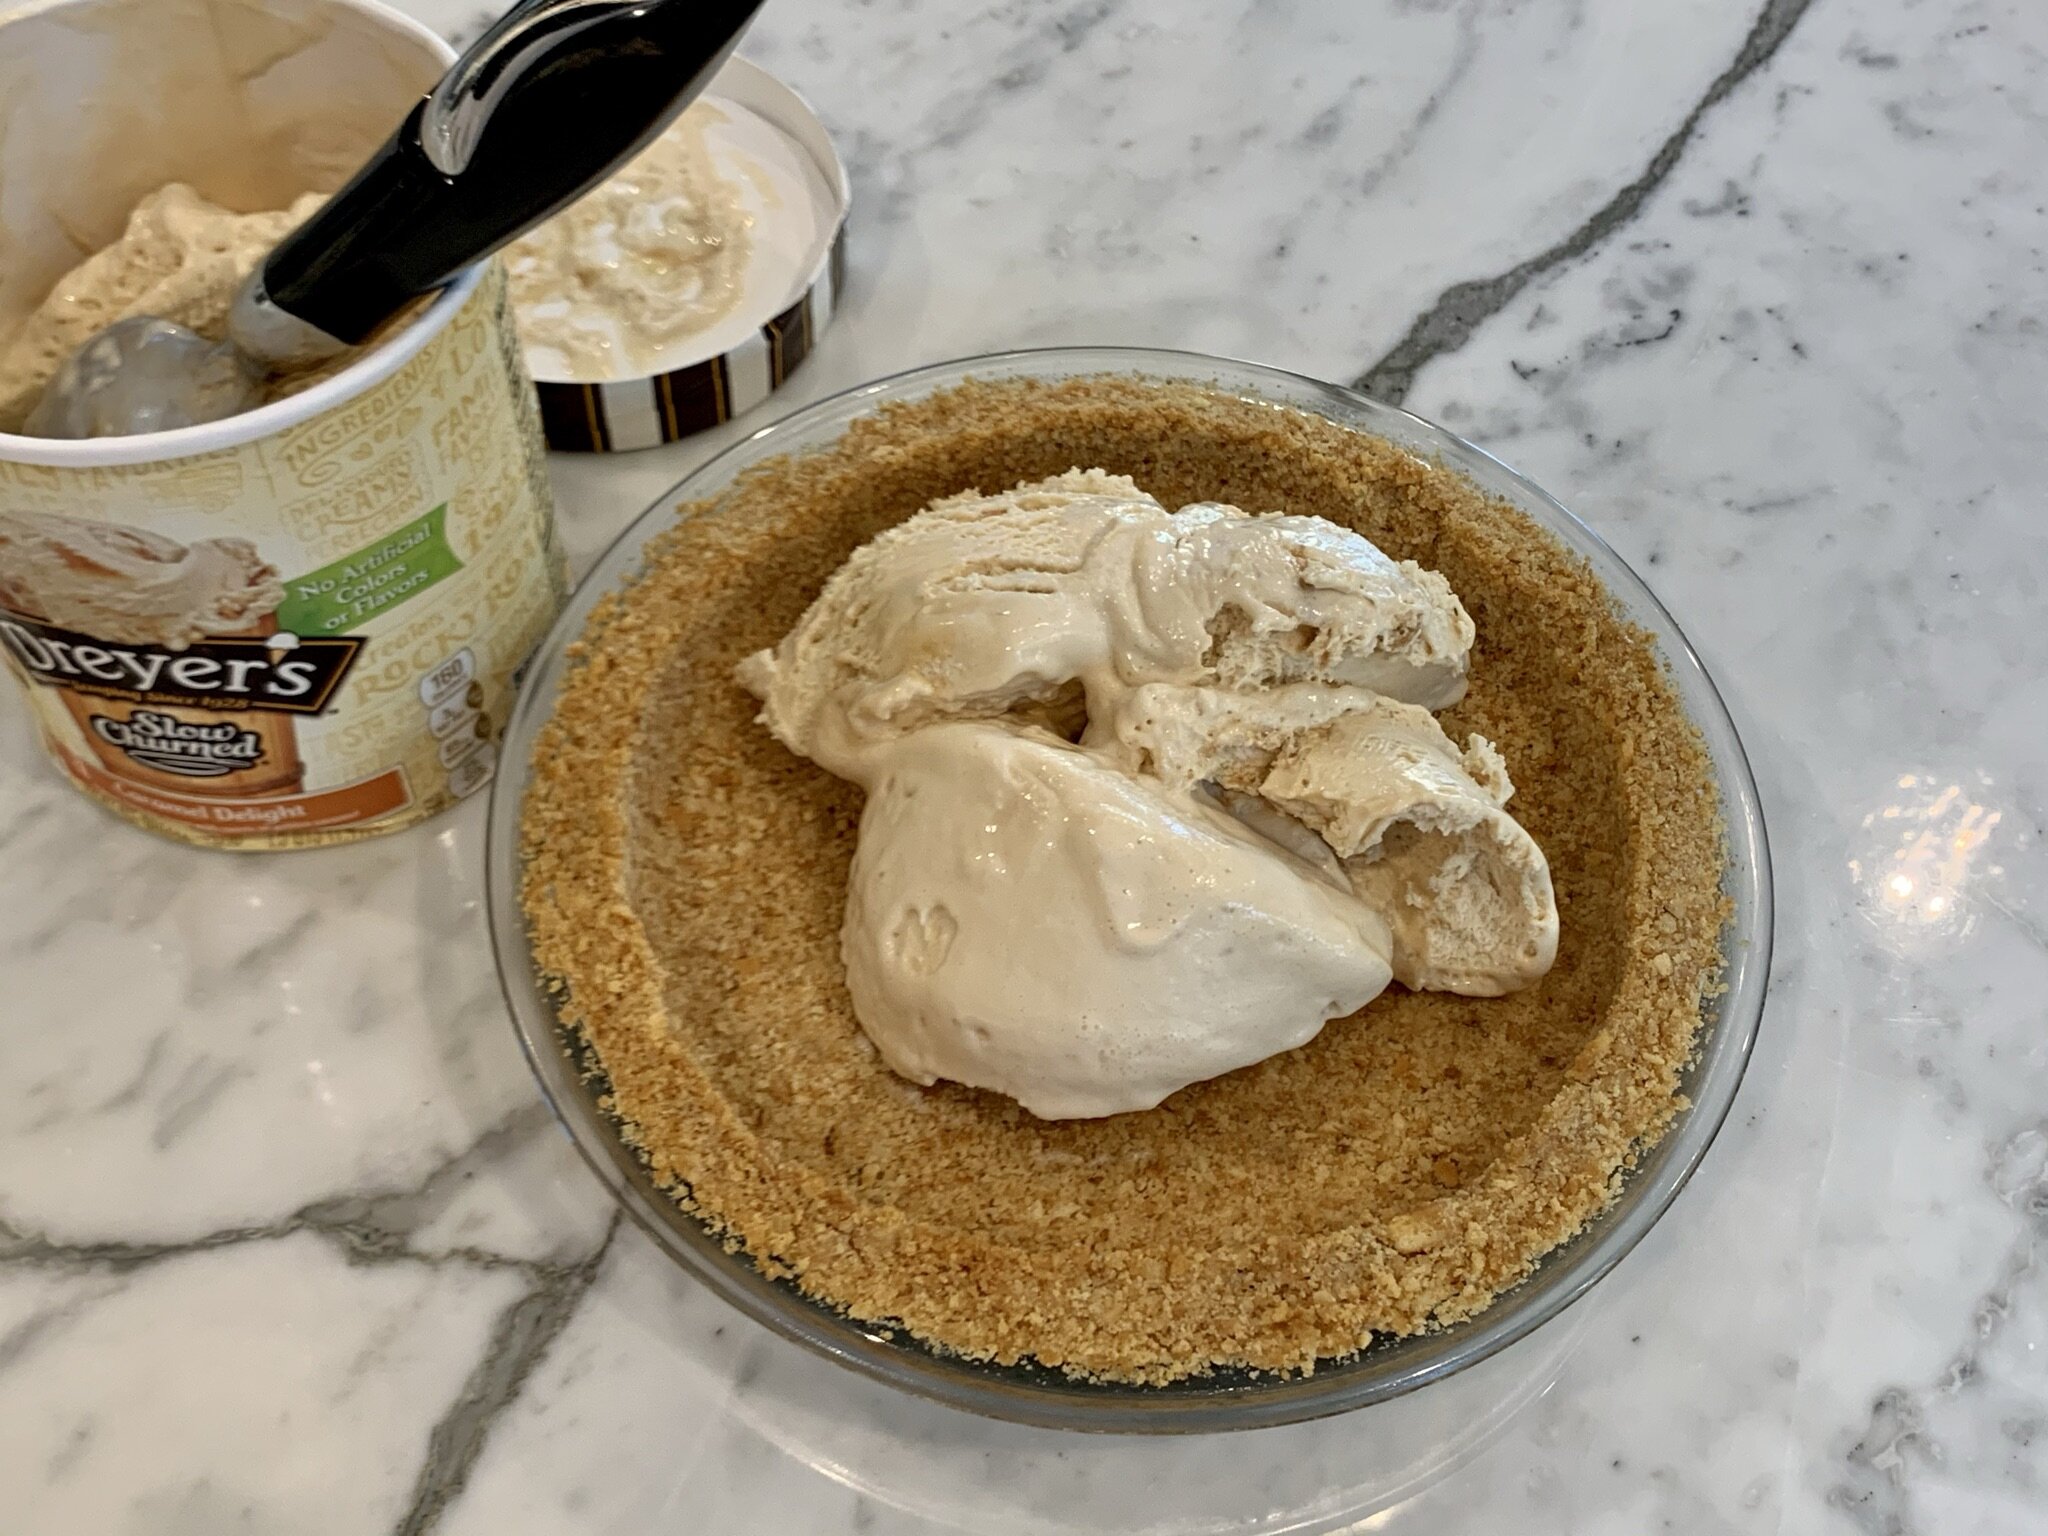
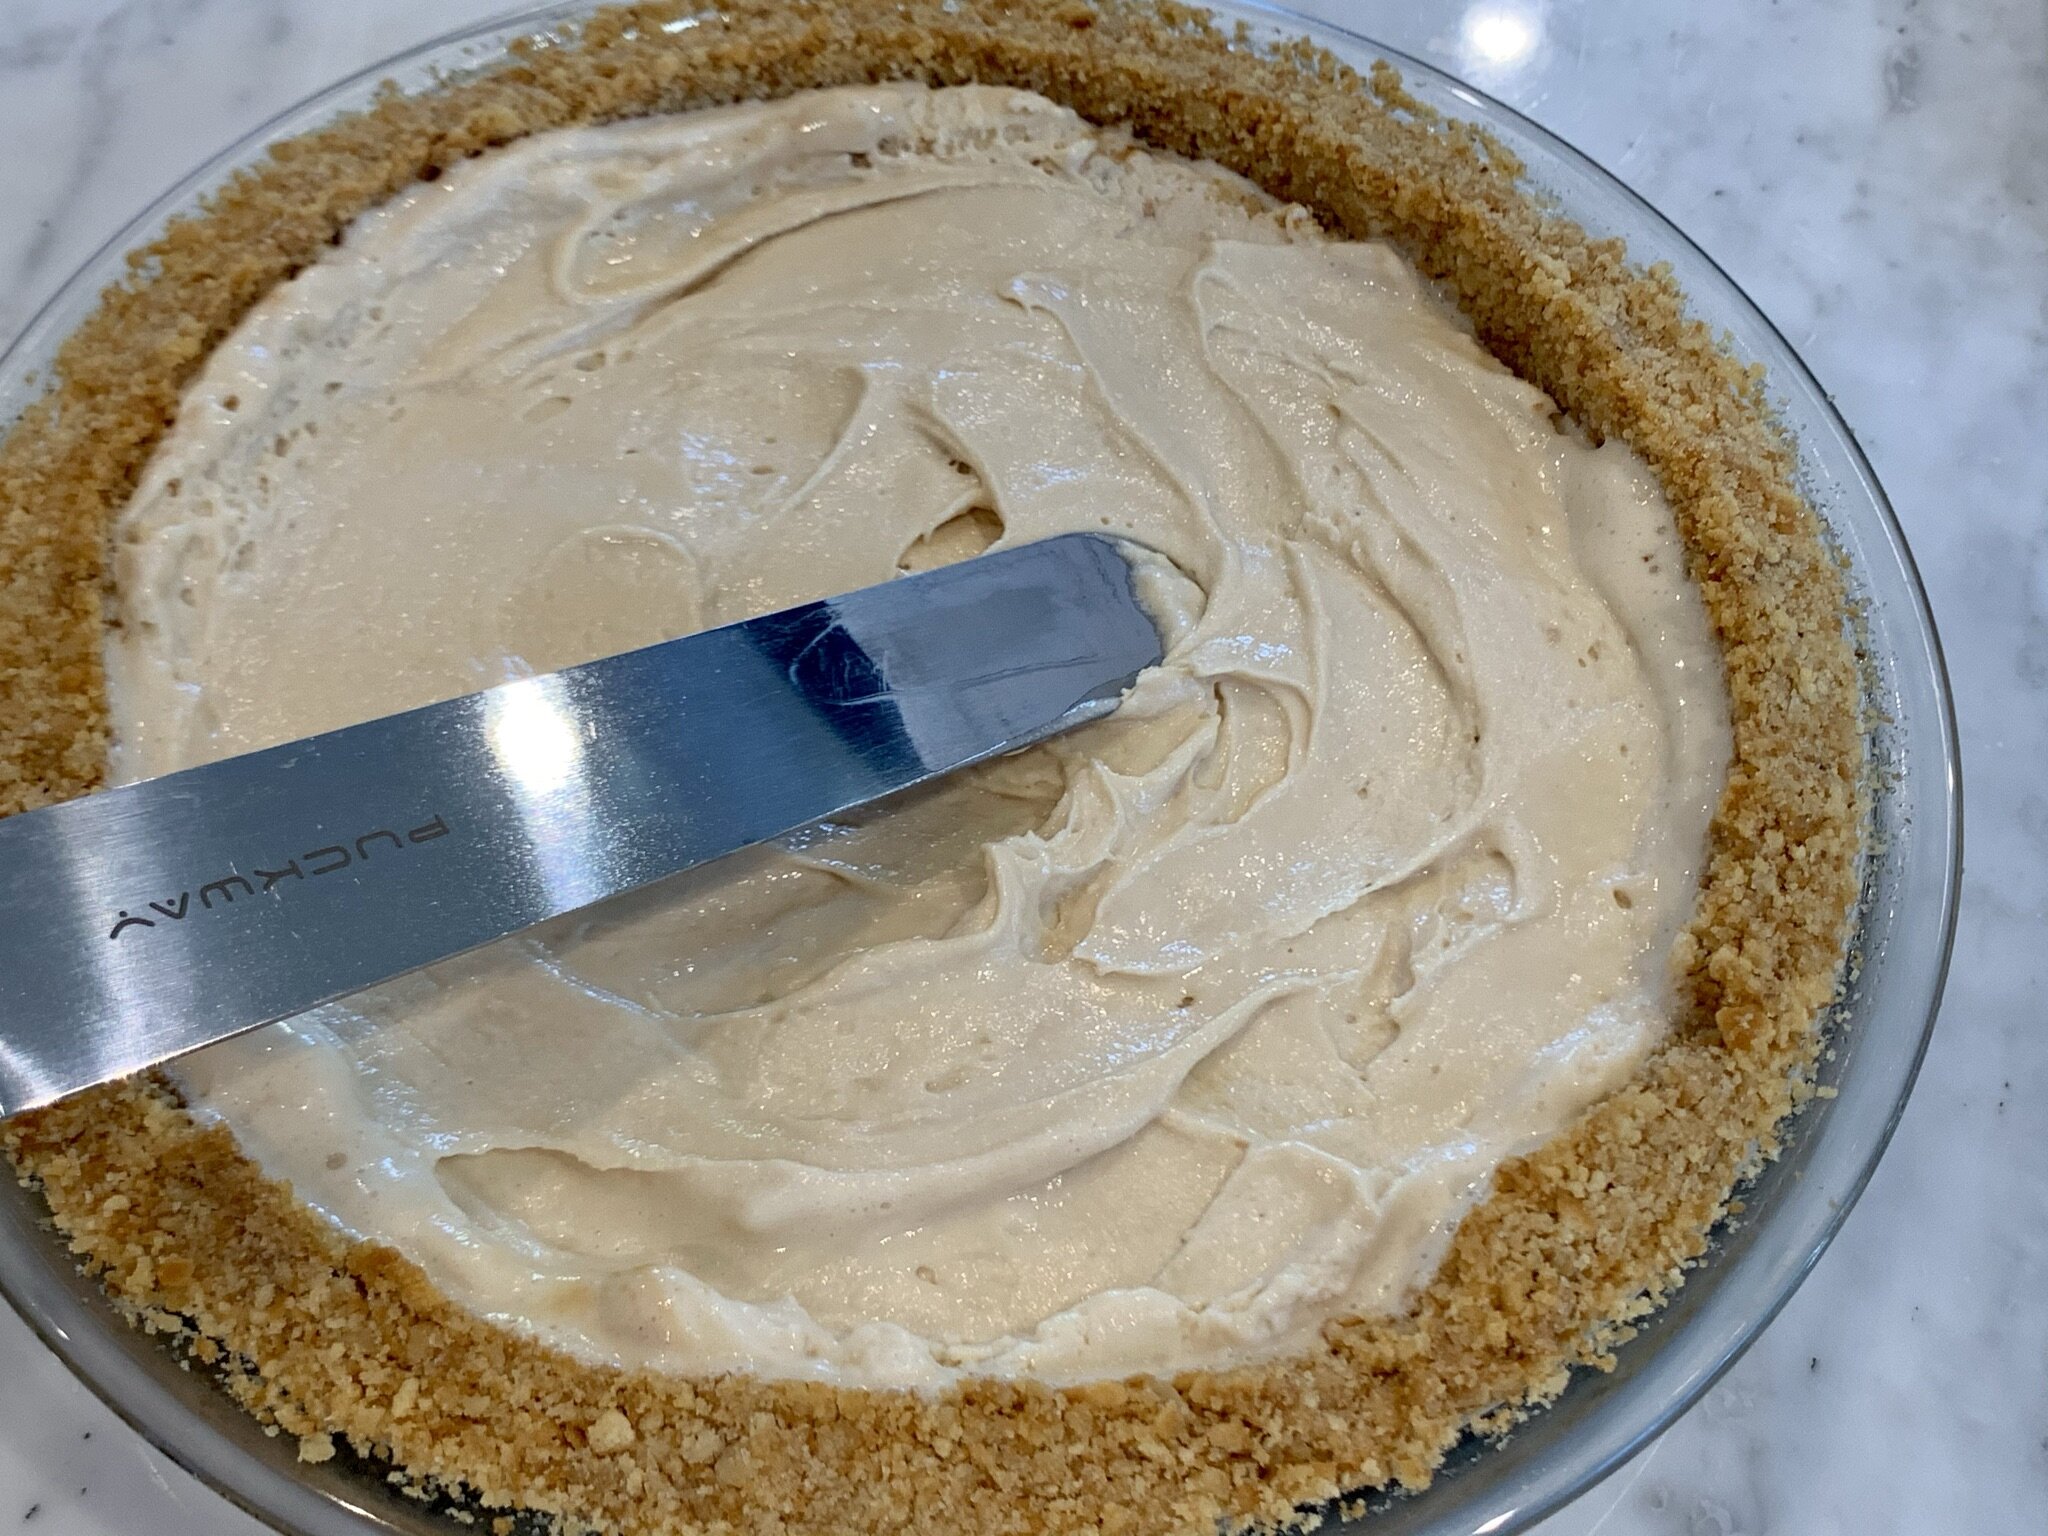
STEP 1a
Soften ½ gallon Dreyer’s/Edy’s Slow Churned Caramel Delight Ice Cream (or your favorite) by thawing in its container for 5-10 minutes at room temperature until ice cream is soft, easy to scoop, and spreadable, but not melted. Dump about ¾ of the container into the prepared and cooled crust. Spread into the bottom and edges of the crust (make sure there are no air gaps).
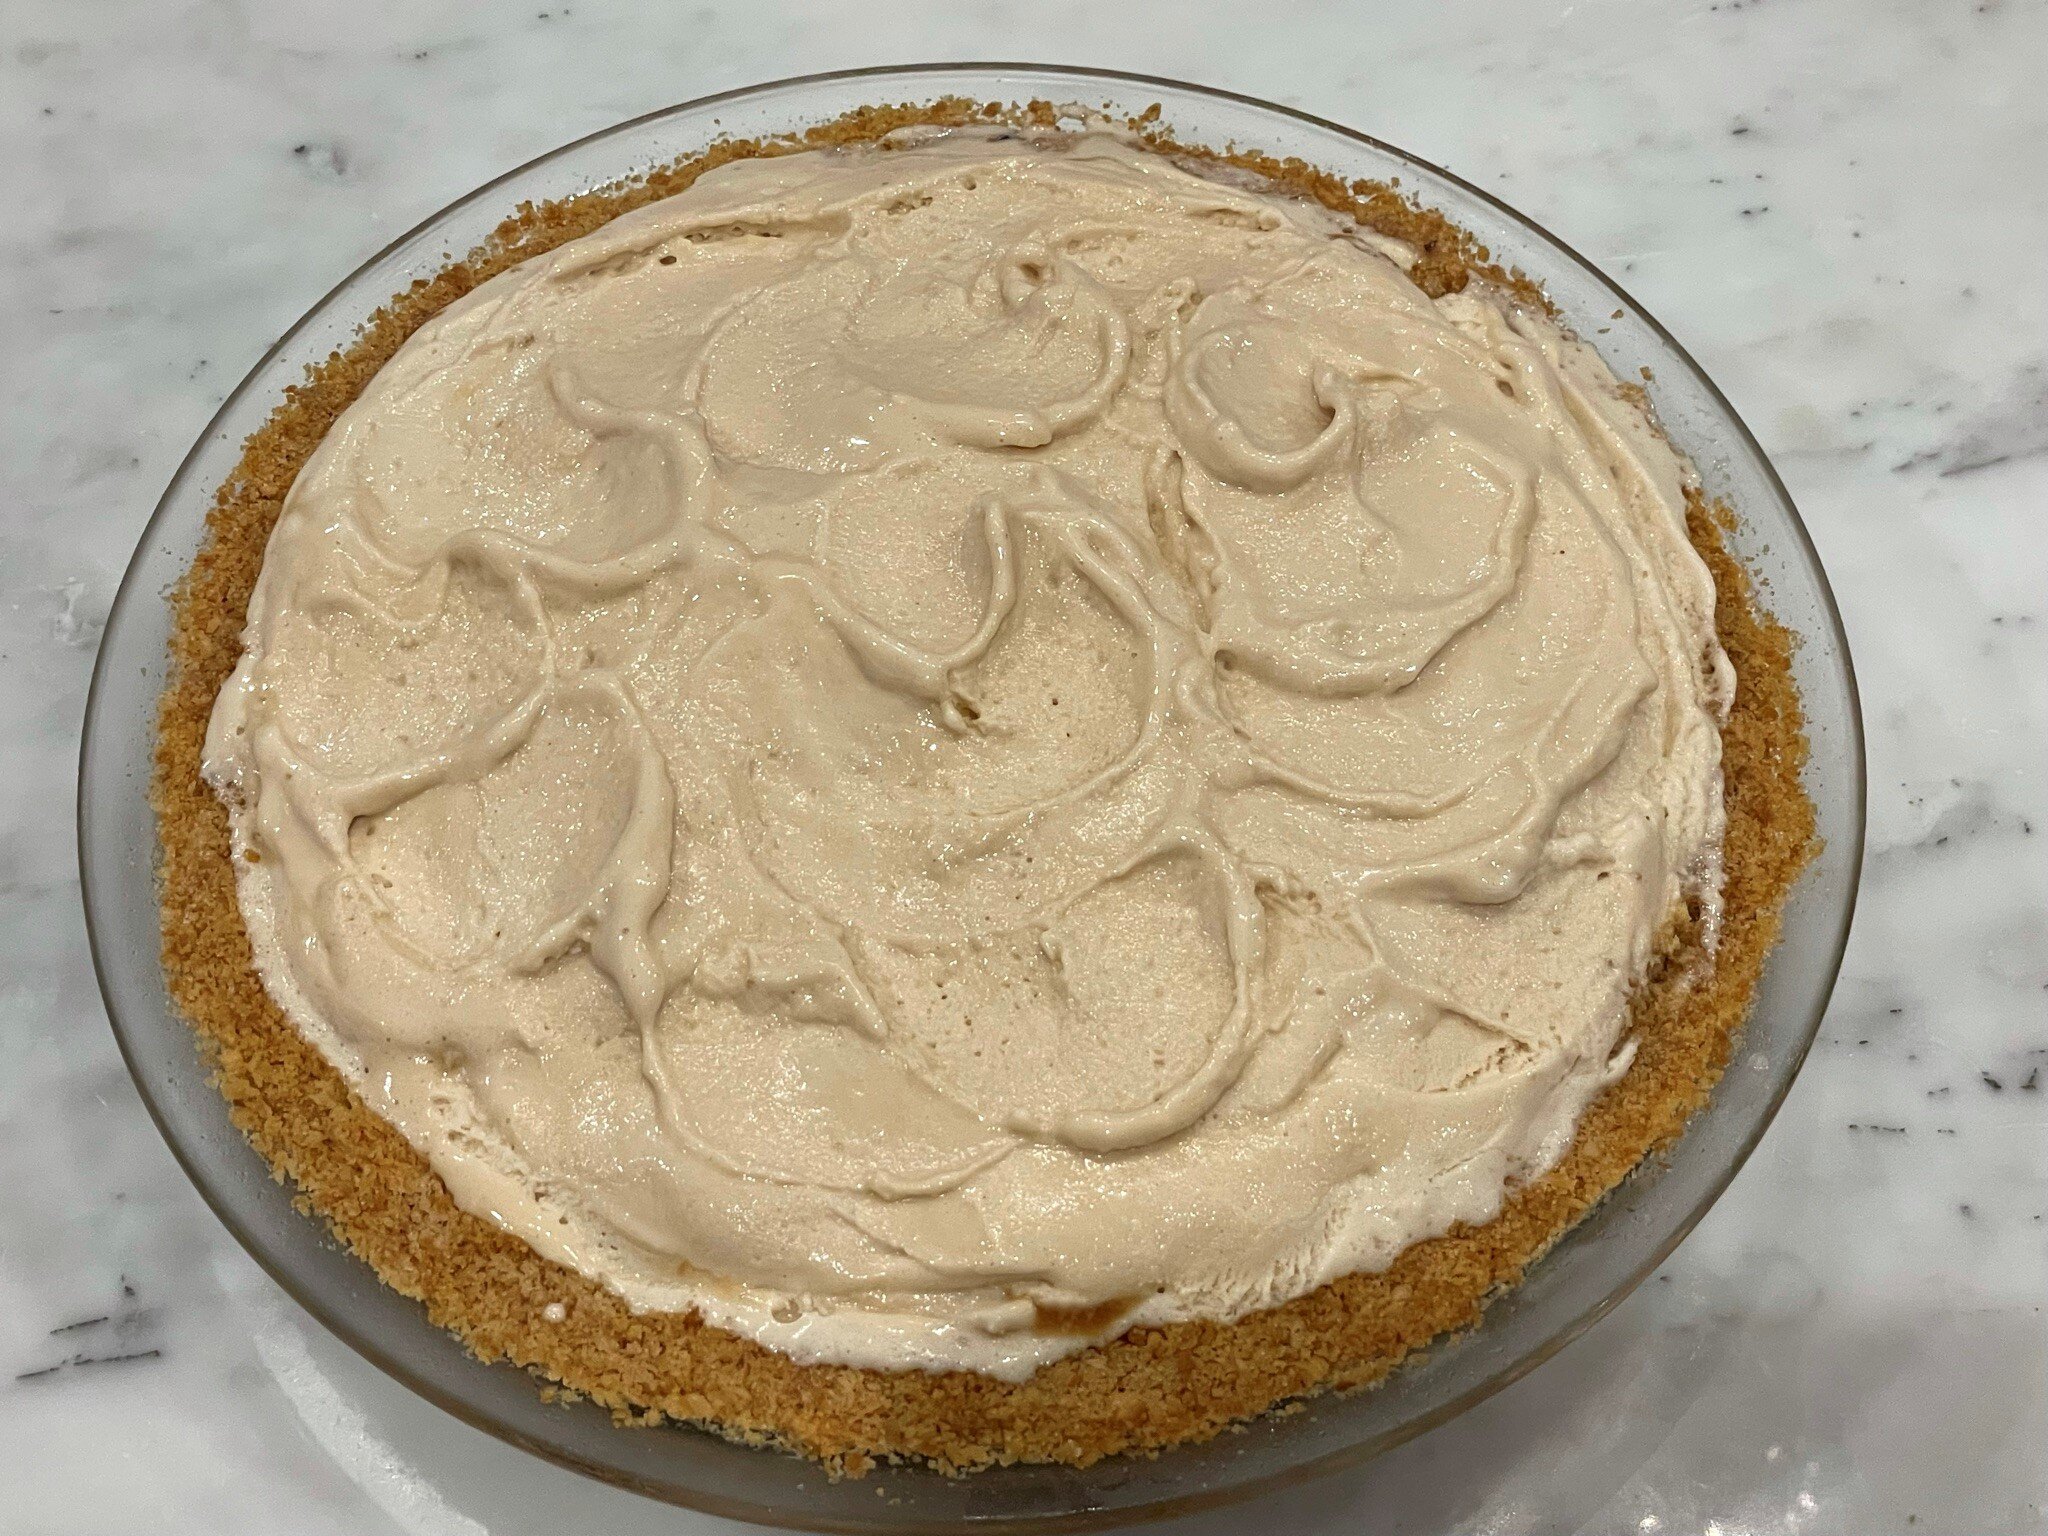
STEP 1b
Add remaining ice cream (¼ of the container), spread to edges (leaving the top crust exposed, and swirl the top. Evenly sprinkle 2 tablespoons Heath English Toffee Bits all over the top of the ice cream, and freeze uncovered for 3-4 hours. Then cover with plastic wrap, and freeze for another 4 hours (or overnight).
Note: Make sure this pie is frozen solid before serving, otherwise you will end up with a soupy mess! Slow churned, light ice cream has more air whipped into it, which makes it melt a bit faster.


STEP 2
When ready to serve, pour ¼ cup caramel sauce (Mrs. Richardson’s Caramel Dessert Sauce, or your favorite) into a microwave safe bowl, and microwave until it bubbles up (about 15-20 seconds), then stir well. Serve individual slices of the ice cream pie in shallow bowls (or rimmed plates), drizzle warm caramel sauce (about ½ tablespoon per serving) over each slice.
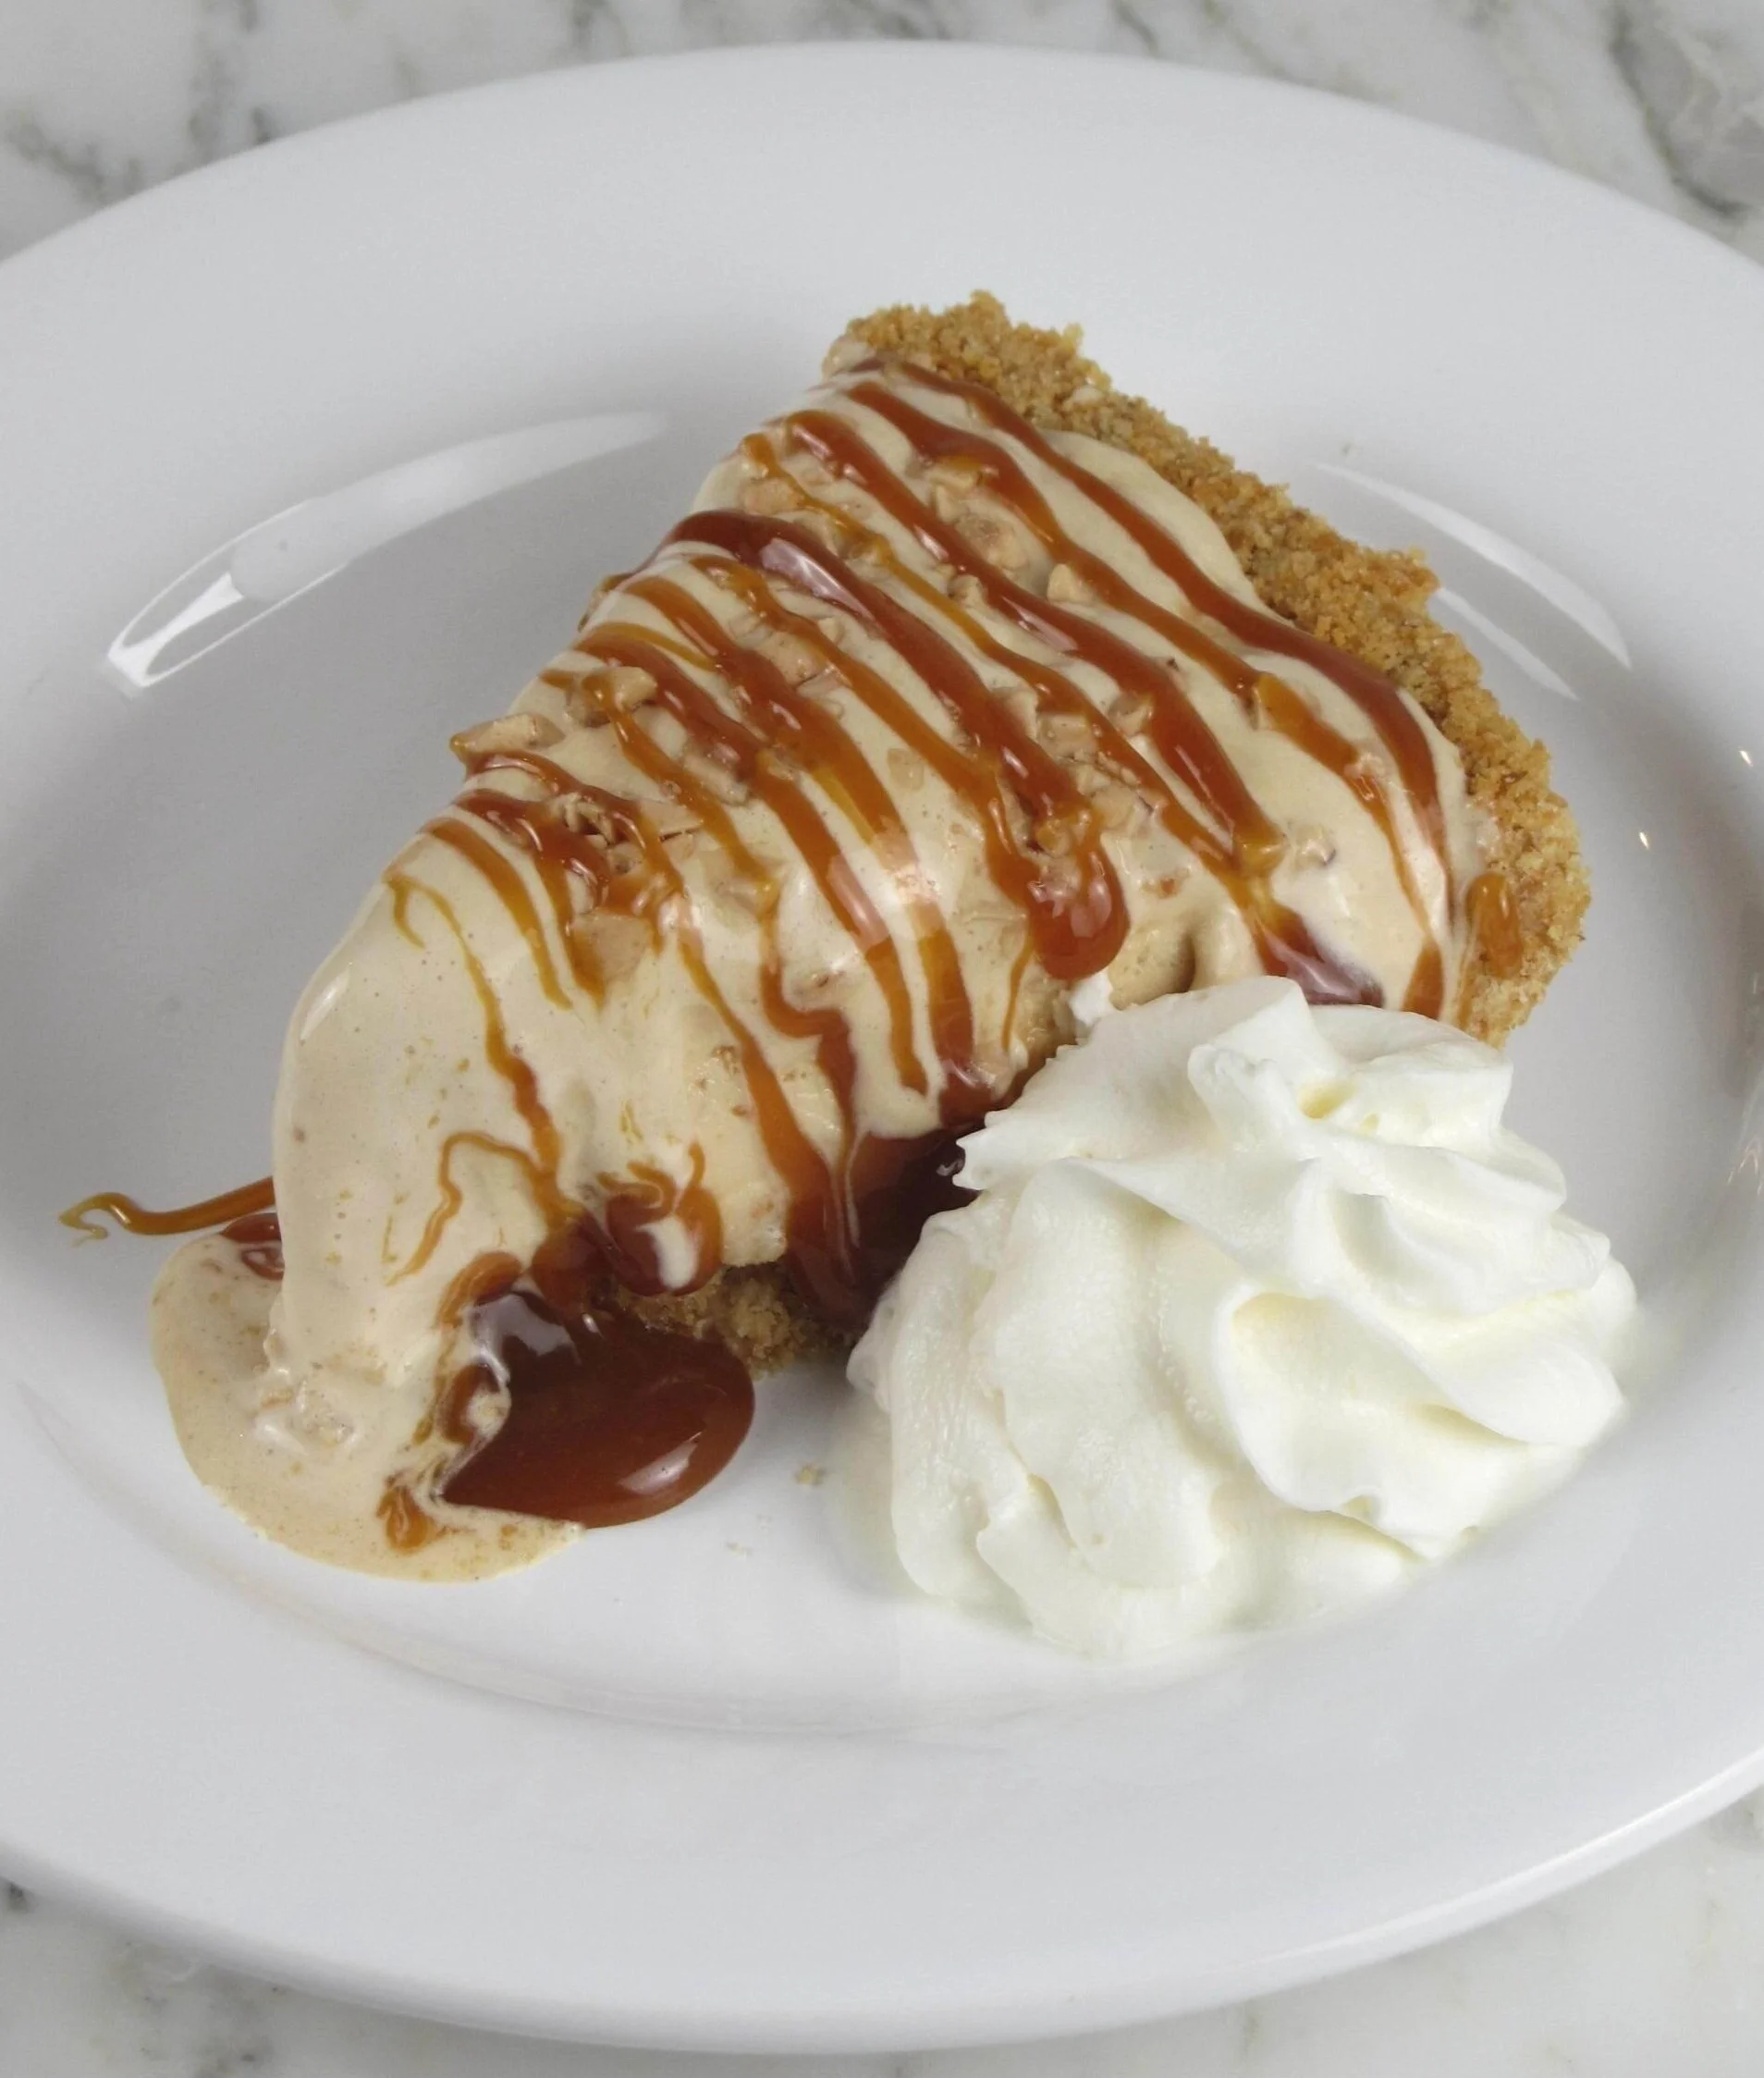
SERVING SUGGESTION
To make this wonderful dessert even more decadent, garnish with a dollop of homemade (or store bought) whipped cream on the side!
Note: Even though this pie was frozen solid, it survived a really hot day (our final photo shoot was done in 102° weather)! Just a bit of the outside layer melted, but it was still the perfect texture when we enjoyed it!
Notes:
Short on time? Buy a ready made cookie crust, and store bought real whipped cream. If using all store bought ingredients, this recipe can be prepared in 10 minutes from start to finish!
When serving, run a knife under hot water and wipe clean before each slice.
Recipe can be made ahead!
Recipe serves 8, but can easily serve up to 10 people!
Blog Comments & Tips
Both luscious and decant, but this dessert couldn’t be easier!
Caramel swirl ice cream combined with toffee, and drizzled with warm caramel sauce...is there anything more to say?!! I could go on and on about this dessert, but the ingredients speak for themselves.
Has anyone out there ever had a love/hate relationship with mud pies? If you are like me, my eyes are always bigger than my stomach. After a nice meal, it’s really hard to resist a delicious and cool dessert like an ice cream pie. Then I always feel like I have a lead weight in my stomach after eating one.
After over analyzing all the reasons why I love (and struggle with) ice cream mud pies, we contemplated a little more about how to improve on the traditionally delicious ice cream pie. Not much to the recipe, but there had to be something we could do to pimp it up! Then came the bright idea of using light ice cream (okay, not so bright - maybe a little glowy??)!
We thought we had come up with a solution, but found out that not all light ice creams are made alike. After a few failed tests, we discovered that Dreyer’s/Edy’s Slow Churned Caramel Delight Ice Cream had the best flavor, consistency, and sturdiness for this ice cream pie recipe. No watered down taste, just great ice cream, that is made extraordinary when sprinkle with toffee bits, and paired with our special recipe for Nilla Wafer Crust.
If that weren’t enough, we finished off this simple, but delectable dessert with a drizzle of warm caramel sauce. You can certainly make your own homemade caramel sauce (which would be amazing), but if you are short on time, we highly recommend Mrs. Richardson’s Caramel Dessert Sauce. We found this dessert sauce to have homemade flavor and consistency. Put a dollop of whipped cream, and we are sure you will enjoy this heavenly dessert! All ingredients used in this recipe can be found at most grocery stores nationwide.
Leigh and I knew we settled on the right combination of flavors and textures, when we gave it the true test and served it to all our kids. In between bites, they each announced (and I quote):
“This is the best ice cream pie I’ve ever had!!”
How do you ensure the best results from our recipe?
Our 4 tips to making a great ice cream pie:
Fresh Nilla Wafer Cookies for your homemade crust.
Soften your ice cream, but don’t let it melt (otherwise it will become a soupy mess).
Make this dessert ahead of time so it can fully chill overnight in the freezer.
Take an extra 15-20 seconds to microwave the caramel sauce. Trust us, this takes this dessert over the edge!
Have any dietary preferences that won’t quite work with our recipe? It’s time to customize and Pimp Our Recipe.
Pimp Our Recipe:
Make it Gluten Free & Dairy Free: Instead of Nilla wafers, use Kinnikinnick Vanilla Wafers for the crust. Then replace the ice cream with your favorite non-dairy caramel ice cream. The coconut milk based ice creams offer a lovely texture for this pie.
Enjoy and let us know what you think by commenting below, rating our recipes, subscribing, following, and liking us on Pinterest, Instagram, and YouTube! Don’t forget to subscribe to get updates on new recipes and tips & tricks.
Happy Cooking!
Mich
Footnote: Remember to press the crust only halfway up the pie pan. Otherwise, your crust above the filling will crumble when served.

Adapted from the Best Nilla Wafer Crust recipe by Mom On Timeout, we’ve taken this already great crust recipe, and amped it up with some nuts and a salted butter.
Every editorial product is independently selected. We may be compensated or receive an affiliate commission if you purchase products via our links. As Amazon Associates, we earn from qualifying purchases.