
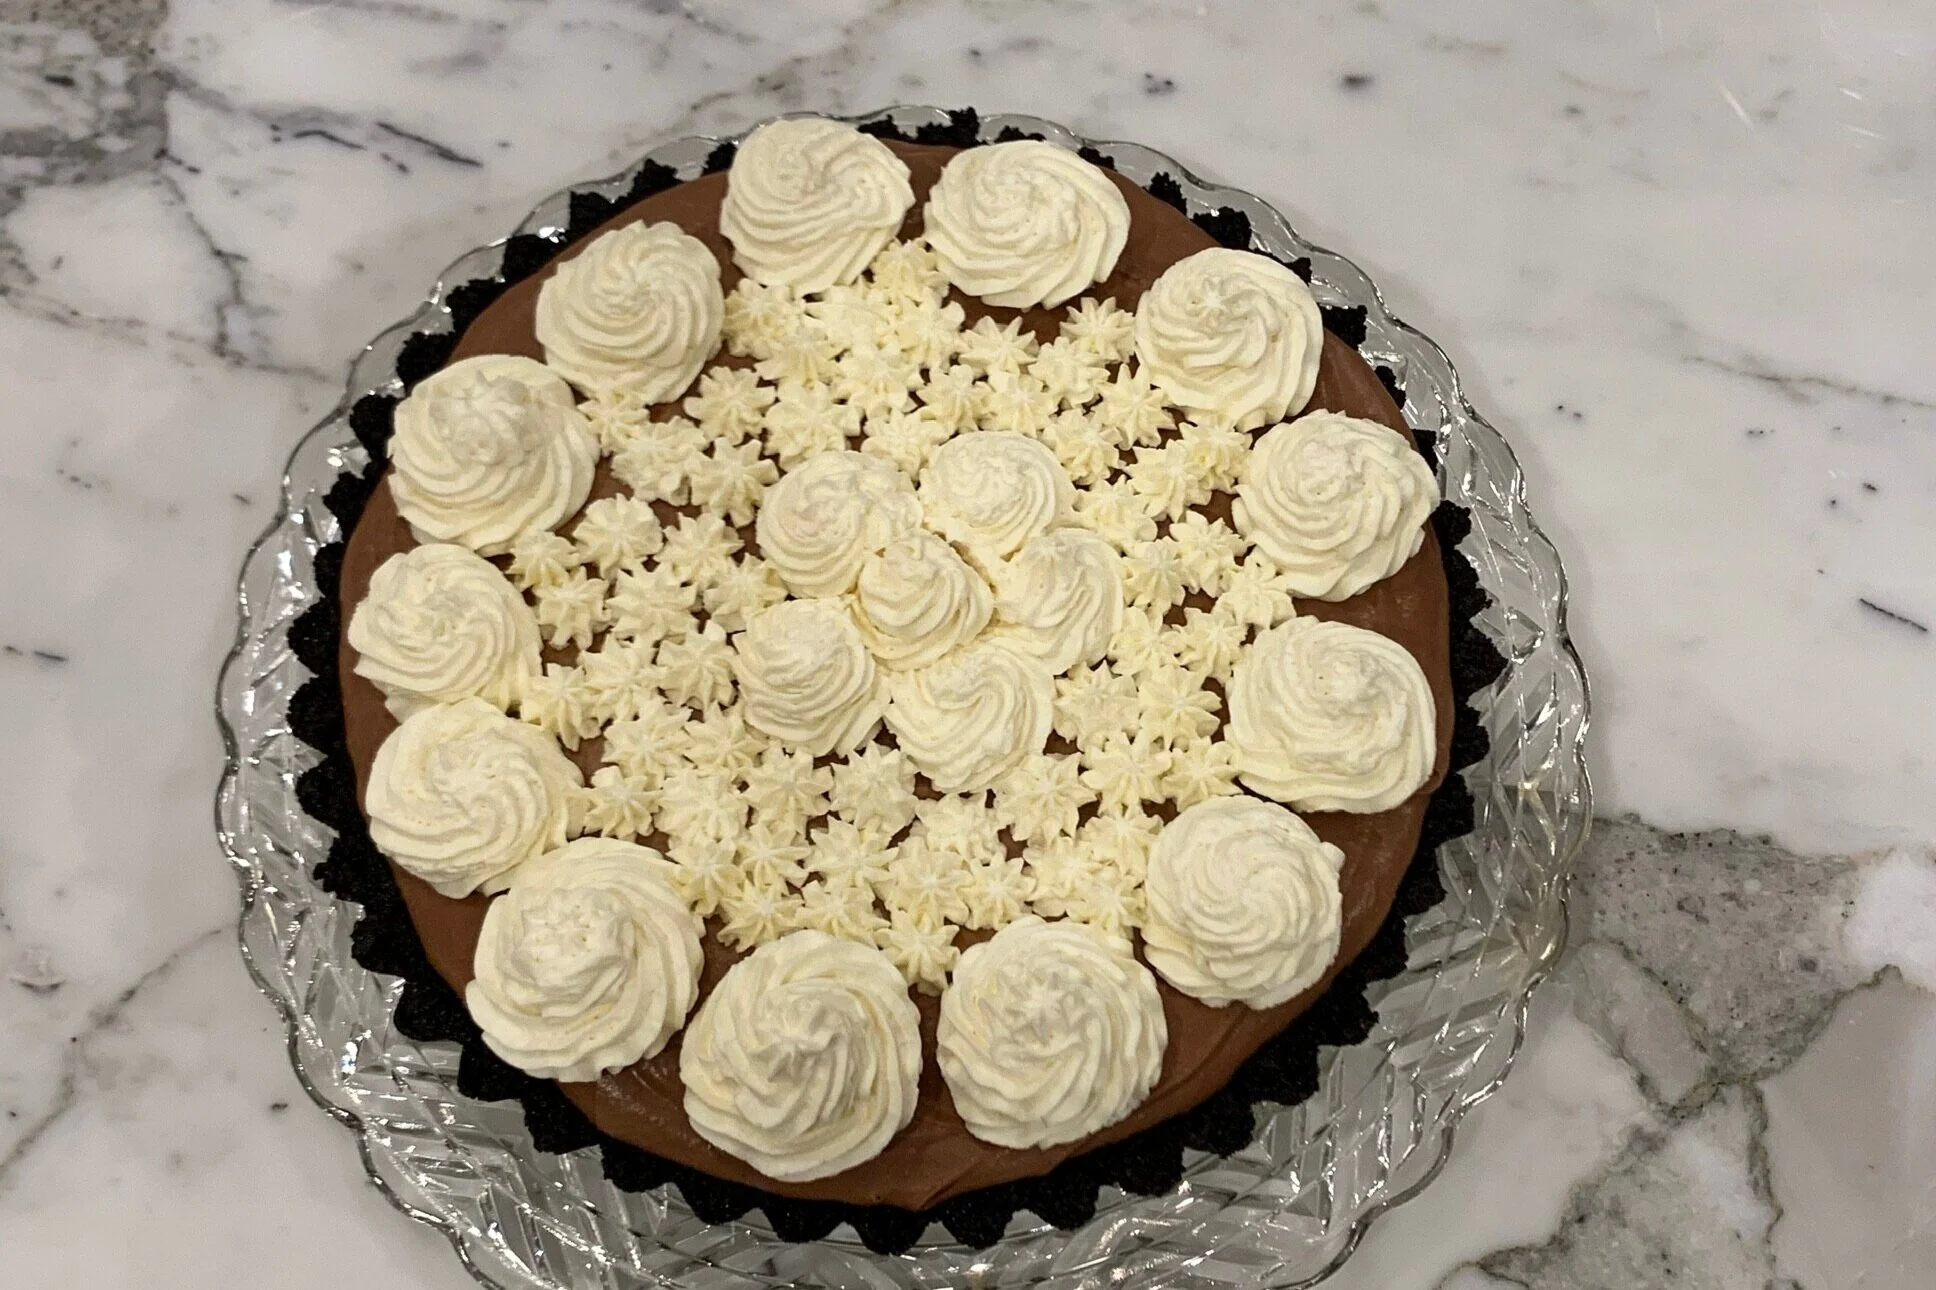
Decadent Chocolate Cream Pie
This is not your standard chocolate cream pie. It’s rich and quite decadent with a beautiful creamy mousse filling that will satisfy the most discriminating chocolate pie critic.
Chocolate cream pie is an American favorite and certainly one of ours! This no bake pie does not disappoint. It is super easy and versatile. Get creative and make it look elegant or casual, depending on the occasion. Want to read more about this blog?
Sign up for a free subscription to our monthly newsletter and access to exclusive content.
To browse some of our favorite kitchen essentials, gadgets, and pantry items, visit our Recommended Products page.
RECIPE
(Check out our Step by Step Instructions below the recipe card.)
Recipe Updated: 4/2/22

DECADENT CHOCOLATE CREAM PIE
Ingredients
Instructions
- Place whole Oreos into a large food processor and grind (or pulse) into small crumbs, NOT powder stage.
- Melt salted butter in a medium microwave safe mixing bowl and stir.
- Add crumbs to melted butter and stir to combine until all crumbs are coated.
- Dump crumb mixture into bottom of ungreased removable bottom deep 9 ½ inch tart pan (or 9 ½ inch glass pie pan) and press firmly and evenly. Do NOT press crust more than half way up the sides of the pan (leaving about ¾ inch of pan exposed at the top). Freeze for about 15 minutes, or until set.
- Place bowl and whisk attachment of stand mixer (or hand mixer) in fridge to chill, while you complete steps 1 to 3. In the bottom of a 2 ½ quart sauce pan (or double boiler), add 1 to 2 inches of water (see Notes section). Bring water to a boil and then turn down heat to keep at a simmer.
- Chop unsweetened chocolate into small chunks and add to a large heat resistant mixing bowl (or top of a double boiler). Place bowl on top of simmering water (NOT boiling) and melt chocolate, stirring occasionally. When chocolate is almost fully melted, remove bowl from heat and continue to stir until melted and smooth.
- While stirring, slowly pour sweetened condensed milk into warm melted chocolate, until fully combined. Set aside to cool on counter for 10-15 minutes.
- Pour heavy whipping cream into chilled bowl of a stand mixer (or bowl for the hand mixer). To prevent splattering, begin on low speed for 1 minute, then increase to medium-low speed and whip cream for about 2 minutes or until soft peaks form. While mixing, slowly add vanilla and powdered sugar. Increase speed to medium-high (or high) and beat until stiff peaks form (see Notes section).
- Remove bowl from mixer and place half of the whipped cream into a piping bag for your topping, seal bag and refrigerate until ready to use. If not piping your topping, just reserve half whipped cream in another bowl, cover, and chill.
- Using a spatula, slowly and gently FOLD (do not stir) remaining half of the whipped cream into chocolate mixture. Go slow and steady. Fold just until all white streaks are no longer visible. (see Notes section).
- Remove tart pan from freezer and pour chocolate mixture into the prepared crust. Using the back of an icing spatula, evenly smooth out chocolate mixture. Cover with plastic wrap and refrigerate until partially or completely set (a minimum of 3 hours).
- About 2 hours before you are ready to serve, remove pie and other half of whipped cream (in piping bag) from fridge. Then remove pie from tart pan (see Notes section for tip) and carefully transfer to a serving dish. Spread out or pipe whipped cream in any design, directly on top of the chocolate mixture (NOT the crust). Place pie uncovered in a cake storage container and refrigerate for 1 ½ to 2 hours before serving. Using a sharp knife, carefully cut the pie into 10 slices and enjoy!
Notes
- Double Boiler: Before turning on the heat, test the water level to make sure the bottom of your mixing bowl or top half of double boiler, does not touch the water when at a simmer. Give your bowl some room, or it will ruin your chocolate.
- Whipped Cream: Do not overwhip your whipping cream, as it will become grainy and affect the texture of your mousse filling. It should be very stiff, but still look creamy.
- Folding Cream into Chocolate: Do not rush the folding process. It will take about 5 - 7 minutes to fully incorporate the the whipped cream into the melted chocolate. The whipped mixture should not lose much volume if you fold gently and slowly. This should be a light, but rich, soft mousse texture.
- Removing Pie from Tart Pan: Place a can upright on the counter and then place the tart pan directly on top of the can. Gently tap/push the edges of the pan down to separate the pie crust from the pan and carefully transfer pie to a serving dish.
- Serving: For clean serving slices, run a sharp knife under warm (not hot) water and wipe dry after each slice. This is such a rich cream pie, it will yield 10-12 servings.
- Recipe can be made ahead and is perfect for entertaining!


Nutrition Facts
Calories
646.71Fat (grams)
40.80Sat. Fat (grams)
23.09Carbs (grams)
64.73Fiber (grams)
1.73Net carbs
63.00Sugar (grams)
50.88Protein (grams)
8.35Sodium (milligrams)
322.18Cholesterol (grams)
96.43Nutritional information provided is strictly an estimate and will vary based on ingredient brands and cooking methods.
Step by Step Instructions
Crust
PREPARATION
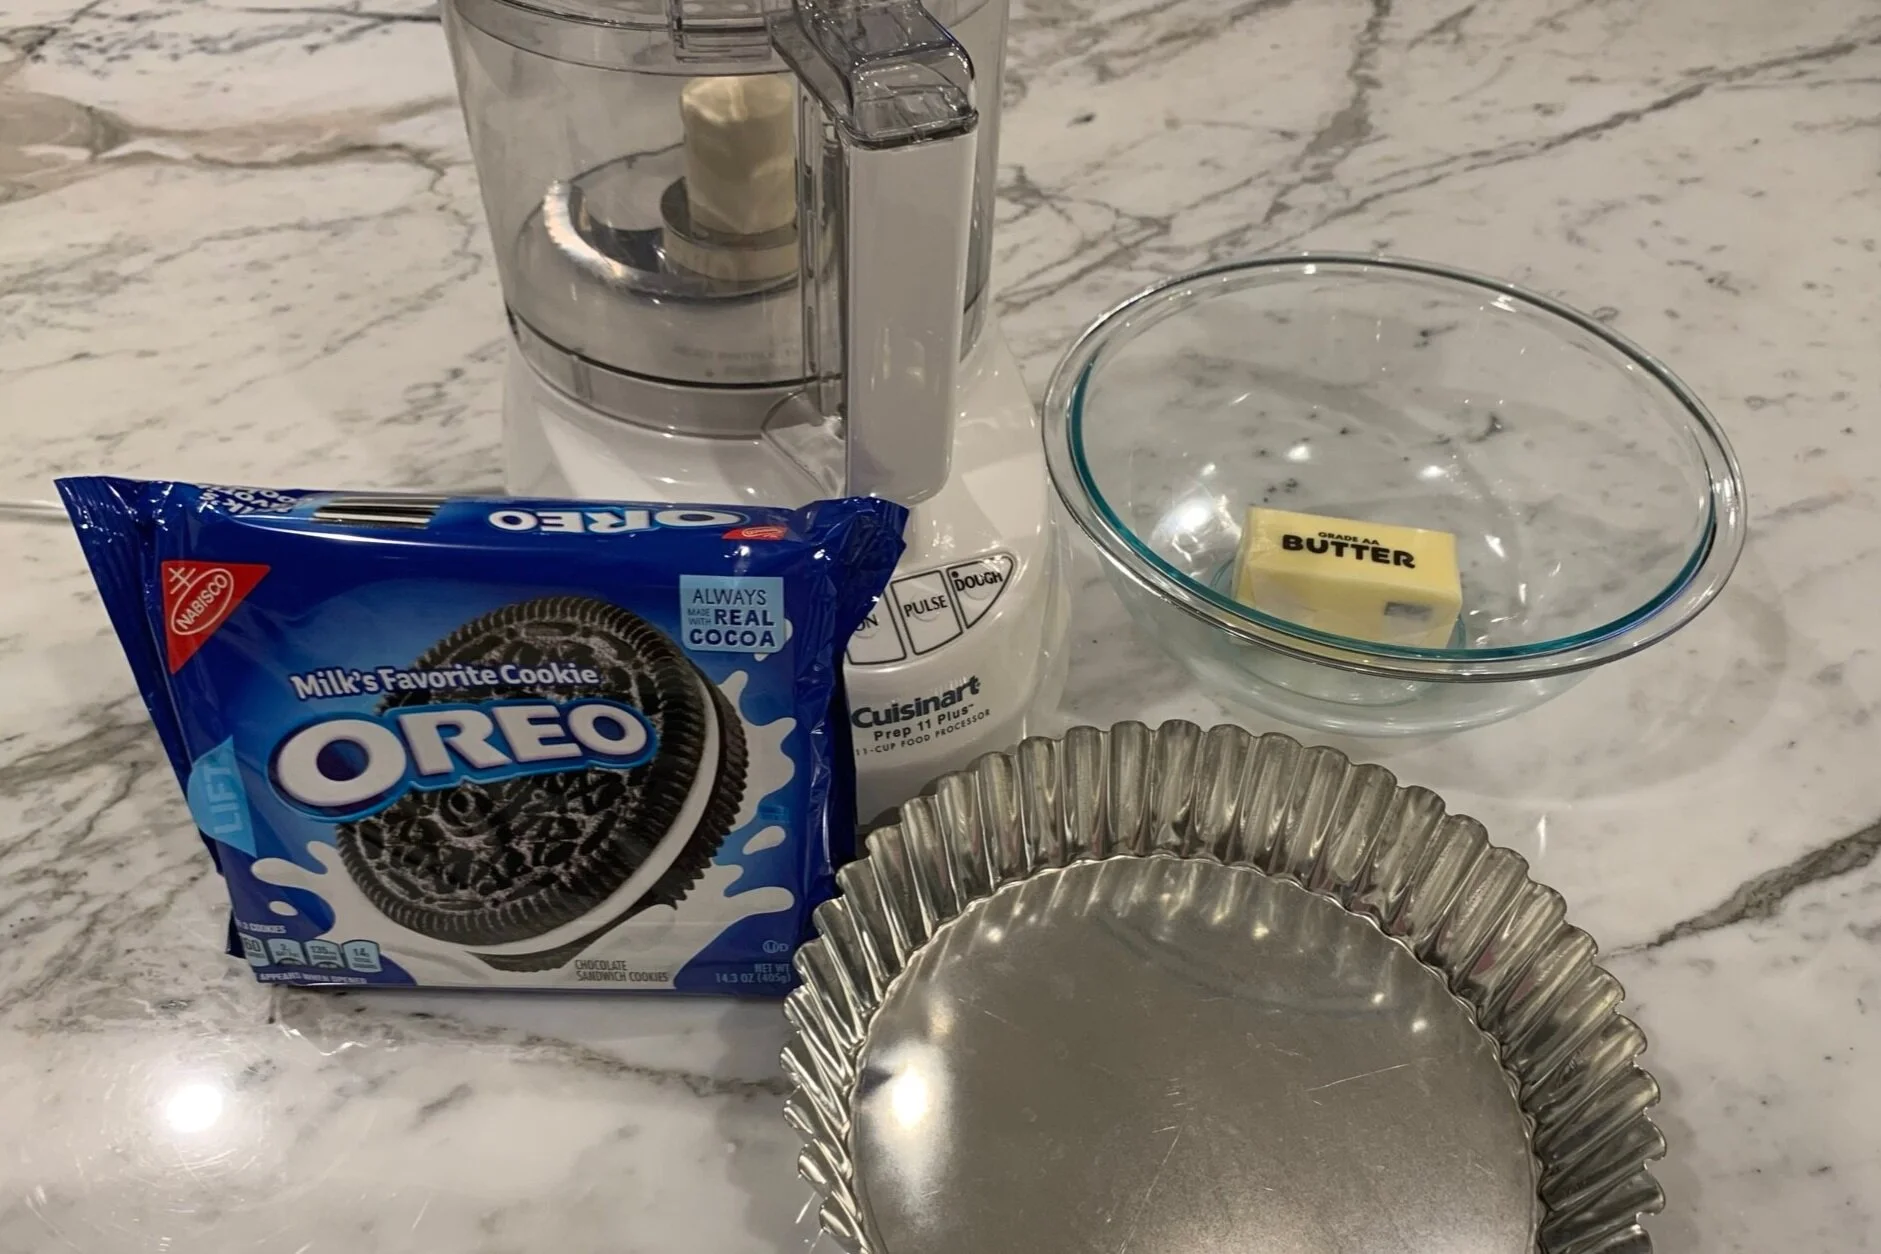
Organize all your crust tools and ingredients before you begin. Getting all your ingredients in one place at the beginning will shorten your prep time.

STEP 1a
Place whole Oreos into a large food processor.

STEP 1b
Grind (or pulse) the whole Oreos into small crumbs, NOT powder stage.

STEP 2
Slice and/or cube ½ cup salted butter and place in a medium microwave safe mixing bowl. Melt butter in microwave and stir.

STEP 3
Add crumbs to the melted butter and stir to combine until all crumbs are coated.

STEP 4
Dump crumb mixture into bottom of ungreased removable bottom deep 9 ½ inch tart pan (or 9 ½ inch glass pie pan). Press firmly with the bottom of a metal measuring cup (or a flat bottom glass). Do NOT press crust more than half way up the sides of the pan (leaving about ¾ inch of pan exposed at the top).
Freeze for about 15 minutes, or until set.
Filling & Topping

PREPARATION
Organize all your filling tools and ingredients before you begin.
Place bowl and whisk attachment of stand mixer (or hand mixer) in refrigerator to chill, while you complete steps 1 to 3.
Note: Be sure to keep the heavy whipping cream in the fridge until you need it, too.
STEP 1
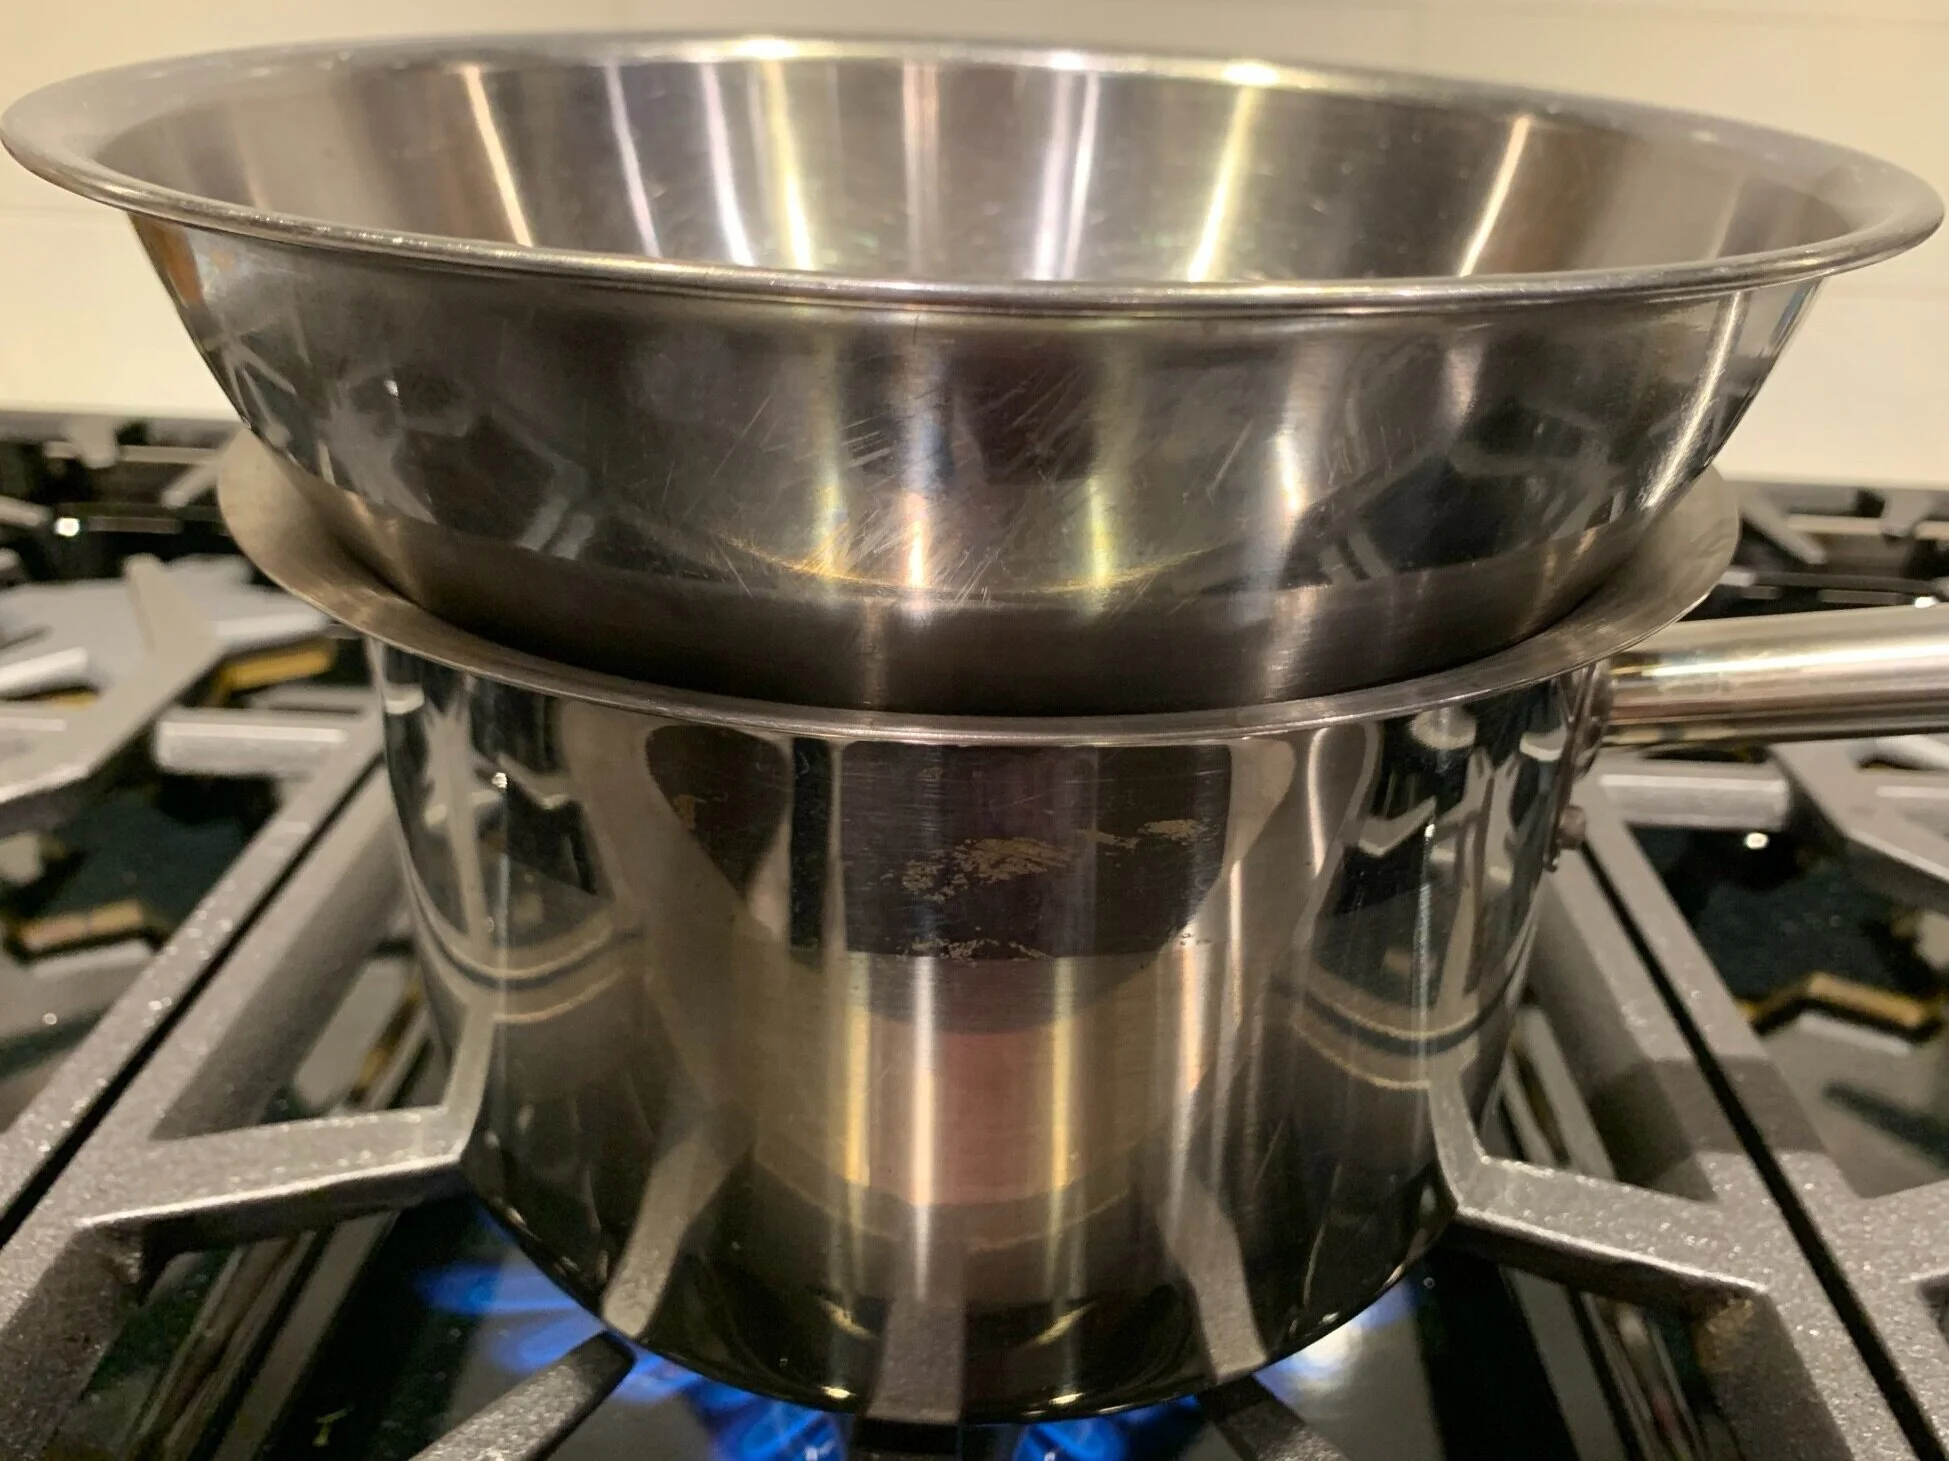
Add 1 to 2 inches of water to the bottom of a 2 ½ quart sauce pan, or bottom of a double boiler (see note below). Bring water to a boil and then turn down heat to keep at a simmer.
Note: Before moving on to the next step, test the water level to make sure the bottom of your mixing bowl or top of a double boiler does not touch the water when at a simmer. Give your bowl room, or this will ruin your chocolate.
STEP 2a
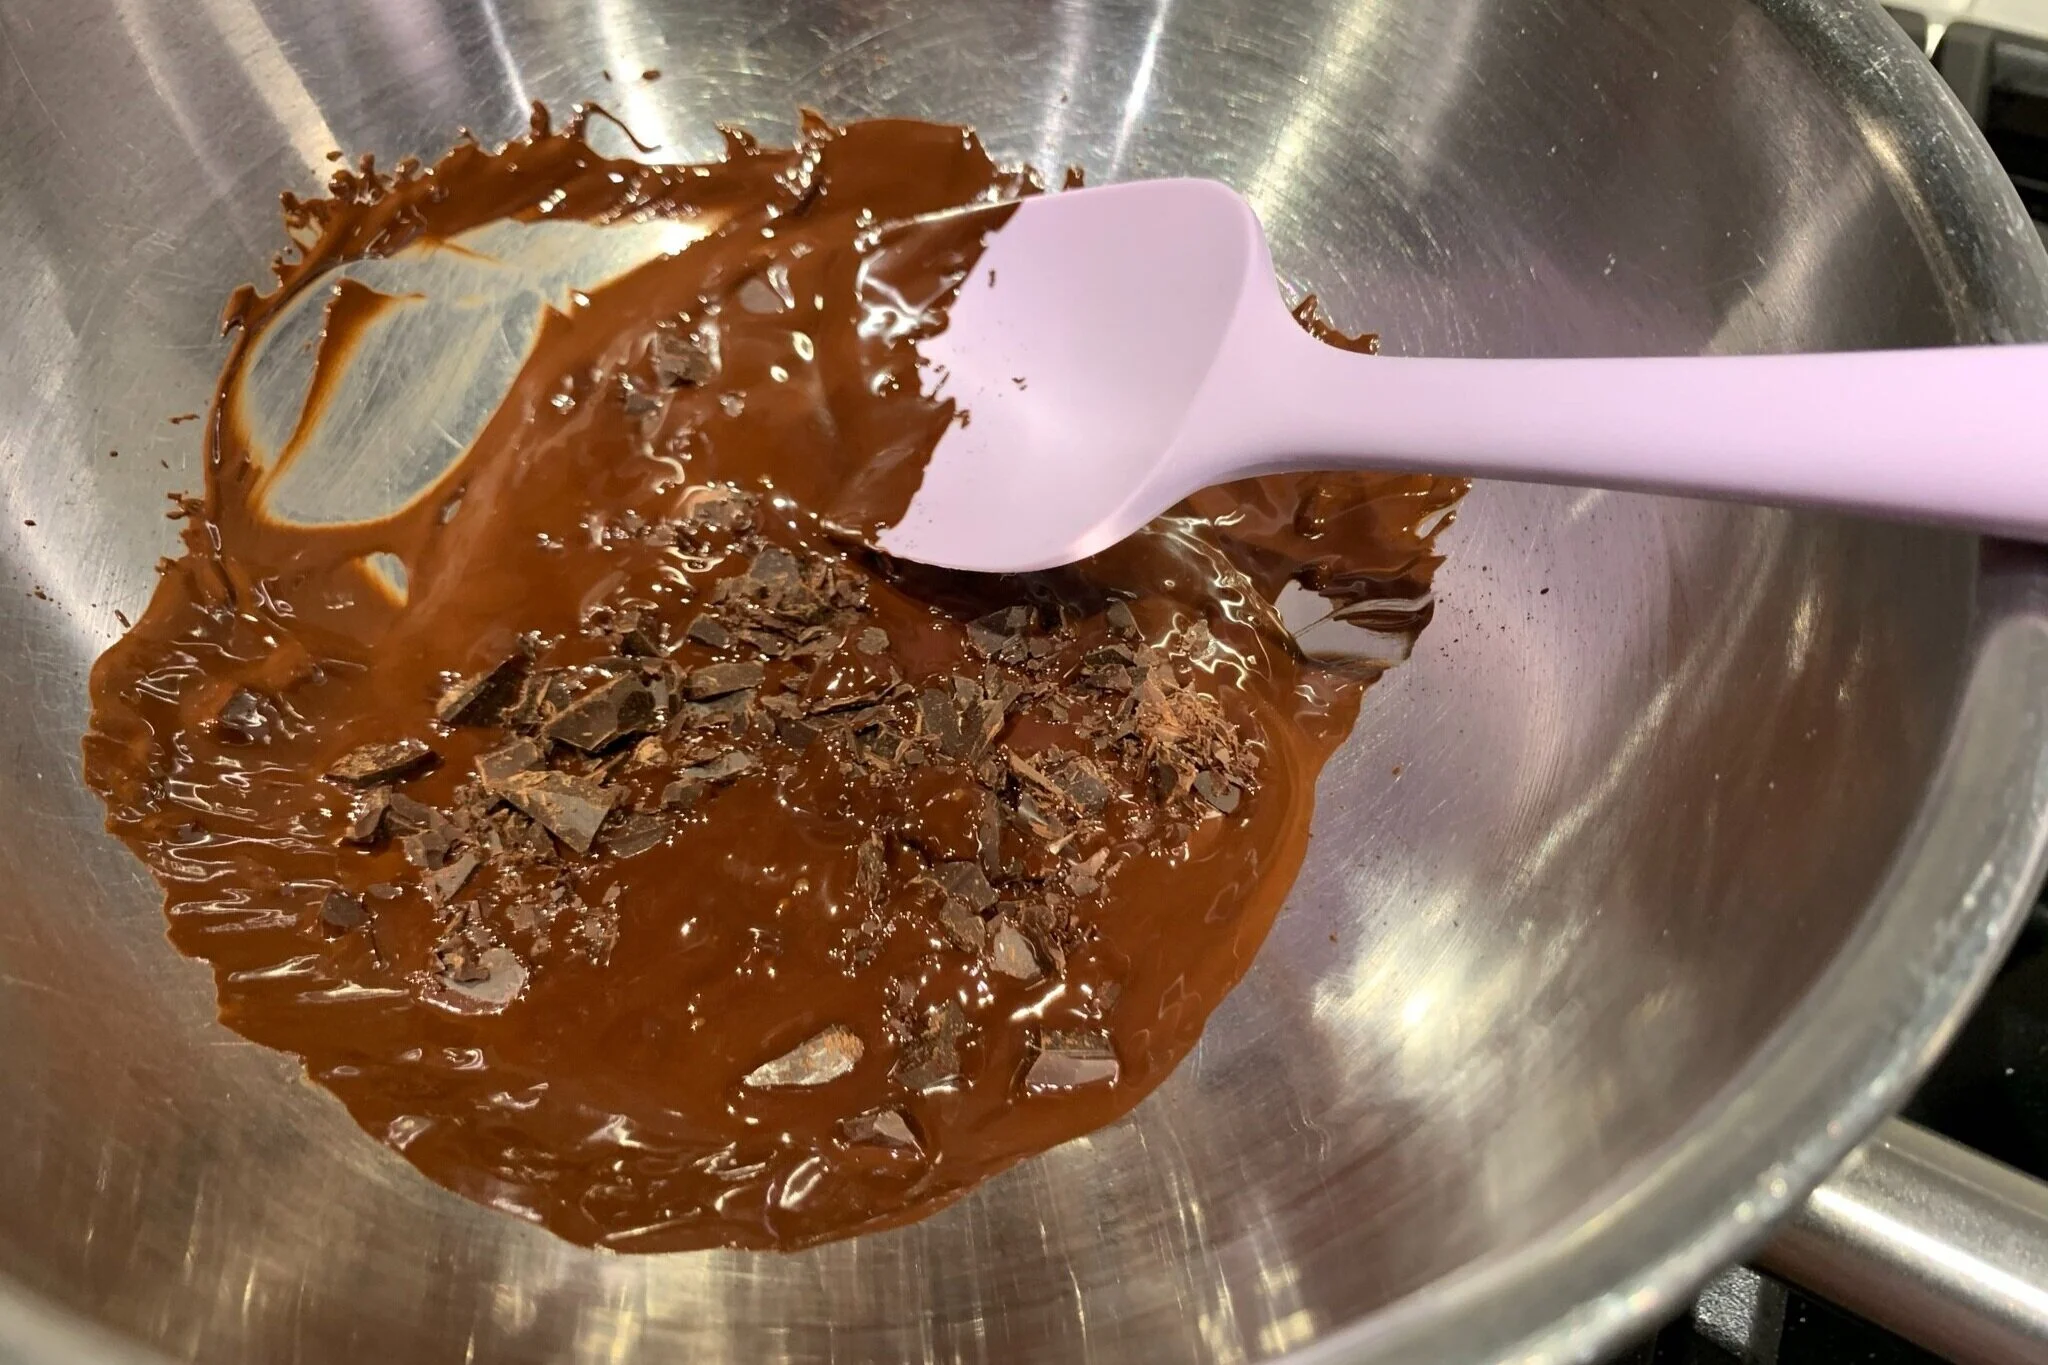
Chop 4 ounces unsweetened chocolate into small chunks. Place chopped chocolate in a large heat proof mixing bowl (or in top of a double boiler).
To melt chocolate, place bowl on top of simmering water (NOT boiling) and stir only as needed.

STEP 2b
As soon as chocolate is almost fully melted, remove bowl from heat and continue to stir until melted and smooth.
Quickly move to next step, so chocolate stays very warm.
STEP 3a
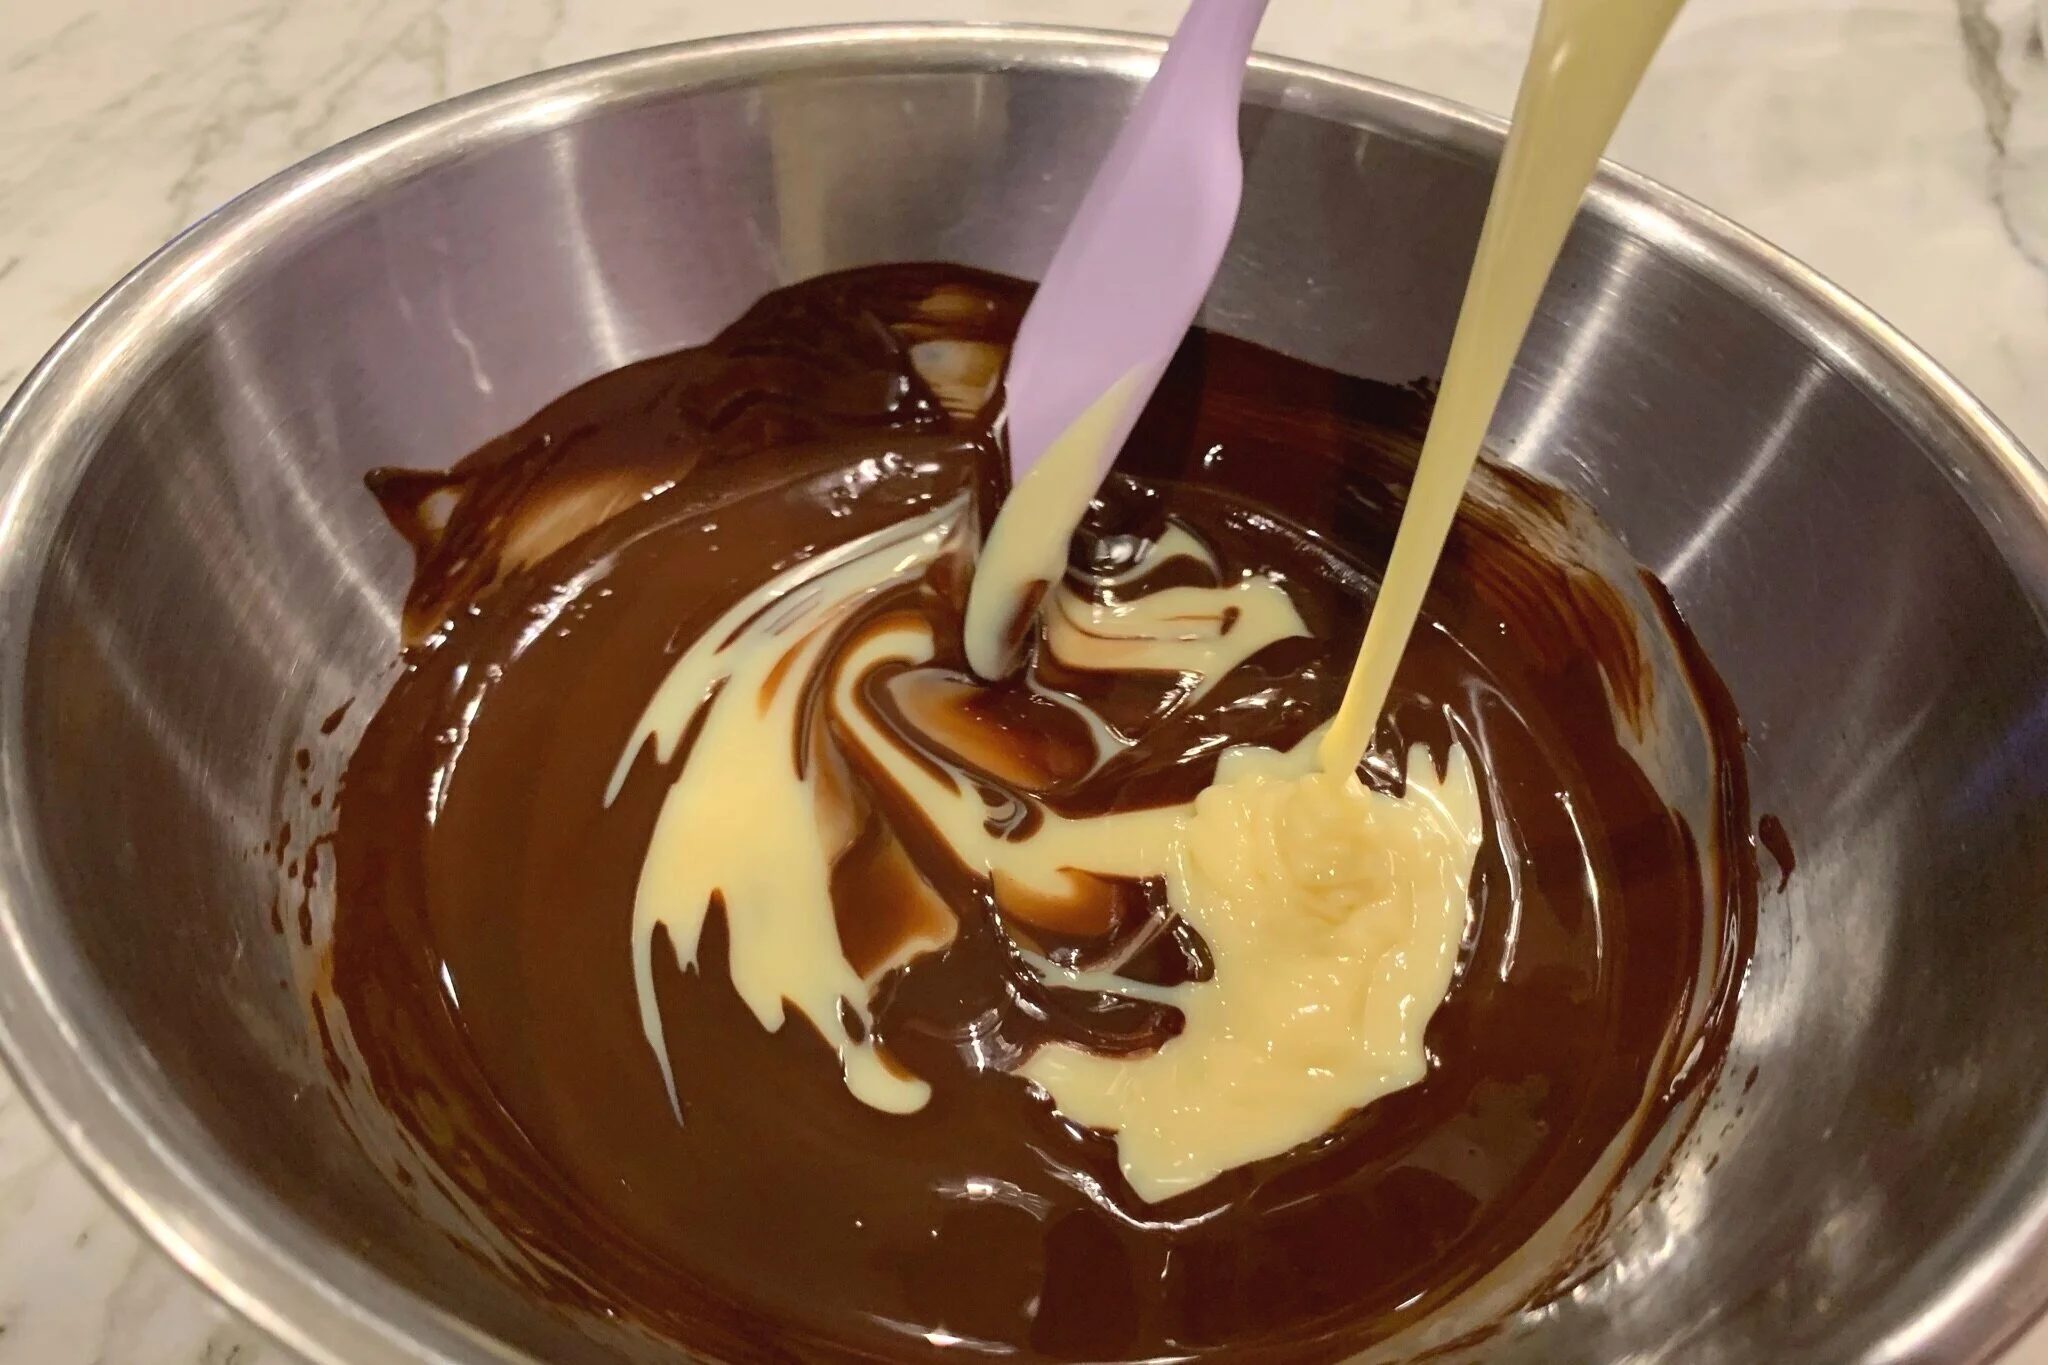
While stirring, slowly pour 1 can (14 ounces) of sweetened condensed milk into very warm melted chocolate to combine.

STEP 3b
Once fully combined and while you complete next step, cool chocolate mixture for no more than 10-15 minutes.
STEP 4a
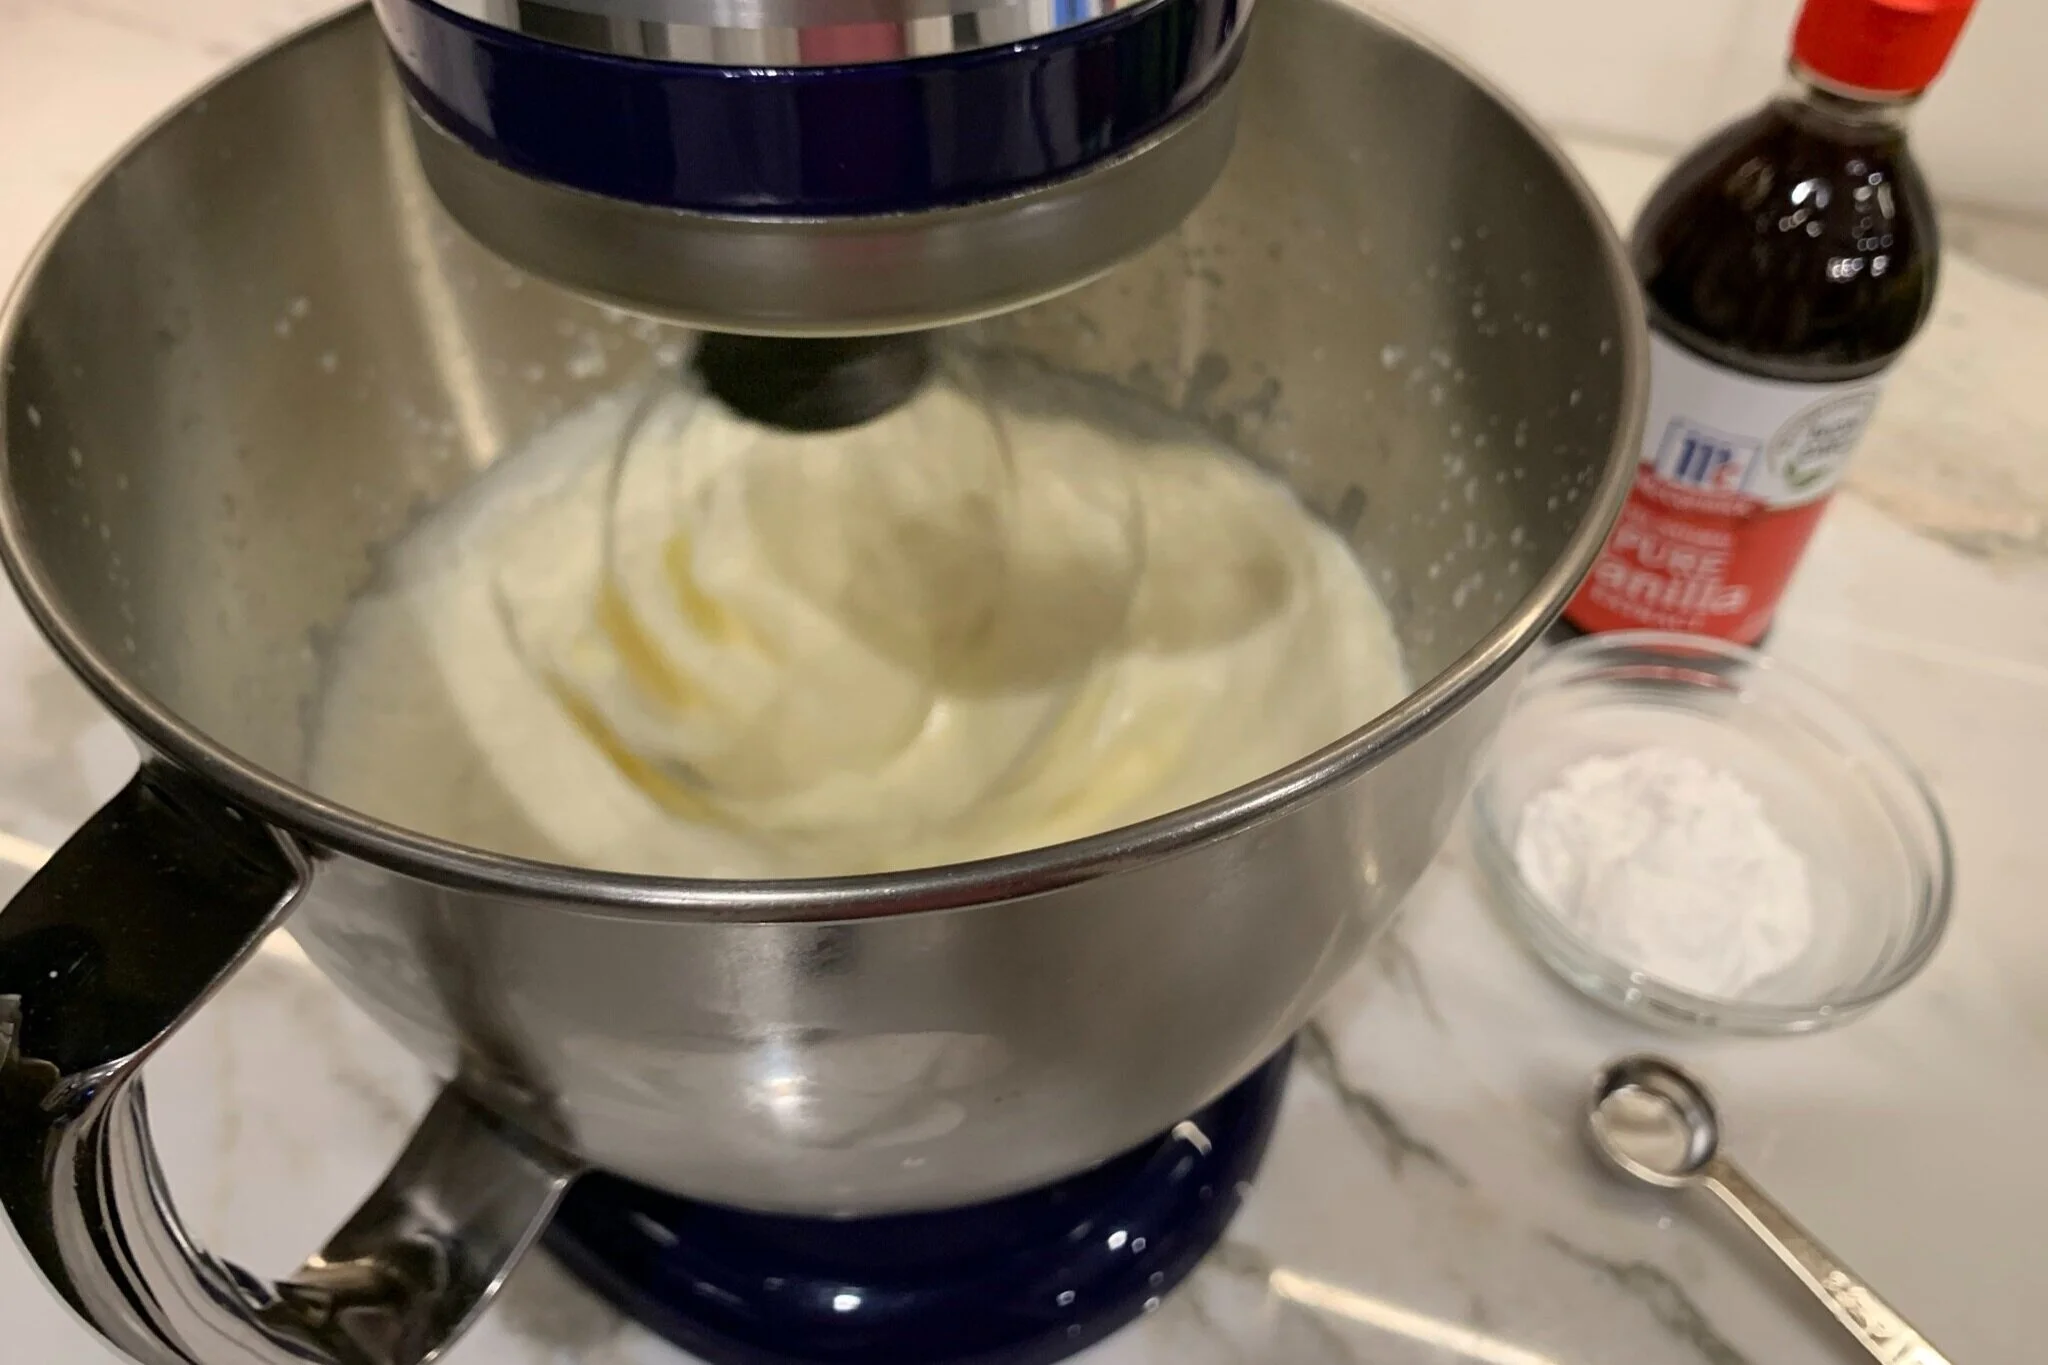
Pour 2 cups heavy whipping cream into a chilled bowl of a stand mixer (or bowl for the hand mixer). To prevent splattering, begin on low speed for 1 minute, then increase to medium-low speed and whip cream for about 2 minutes until soft peaks form. While mixing, slowly add 2 teaspoons pure vanilla extract and ¼ cup powdered sugar.
STEP 4b
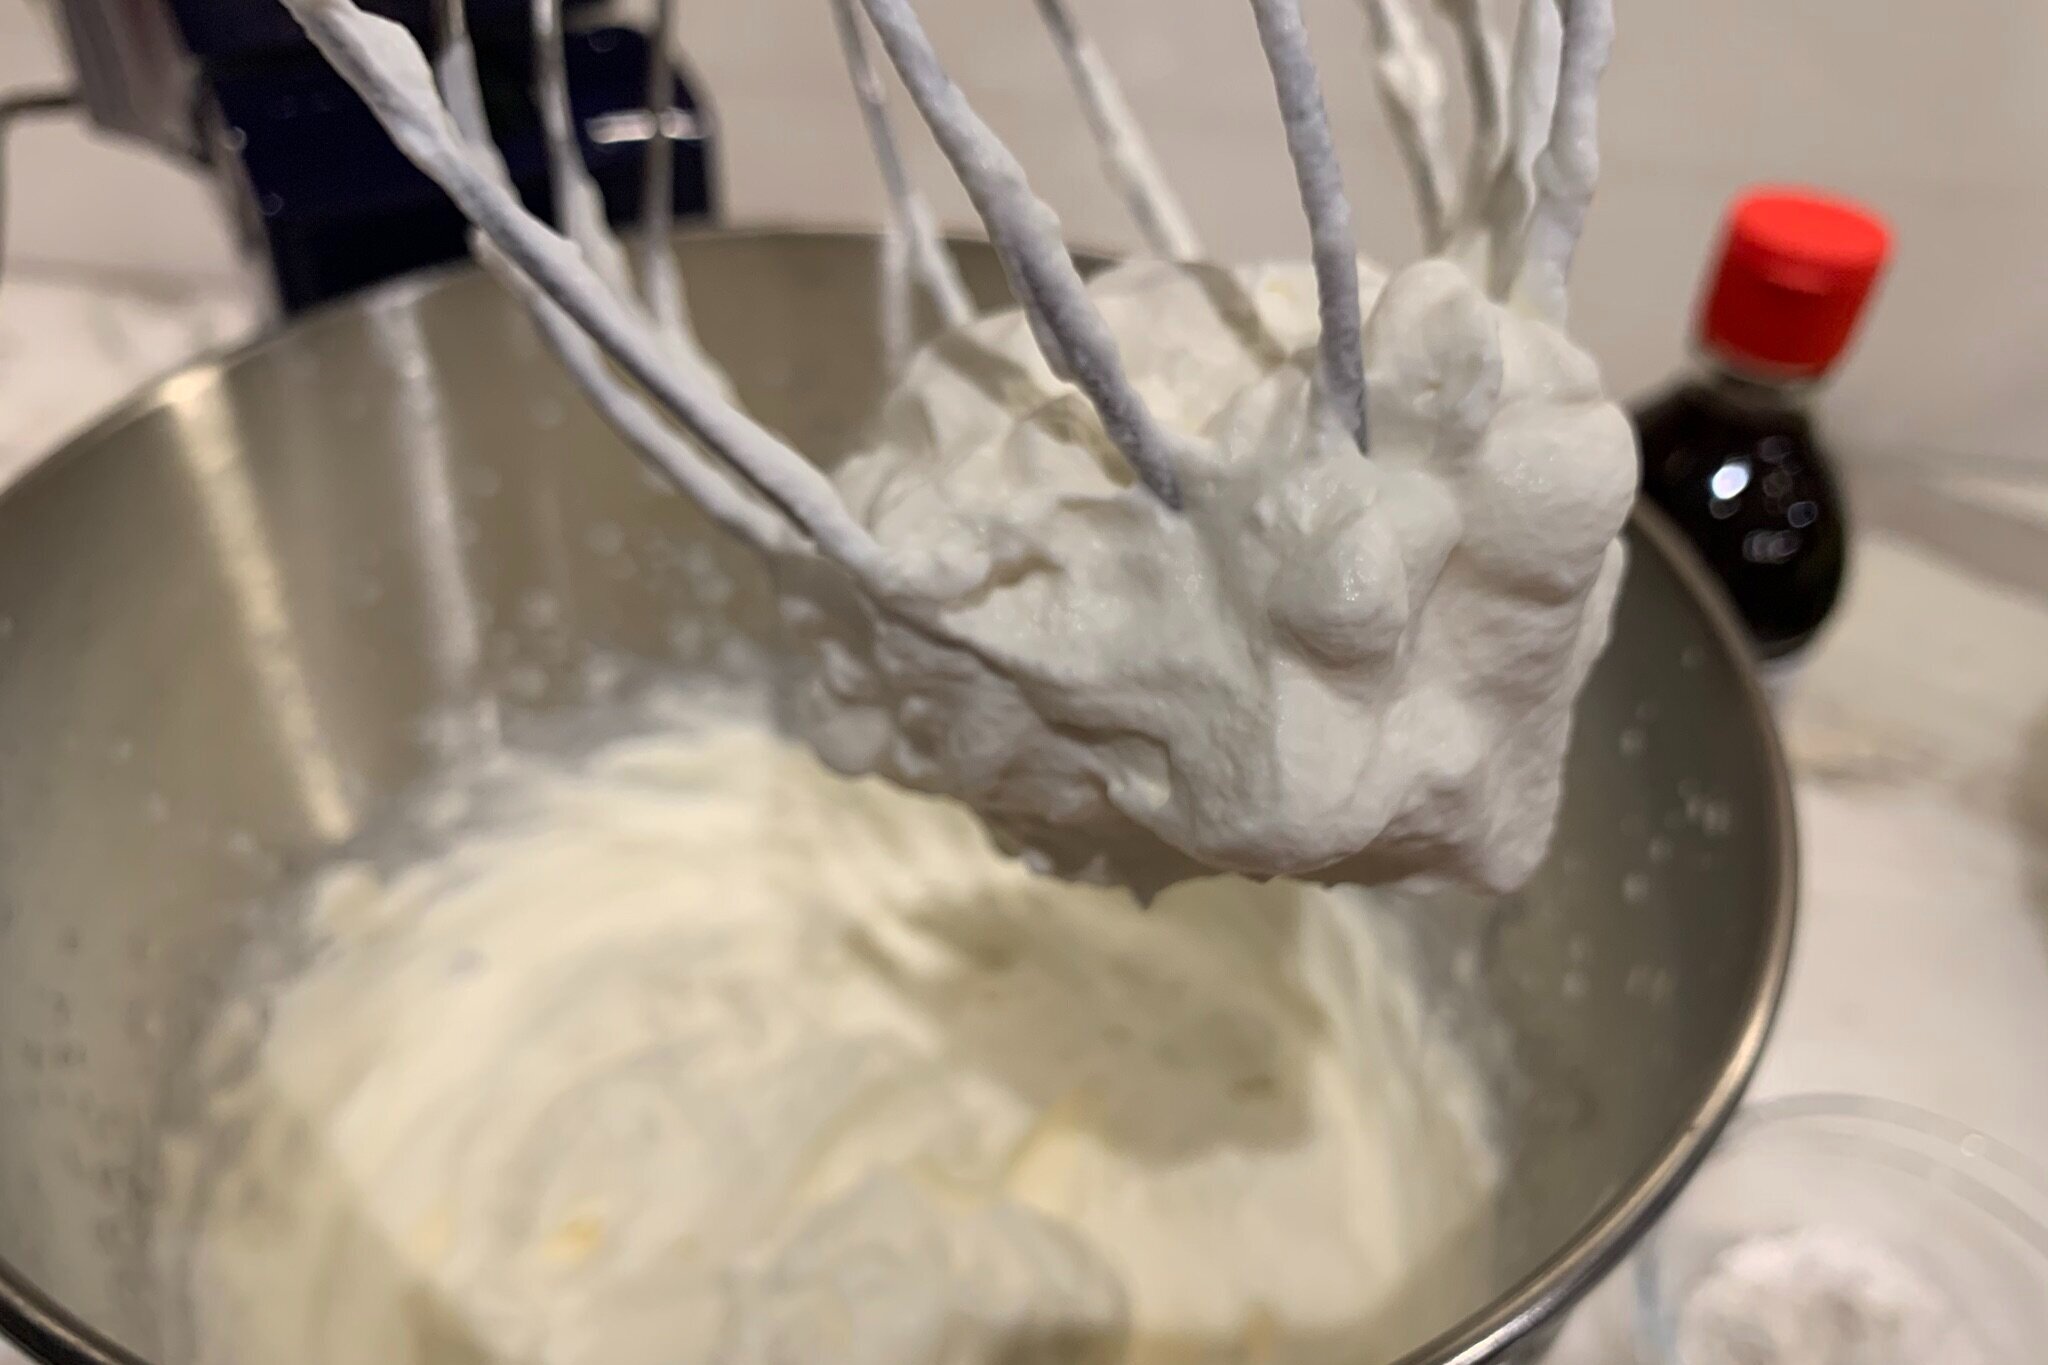
Increase speed to medium-high (or high) and beat until stiff peaks form.
Note: Do not overwhip, as it will become grainy and affect the texture of your mousse filling. It should be very stiff, but still look creamy.
STEP 5
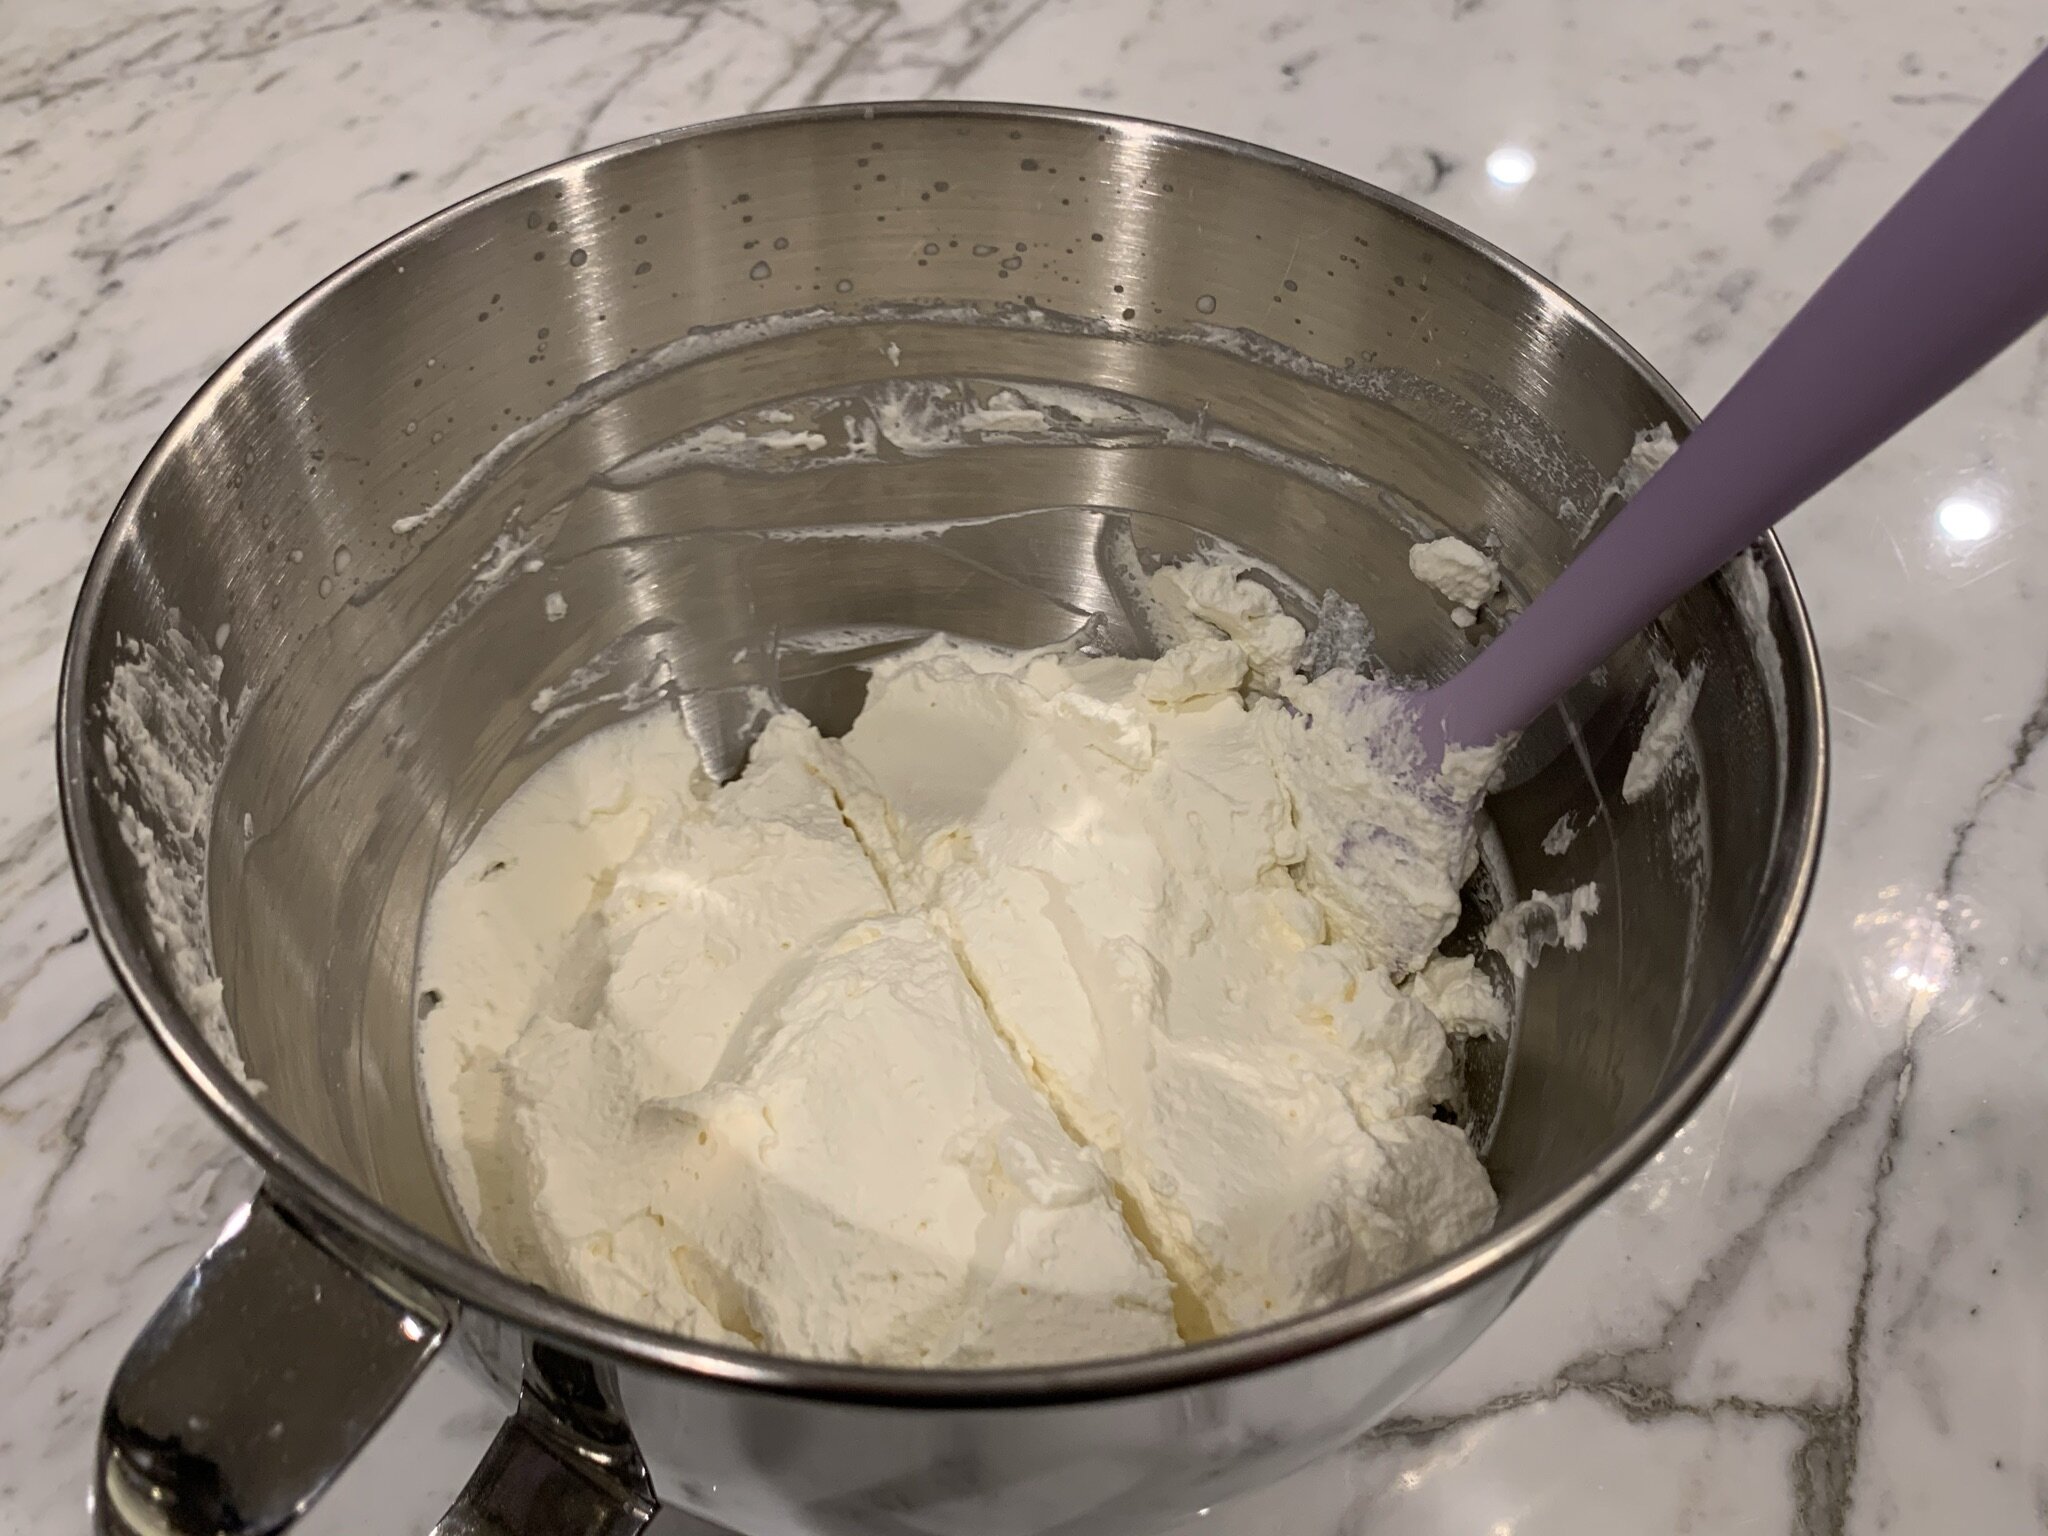
If you are not going to pipe your topping, then just reserve half of the whipped cream in another bowl, cover, and chill and move on to STEP 6.
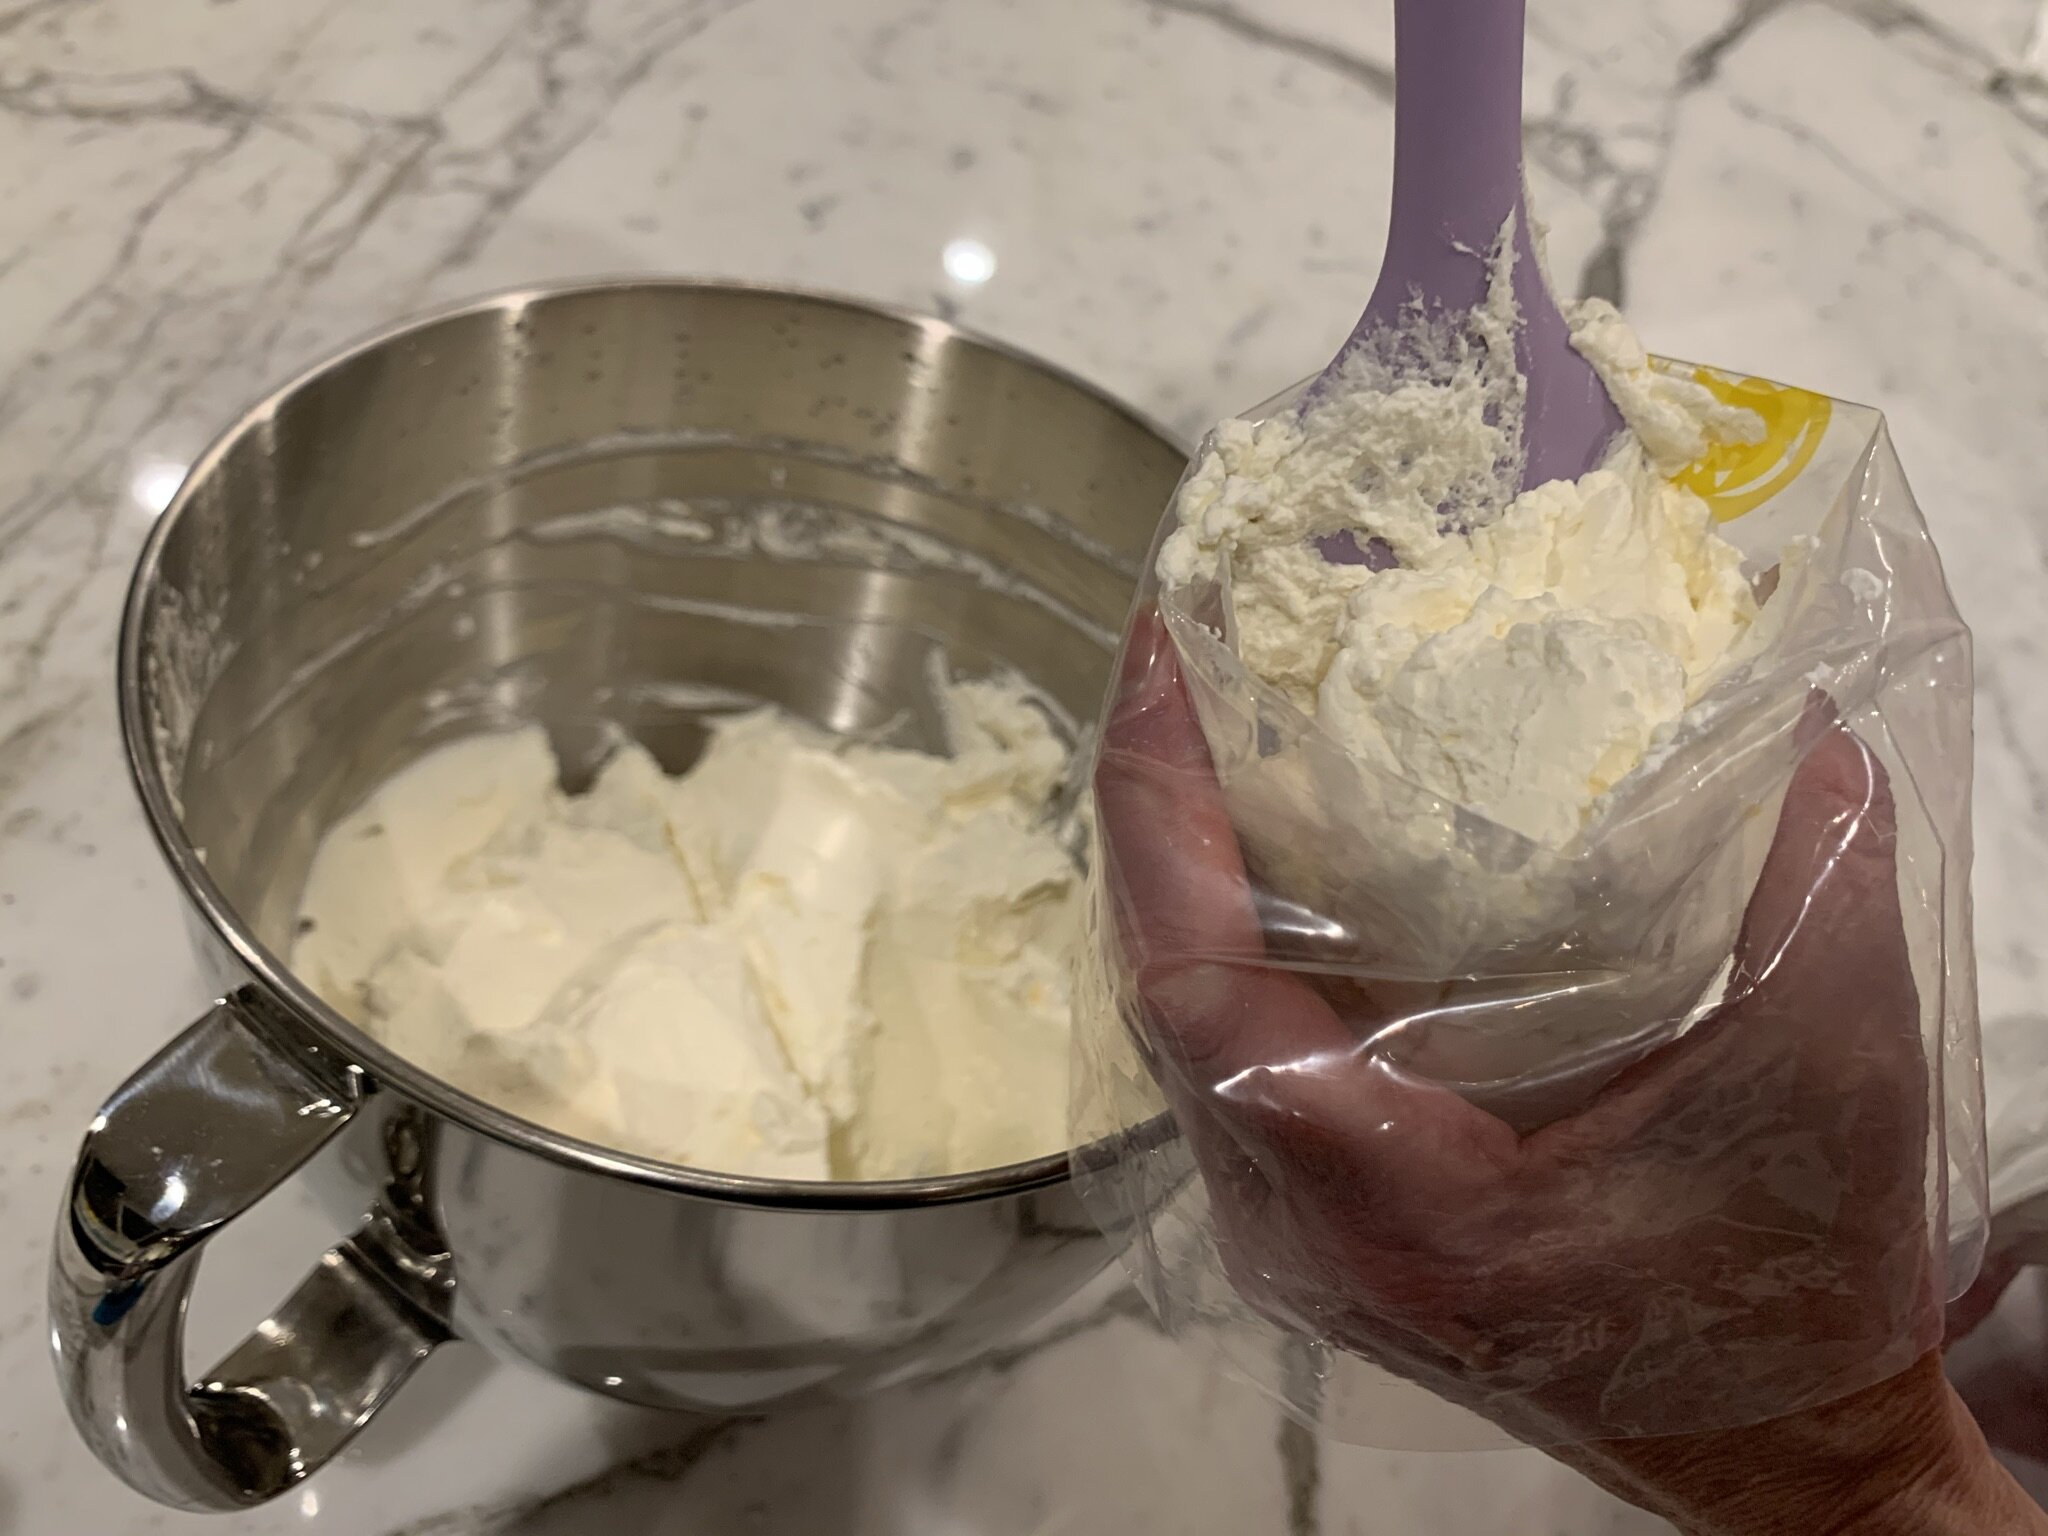
a) Remove bowl from mixer and with a spatula, cut the whipped cream in half.
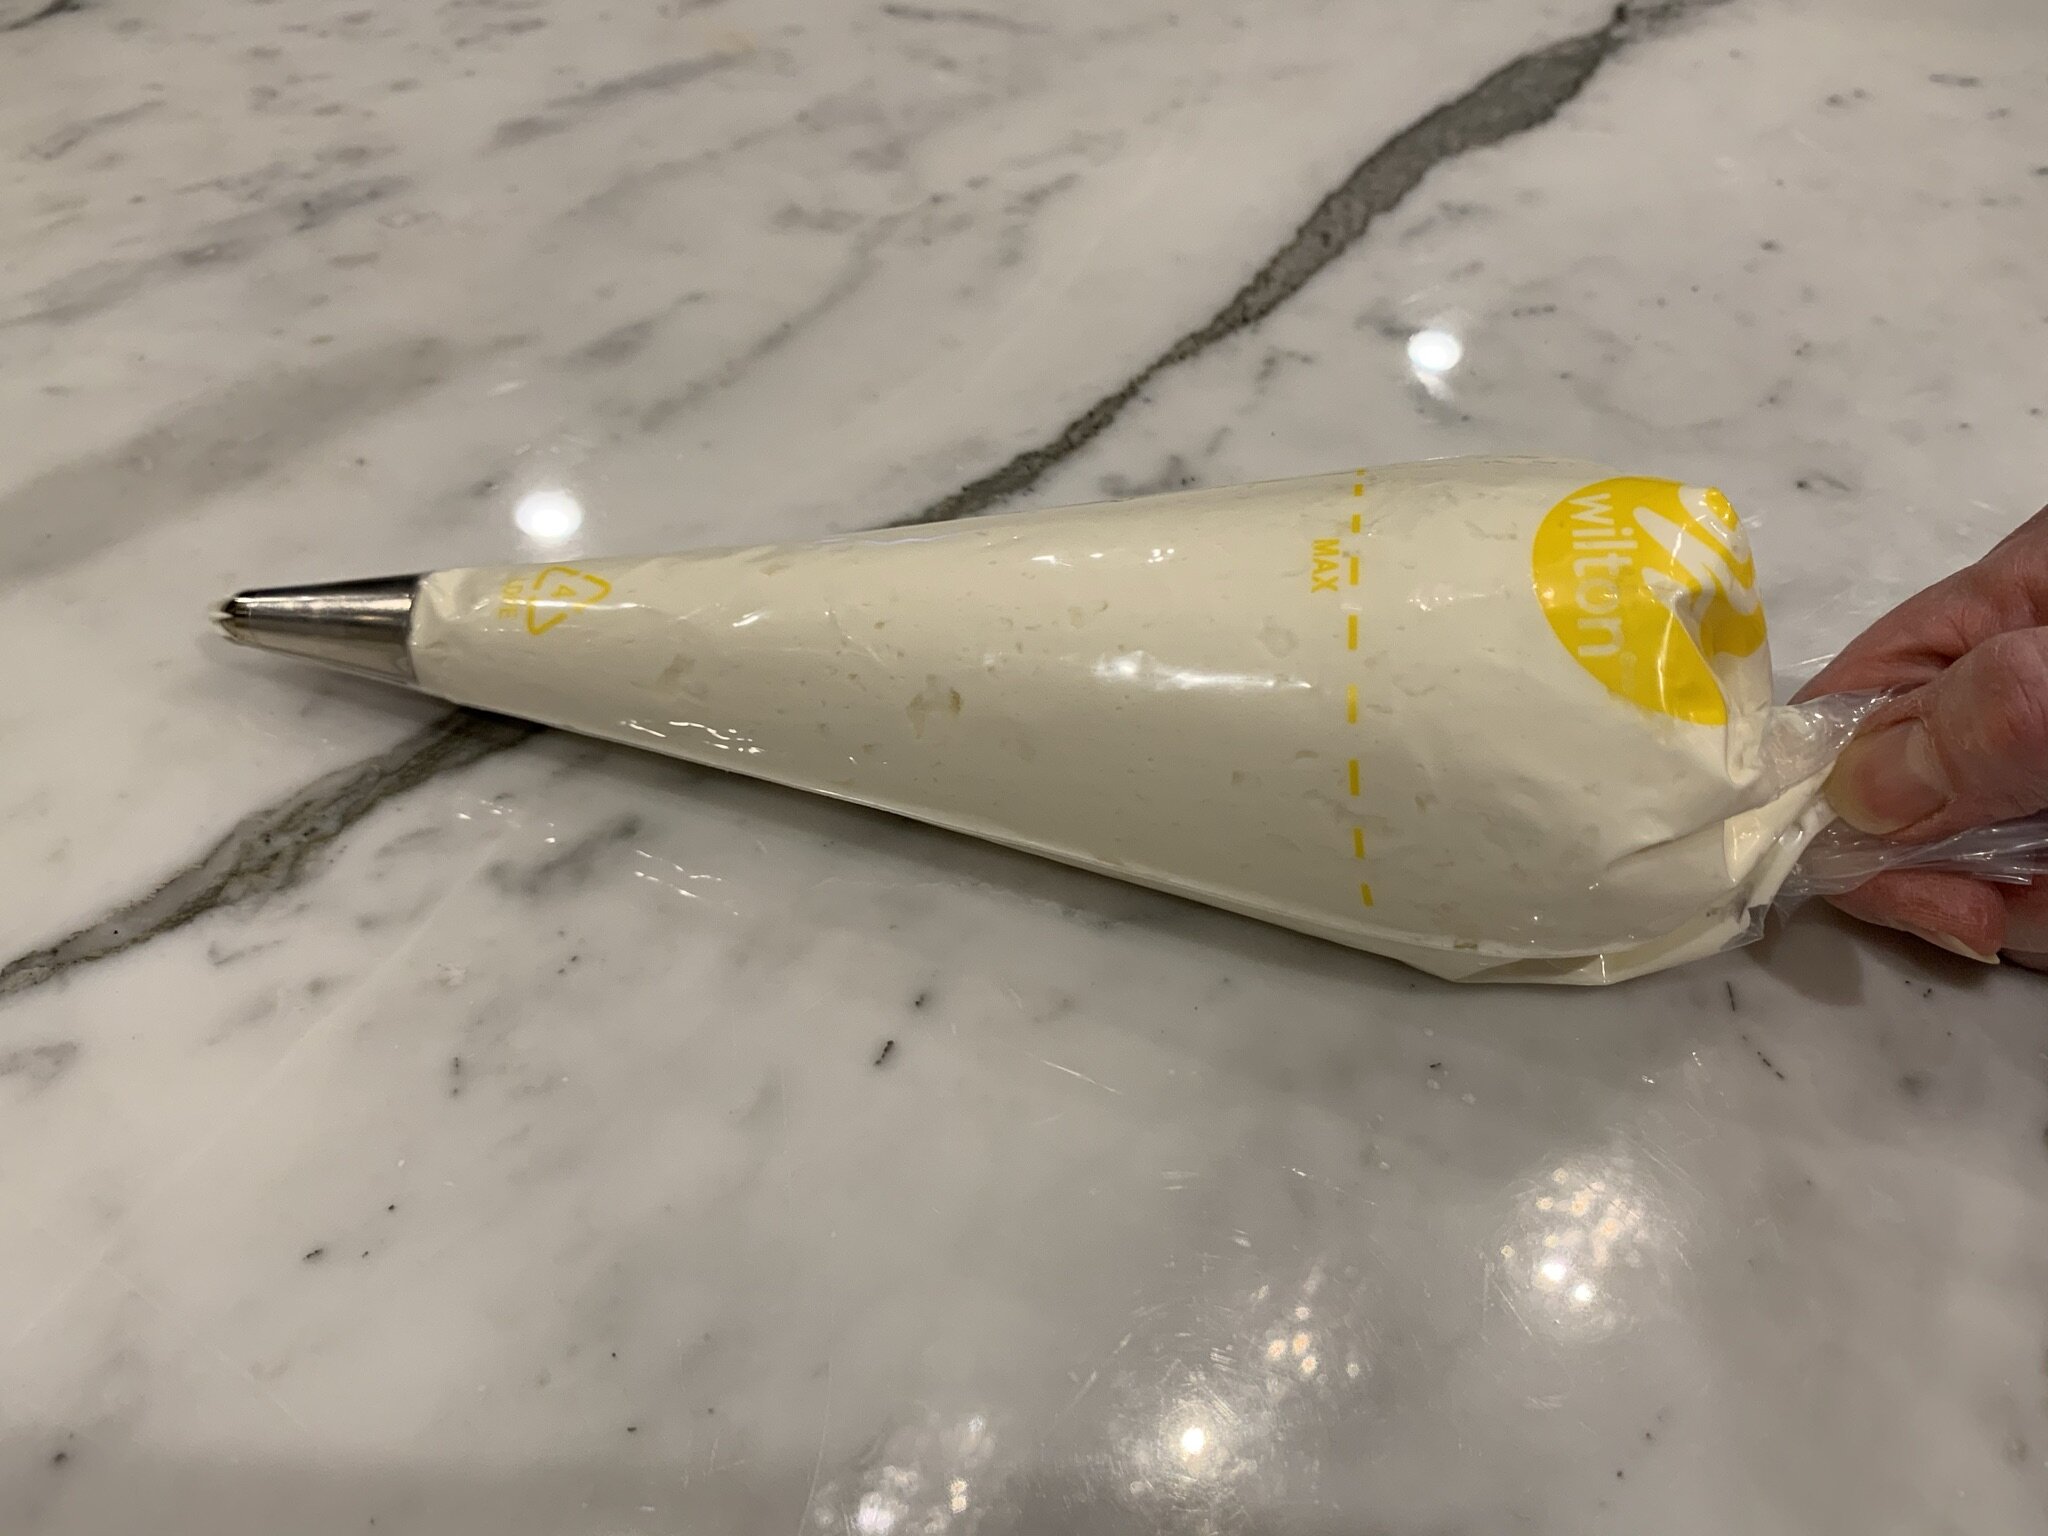
b) Place half of the whipped cream into a piping bag for your topping.
c) Seal bag and refrigerate until ready to use.
STEP 6
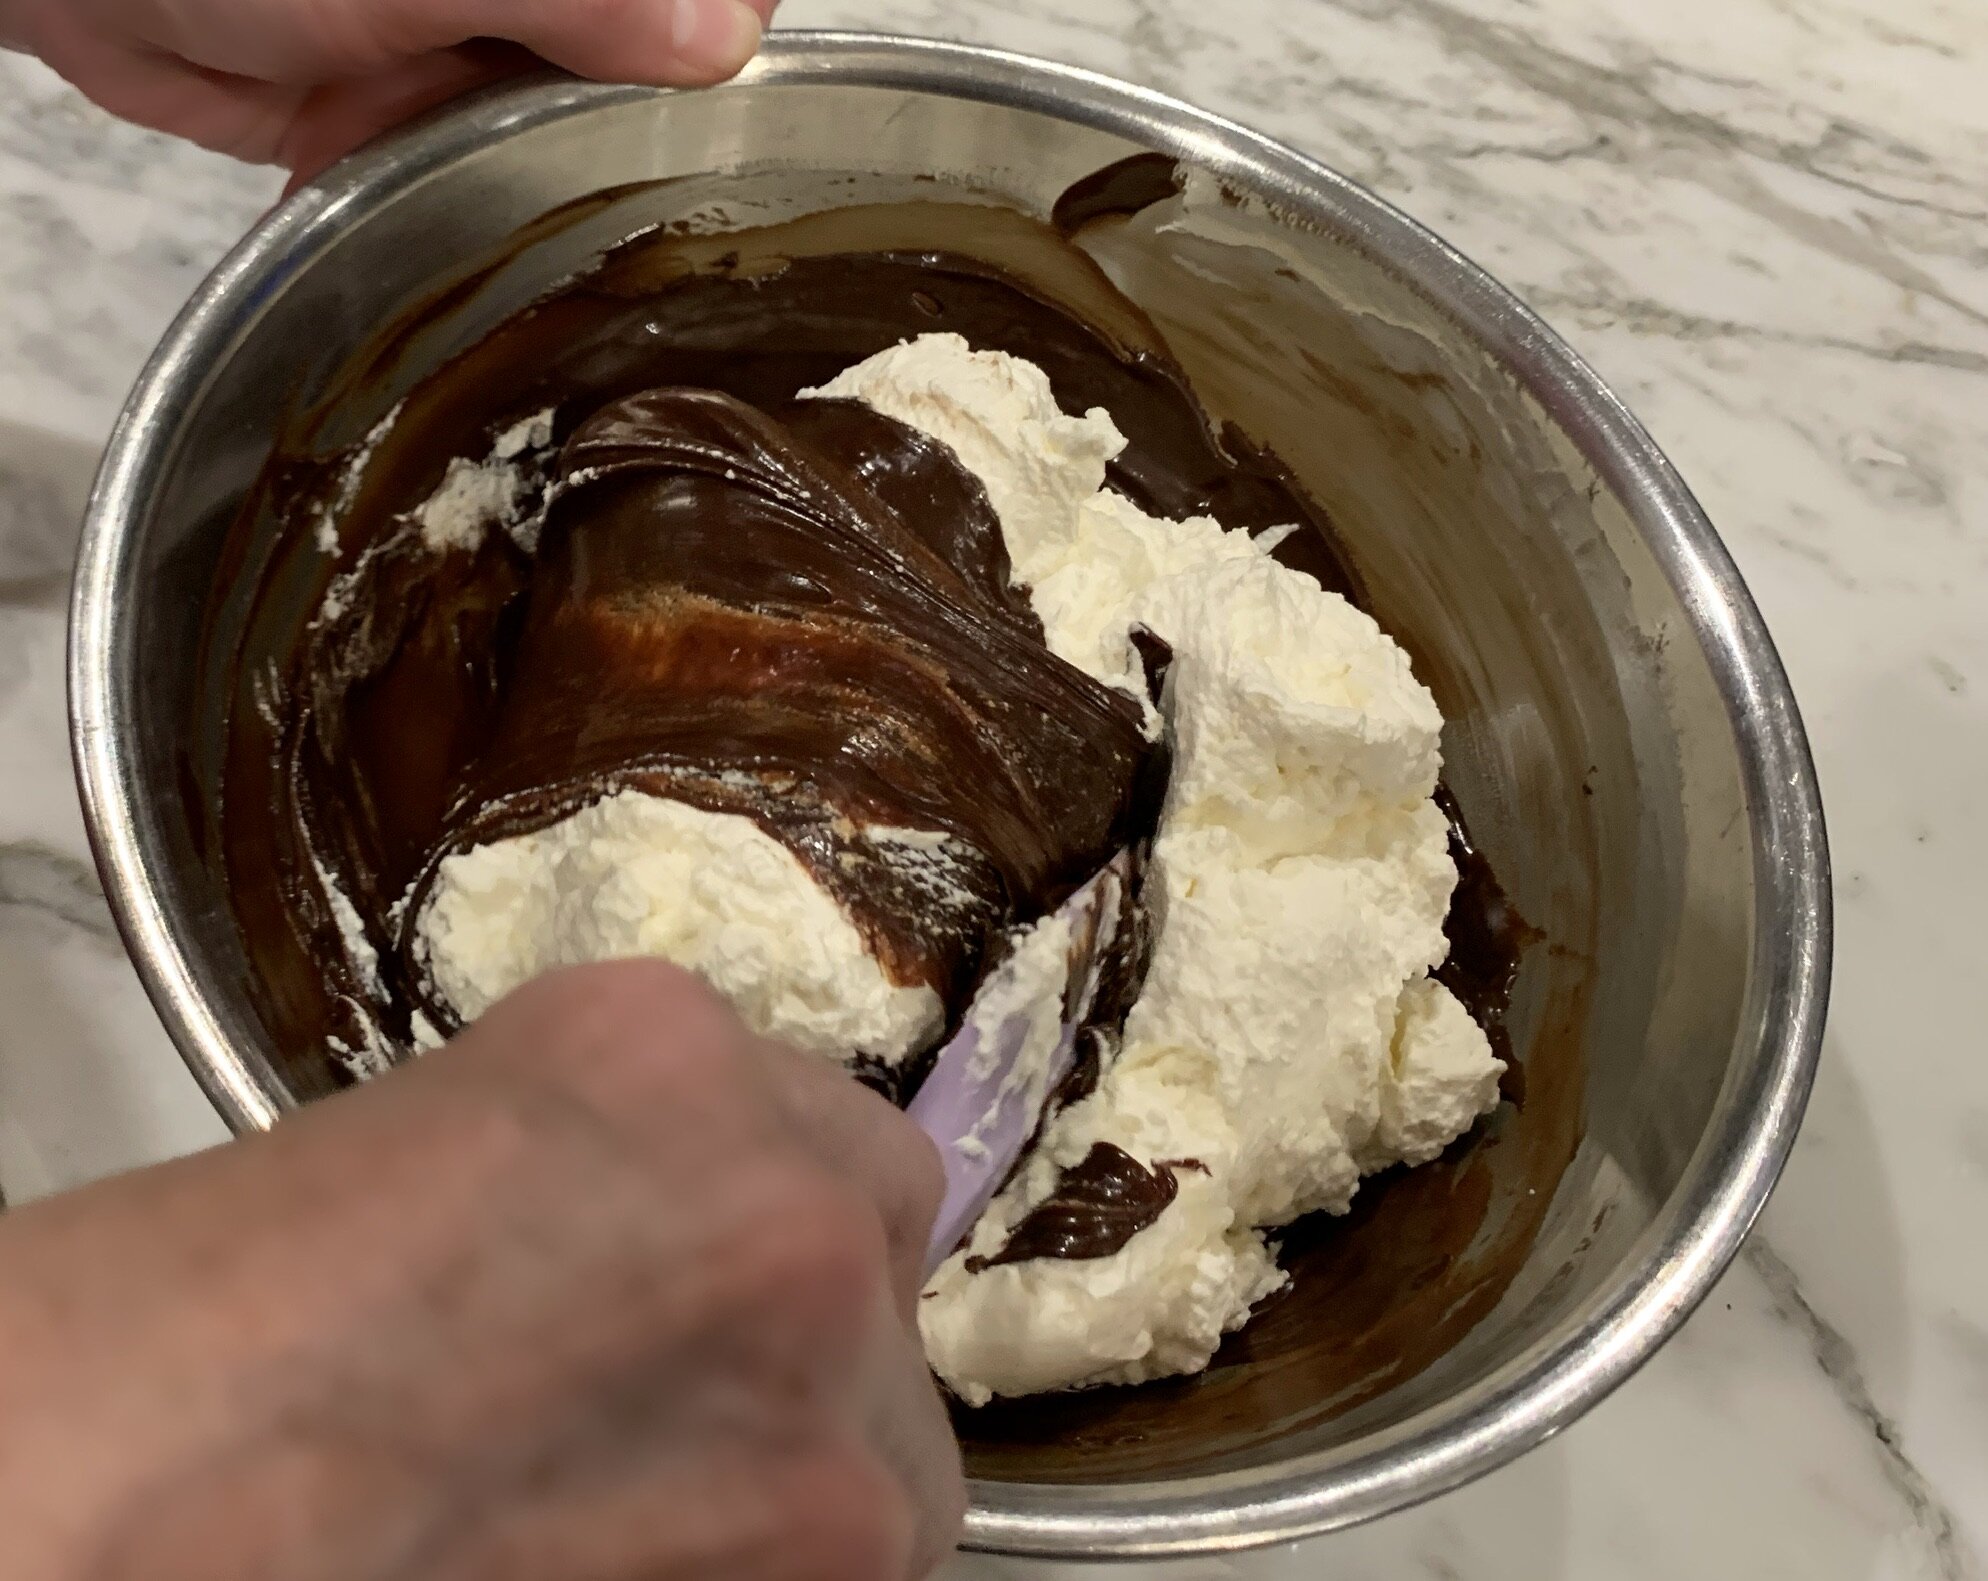
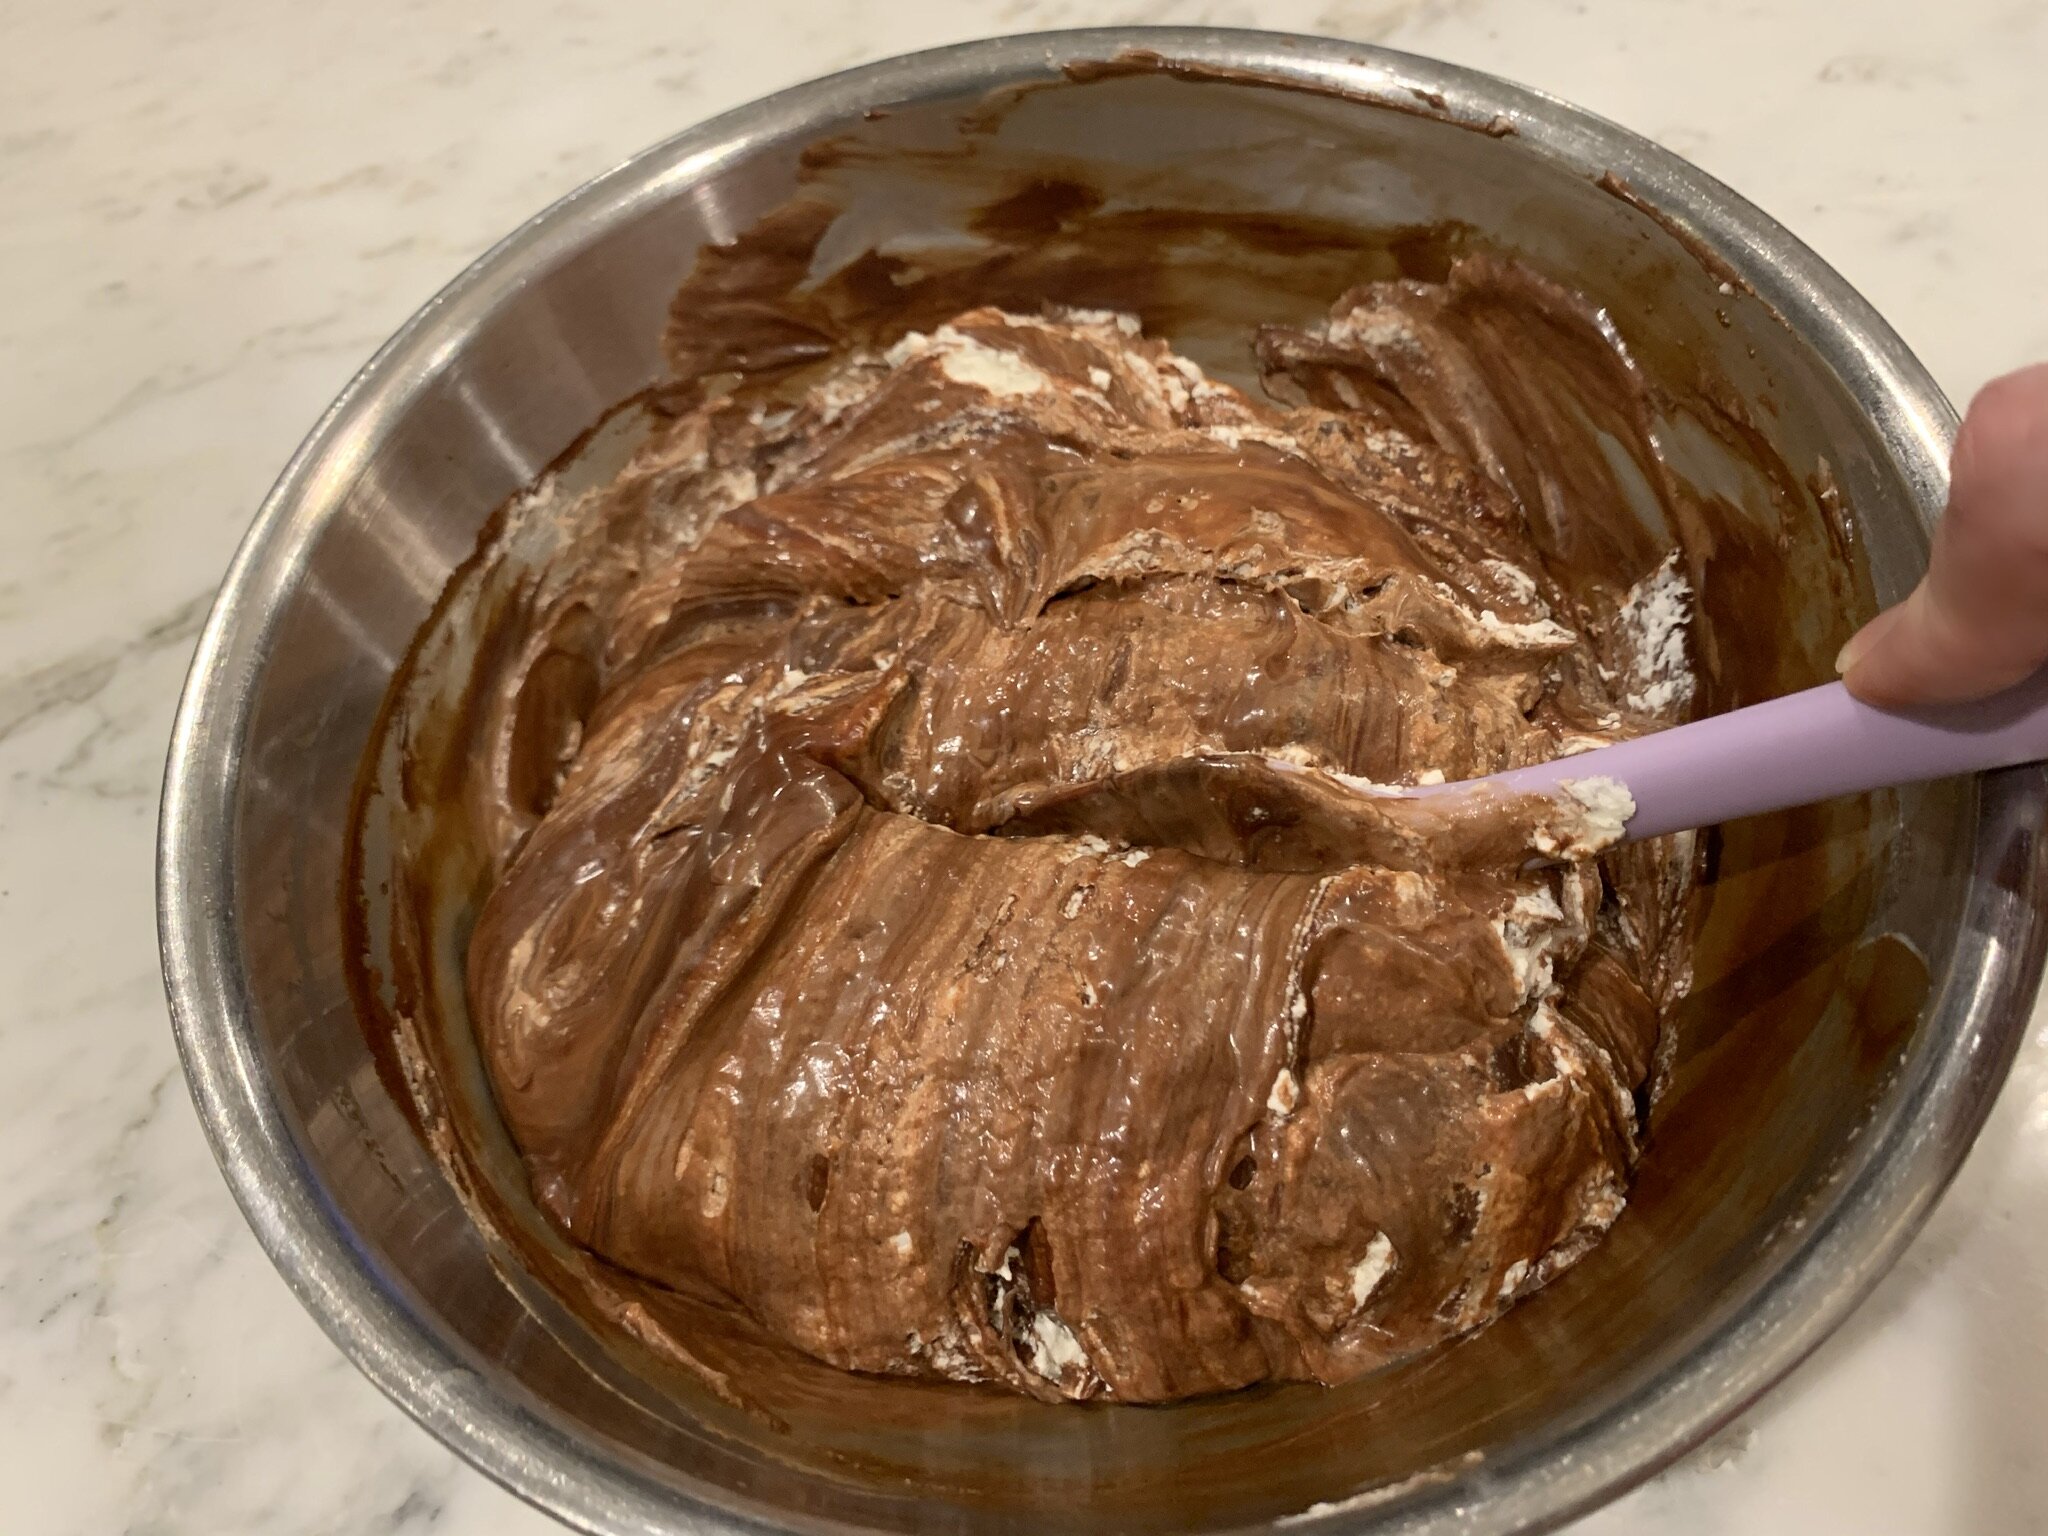
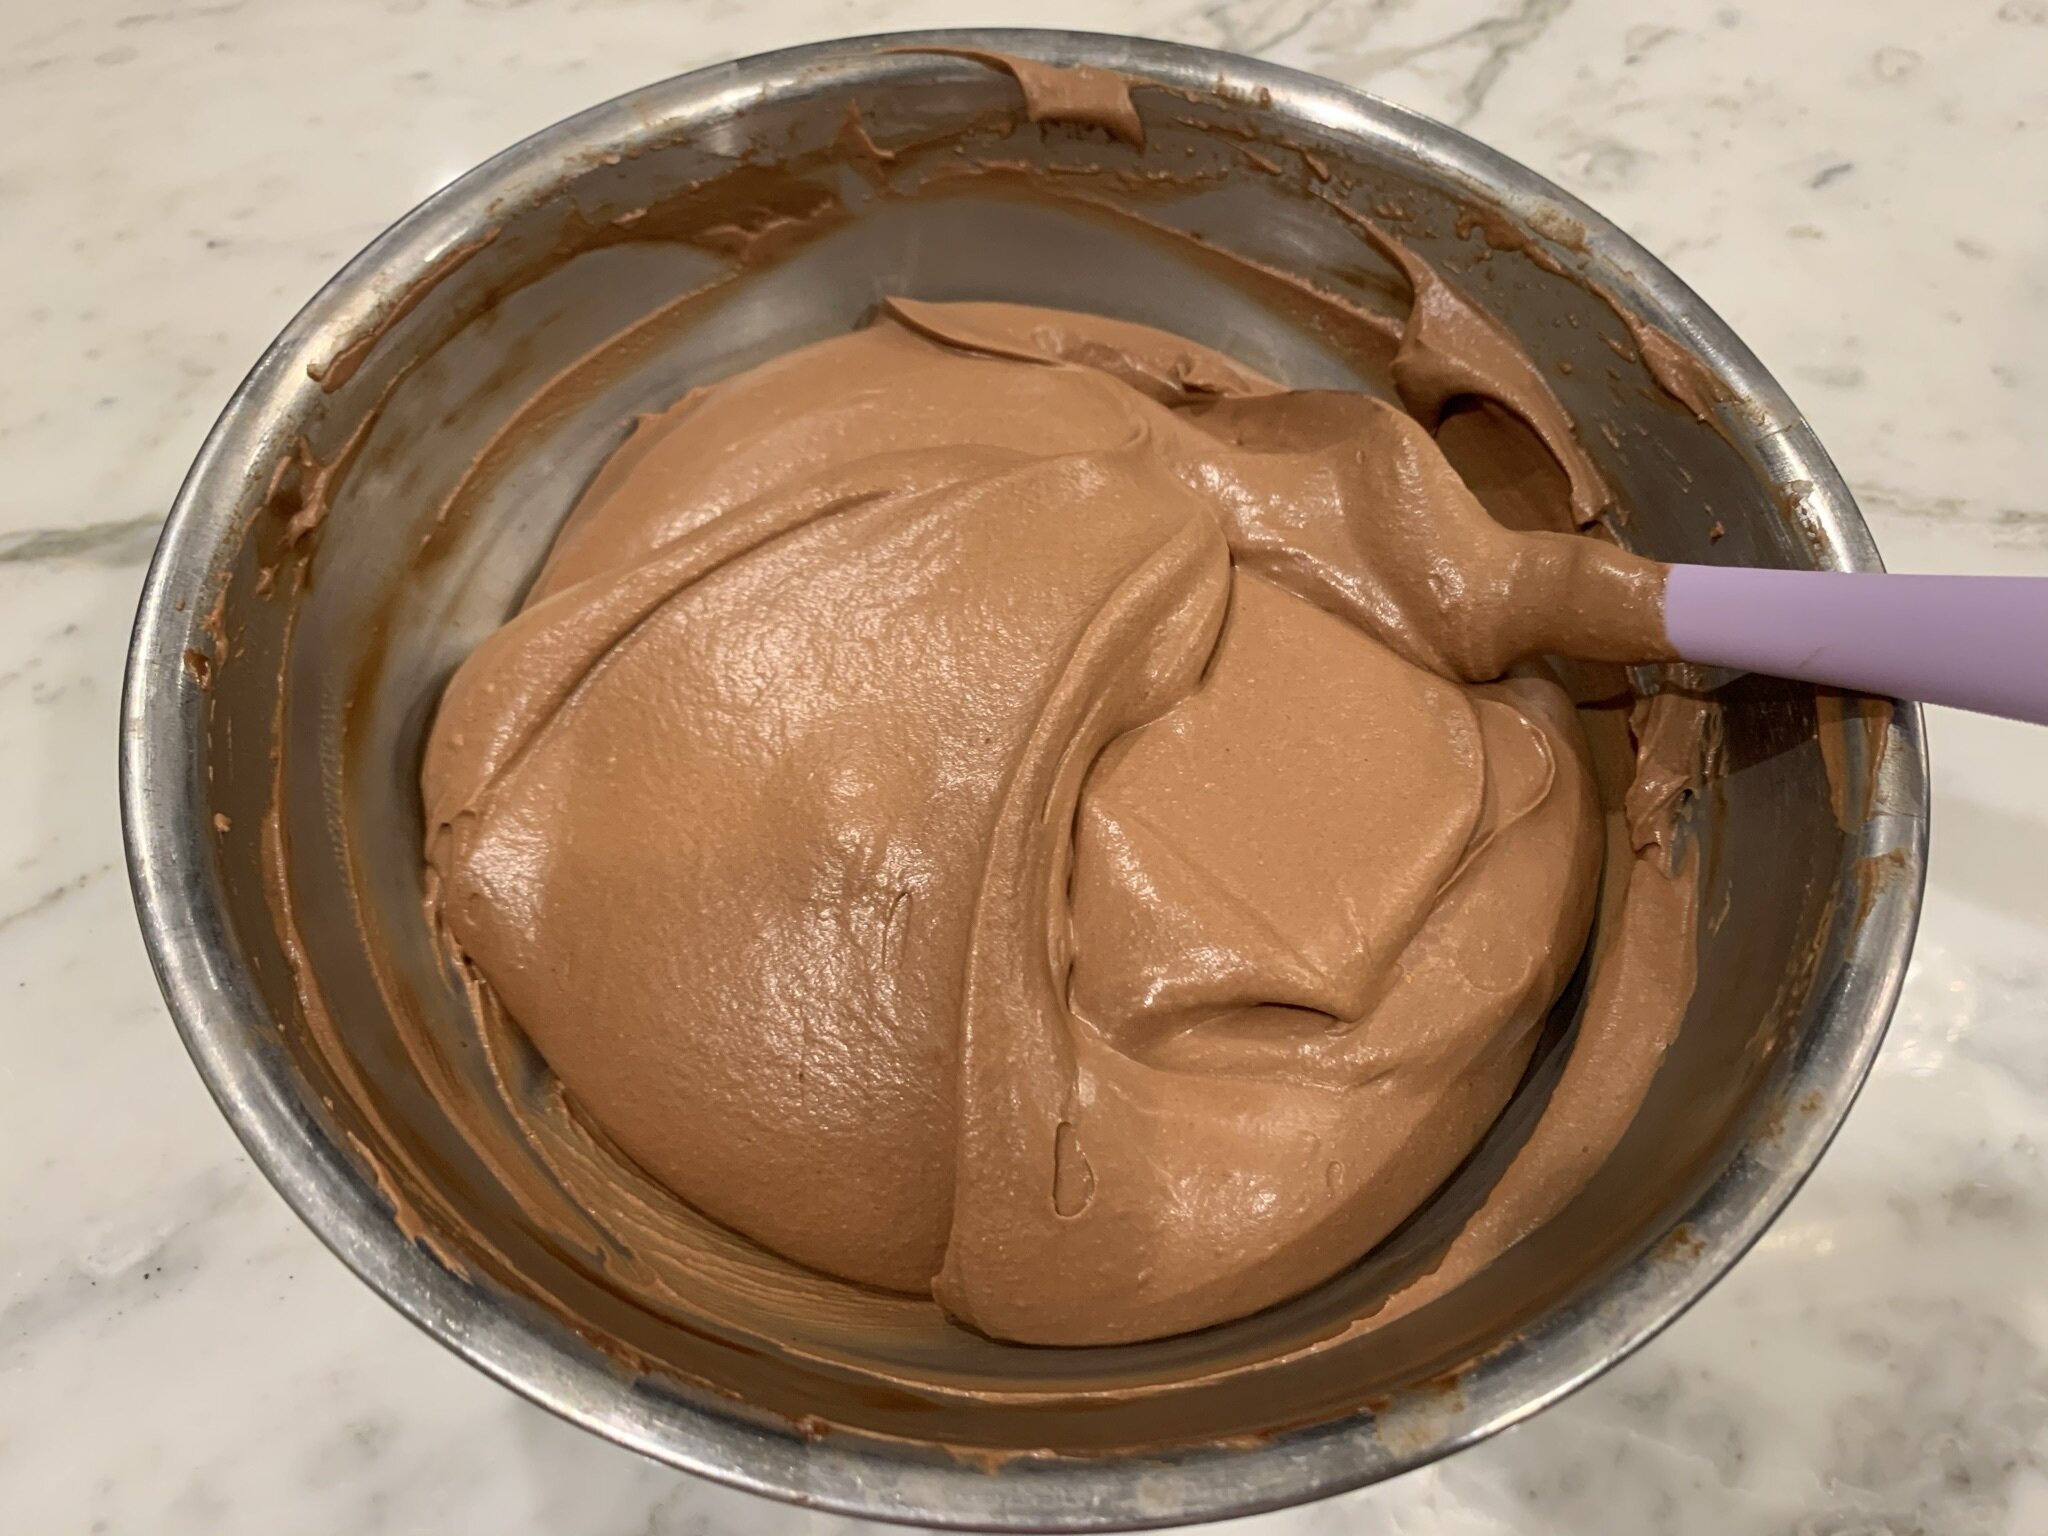
Using a spatula, slowly and gently FOLD (do not stir) remaining half of whipped cream into the chocolate mixture. Scraping sides of bowl when needed. Do not rush the folding process, as it will take time to fully incorporate the whipped cream into the melted chocolate (about 5-7 minutes, or more). Fold just until all white streaks are no longer visible.
Note: If folding gently, the whipped mixture should not lose much volume. This should be a light, but rich, soft mousse texture.
a) Cutting and folding and whipped cream into chocolate.
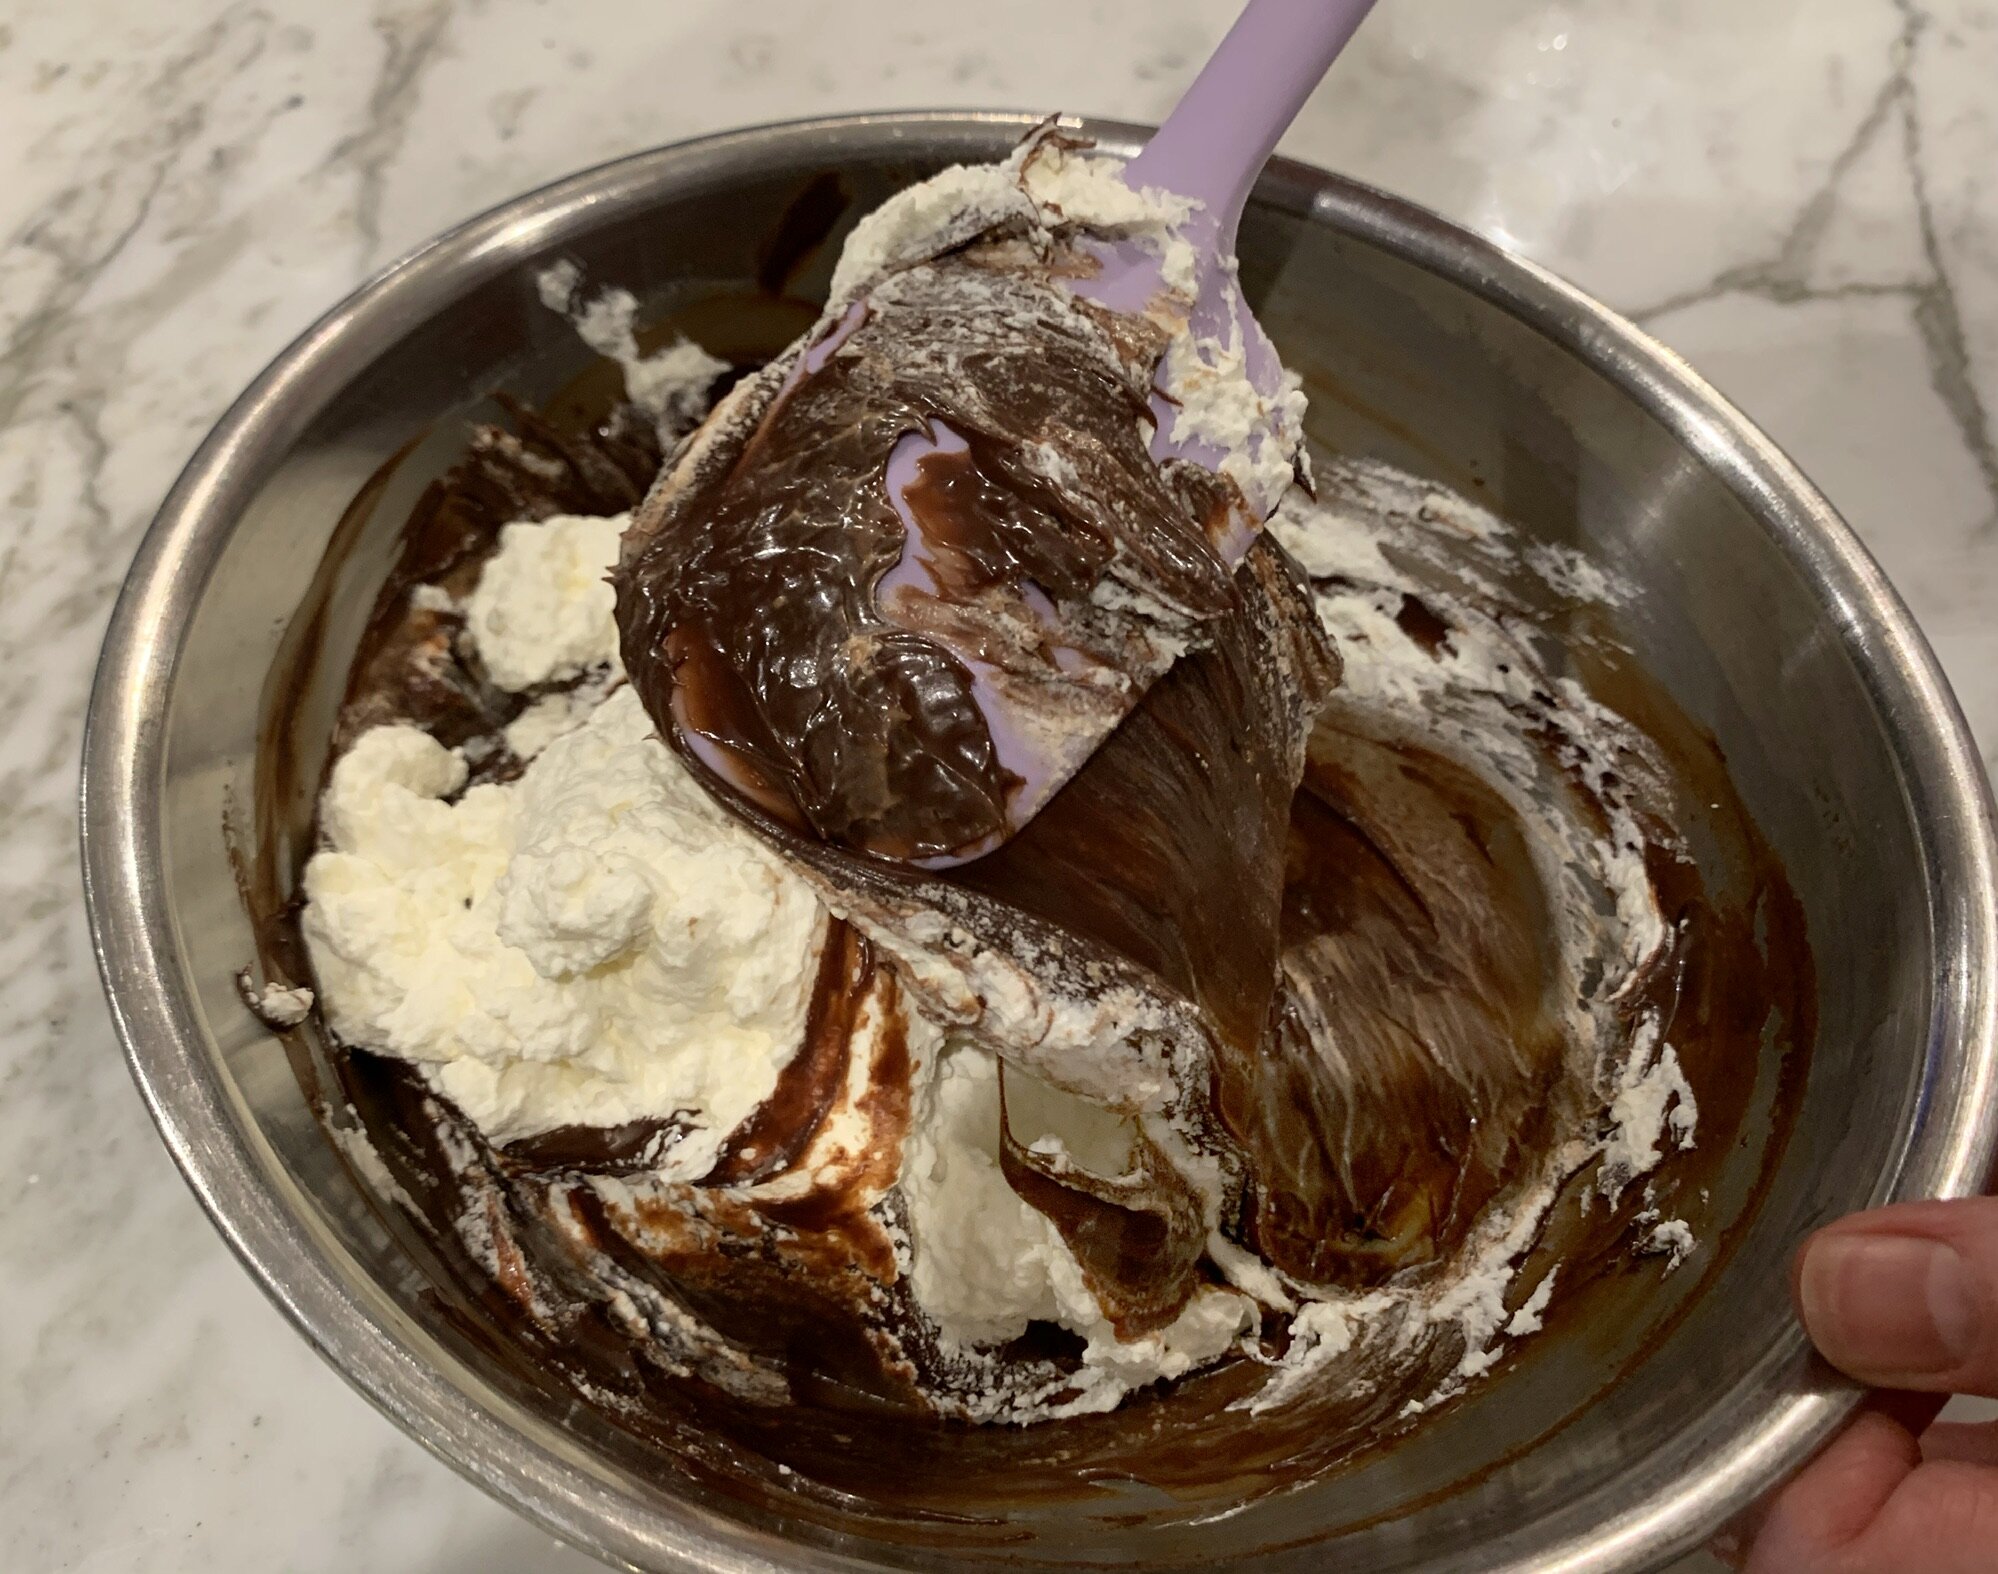
b) Continue to cut and fold, and it will barely begin to incorporate after 1 minute.
c) After about 3 minutes, you will see less whipped cream.
d) After about 6 minutes or so, there will be no white streaks and it’s ready!

STEP 7a
Remove tart pan from the freezer and pour chocolate mixture into the prepared crust.

STEP 7b
Using the back of an icing spatula, smooth out to the edges and just for fun, give it a swirl to finish (you won’t see the top of chocolate when you cover it with the whipped cream).
Cover tart pan with plastic wrap (without touching chocolate mousse) and refrigerate overnight or until completely set (a minimum of 5 hours).
Or, place pie uncovered (no plastic wrap) in a cake storage container.
Note: For best results, refrigerate overnight to allow the filling to hold its shape when sliced.

STEP 8a
About 2 hours before you are ready to serve, remove pie from tart pan (see note below for tip) and carefully transfer to a serving dish.
Note: To remove pie from tart pan, lay a can upright on the counter and place the tart pan directly on top of the can. Gently tap/push the edges of the pan down to separate the pie crust from the pan and carefully transfer to a serving dish.

STEP 8b
Remove remaining half of whipped cream from fridge. Pipe whipped cream in any design, directly on top of the chocolate mixture (don’t cover the crust). Or, if you are free spirit then just plop on the whipped cream and spread it out!
Place pie in a cake storage container and back into the fridge for 1 ½ to 2 hours before serving. Using a sharp knife, carefully cut the pie into 10-12 slices and enjoy!
Note: Once decorated, do not cover with plastic wrap as it will mush all the decorating you have just done.
Notes:
No need to pipe the whipped cream onto the pie. Just spread it over the chocolate mousse filling and swirl it with a spoon to pretty it up. Garnish with chocolate shavings, if you like.
Serving: For clean serving slices, run a sharp knife under warm (not hot) water and wipe dry after each slice. This is such a rich cream pie, it will yield 10-12 servings.
Recipe can be made ahead and is perfect for entertaining!
Blog Review
This is not your standard chocolate cream pie!
This rich and decadent dessert is super easy to make and perfect for casual or elegant entertaining. Either way, this delectable no-bake pie is incredibly delicious. It has a creamy mousse filling that is light, yet super rich. As a serious chocoholic, it even satisfies my own chocolate dessert cravings!
Although you can certainly take a short cut and buy a store bought prepared Oreo crust, we encourage you to make this two-ingredient Oreo crust recipe. We used the food processor to grind the cookies, which literally took a few seconds, and melted butter in the microwave. It’s very quick and easy to make, and this homemade crust makes all the difference in this chocolate cream pie.
Although we started out with 8 servings, we quickly decided that the richness of this pie would allow between 10-12 servings. You don’t need much to satisfy your sweet tooth with this luscious dessert.
Get creative and make it look elegant or casual, depending on the occasion!
I have served this pie at a few gatherings and each time my family and friends were wowed by its flavor and presentation. The tart pan gives it a more elegant look, as does the piped topping. I was so flattered when one of my friends thought I bought it at a bakery! For a more casual dessert vibe, skip the piping and just plop on the whipped cream topping and spread it out. This method is definitely a time saver and it’s an incredible cream pie either way.
Enjoy and let us know what you think!
Mich
Footnote: Remember to press the crust only halfway up the tart pan (leaving about 3/4” to 1”). It should be just high enough to hold the filling. Otherwise, your crust above the filling will crumble when served.

Adapted from the No Bake Chocolate Cream Pie recipe by Crazy for Crust, we made minor changes to make this already wonderful dessert, even better!
Every editorial product is independently selected. We may be compensated or receive an affiliate commission if you purchase products via our links. As Amazon Associates, we earn from qualifying purchases.