
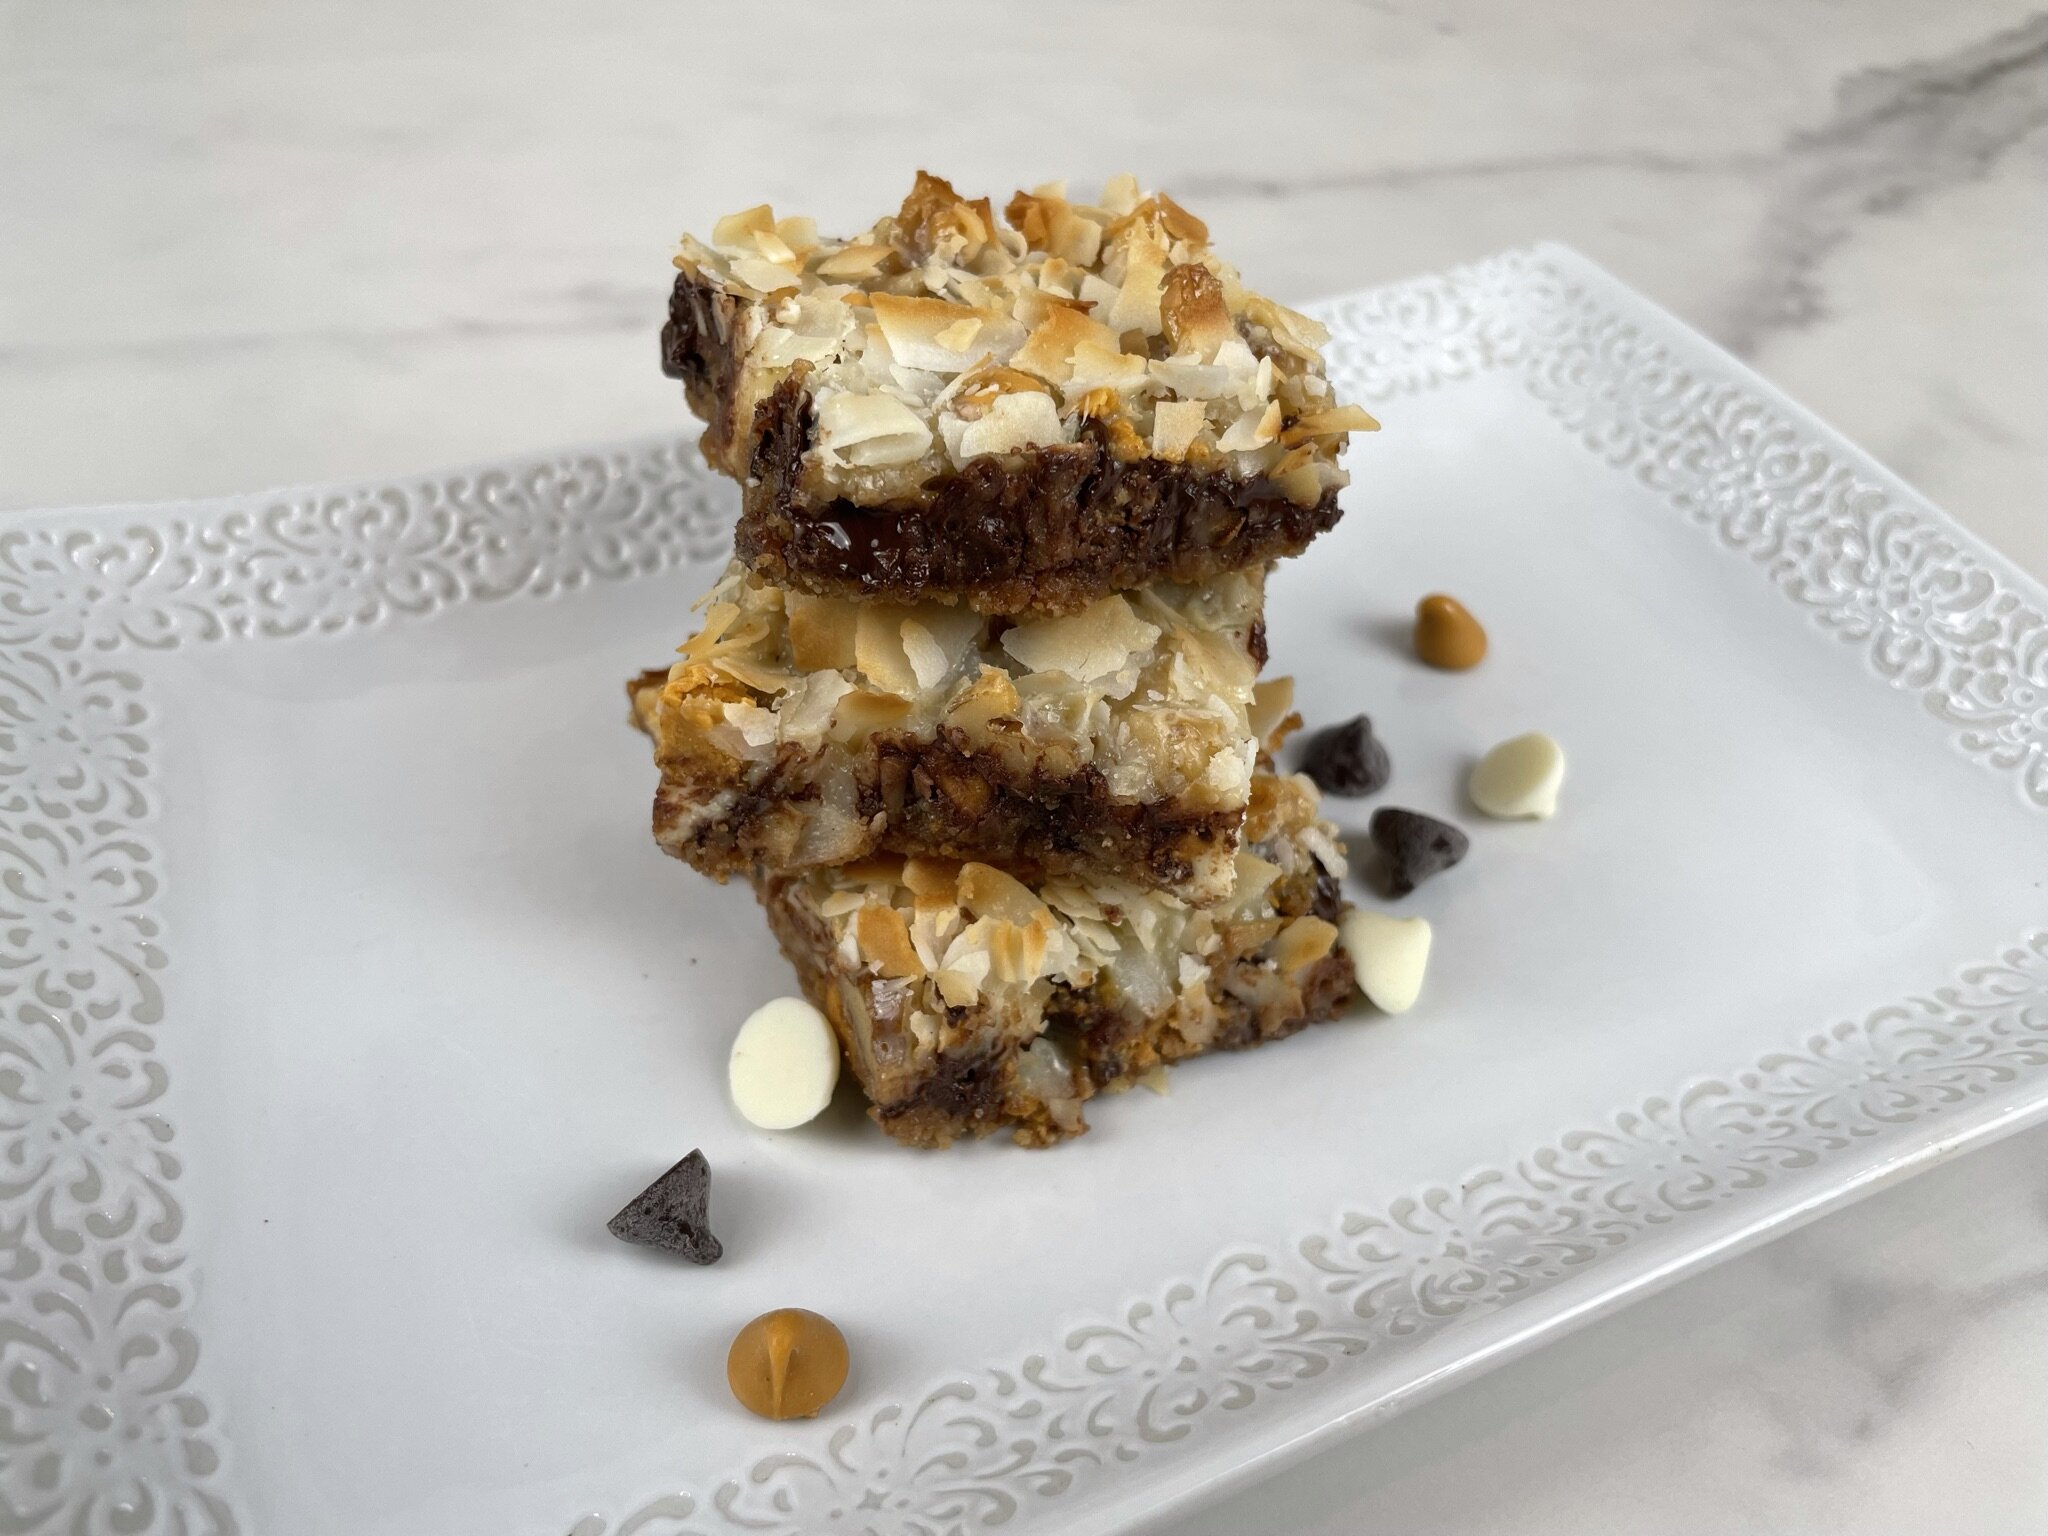
Heavenly Layer Bars

We have taken the traditional cloyingly sweet 7 layer bars recipe and pimped it up to balance the taste, sweetness, and texture in this popular dessert. Our Heavenly Layer Bars have outstanding texture and complex flavor thanks to the additions of extra dark chocolate, white chocolate, unsweetened sliced coconut, and a cinnamon walnut crust. Finished with a light sprinkle of Himalayan pink salt, this salty sweet dessert bar hits all the right notes.
These tasty dessert bars are incredibly decadent and so easy to make, which makes this a great recipe to bake with your kids! This recipe was a hit with our taste tasters of all ages (from 8 to 91 years of age)! Visit the Pimp Our Recipe section in our Blog Comments & Tips for details on how to customize and easily convert this recipe into Vegan, Dairy-Free, or Gluten-Free dessert treat.
Sign up for a free subscription to our monthly newsletter and access to exclusive content.
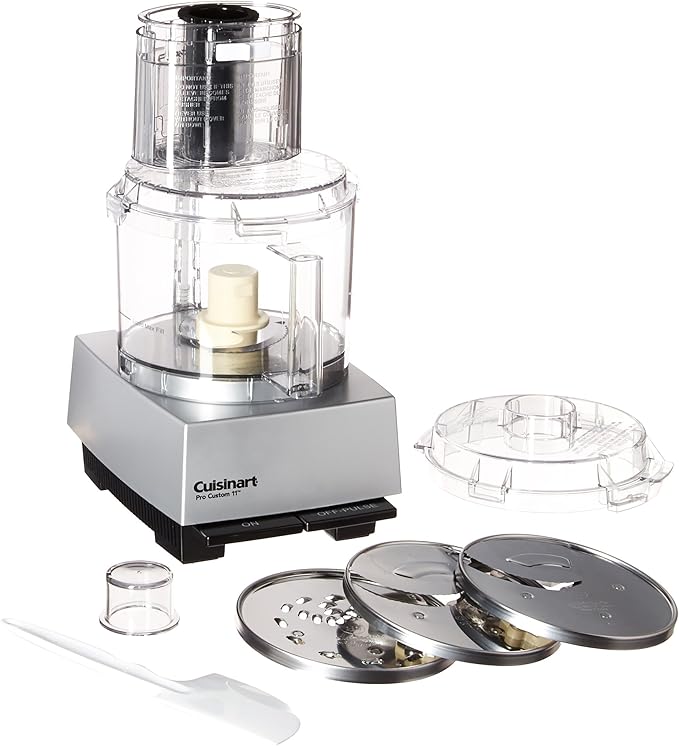
To browse some of our favorite kitchen essentials, gadgets, and pantry items, visit our Recommended Products page.
RECIPE
(Check out our Step by Step Instructions below the recipe card.)
Recipe updated as of 3/29/22

HEAVENLY LAYER BARS
Ingredients
Instructions
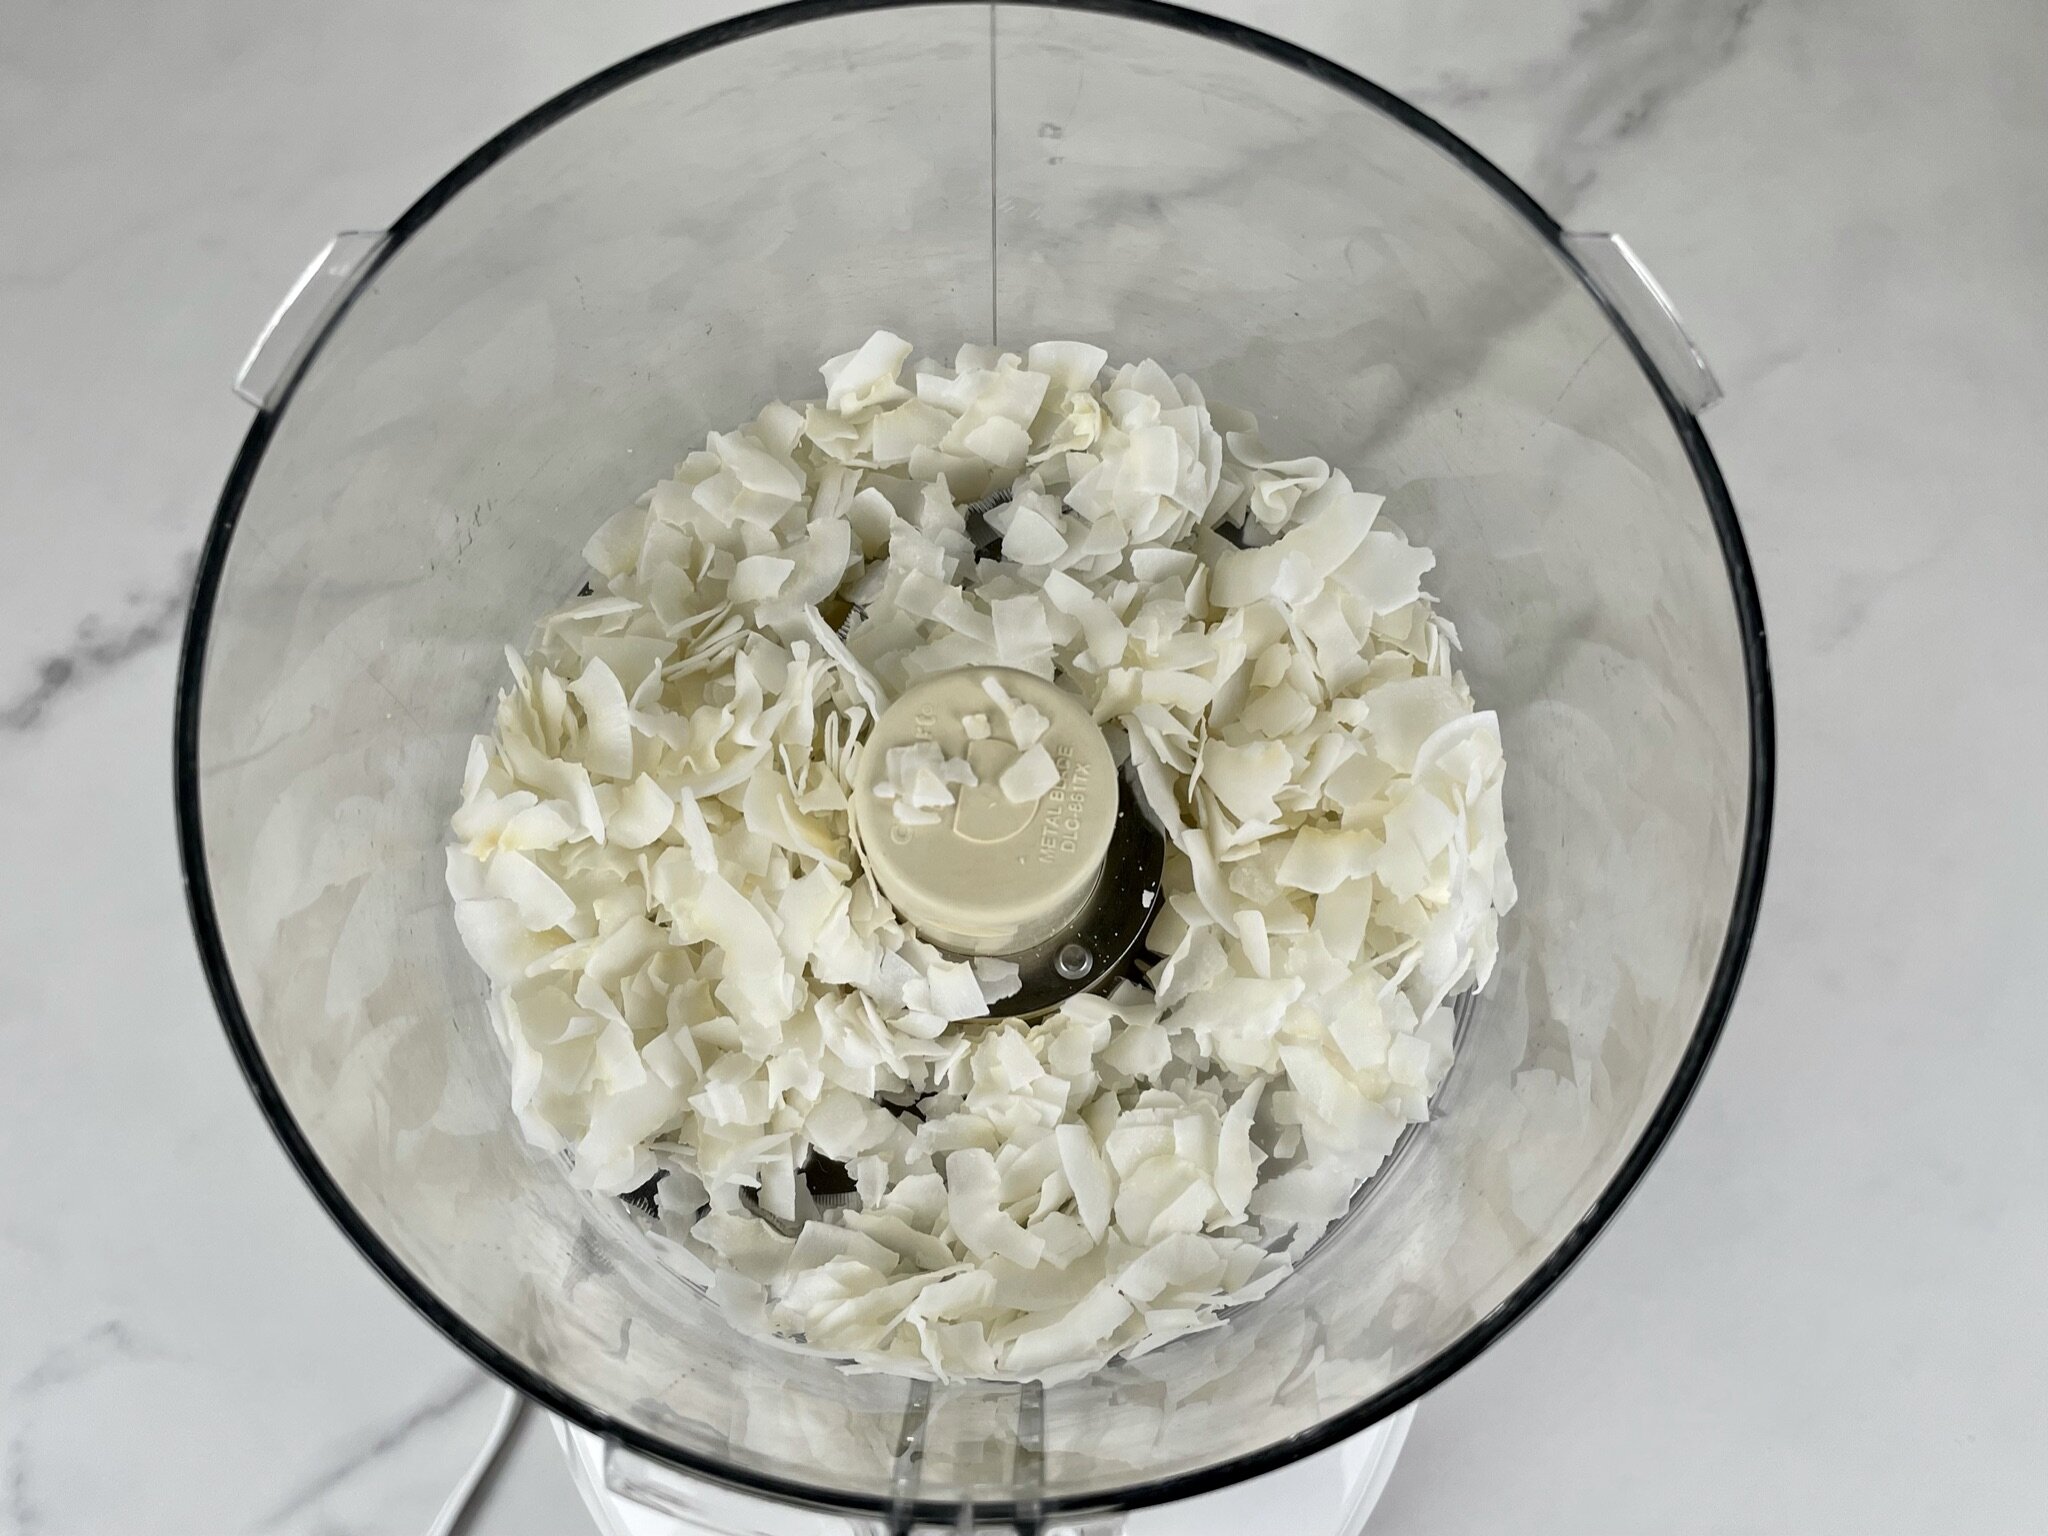
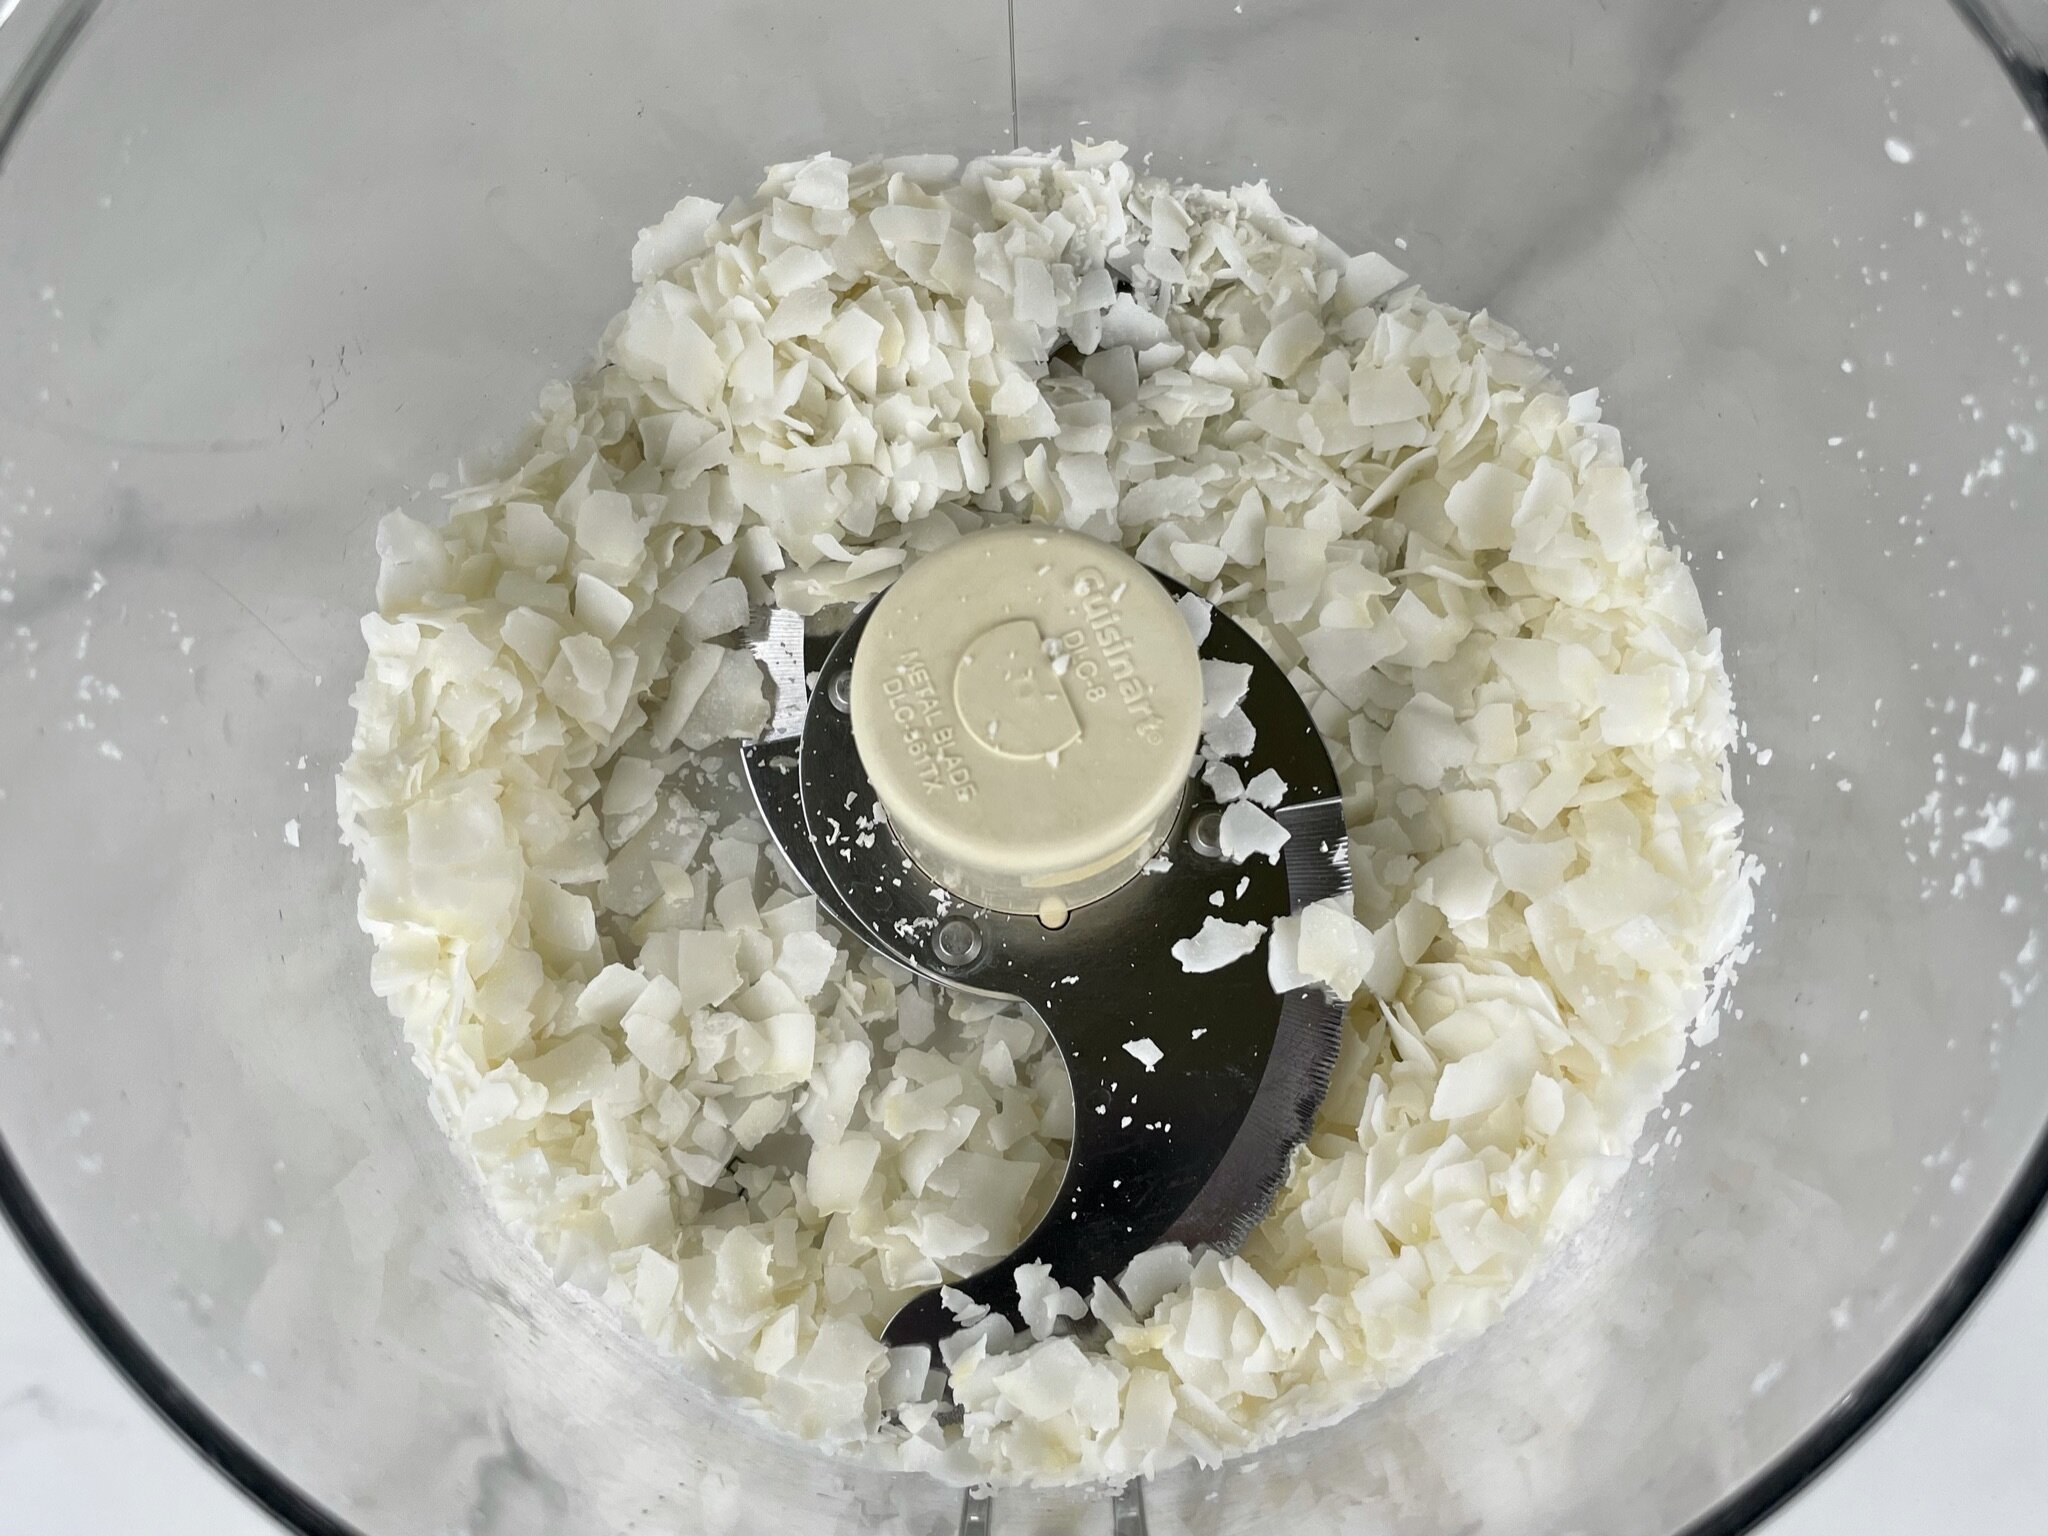
- In a large food processor, add unsweetened wide sliced coconut (or unsweetened flakes) and pulse a few times (scraping and tossing in between), until it's in ¼ inch pieces (if using shredded coconut, skip the processor). Set aside.
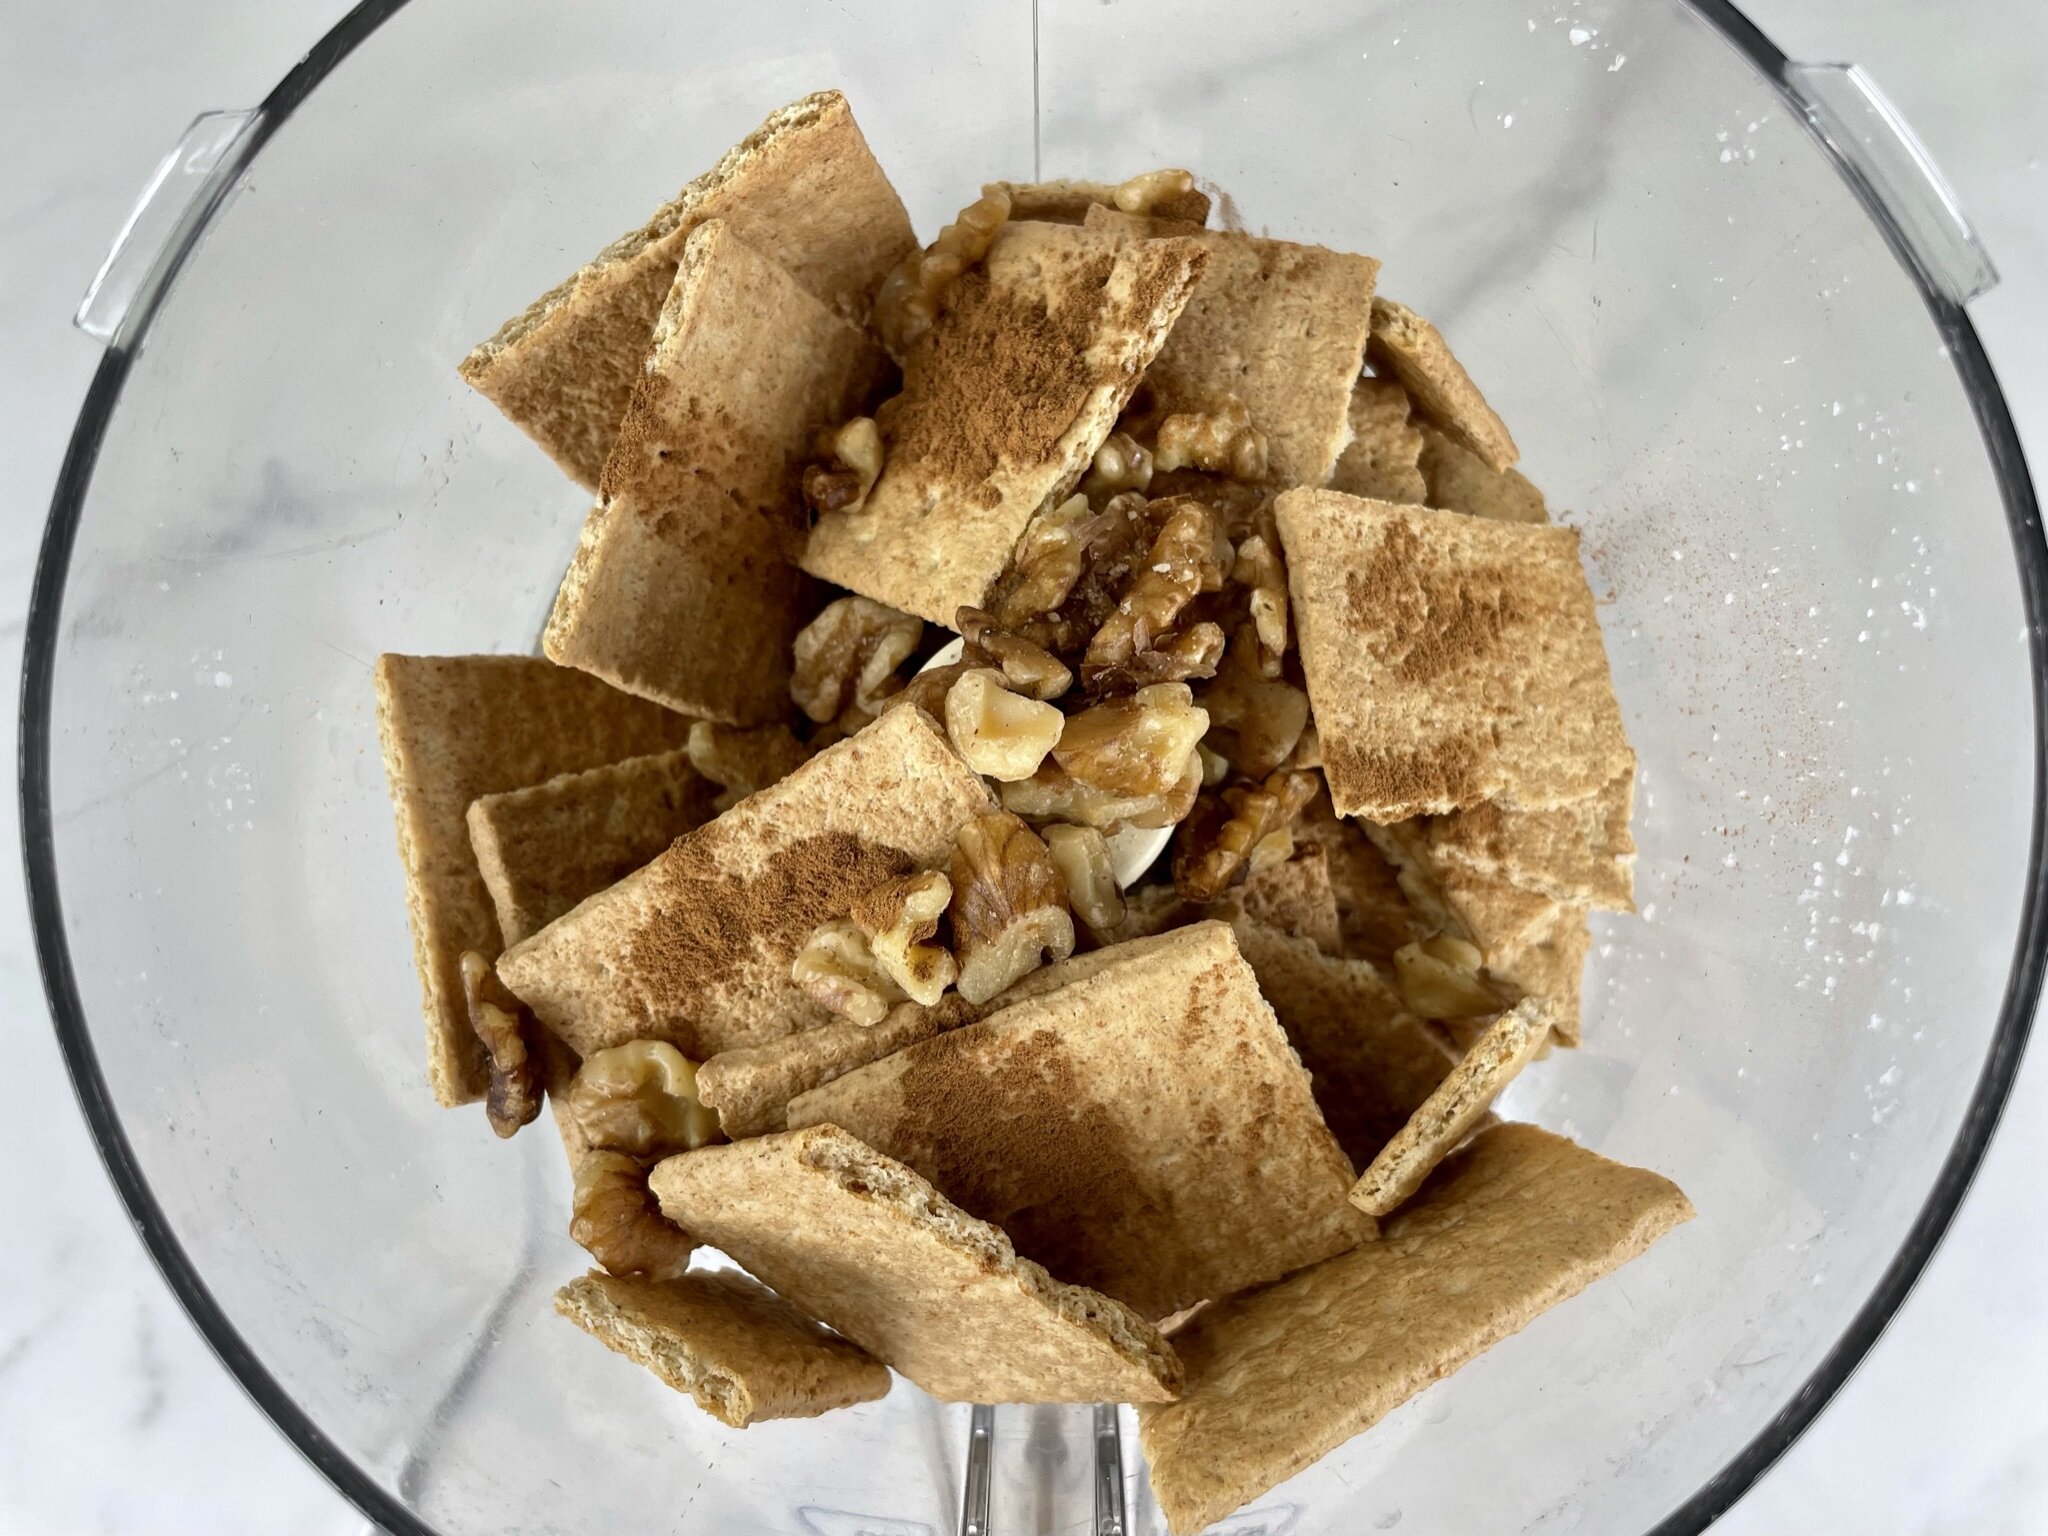
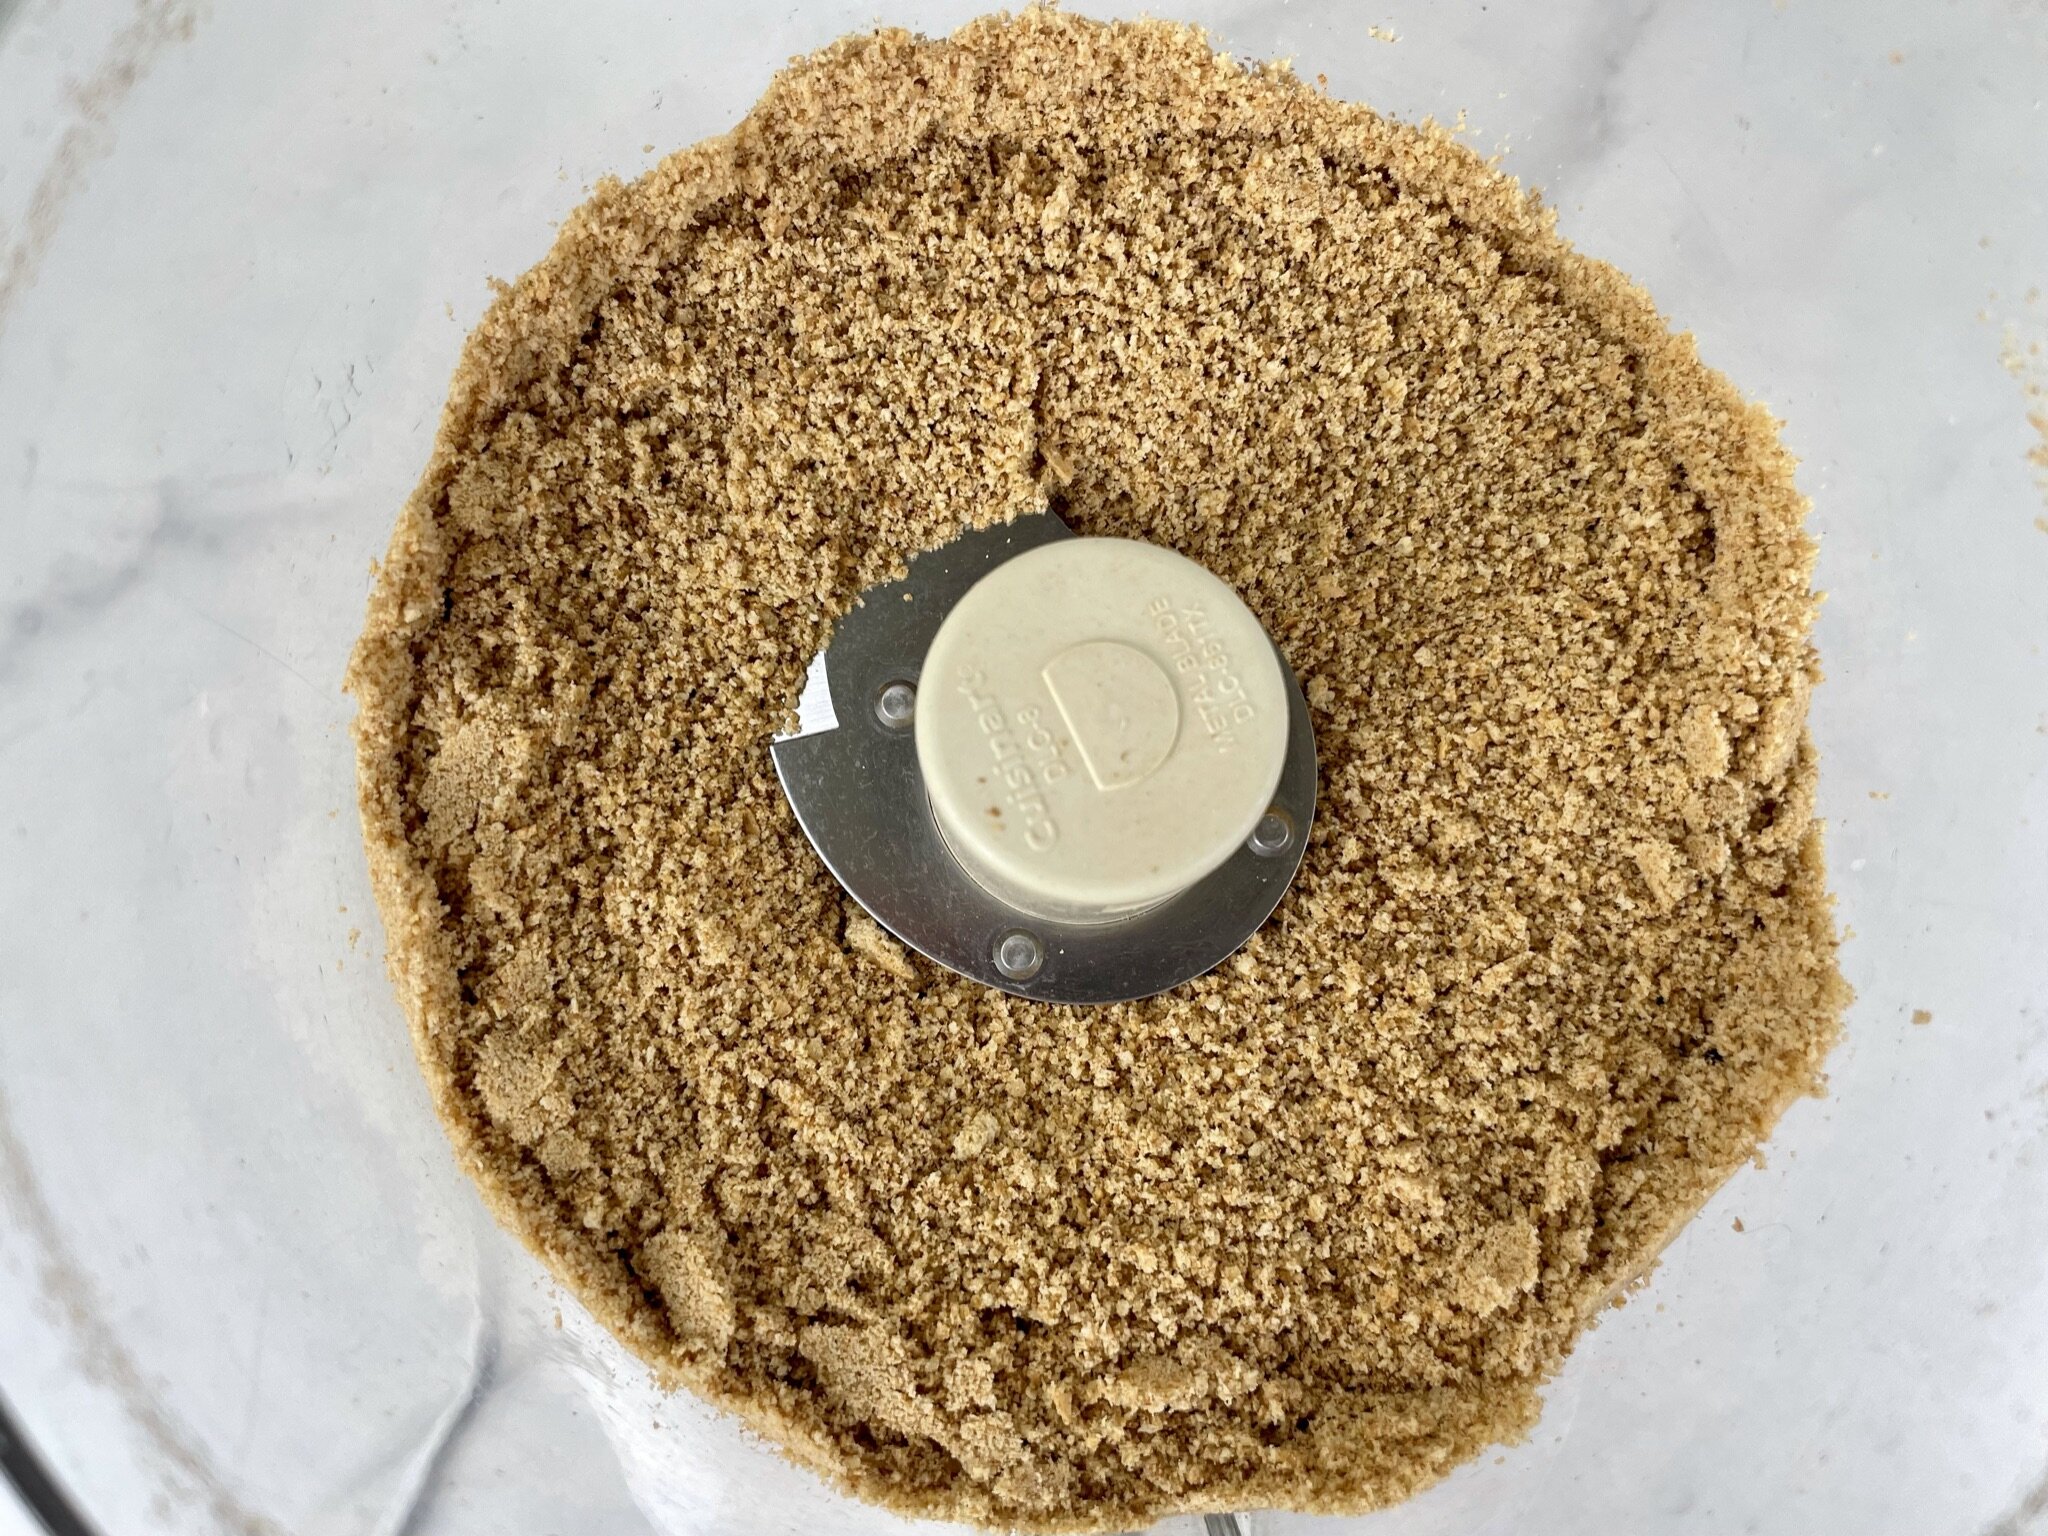
- Preheat your oven to 350°F. In a large processor, break up graham crackers and add to a large food processor, along with ¼ cup of walnut pieces, and cinnamon, then grind (or pulse) into fine crumbs.
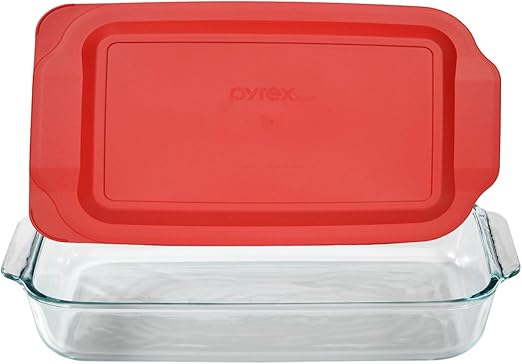
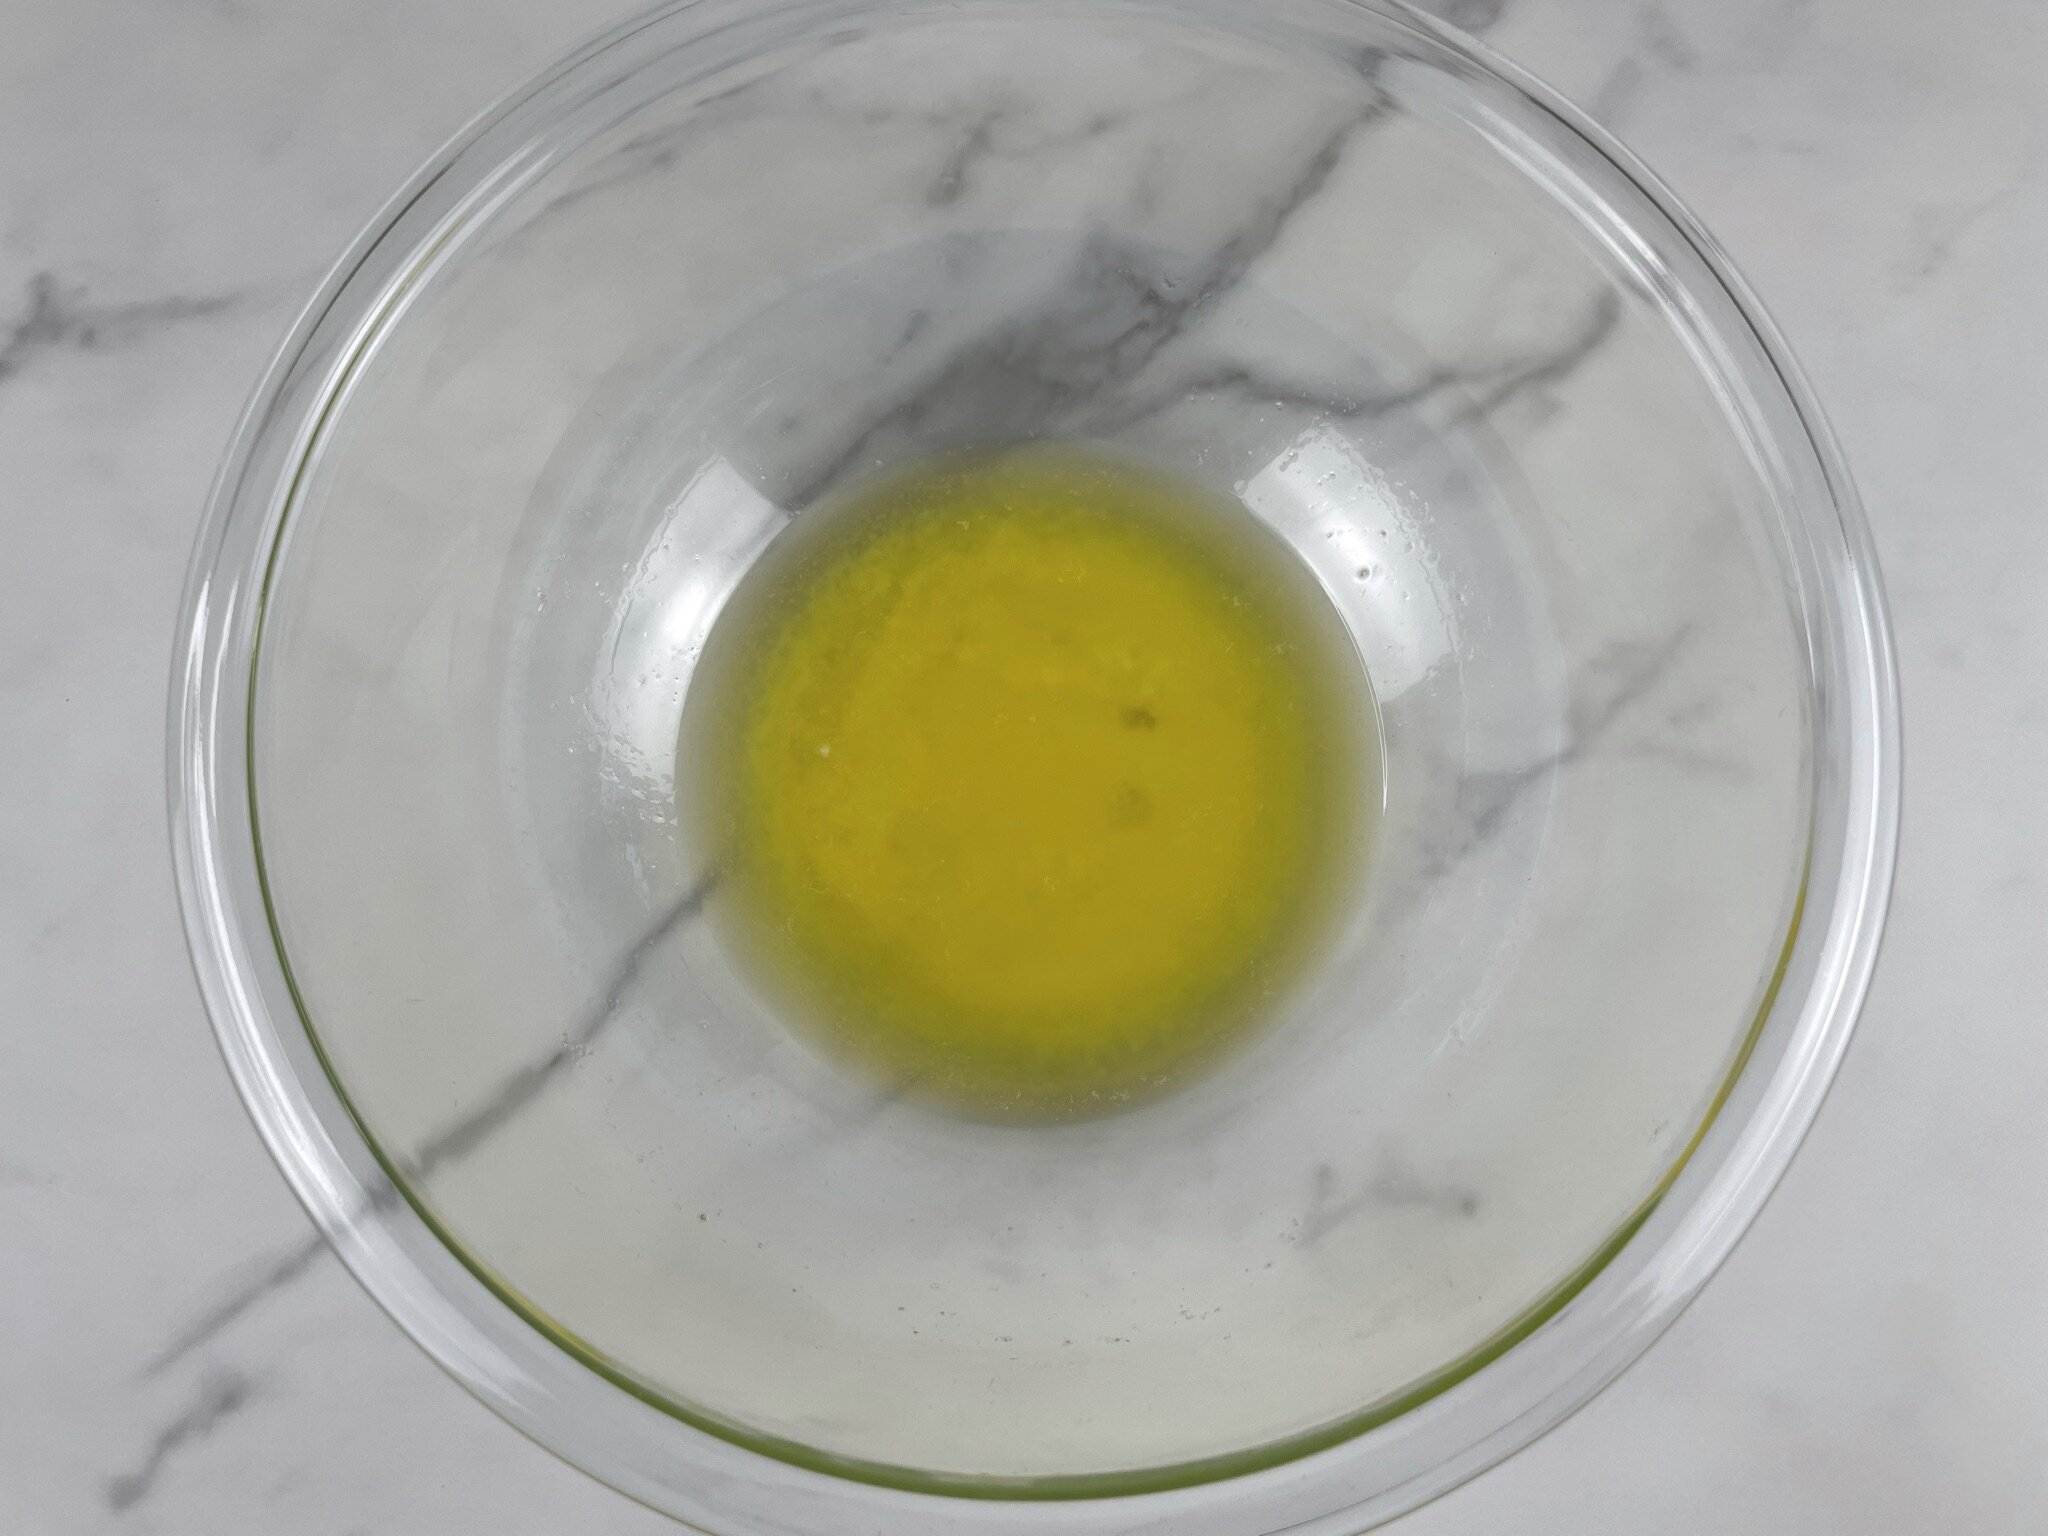
- Add roughly chopped unsalted butter to a medium microwave safe mixing bowl, and melt in the microwave (about 30 to 60 seconds). Add graham cracker crumb mixture to the melted butter and stir well to combine. (See Note #1 about lining your baking pan.) If not lining your pan, spray a 9 x 13 inch glass baking dish with cooking spray, then press the graham cracker mixture firmly into the bottom of the pan (to make it easy, try using the bottom of a metal measuring cup or a flat bottom glass).
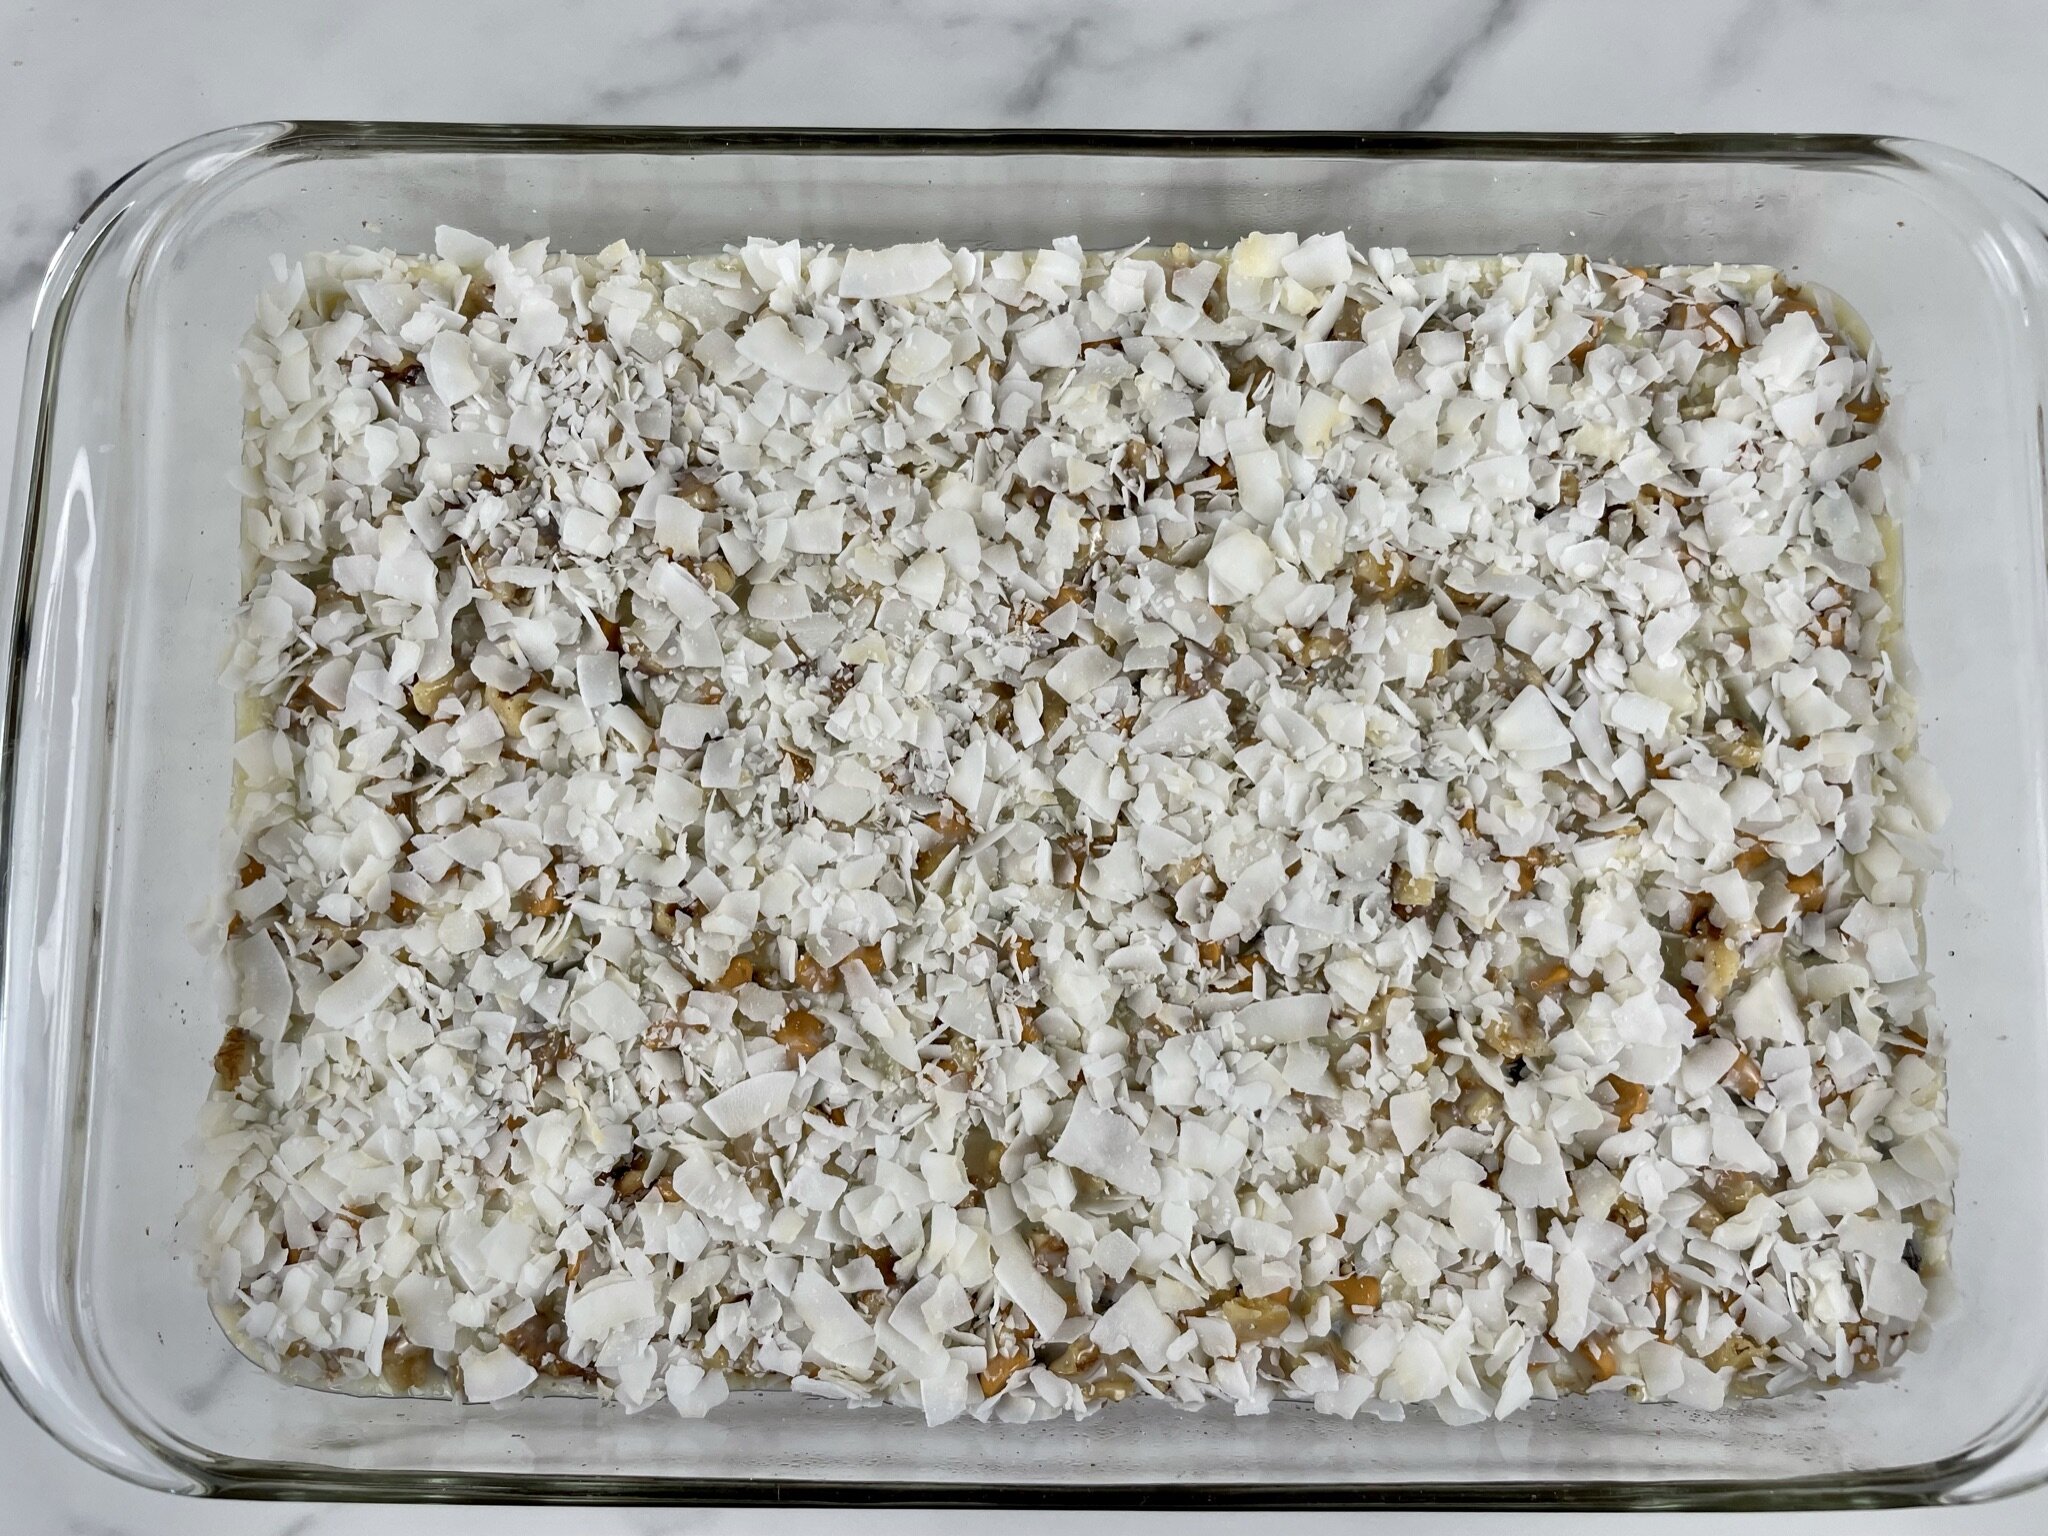
- Layer one ingredient at a time evenly over the crust, starting with dark chocolate chips, then white chocolate chips, butterscotch chips, and 1 cup chopped walnuts. Pour sweetened condensed milk evenly over the layers to completely cover all the ingredients. Sprinkle unsweetened coconut pieces evenly over the top layer. Bake for about 25-30 minutes until bubbling and coconut is golden brown (see Note #2 - ovens vary, so check it at 20 minutes to make sure the coconut doesn’t burn).
- Remove from the oven and place the baking pan on a wire rack to cool. After 30 minutes, run a very sharp knife around the edges of the pan while it’s still warm (see Note #3). After 1 hour, sprinkle Himalayan pink salt evenly all over coconut. Allow to cool completely until firm before slicing and serving (see Note #4). Slice into 24 squares and serve!
Notes
- Lining Your Baking Pan: If you want clean cut squares, first spray your baking pan with cooking spray, then line your pan with parchment paper. No need to spray the parchment paper. Press graham cracker mixture into a parchment lined pan.
- If the coconut looks like it’s starting to burn, loosely place a large piece of foil over the baking pan and continue to bake until done.
- If you lined your baking pan, no need to run a knife along the edges. Once baked, let cool completely in the pan until firm (place cooled pan in the fridge, if needed), then lift out, place on a cutting board, and use a large sharp knife to cut your squares.
- Makes 24 servings (1 bar per serving). These bars are very rich. If desired, you can stretch this to 36 squares/servings. If you prefer a soft and crumbly bar, cut at room temperature. If you want a more firm bar, then line your pan and cool at room temperature. After it has cooled completely, cover the pan and place in the refrigerator. When ready to slice, remove from the fridge, lift the bars from the pan by holding the parchment paper, and slice into squares.
- Can be made ahead of time. For a soft and crumbly texture, store at room temperature in an airtight container in a cool, dry place for up to 3 days. For a more firm texture, store in an airtight container in the refrigerator for up to 5 days.
- Visit the Pimp Our Recipe section in our Blog Comments & Tips for details on how to customize this recipe, and easily convert this recipe to Vegan, Dairy-Free, or Gluten-Free.

Nutrition Facts
Calories
273.93Fat (grams)
18.01Sat. Fat (grams)
10.58Carbs (grams)
25.28Fiber (grams)
2.85Net carbs
22.43Sugar (grams)
23.65Protein (grams)
4.00Sodium (milligrams)
64.47Cholesterol (grams)
14.33Nutritional information provided is strictly an estimate and will vary based on ingredient brands and cooking methods.
Step by Step Instructions

PREPARATION
Organize all your tools and ingredients before you begin. Getting all your ingredients in one place at the beginning will shorten your prep time.
STEP 1
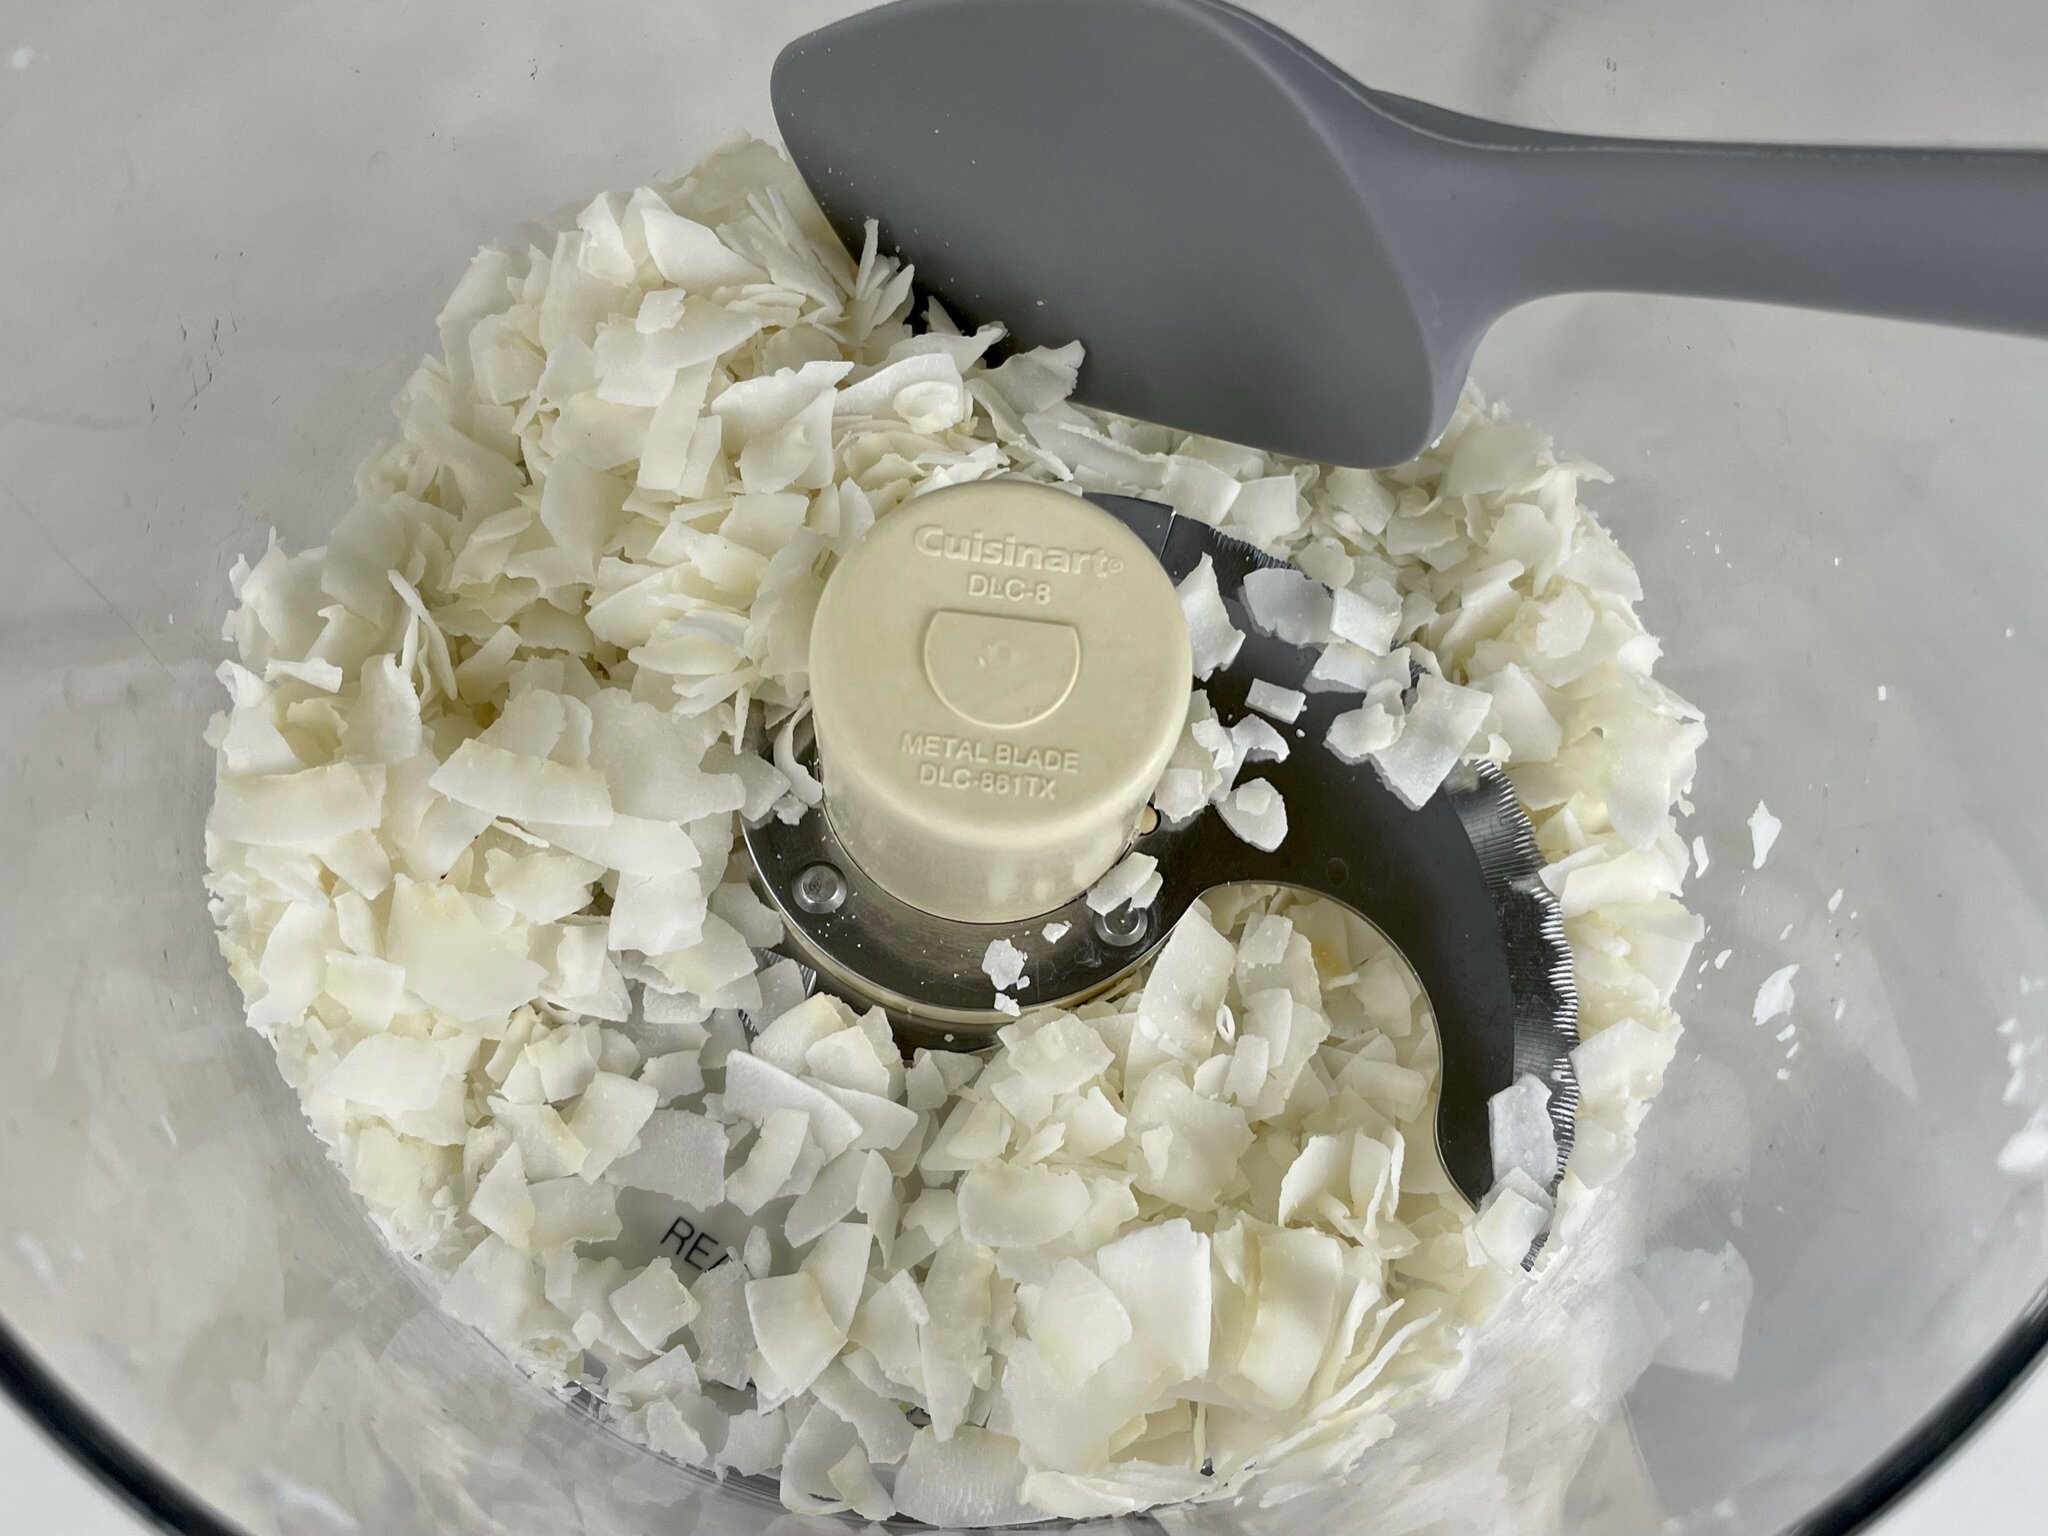
In a large food processor, add 1 ½ cups unsweetened wide sliced coconut (or unsweetened flakes) and pulse a few times, remove the lid, scrape down the sides, and toss with a silicone spatula. Secure the lid and pulse a few more times until the pieces are about ¼ inch in diameter, remove coconut from the processor, and set aside.
Note: If using shredded coconut, skip the processor.
STEP 2
Preheat your oven to 350°F. Break up 9 graham cracker sheets into smaller pieces and place in a large processor. Add 1 sleeve graham crackers (9 sheets = 1 ½ cups ground), ¼ cup walnut pieces, and ½ teaspoon ground cinnamon. Grind (or pulse) into fine crumbs.
STEP 3
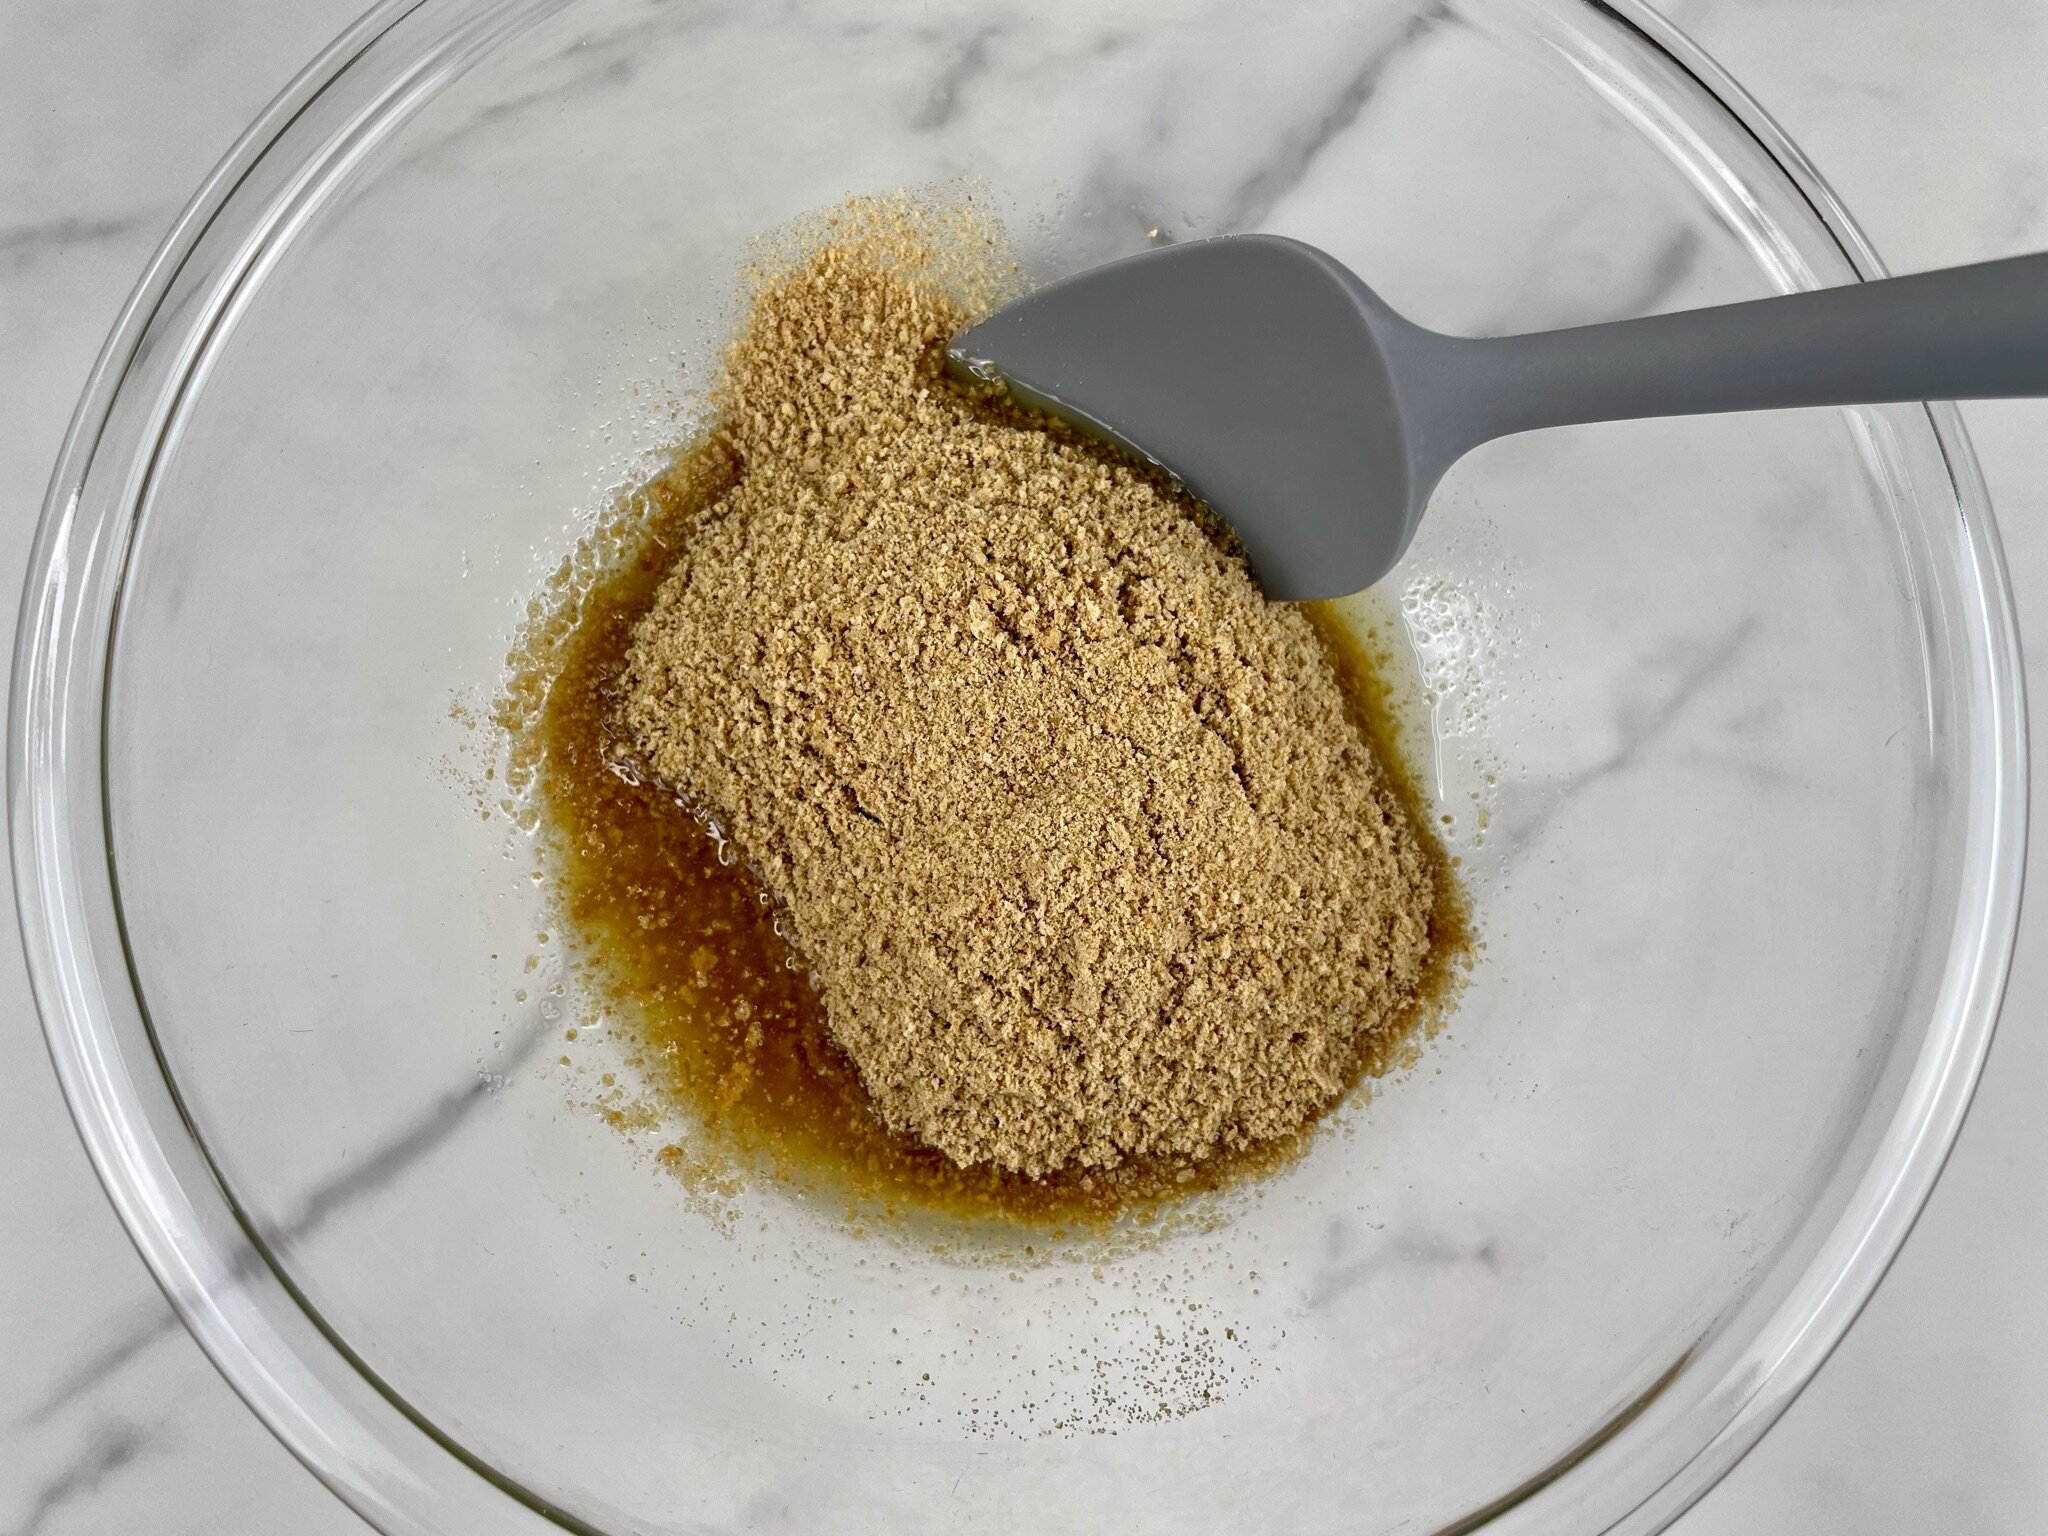
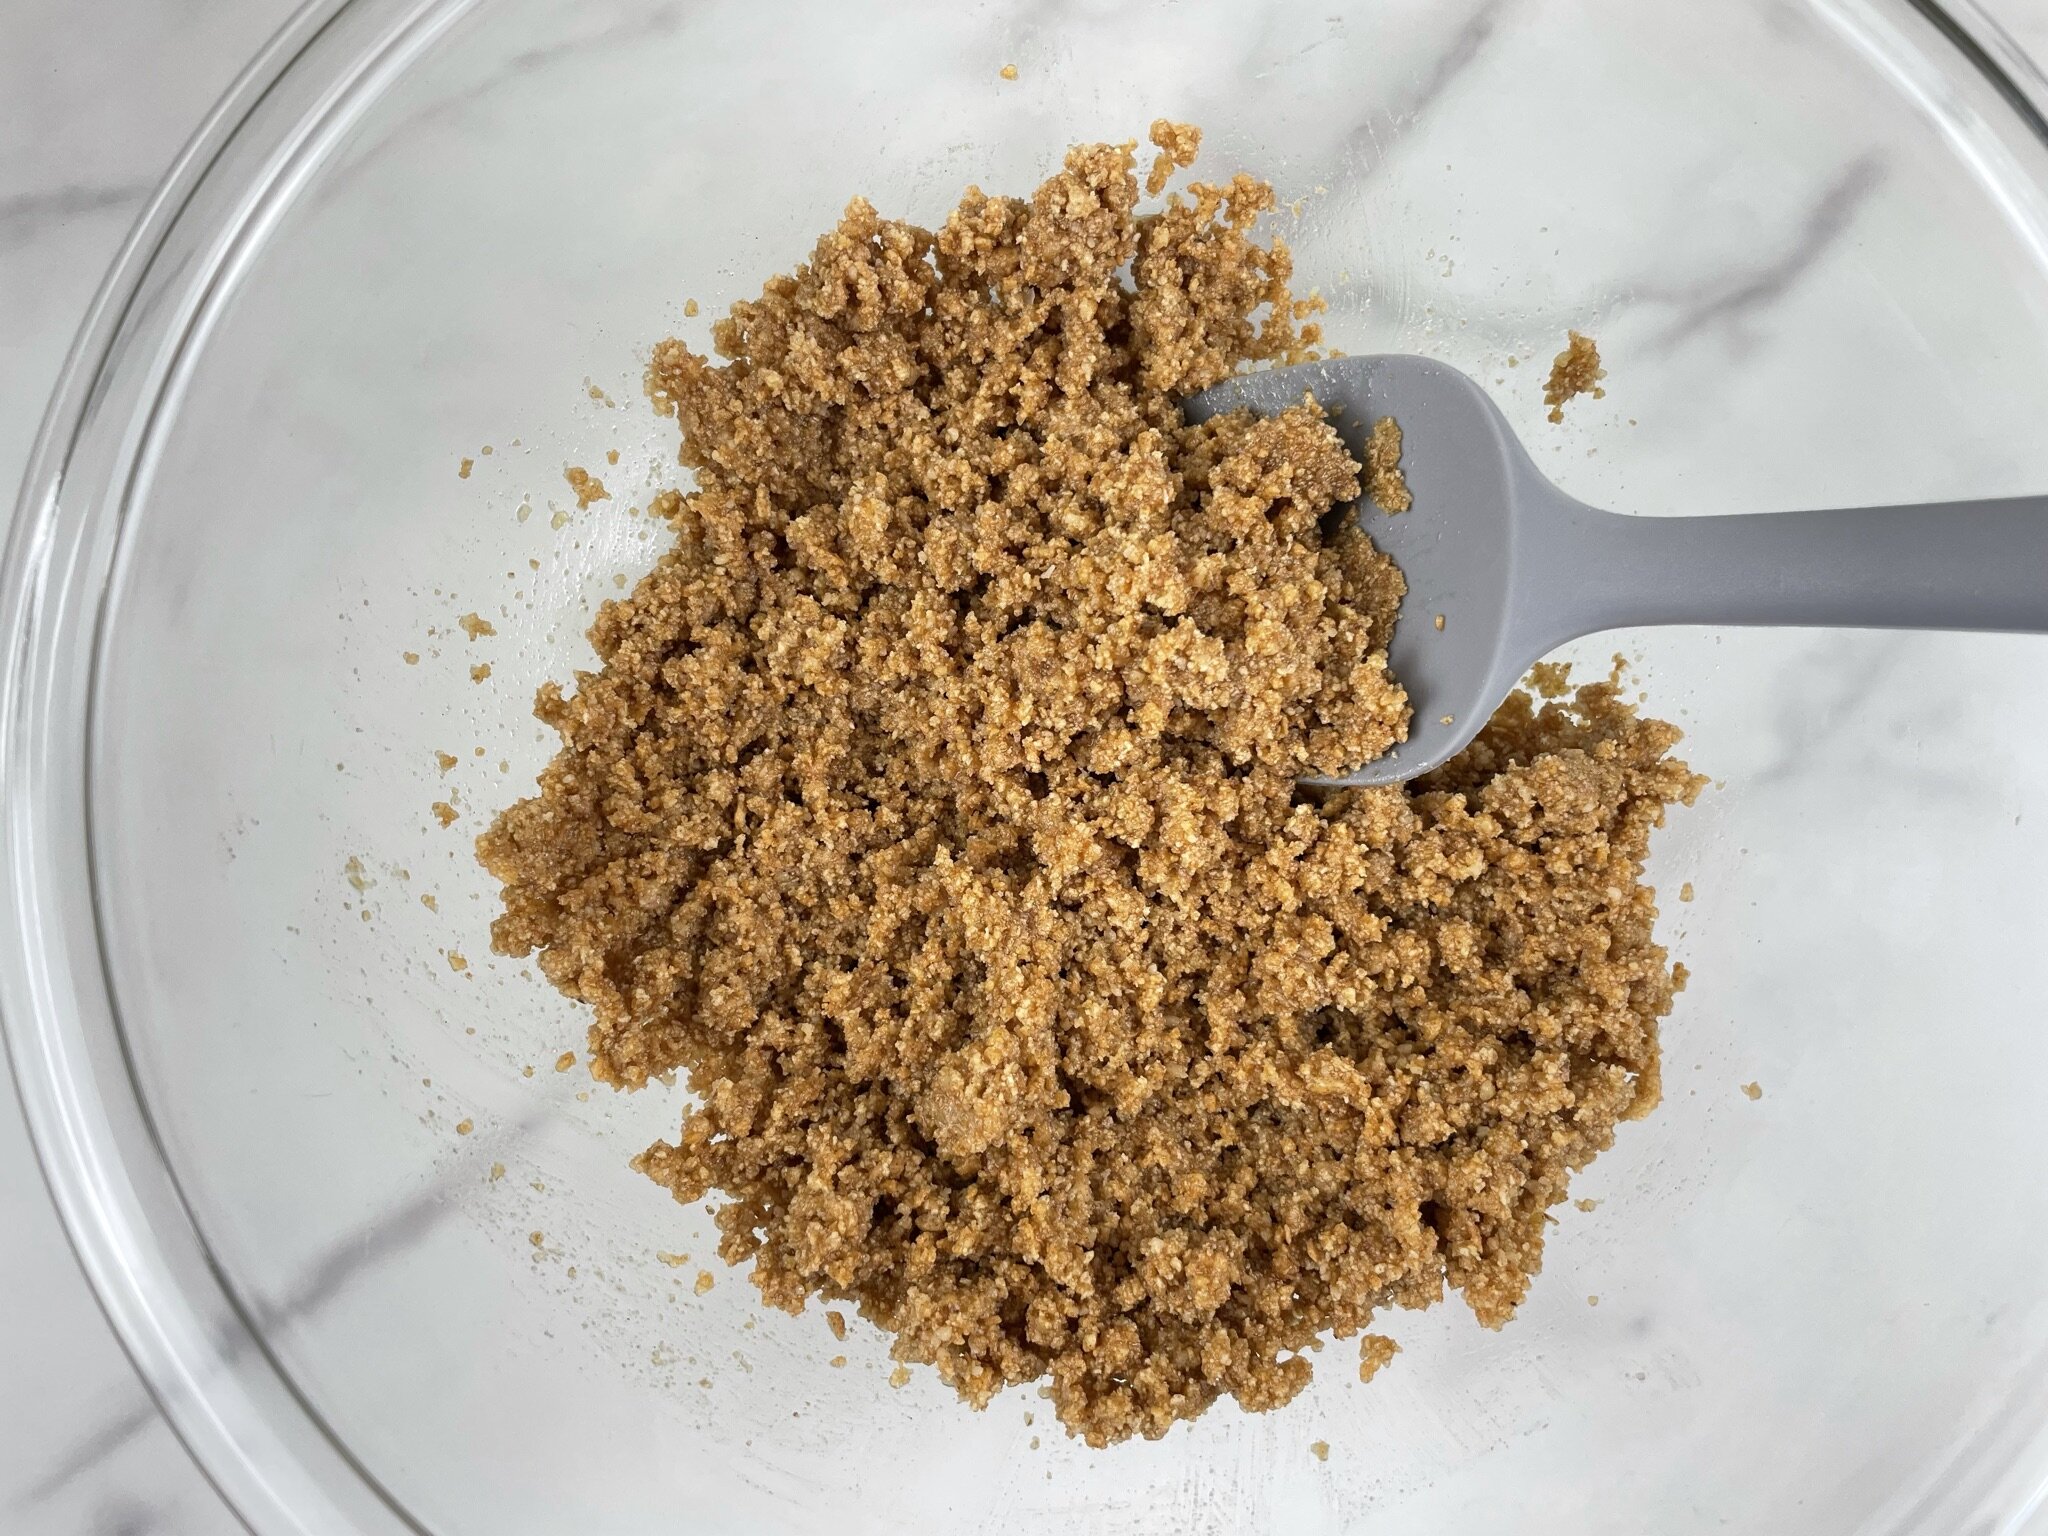
In a medium microwave safe mixing bowl, add ½ cup unsalted butter that has been cut into large chunks. Microwave to melt (about 30 to 60 seconds). Add graham cracker crumb mixture to the melted butter and stir well to combine.
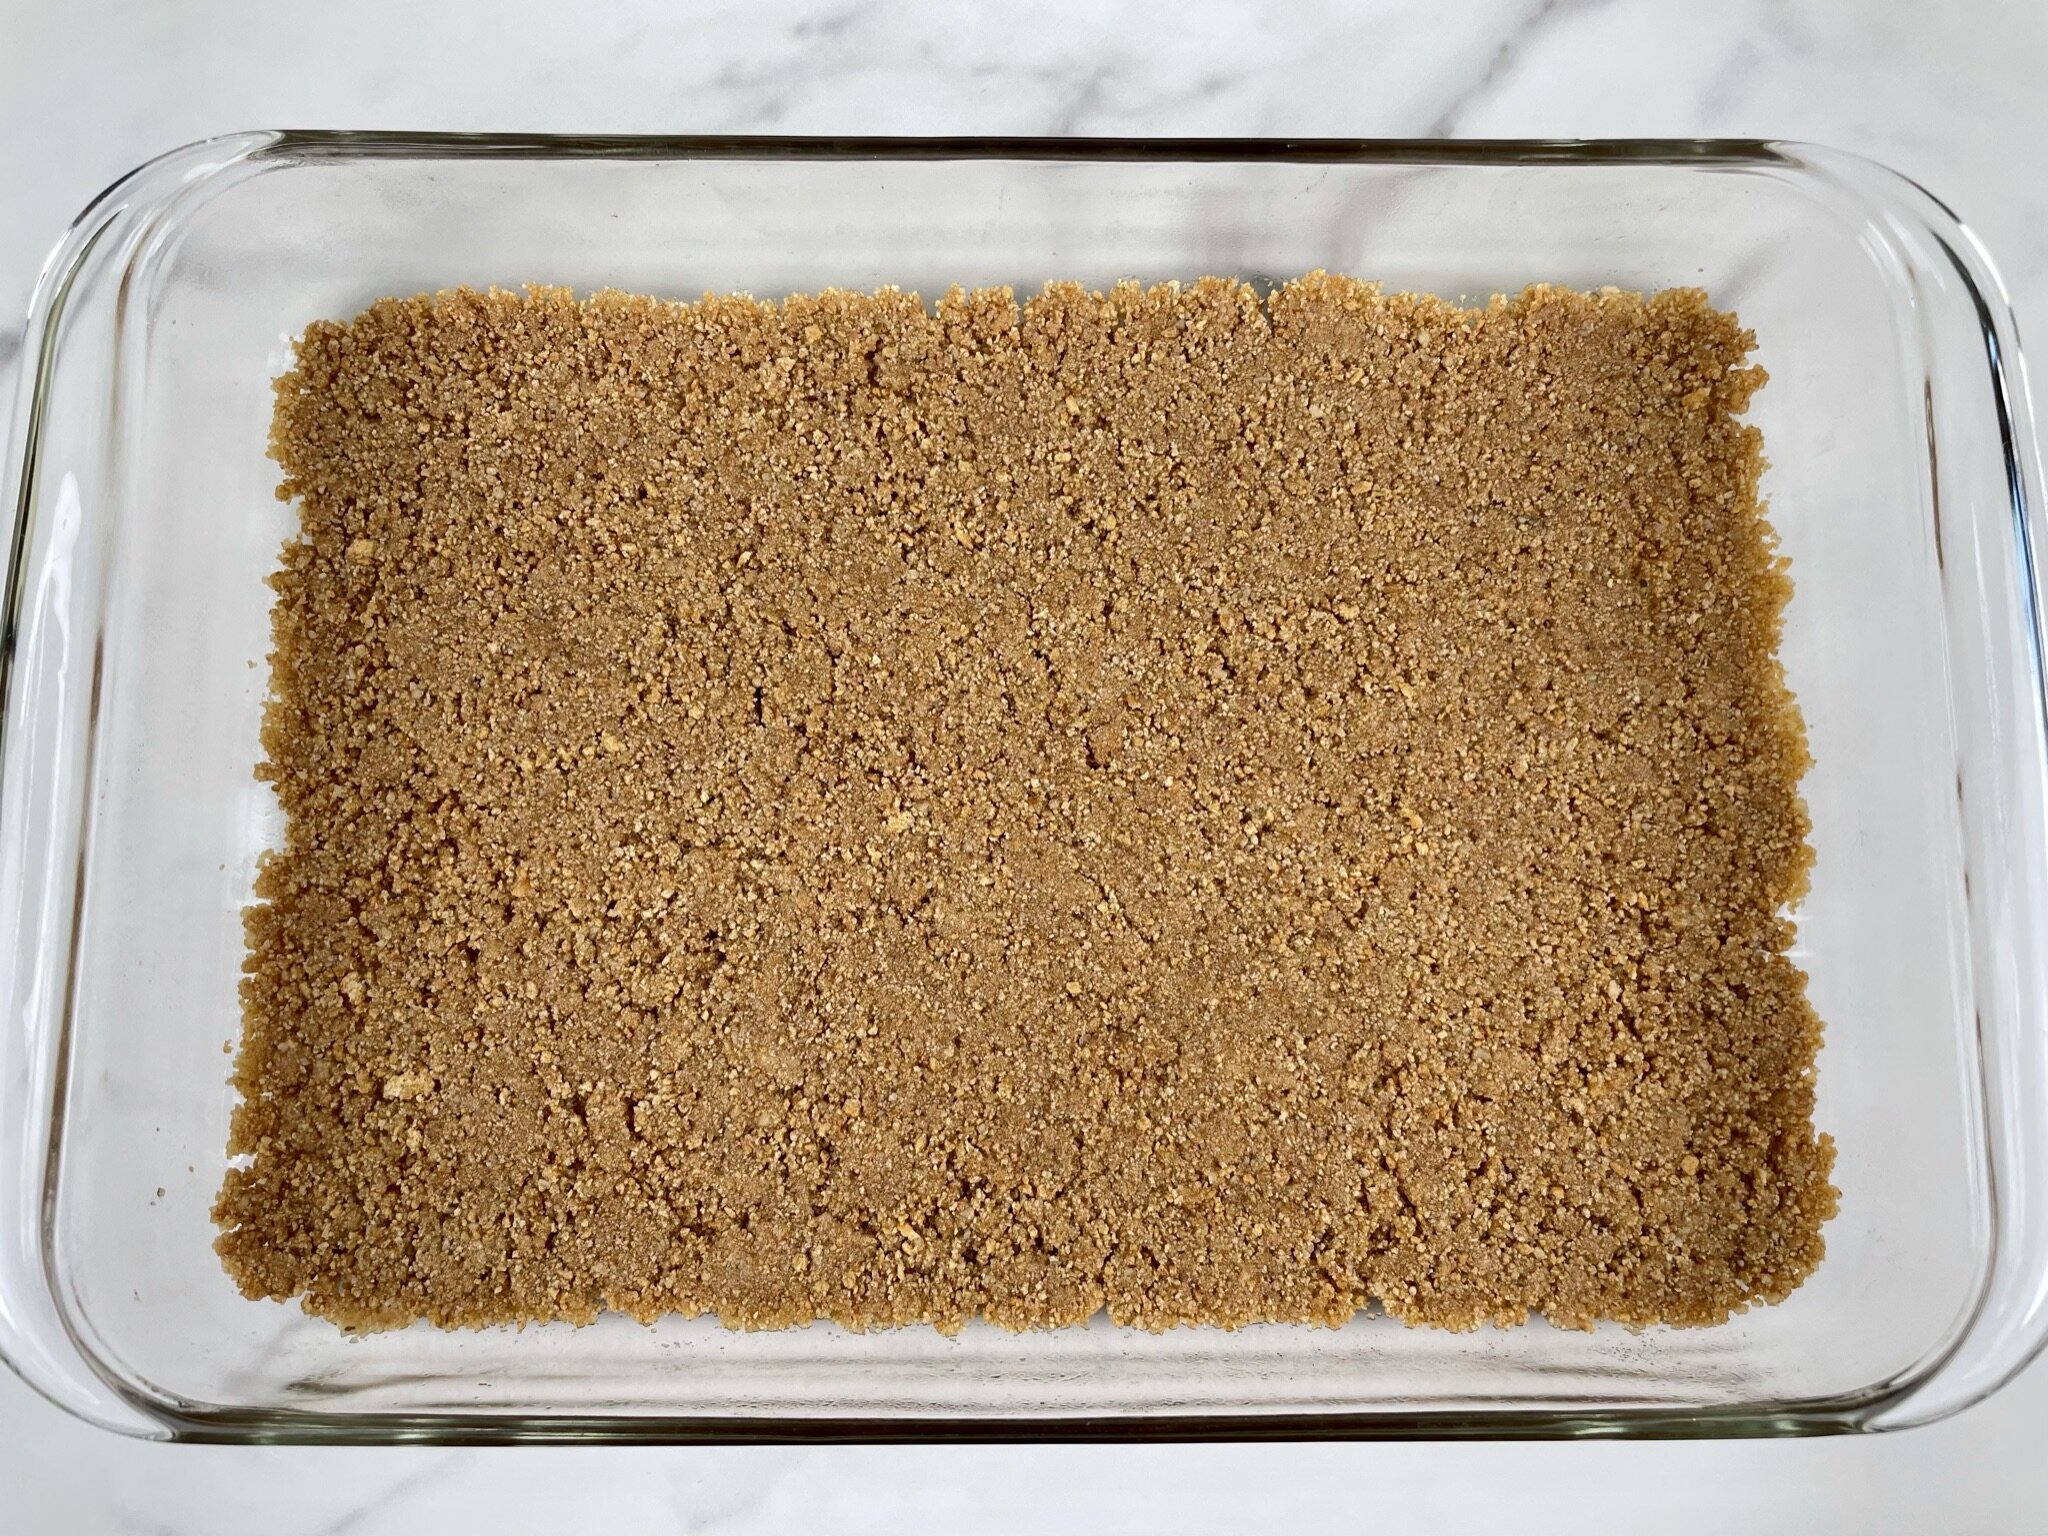
See note below. If not lining your pan, spray a 9 x 13 inch glass baking dish with cooking spray, then dump the coated graham cracker mixture into the pan. Using the bottom of a metal measuring cup or a flat bottom glass, press mixture firmly into the bottom of the pan.
Note: If you want clean cut squares, first spray your baking pan with cooking spray, then line your pan with parchment paper. No need to spray the parchment paper. Press graham cracker mixture into a parchment lined pan.

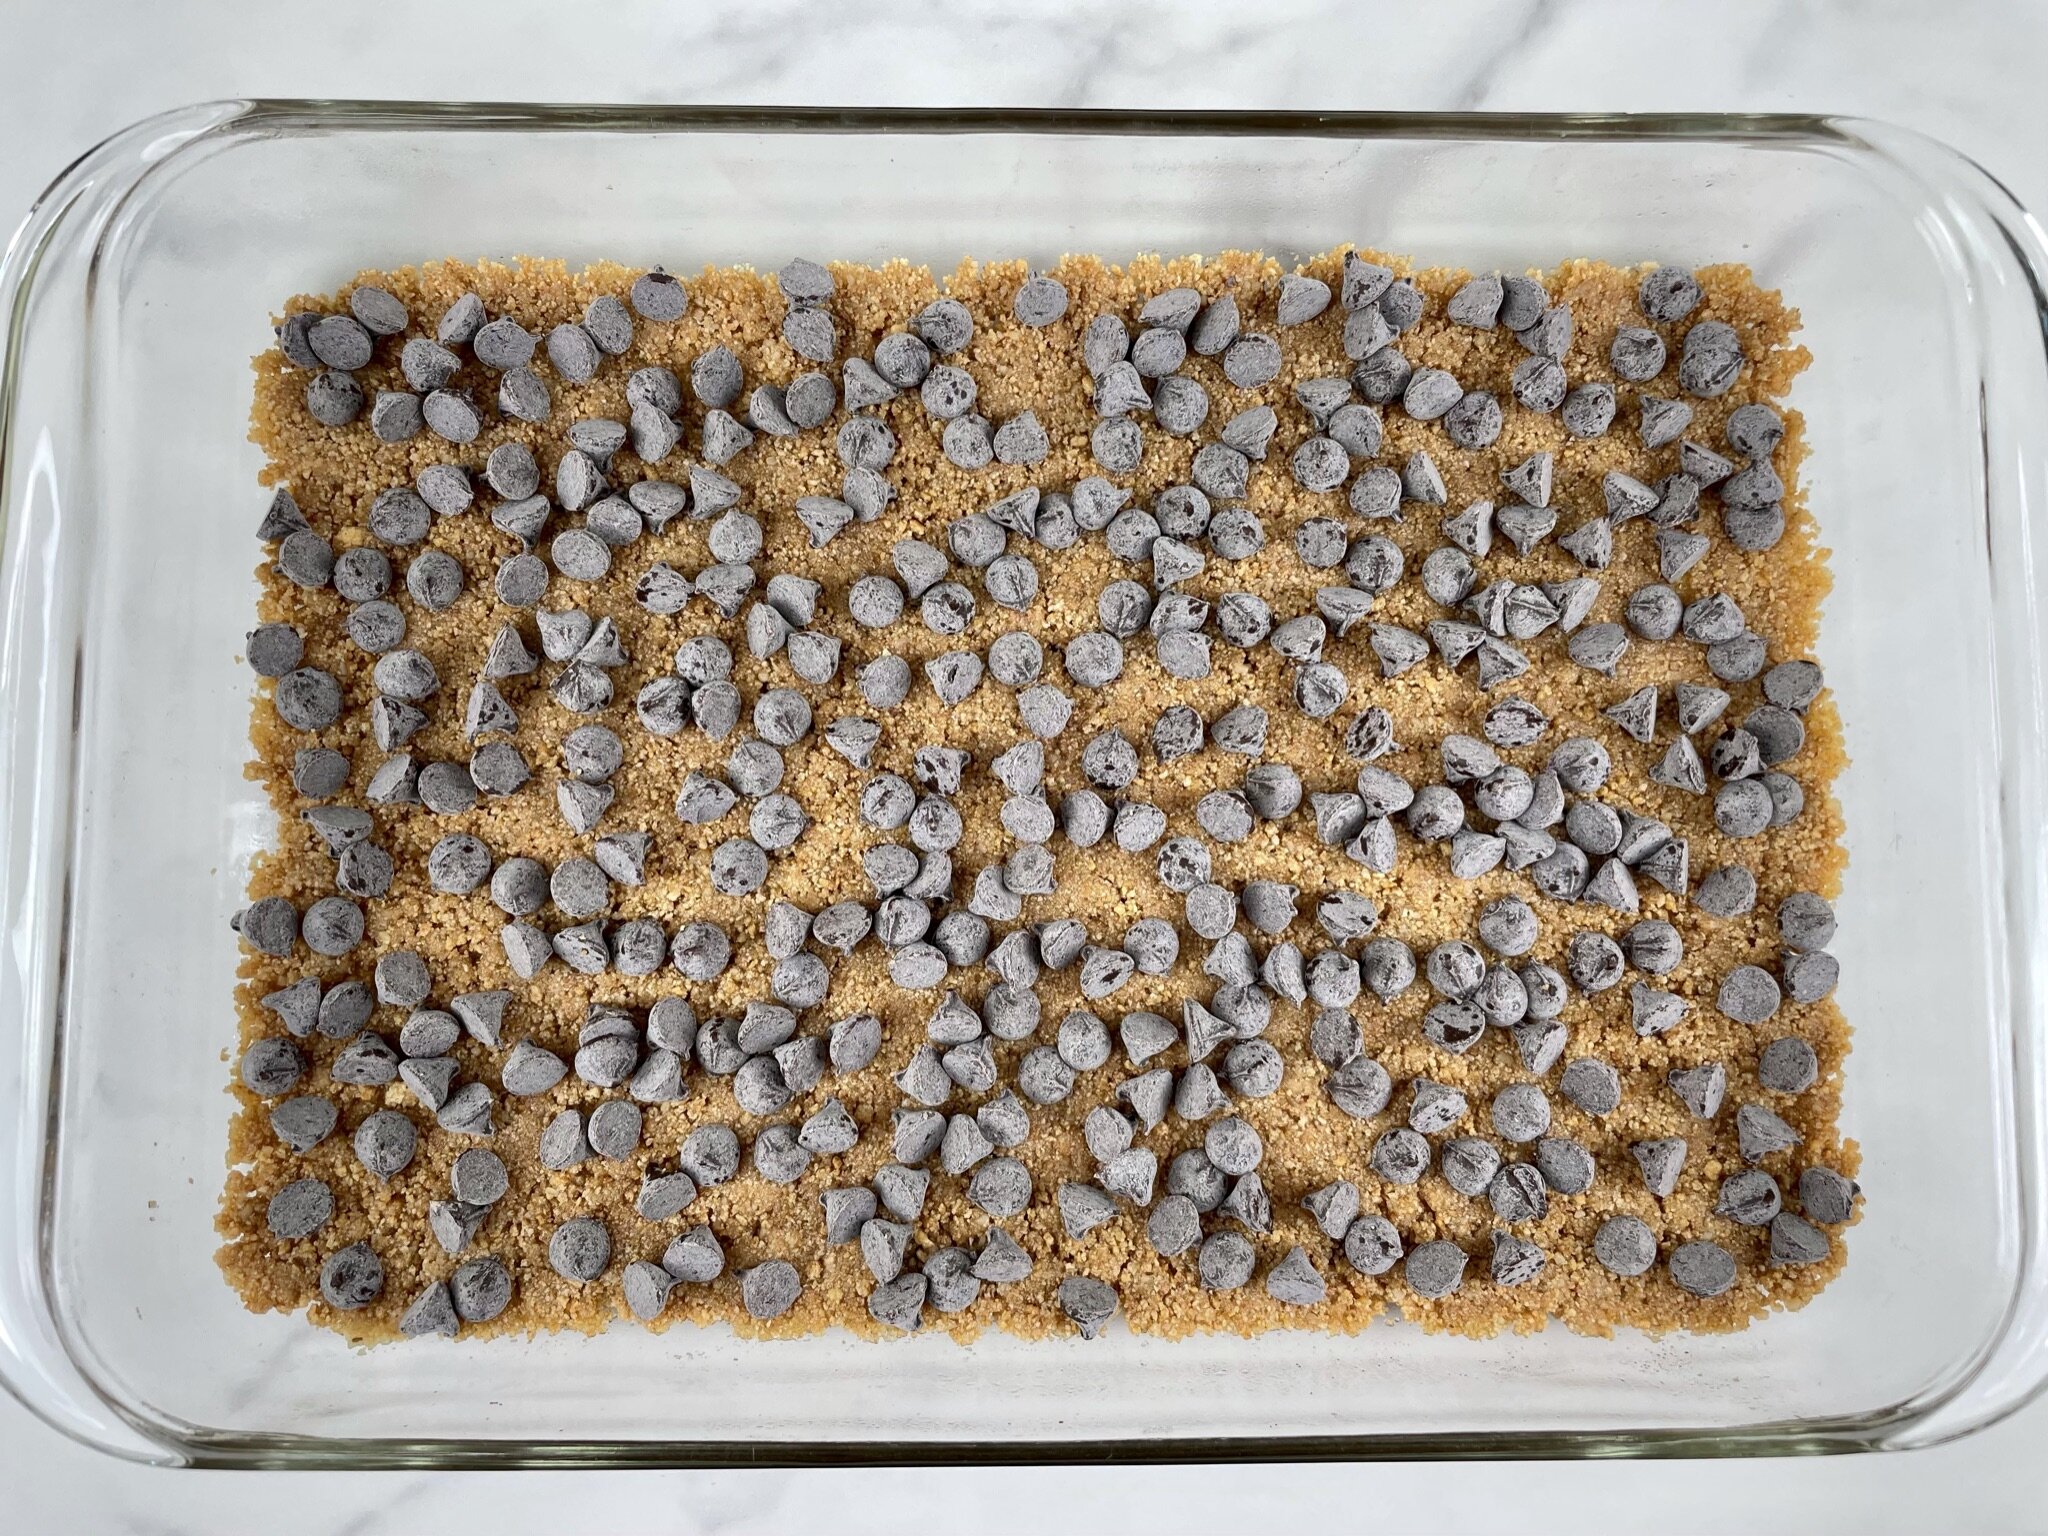
STEP 4a
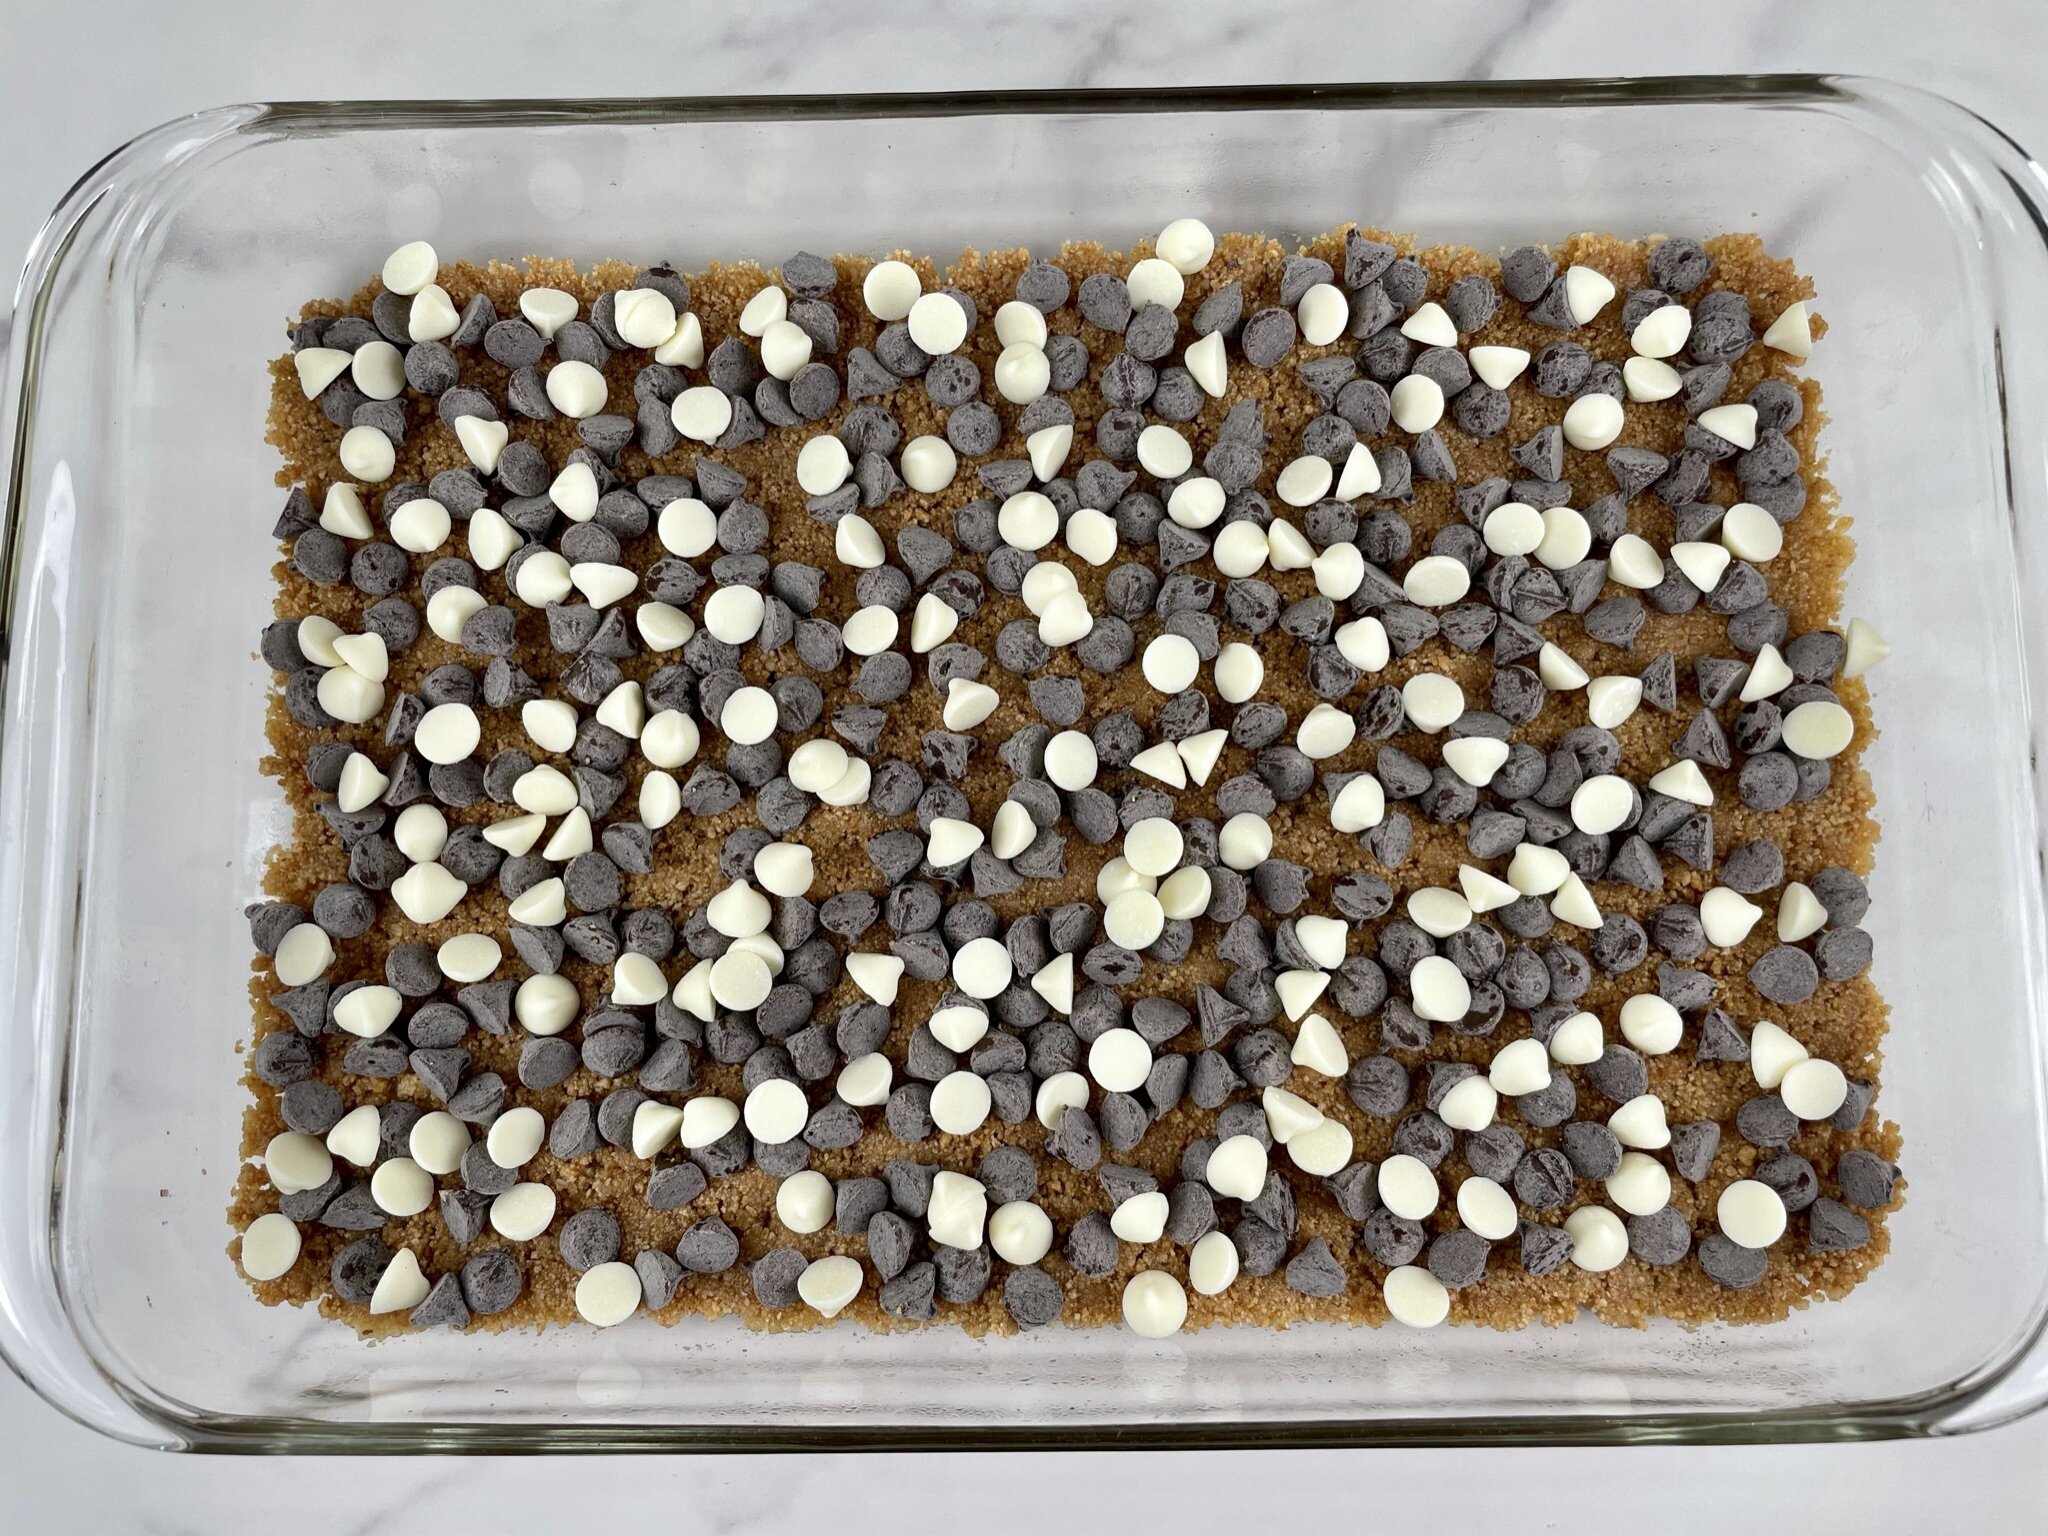
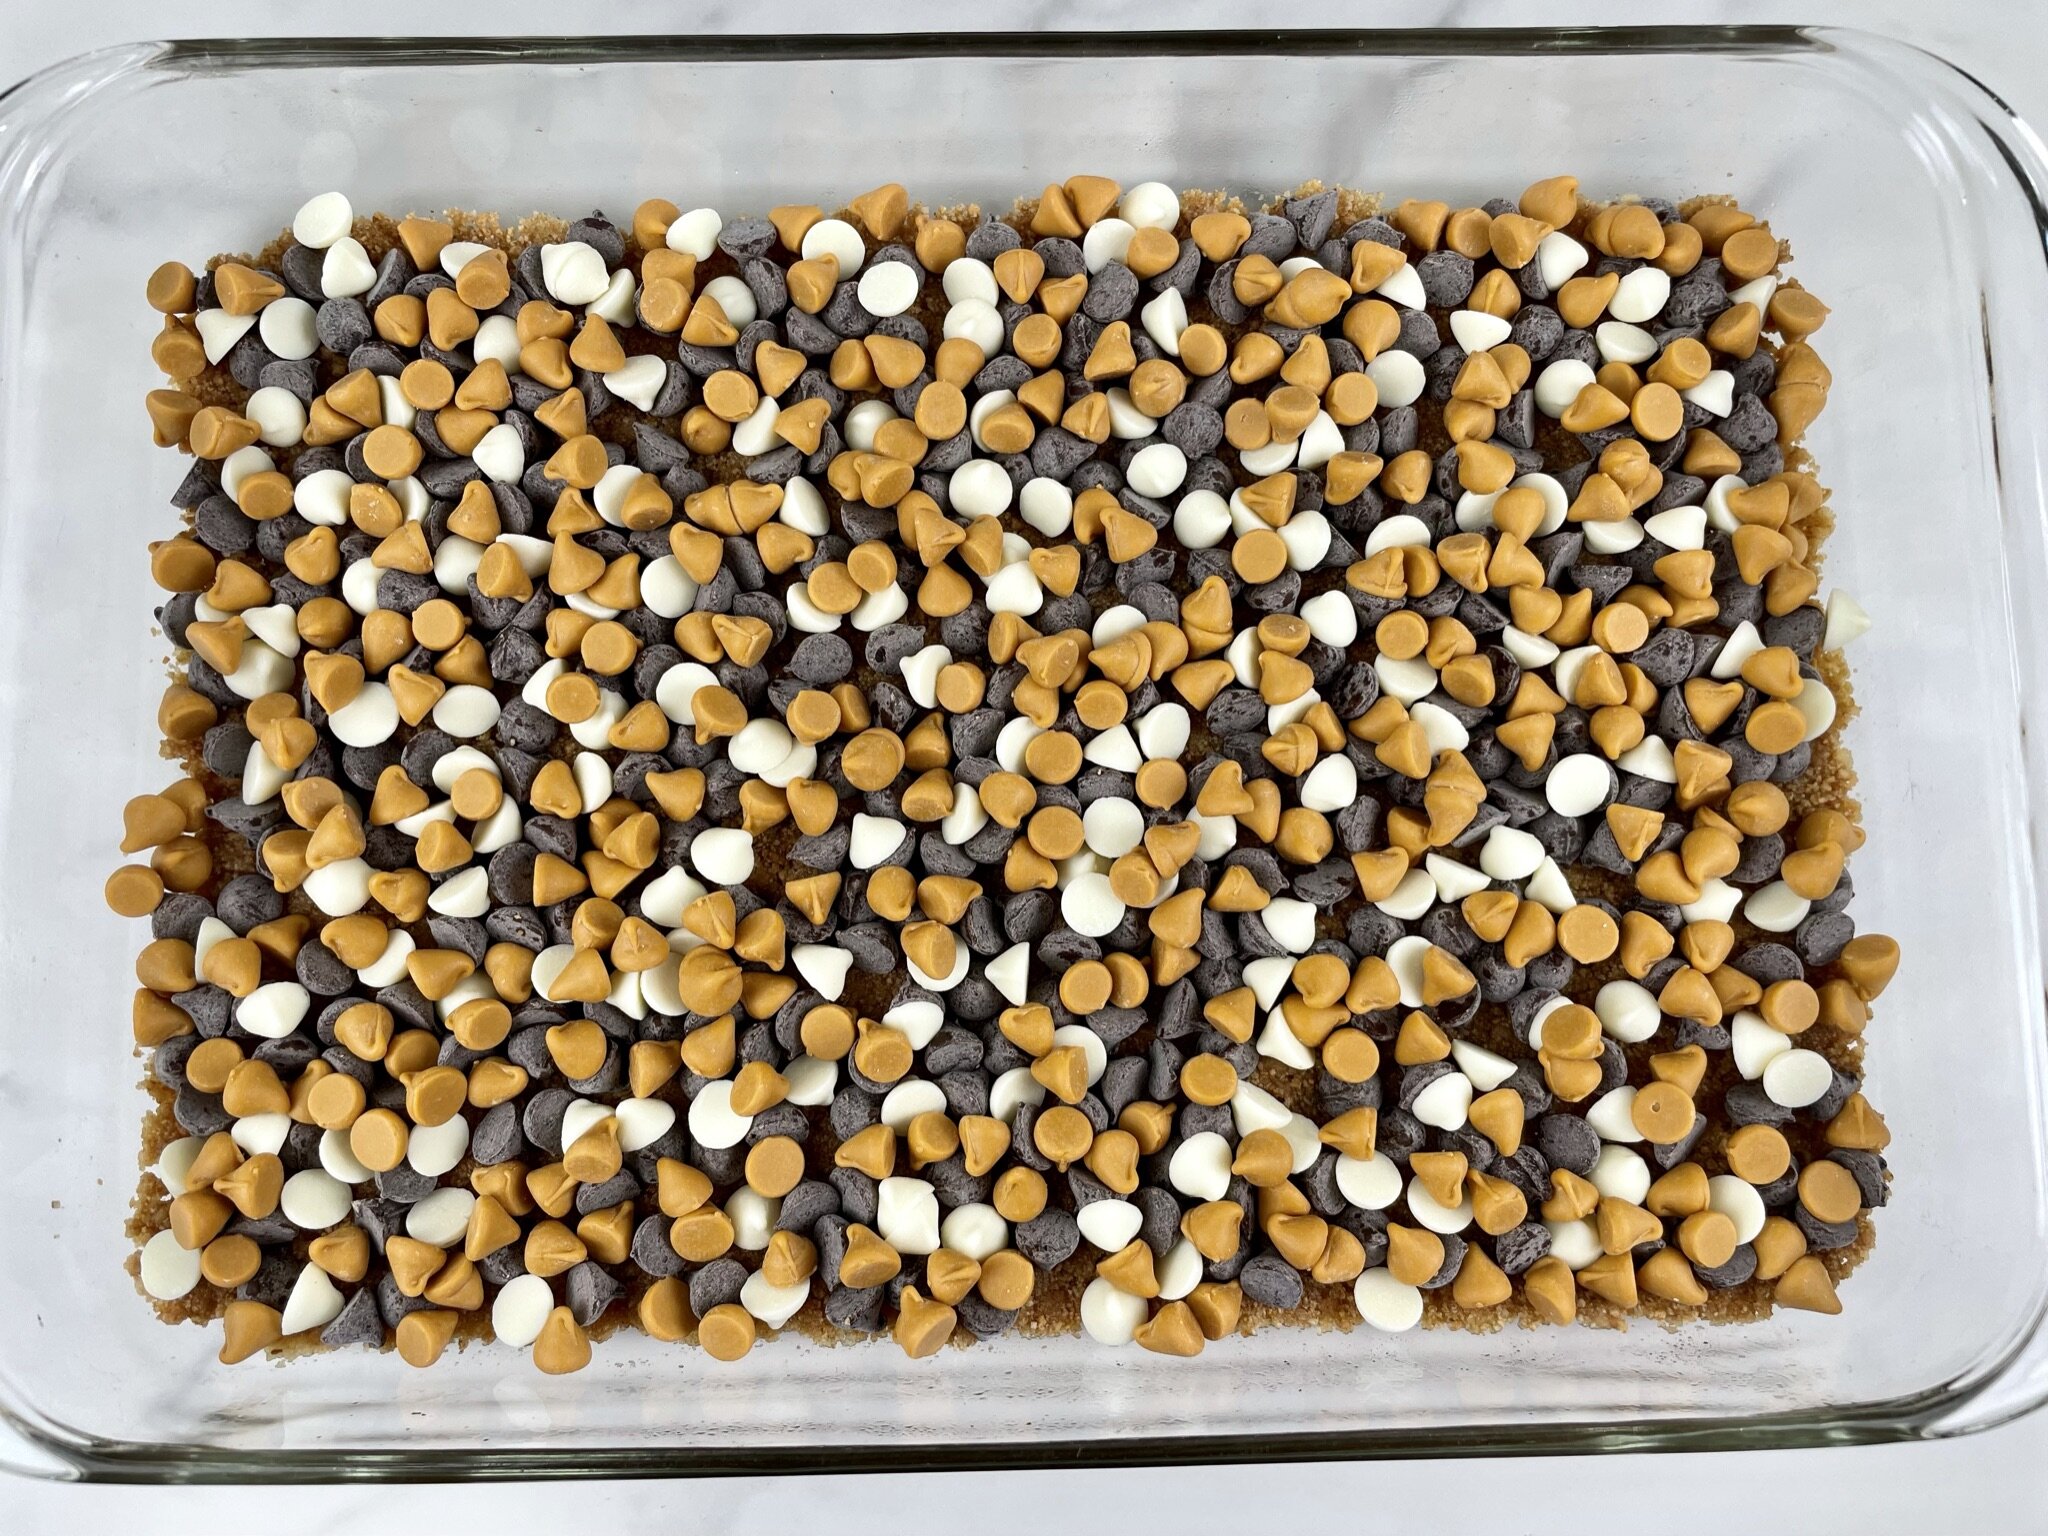
Begin to layer one ingredient at a time evenly over the crust: 1 cup extra dark chocolate chips (Guittard 63% Cacao), ½ cup white chocolate chips (Guittard White Baking Chips), and 1 cup butterscotch chips (Toll House Butterscotch Morsels).
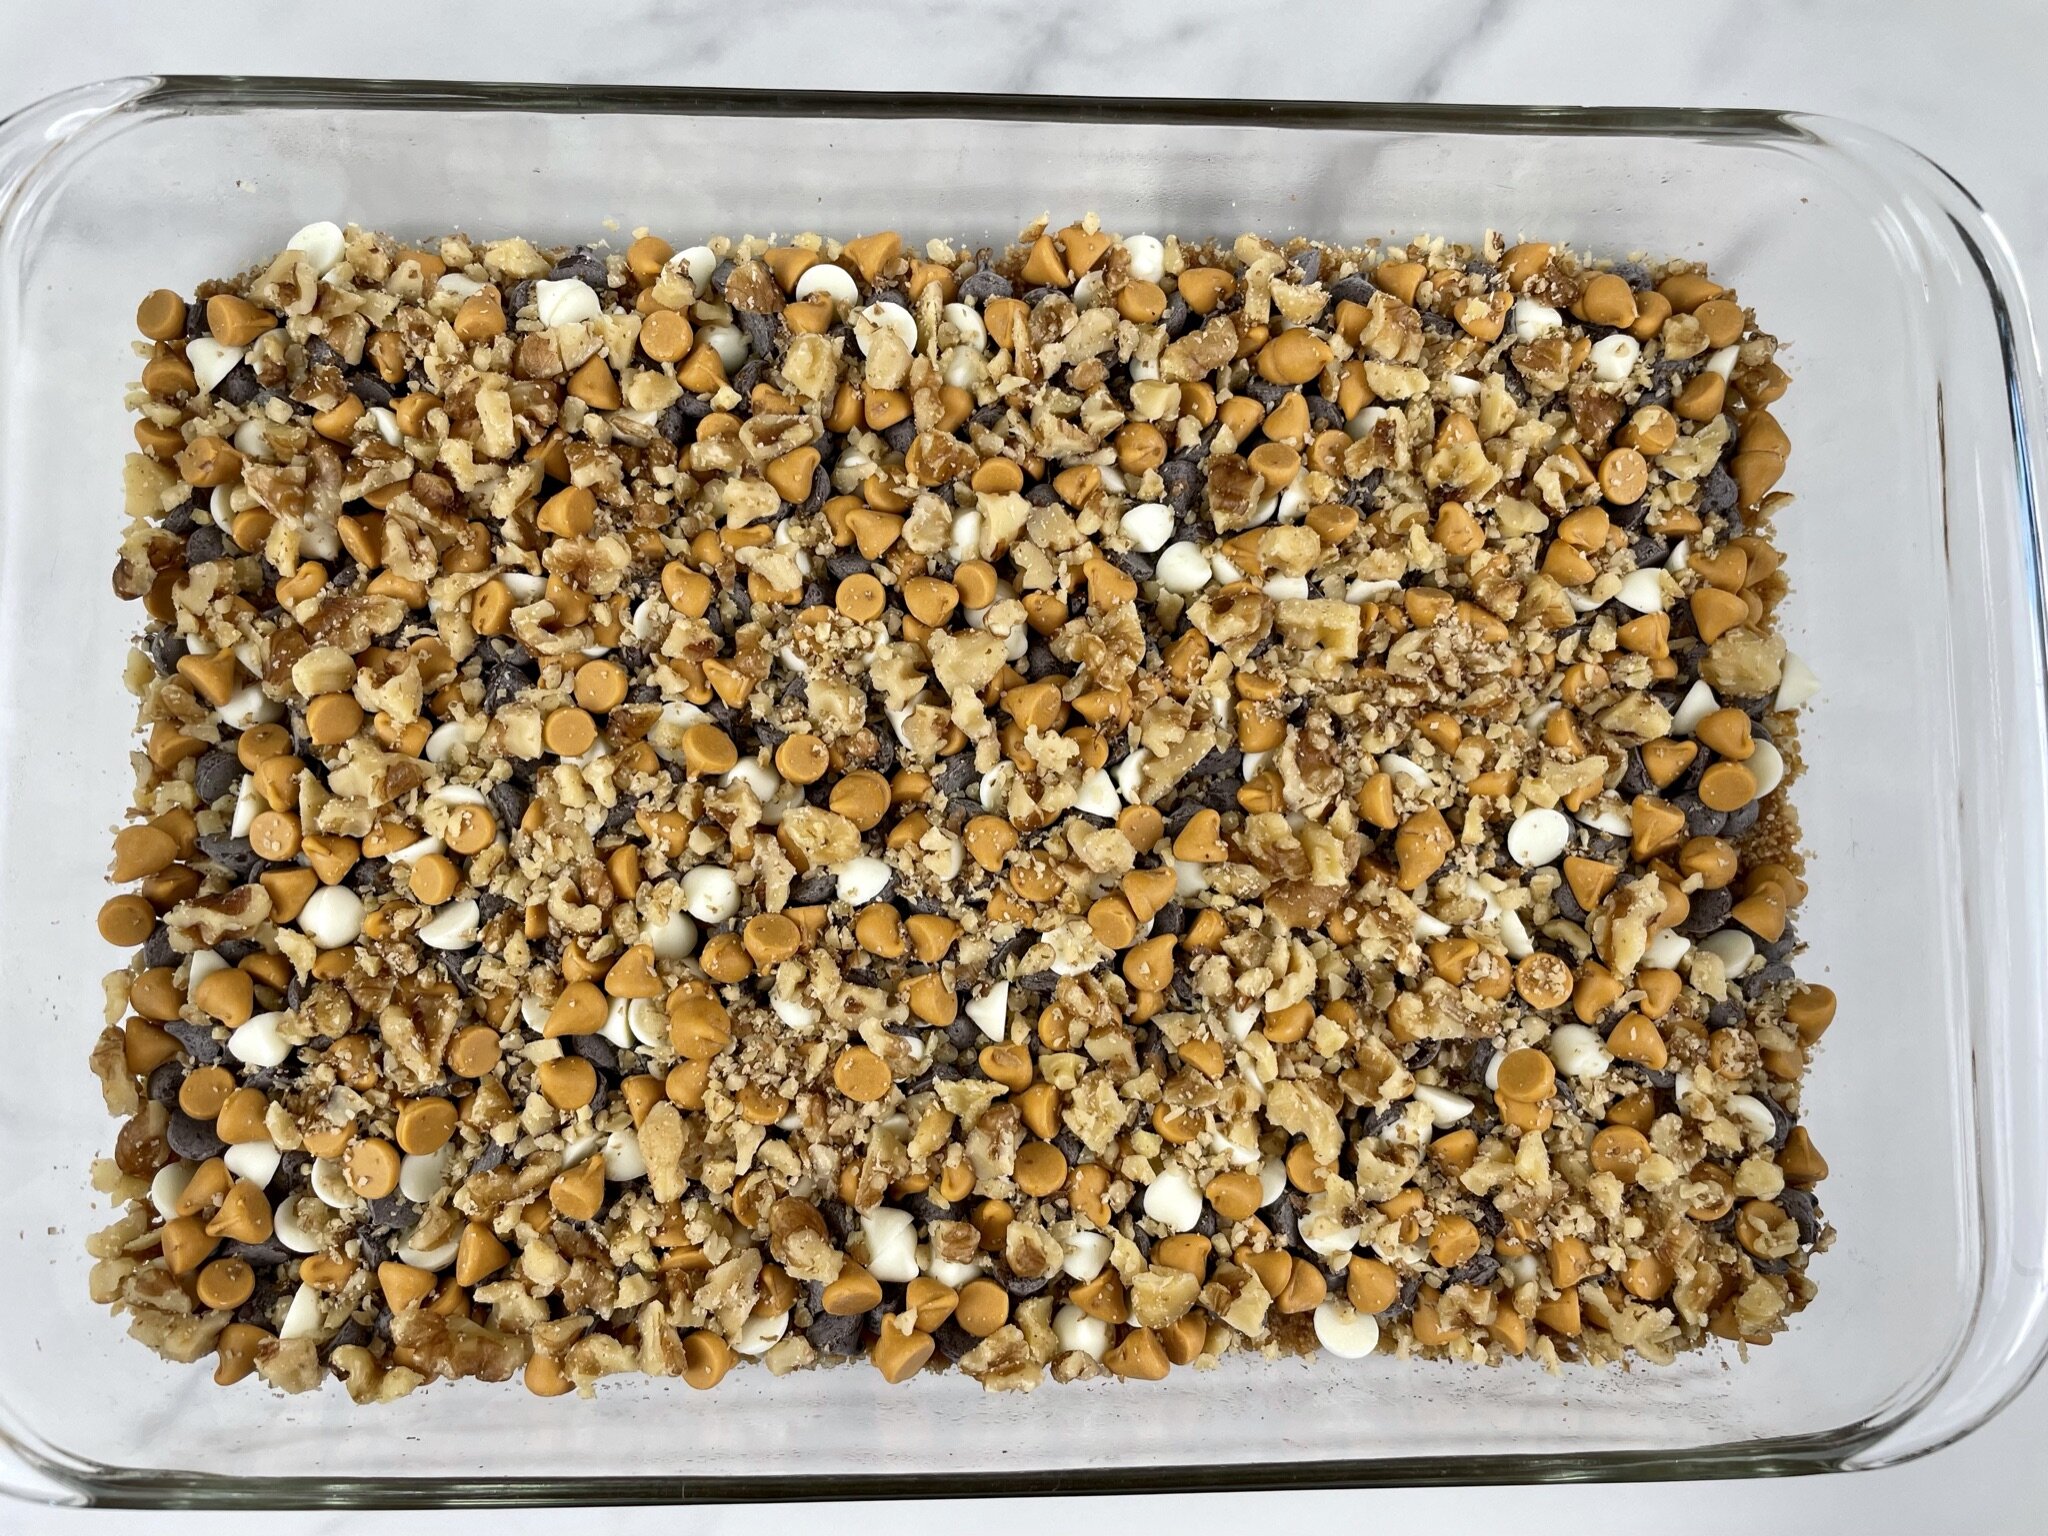
STEP 4b
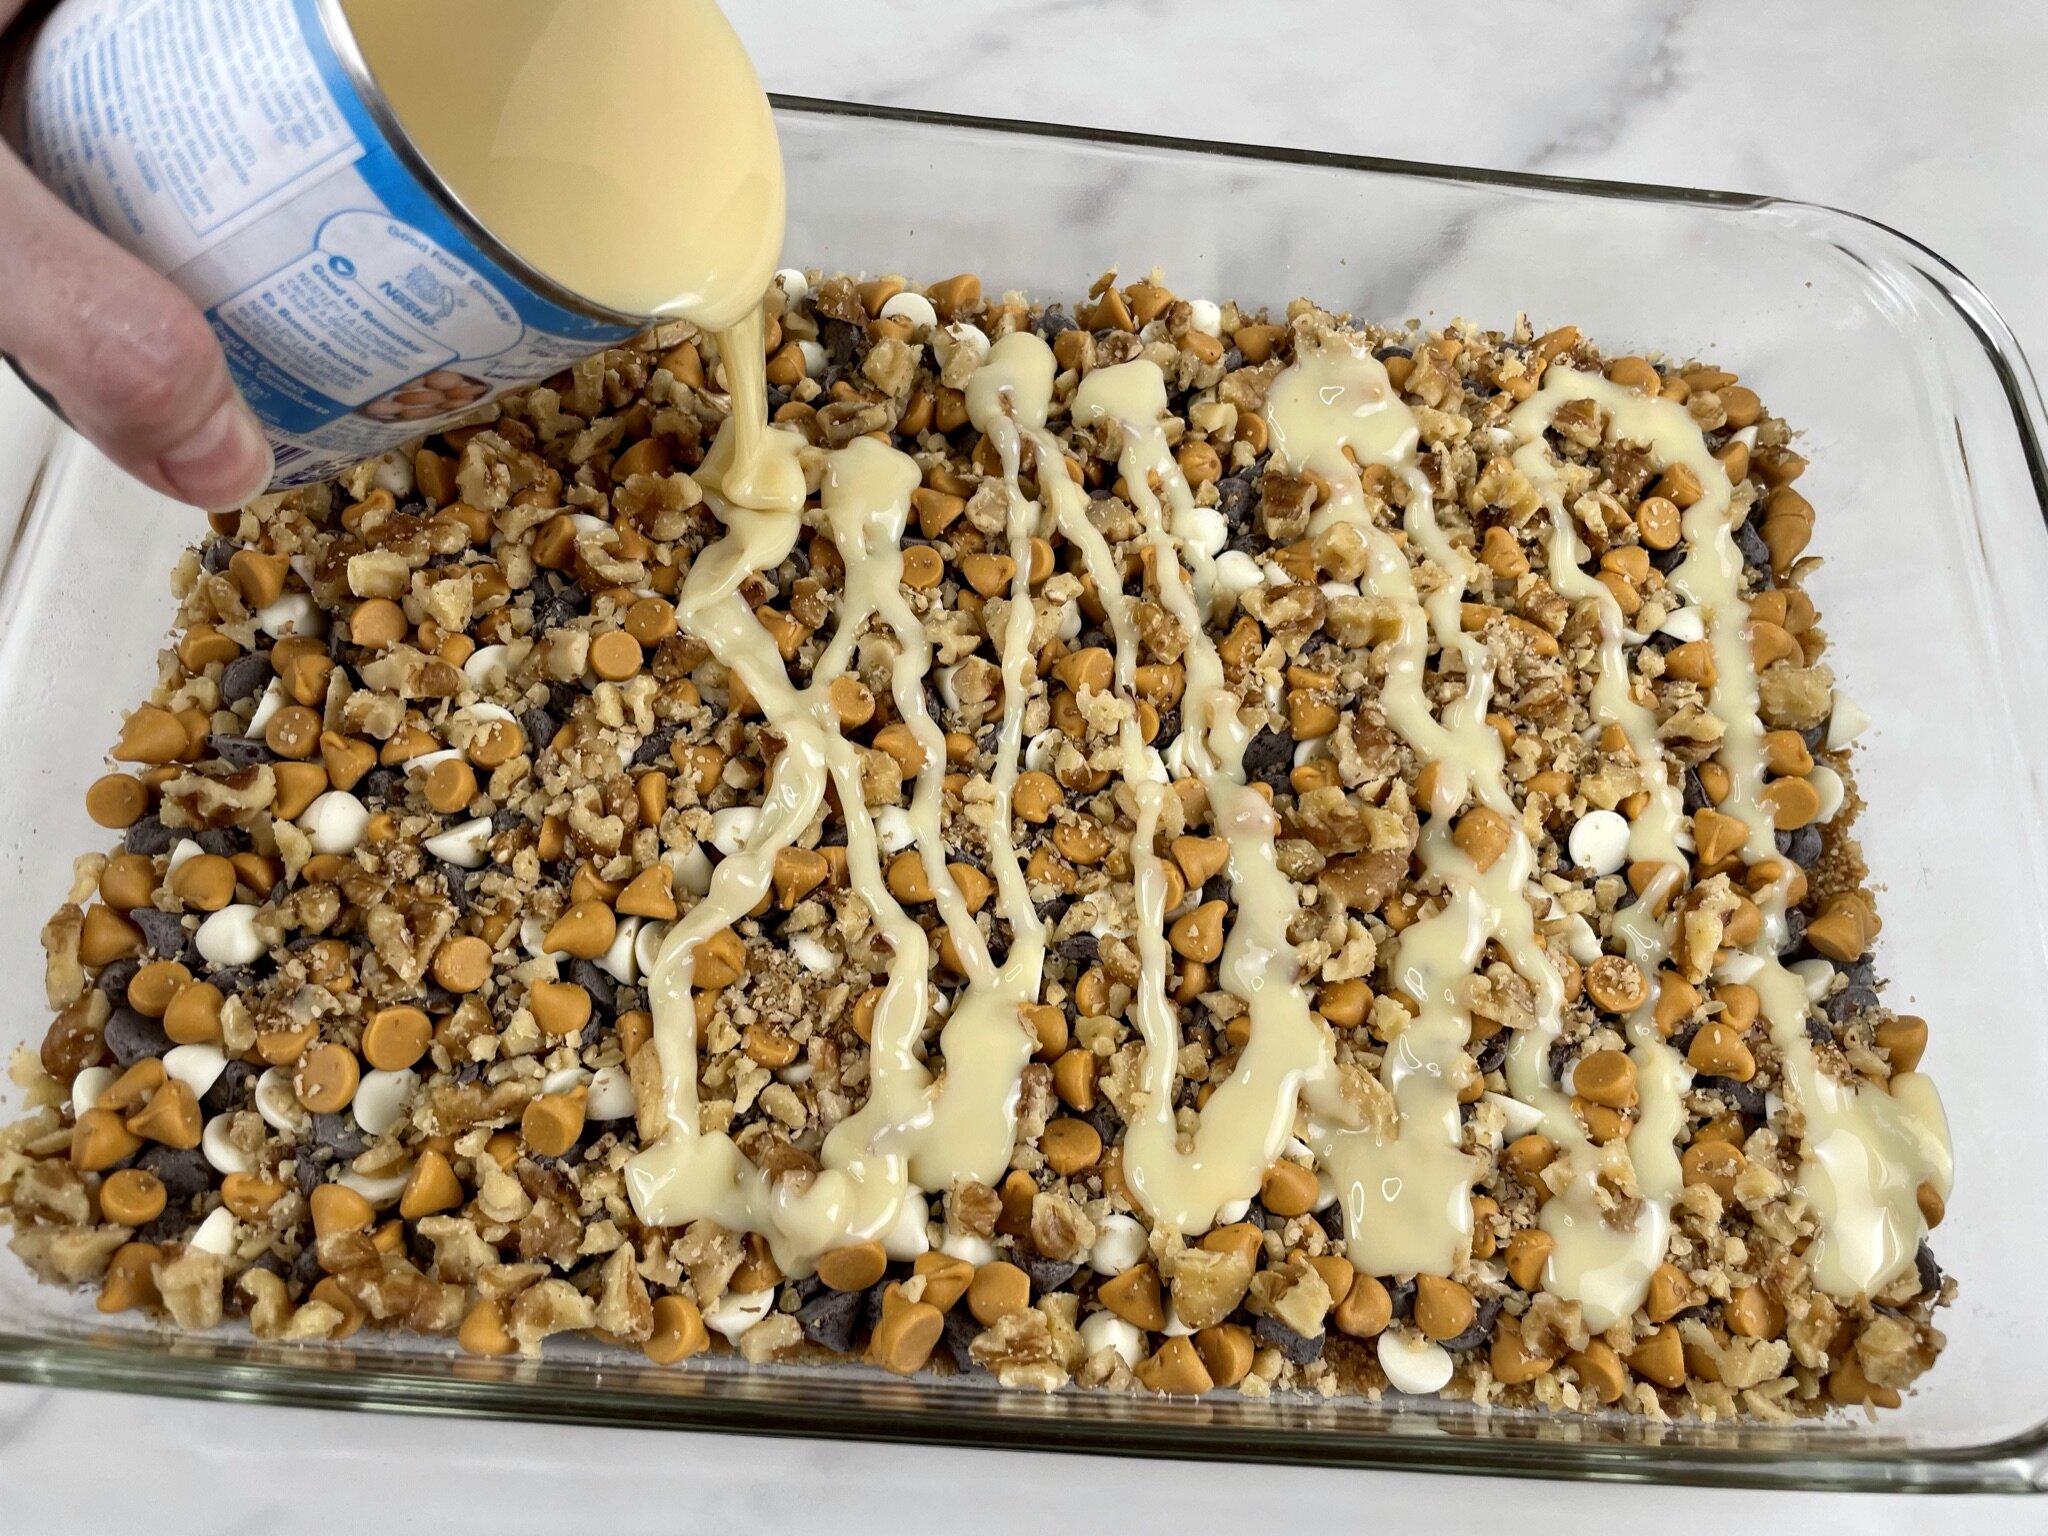
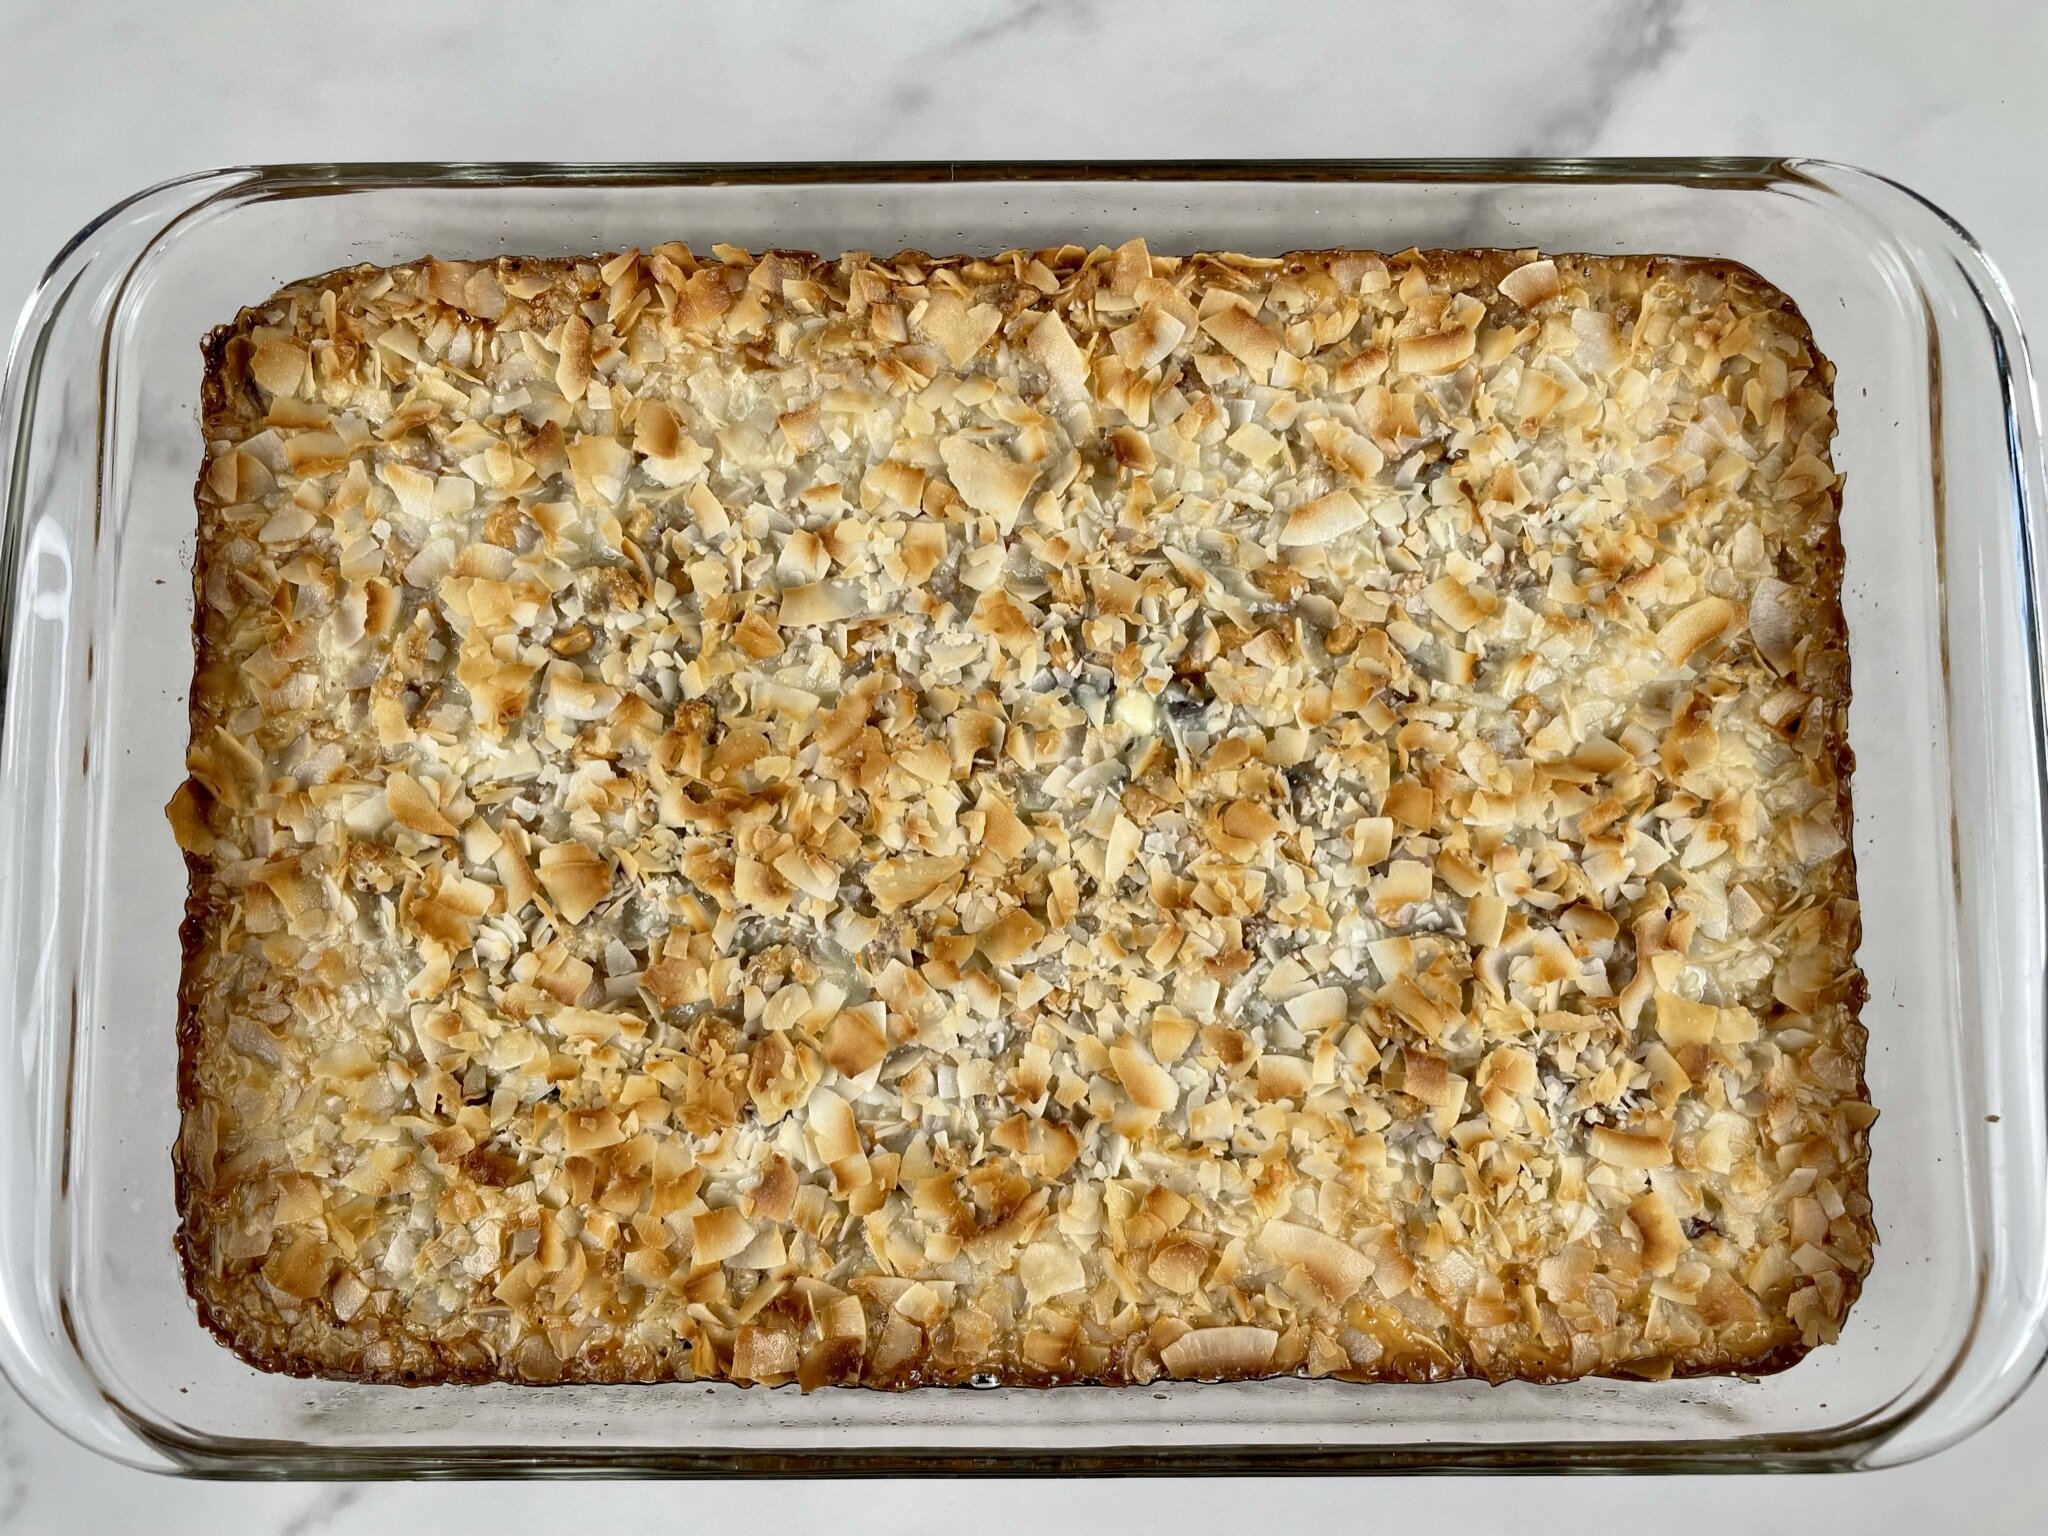
Layer 1 cup chopped walnuts. Pour a 14 ounce can of sweetened condensed milk evenly over the layers so it completely covers all the ingredients. Sprinkle unsweetened coconut pieces evenly over the top layer. Bake for about 25 minutes until bubbling and coconut is golden brown (ovens vary, so check it at 20 minutes to make sure the coconut doesn’t burn - See Note below).
Note: If the coconut looks like it’s starting to burn, loosely place a large piece of foil over the baking pan and continue to bake until done.

STEP 5
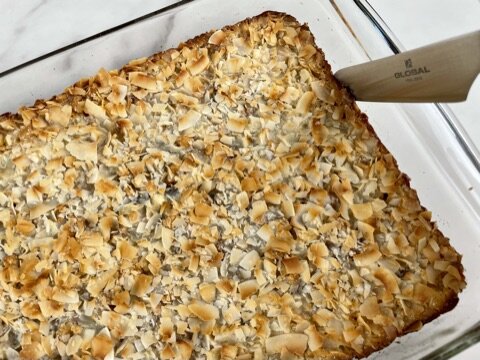
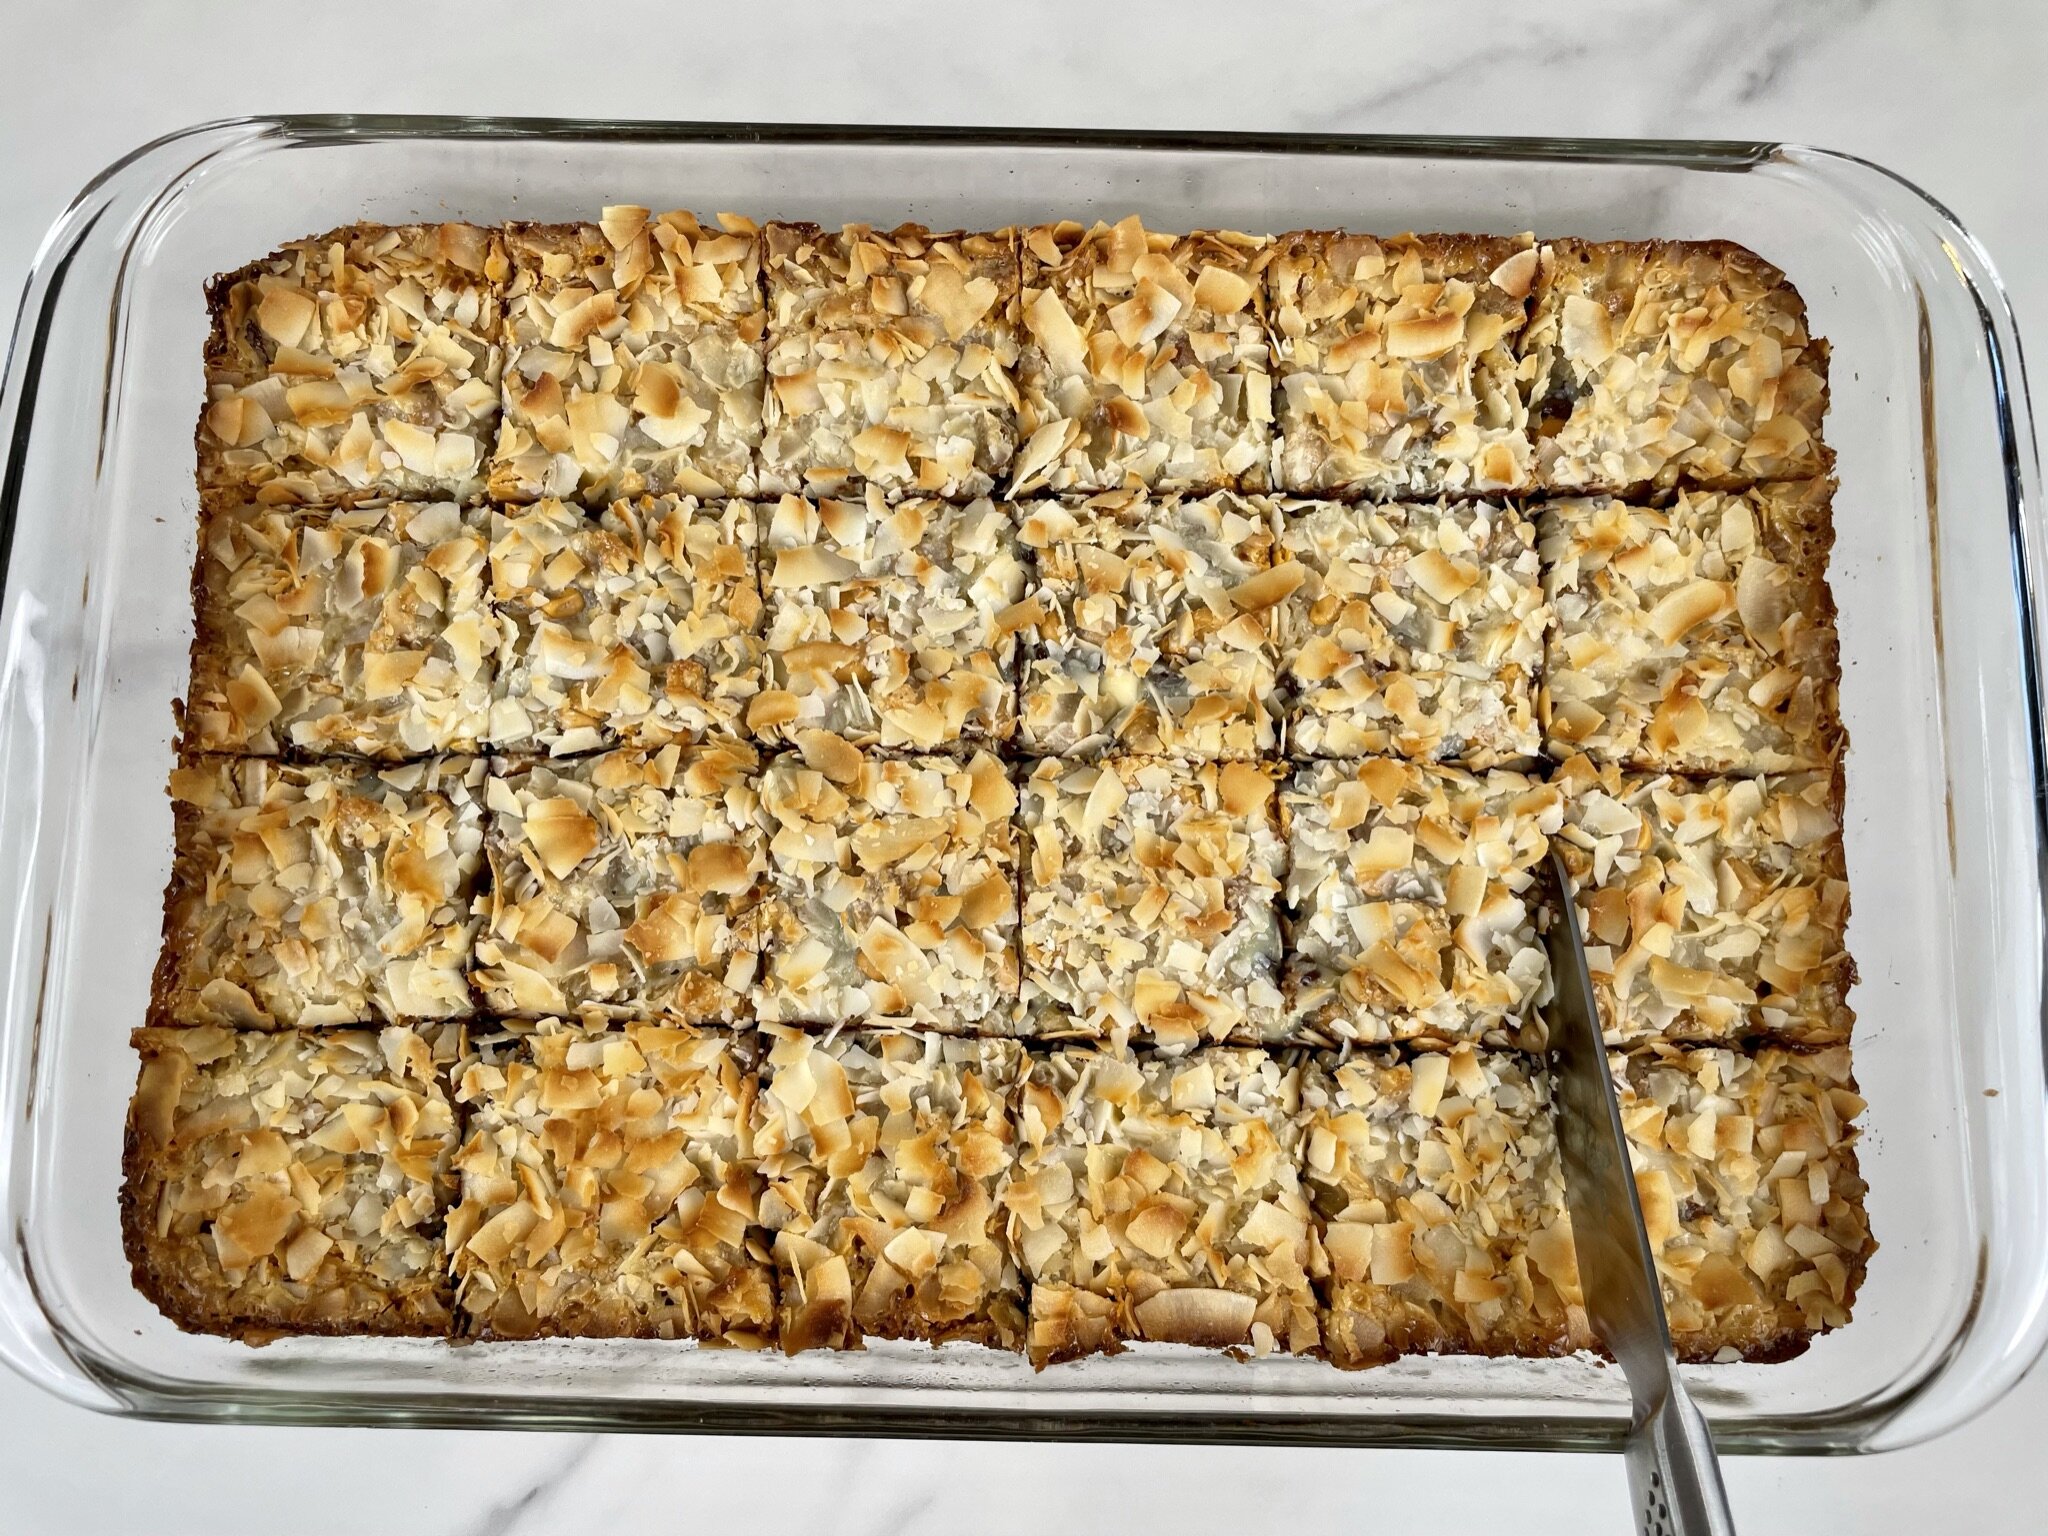
Remove from the oven and place the baking pan on a wire rack to cool. After 30 minutes, run a very sharp knife around the edges of the pan while it’s still warm (see Note “a” below). After the bars have cooled for 1 hour, sprinkle Himalayan pink salt evenly all over coconut. Allow to cool completely until firm before slicing and serving (see Note “b” below). Slice into 24 squares (see Note “c” below).
Note: a) If you lined your baking pan, no need to run a knife along the edges. Once baked, let cool completely in the pan until firm (place cooled pan in the fridge, if needed), then lift out, place on a cutting board, and use a large sharp knife to cut your squares. b) If you prefer a soft and crumbly bar, cut at room temperature. If you want a more firm bar, make sure to line your pan and cool at room temperature. After it has cooled completely, cover the pan and place in the refrigerator. When ready to slice, remove from the fridge, lift the bars from the pan by holding the parchment paper, and slice into squares. c) These bars are very rich. If needed, you can stretch this to 36 squares/servings.
SERVE!
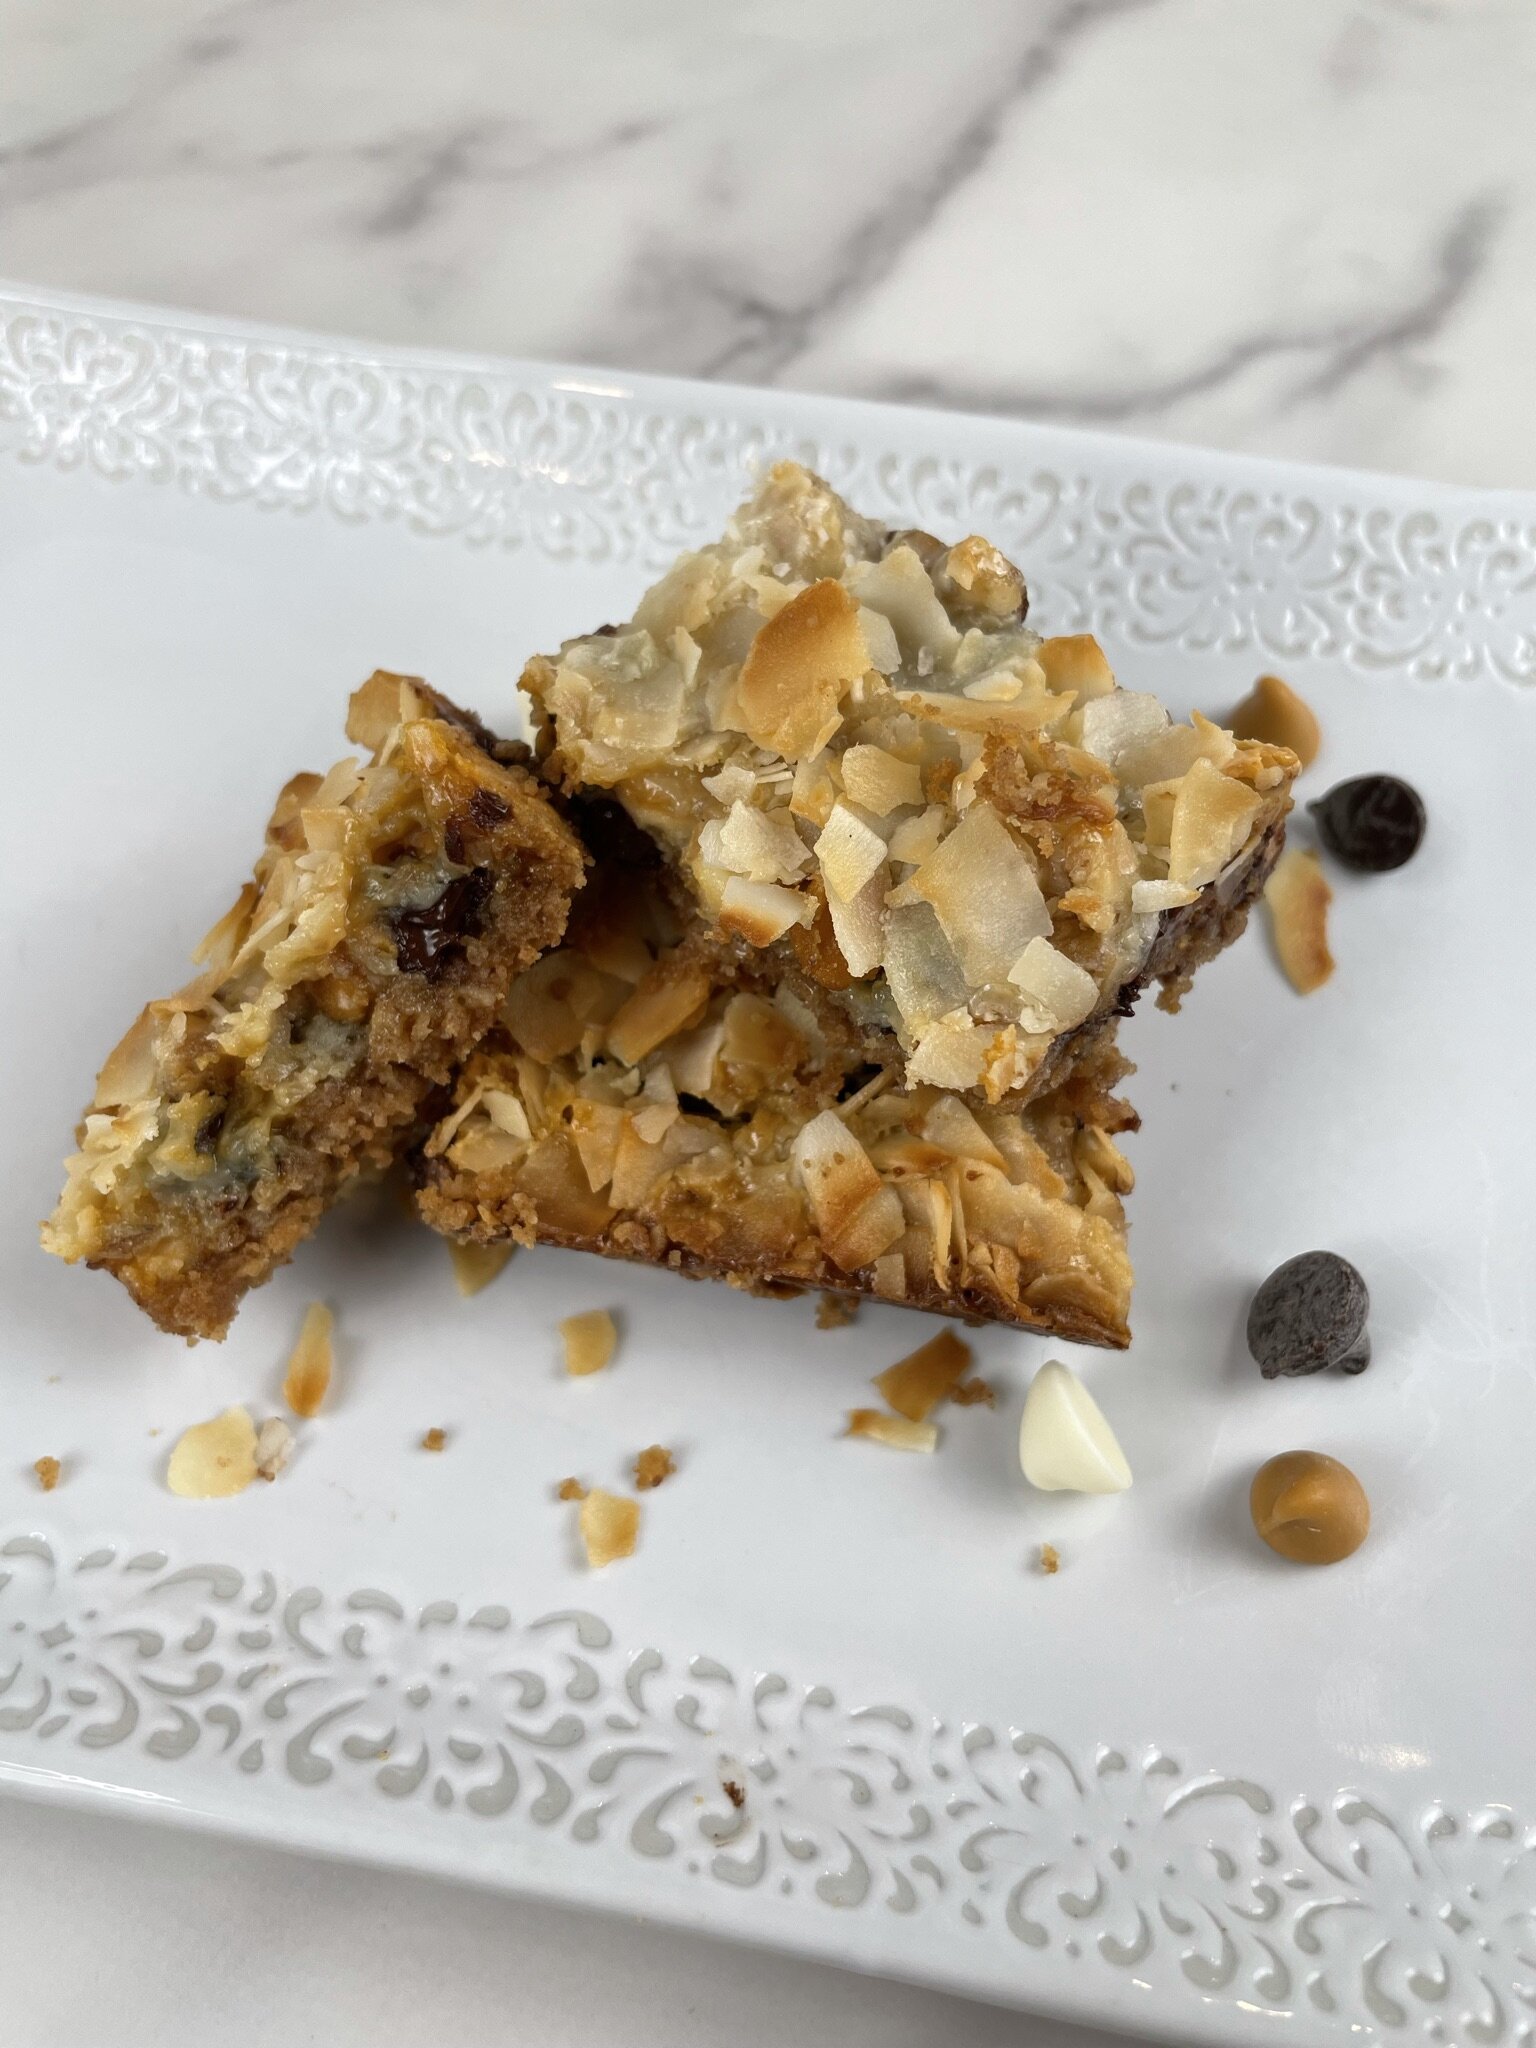
These small bars are decadently gooey and delicious. They have a chewy crust, a sweet and chocolatey middle, and a crunchy topping from the toasted coconut. Serve with a cup of coffee, or a tall glass of cold milk, and enjoy!!
Notes:
Makes 24 servings (1 bar per serving). These bars are very rich. If desired, you can stretch this to 36 squares/servings.
Refrigerate bars for firm and less crumbly texture.
Can be made ahead of time. For a soft and crumbly texture, store at room temperature in an airtight container in a cool, dry place for up to 3 days. For a more firm texture, store in an airtight container in the refrigerator for up to 5 days.
Visit the Pimp Our Recipe section in our Blog Comments & Tips below for details on how to customize this recipe, and easily convert this recipe to Vegan, Dairy-Free, or Gluten-Free.
VIDEO
How to Make these Irresistible Heavenly Layer Bars!
Blog Comments & Tips
Decadent and delicious!
It’s been years since I made seven layer bars. In an attempt to clear out my pantry, I realized that I had all the ingredients for these dessert bars. After testing the original recipe, I remembered why I didn’t make it very often. Although the traditional 7 layer bars recipes are really good, they are cloyingly sweet and lack texture.
We contemplated long and hard on how to improve upon this popular recipe without losing its signature flavor. We decided to pimp up the plain crust by making it a cinnamon walnut graham cracker crust. Then we reduced the sweetness by using extra dark chocolate chips (Guittard 63% Cacao), added a few white chocolate chips (Guittard White Baking Chips - which are less sweet than other brands), and added unsweetened wide sliced coconut (primarily because I had the wide sliced variety on hand) for a crunchy texture. The balance of sweetness, texture, and overall flavor in our Heavenly Layer Bars turned out to be perfect!
In my opinion, the best part was the caramelized and crispy edges of the crust - they were so good, I ate two in a row!
Just a few small tweaks made all the difference in this recipe. We used 9 different households to test these Heavenly Layer Bars and they were a hit with all our taste testers (ages ranging from 8 to 91 years)! To be honest, we were a bit concerned that kids may not like the dark chocolate, but we were pleasantly surprised to hear that they were gobbled up in a blink by all the kids!
When it comes to substitutions, if you cannot find wide sliced coconut (if you are in Southern California, try Sprouts Farmers Market or Whole Foods Market), then unsweetened coconut flakes work best. If the latter isn’t available, using unsweetened shredded coconut will work, but it will not have the same crunch or mouthfeel. Although the salt is optional, it really balances out the sweetness in this dessert bar. You can also substitute the Himalayan Pink Salt with Maldon Sea Salt Flakes.
When freshly baked and it’s warm outside, these ooey gooey dessert bars are a yummy (and a bit sloppy) treat! If you like a more firm layer bar, then just make sure they are completely cooled before consuming. Although we prefer anything with chocolate at room temperature, you can always stick them in the fridge for a very firm texture.
Now you have the recipe, ingredients, and equipment, but how do you ensure the best results from our recipe?
Our 5 tips to making our Heavenly Layer Bars:
Use high quality ingredients, like Guittard 63% Cacao, Guittard White Baking Chips, and Toll House Butterscotch Morsels (we prefer Guittard Butterscotch Baking Chips, but they are hard to find unless you buy them in bulk from Amazon).
Using unsweetened wide sliced coconut makes a big difference in this recipe, as it toasted up beautifully and adds a lovely crunchy texture without being too sweet.
Check your oven after 20 minutes to make sure your coconut isn’t burning. If it has reached golden brown, but the bars are not bubbling, then place a sheet of aluminum foil loosely over the pan, and continue to bake until done.
Although we did not line our pan when we did the photo shoot for this recipe, we do recommend lining your baking pan with parchment paper. It makes for easy removal from the pan, and you’ll get clean cuts.
If you don’t line your pan, then be sure to run the blade of a sharp knife around the edges of the pan while it’s still warm. Best results are when you wait 30 minutes after your pan has been sitting on the cooling rack.
Have any dietary preferences that won’t quite work with our recipe? It’s time to customize and Pimp Our Recipe.
Pimp Our Recipe:
Make it with a Thicker Crust: If you prefer a thicker crust, increase the graham cracker crumbs to 2 cups (about 12 sheets - 1 ⅓ sleeves)
Make it Sweeter: Replace the extra dark chocolate chips with semi-sweet chocolate chips, and replace the unsweetened coconut with shredded sweetened coconut.
Make it Vegan & Dairy Free: Replace dairy sweetened condensed milk with coconut sweetened condensed milk. Use vegan friendly graham crackers (Nabisco Grahams Original) instead of the brand shown in our photos. Replace butter with vegan unsalted butter sticks (Earth Balance Vegan Buttery Sticks). If you cannot locate unsalted vegan butter, it’s okay to use salted. Just omit (or reduce) the Himalayan pink salt on top.
Make it Gluten Free: Instead of the brand shown in our photos, replace graham crackers with gluten-free honey graham crackers (Pamela’s Honey Grahams Gluten-Free).
Enjoy and let us know what you think by commenting below, rating our recipes, subscribing, following, and liking us on Pinterest, Instagram, Facebook, and YouTube! Don’t forget to subscribe to get updates on new recipes and tips & tricks.
Happy Cooking!
Mich
Footnote: Remember to check your oven after 20 minutes to ensure that your coconut flakes do not burn.

Adapted from the Seven Layer Bars recipe by Allrecipes.com, we’ve taken this popular dessert bar and pimped it up to increase the flavor, reduce the sweetness, and add more texture, to make it a decadent treat for everyone to enjoy.
Every editorial product is independently selected. We may be compensated or receive an affiliate commission if you purchase products via our links. As Amazon Associates, we earn from qualifying purchases.